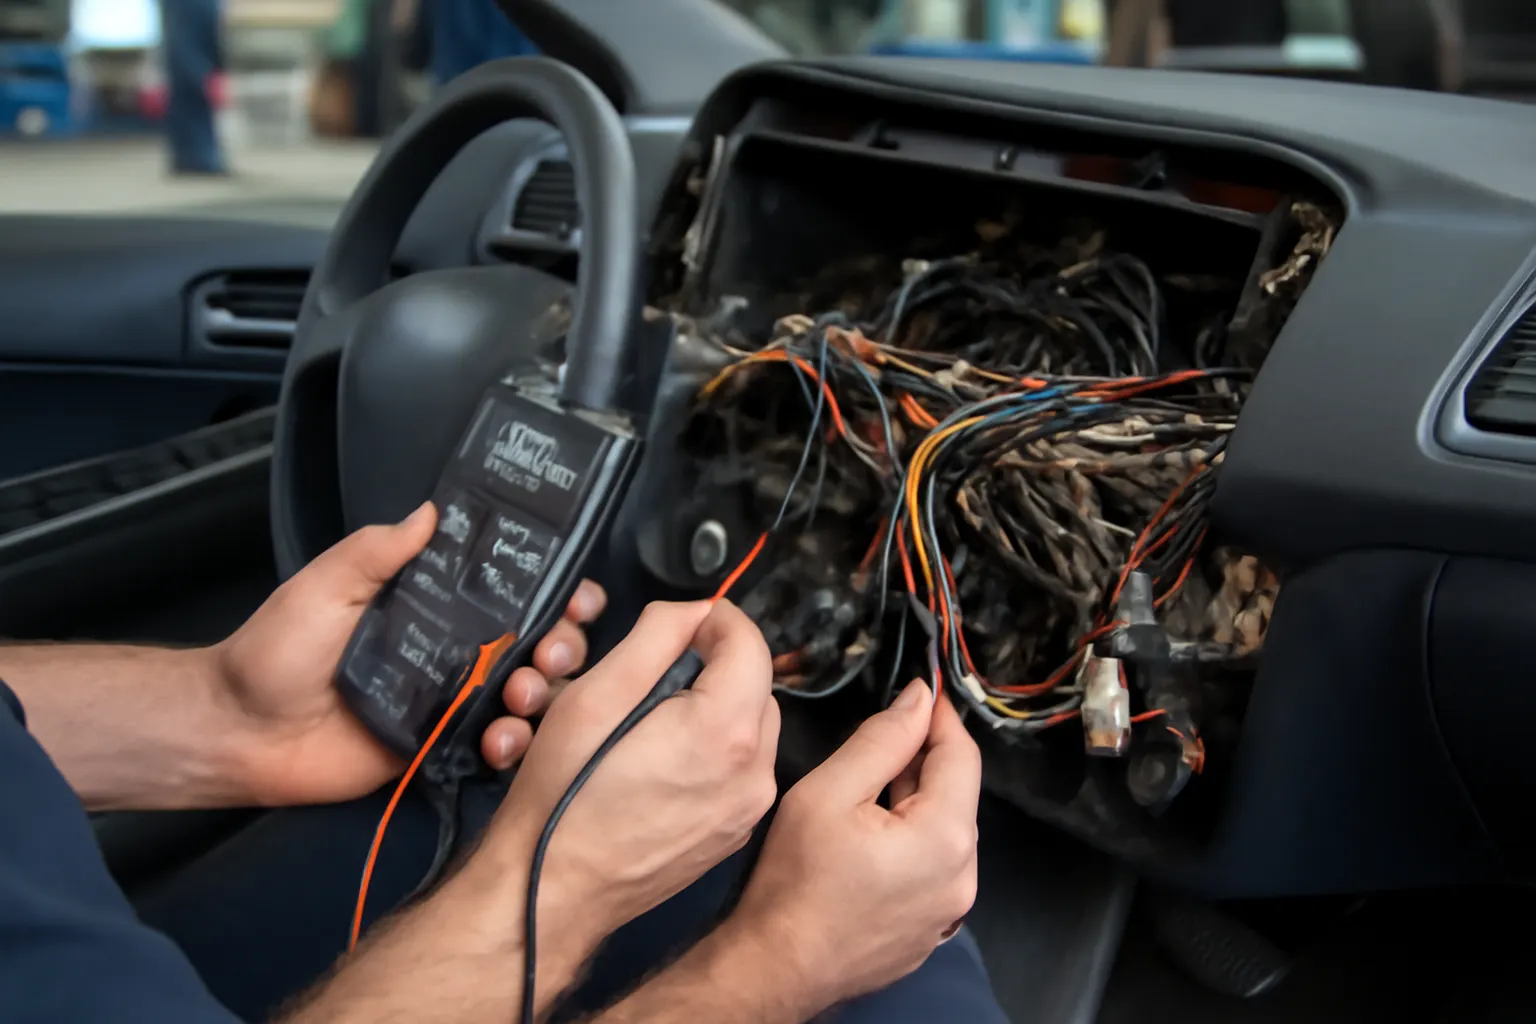
Integrating Aftermarket Accessories Without Compromising Your Dash Harness
When you want to add new tech or features to your vehicle’s dashboard—think digital gauges, navigation units, dash cams, or upgraded infotainment—integrating these aftermarket accessories can be both exciting and daunting. The key to a successful upgrade is ensuring that your dash wiring harness remains uncompromised, so you don’t introduce electrical faults, safety hazards, or reliability issues. This guide delivers expert advice and step-by-step recommendations to help you safely connect new accessories while maintaining the integrity and performance of your dash harness.
If you’re new to dash harnesses, start by understanding their role in Wiring Harness (Dash): The Central Nervous System of Your Vehicle’s Dashboard. This foundation is crucial before you add any aftermarket component.
The Quick Answer: How to Add Accessories Without Risk
To safely integrate aftermarket accessories:
- Never cut or splice into factory dash harness wires unless absolutely necessary.
- Use add-on harness adapters, fuse taps, or dedicated accessory harnesses designed for your vehicle.
- Confirm all connections are secure, properly insulated, and fused to avoid electrical shorts or overloads.
- Follow OEM standards and SAE guidelines for wiring modifications.
- Double-check compatibility with your dash harness and vehicle electronics before installation.
These steps minimize the risk of damaging the dash harness and ensure your upgrades are safe and reliable.
The Hidden Problem: Why Dash Harness Compromise Is So Common
It’s tempting to tap into the nearest power or ground wire when adding a new accessory. However, modern dash wiring harnesses are complex, tightly integrated systems that control not just basic functions but also safety, diagnostics, and even fuel efficiency features. Cutting, splicing, or overloading a circuit can lead to:
- Intermittent electrical faults
- Dashboard warning lights
- Malfunctioning safety systems (airbags, ABS, etc.)
- Costly repairs or even fire risks
Many DIYers and even some professionals underestimate the sensitivity and critical nature of the dash harness, especially in vehicles manufactured after the early 2000s.
Why Modern Dash Harnesses Are More Sensitive Than Ever
Today’s dash harnesses do far more than just power switches and lights. They connect sensors, control modules, safety equipment, and infotainment systems. According to the National Highway Traffic Safety Administration, modern vehicles rely on highly-engineered electrical architectures to meet strict safety and diagnostic standards.
Key reasons for increased sensitivity:
- CAN Bus and multiplexed wiring: Many signals are digital, with multiple functions sharing a single wire.
- Integrated safety systems: Airbags, stability control, and advanced driver-assistance systems (ADAS) rely on uninterrupted data and power connections.
- Lightweight and specialized materials: As detailed by the U.S. Department of Energy, modern harnesses use thinner, lighter wires and connectors for efficiency, which are less tolerant of overloads or poor connections.
- Diagnostic integration: The dash harness is often the main pathway for diagnostic trouble codes (DTCs) and module communication.
This means that even a small wiring mistake can cascade into major electrical or safety issues.
Understanding Your Dash Harness: Anatomy, Function, and Risks
Before adding any accessory, it’s vital to know what your dash harness does:
- Power distribution: Routes battery and ignition power to dashboard devices.
- Ground circuits: Provides safe return paths for all electrical devices.
- Signal and data lines: Transmits information between sensors, switches, and control modules.
- Safety circuits: Dedicated wires for airbags, seatbelt pretensioners, and warning lights.
Risks of improper integration:
- Short circuits: A poorly insulated splice or an overloaded wire can cause a short, potentially leading to fire.
- Open circuits: Cutting a wire can disable a critical system, sometimes without immediate symptoms.
- Interference: Tapping into data or signal wires can cause erratic behavior in safety or infotainment systems.
- Diagnostic confusion: Non-OEM wiring can trigger fault codes, making future troubleshooting difficult.
Accessory Integration Methods: Safe vs. Risky Approaches
Safe Integration Techniques
- Plug-and-play harness adapters: Use manufacturer-specific adapters that connect between the factory harness and the new accessory, preserving OEM wiring.
- Add-a-circuit fuse taps: These devices allow you to safely draw power from the fuse box without cutting wires.
- Dedicated accessory harnesses: Many reputable aftermarket manufacturers offer harnesses designed for specific vehicles and accessories.
- Terminal blocks and distribution panels: For complex builds, use a dedicated panel to distribute power to multiple accessories, keeping the dash harness untouched.
Risky or Outdated Methods
- Direct wire splicing: Cutting and soldering into factory wires can weaken connections and void safety certifications.
- Scotchlok/tap connectors: These quick-splice connectors can damage thin modern wires and cause intermittent faults.
- Overloading circuits: Drawing power from circuits not designed for added load (such as an airbag or lighting circuit) can cause fuse blowouts or worse.
Planning Your Accessory Install: A Step-by-Step Checklist
Before you reach for your toolbox, follow this checklist to ensure a safe and reliable integration:
Dash Accessory Integration Checklist
- Identify the accessory’s power and signal requirements.
- Obtain the correct wiring diagram for your vehicle’s dash harness.
- Locate OEM-approved accessory power and ground points.
- Select a plug-and-play harness or add-a-circuit device when possible.
- Test the accessory on a bench or with a fused jumper before permanent installation.
- Route wires away from moving parts, sharp edges, and heat sources.
- Use proper wire gauges, connectors, and insulation rated for automotive use.
- Fuse all new circuits as close to the power source as possible.
- Label new wires and connections for future diagnostics.
- Verify all functions and scan for diagnostic trouble codes (DTCs) after installation.
Following this checklist reduces the risk of wire damage, electrical faults, and future troubleshooting headaches.
Diagnosing Electrical Issues After Accessory Installation
Even when following best practices, issues can arise after adding an accessory. Common symptoms include:
- Blown fuses
- Dashboard warning lights
- Non-functional OEM devices (e.g., radio, HVAC, airbags)
- Intermittent power loss to new or existing accessories
Diagnostic Steps
- Inspect all new connections for secure fit and proper insulation.
- Check fuses and relays related to both the accessory and any affected OEM circuits.
- Scan the vehicle with an OBD-II tool for any new DTCs.
- Use a multimeter to verify voltage and ground at the accessory and related circuits.
- Disconnect the accessory to see if the issue resolves, confirming if the new installation is the cause.
For a deeper dive into troubleshooting, see Diagnosing Electrical Issues in Modern Dashboards.
Choosing the Right Harnesses and Adapters
Not all harness adapters are created equal. Poor-quality harnesses can introduce resistance, fail under load, or even melt. When selecting integration products:
- Choose harnesses that meet SAE International standards for automotive wiring.
- Look for products with OEM-style connectors and proper wire gauges.
- Avoid generic “universal” adapters unless you verify pinouts and load ratings.
- Review user feedback and technical documentation from reputable manufacturers.
If in doubt, consult your vehicle’s manufacturer or a specialized aftermarket supplier with expertise in dash harness integration.
The Role of Fusing and Circuit Protection
Every added accessory should have its own fuse, ideally as close to the power source as possible. This protects both the accessory and the dash harness in case of a short or overload.
- Fuse sizing: Choose a fuse rated slightly above the accessory’s maximum draw, but below the wire’s safe capacity.
- Fuse location: Install the fuse in an accessible spot, preferably in a dedicated fuse block or add-a-circuit adapter.
- Relay use: For high-power accessories (amplifiers, additional lighting), use a relay to control power, preventing overload of the dash harness.
Proper circuit protection is a non-negotiable step for any safe accessory integration.
Avoiding Common Pitfalls: Real-World Scenarios
Scenario 1: Splicing into the Wrong Wire
A DIYer taps into a wire behind the dash to power a new USB charger, not realizing it’s part of the airbag circuit. The airbag warning light illuminates, and the system is disabled until the wiring is repaired and the code cleared.
Lesson: Always verify wire function with a wiring diagram and avoid critical systems.
Scenario 2: Overloading a Factory Circuit
An installer adds an aftermarket navigation unit, drawing power from the radio circuit. On hot days, the radio and navigation both cut out due to excessive current draw, eventually blowing the fuse and disabling the entire infotainment system.
Lesson: Don’t overload factory circuits—use dedicated power feeds and fusing.
Scenario 3: Poor Grounding
A dash camera is installed using a self-tapping screw into a painted dash support as a ground. The camera intermittently loses power over bumps, and eventually, the ground wire overheats.
Lesson: Use factory ground points with bare metal contact and secure fasteners.
Materials and Connector Choices: Why Quality Matters
According to the U.S. Department of Energy’s Materials Technologies research, modern automotive wiring uses lightweight, high-performance materials for efficiency and reliability. When adding accessories:
- Use automotive-grade wire (typically GPT, GXL, or TXL insulation) rated for temperature and vibration.
- Select weatherproof connectors if any part of the harness runs outside the cabin.
- Avoid household electrical connectors or tape—these are not rated for automotive conditions.
- Use crimp, solder, or OEM-style connectors as required, and always insulate with heat-shrink tubing.
Poor-quality materials can degrade, corrode, or fail under automotive stresses, risking both accessory and dash harness integrity.
Maintaining Dash Harness Integrity Over Time
After installation, periodic inspection and maintenance help prevent future problems:
- Visually inspect all new connections annually for signs of corrosion, heat damage, or looseness.
- Check fuses and relays for proper function.
- Listen for unusual noises (buzzing, clicking) from behind the dash, which can indicate electrical arcing.
- Scan for DTCs during routine maintenance.
- Update labels or documentation if you add or remove accessories.
Proactive maintenance ensures your dash harness and accessories remain reliable for years to come.
When to Consult a Professional
While many accessory installations are DIY-friendly with the right planning, certain situations call for professional expertise:
- Integration with safety systems (airbags, ABS, stability control)
- Vehicles with highly integrated CAN bus or multiplexed wiring
- Custom or high-current installations (audio amplifiers, lighting)
- Persistent electrical faults after installation
A qualified automotive electrician or technician can ensure compliance with OEM standards and safety regulations, using advanced diagnostic tools and techniques.
AutoPartEx: Your Partner for Safe Accessory Integration
At AutoPartEx, we understand that your vehicle’s dashboard is more than just switches and screens—it’s a nerve center for safety, performance, and comfort. Our curated selection of dash harnesses, adapters, and integration kits are engineered to meet or exceed OEM and SAE standards, ensuring every accessory upgrade is safe, reliable, and future-proof.
Explore our Wiring Harness (Dash) category for vehicle-specific solutions, or browse related articles like How to Prevent Wiring Harness Failures: Tips for DIYers and OEM vs Aftermarket Dash Harnesses: What You Need to Know to build your expertise.
Whether you’re a seasoned installer or a first-time upgrader, AutoPartEx provides the parts, guidance, and technical support you need to integrate accessories without compromise.