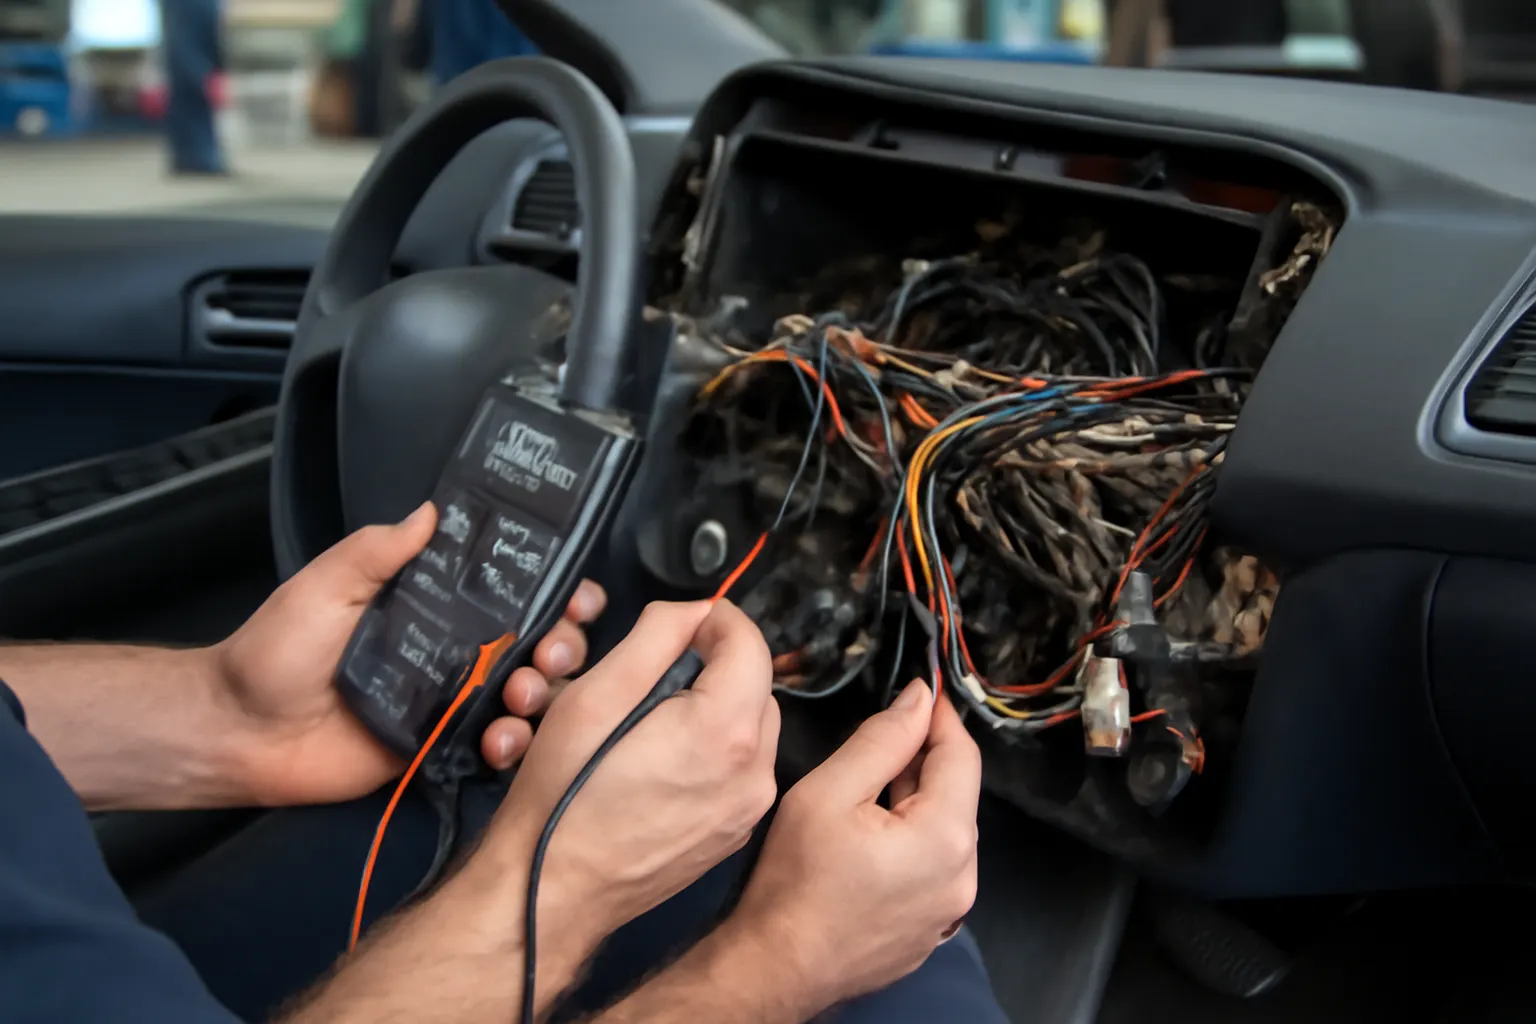
How to Prevent Wiring Harness Failures: Tips for DIYers
If you want to keep your vehicle’s dashboard electronics running reliably, preventing wiring harness failures is essential. For DIYers, a proactive approach—focused on inspection, proper installation, and smart maintenance—can dramatically extend the life of your dash wiring harness and prevent a cascade of electrical headaches. This guide delivers actionable tips for avoiding common issues, explains the hidden pitfalls that catch even careful enthusiasts off guard, and gives you the knowledge to protect your vehicle’s “central nervous system.” For a broader overview of dash harnesses, check out our Wiring Harness (Dash): The Central Nervous System of Your Vehicle’s Dashboard category hub.
The Immediate Answer: How to Prevent Dash Wiring Harness Failures
To prevent wiring harness failures in your dashboard, you must:
- Regularly inspect wiring for signs of wear, corrosion, or chafing.
- Use proper routing techniques and secure harnesses to avoid pinch points and friction.
- Avoid overloading circuits with aftermarket accessories.
- Protect connectors from moisture and contaminants.
- Use only high-quality, vehicle-specific replacement parts and connectors.
- Follow OEM or SAE wiring standards for repairs and upgrades.
- Perform a functional check after any work.
These steps will drastically reduce the risk of electrical issues—saving you time, money, and the frustration of chasing intermittent faults.
The Hidden Problem: Why Dash Harness Failures Happen
Many DIYers underestimate the complexity and vulnerability of the dash wiring harness. Modern vehicles pack dozens of circuits, sensors, and control modules into the dash area. The harness is subject to vibration, temperature swings, moisture, and potential interference from aftermarket installations. Even a minor oversight—such as an unsecured wire or a poorly crimped connector—can lead to cascading failures, from flickering dash lights to total electrical loss.
The most common hidden culprits include:
- Physical abrasion from vibrations or sharp edges behind the dash.
- Moisture intrusion from blocked drains, failed grommets, or spilled drinks.
- Improper accessory integration that overloads or backfeeds circuits.
- Connector fatigue due to repeated disconnection or thermal cycling.
- Rodent damage (especially in vehicles parked outdoors or in rural areas).
Understanding these risks is the first step toward preventing them.
Understanding the Stakes: What’s Really at Risk?
A dash wiring harness failure is more than an inconvenience—it can compromise vehicle safety and reliability. The National Highway Traffic Safety Administration (NHTSA) identifies electrical system failures as a leading cause of dashboard warning light malfunctions, loss of critical functions (like airbags or ABS), and even vehicle fires in severe cases1. Beyond safety, a faulty harness can impact:
- Fuel efficiency, as sensors and actuators may not communicate properly with the engine control module (ECM)2.
- Diagnostic accuracy, complicating troubleshooting for both DIYers and professionals.
- Cost of repairs, since dash harness replacement is labor-intensive and often requires partial disassembly of the dashboard.
For these reasons, proactive harness care isn’t just about convenience—it’s a core part of responsible vehicle ownership.
The Anatomy of a Dash Wiring Harness: What You’re Dealing With
Before diving into prevention strategies, it’s critical to understand what makes up a typical dash wiring harness. These harnesses are engineered bundles of wires, each sheathed in insulation, grouped by function, and terminated with OEM-specific connectors. Key features include:
- Multiple circuits: Power, ground, CAN bus, sensor signals, and control lines.
- Connectors: Ranging from simple spade terminals to multi-pin sealed connectors.
- Protective sheathing: To guard against abrasion and heat.
- Mounting points: Clips, grommets, and brackets to route and secure the harness.
The dash harness is routed through tight spaces, often sharing real estate with HVAC ducts, brackets, and moving parts like steering columns and pedal assemblies. This complexity increases the risk of damage during repairs or modifications.
Signs of Trouble: Early Warning Indicators
Catching harness issues early is the best way to prevent catastrophic failures. Watch for these warning signs:
- Intermittent electrical issues: Flickering dash lights, random warning messages, or sporadic power loss to accessories.
- Burnt smell or visible melting: Indicates overheating or short circuits.
- Unusual noises: Clicking relays or buzzing sounds from behind the dash.
- Non-functioning gauges or controls: Especially after aftermarket accessory installation.
- Visible corrosion or discoloration at connectors or fuse panels.
If you notice any of these symptoms, immediate inspection is warranted.
Inspection Checklist: DIY Harness Health Assessment
Use this checklist to perform a thorough health assessment of your dash wiring harness:
Visual Inspection
- Remove lower dash panels for access.
- Inspect harness routing for pinched, kinked, or unsupported sections.
- Look for worn, frayed, or exposed wires.
- Check for evidence of rodent damage (chewed insulation, droppings).
- Examine connectors for corrosion, bent pins, or loose locking tabs.
- Verify that all harness clips and grommets are in place.
Functional Testing
- Cycle all dash controls (lights, HVAC, wipers, etc.) and observe for glitches.
- Use a multimeter to check for voltage drops or continuity issues at suspect connectors.
- Check for blown fuses or relays related to dash circuits.
Environmental Factors
- Inspect for signs of water intrusion (dampness, rust stains, or musty odor).
- Ensure no aftermarket wiring is spliced into critical circuits without proper protection.
Perform this assessment at least once a year, or after any major interior work.
Best Practices for Routing and Securing Harnesses
Proper routing is your first line of defense against harness failure. Follow these best practices:
- Avoid sharp edges: Use grommets or edge trim where harnesses pass through metal panels.
- Maintain slack: Allow for slight movement, especially near steering columns or moving dash components.
- Secure at intervals: Use OEM-style clips or cable ties, but avoid overtightening (which can crush wires).
- Separate power and data lines: To minimize electromagnetic interference (EMI), keep high-current wires away from signal wires.
- Respect heat sources: Route harnesses away from HVAC ducts, defroster vents, or high-wattage resistors.
Following these principles not only prevents physical damage but also reduces the risk of electrical noise or cross-talk between circuits.
The Role of Connectors: Why Quality Matters
Connectors are frequent failure points in dash harnesses. Poor-quality or worn connectors can cause high-resistance joints, arcing, or intermittent faults. Here’s how to ensure connector reliability:
- Use OEM or SAE-approved connectors: Aftermarket “universal” connectors often lack proper fit and sealing.
- Clean before reconnecting: Use electrical contact cleaner to remove oxidation or debris.
- Check pin engagement: Ensure all pins are straight and fully seated.
- Apply dielectric grease: On non-sealed connectors, this prevents moisture ingress and corrosion.
- Avoid repeated cycling: Disconnect and reconnect only as needed to minimize wear.
If you must replace a connector, match wire gauge, pin count, and locking style exactly.
Integrating Aftermarket Accessories: Do It the Right Way
Adding dash-mounted accessories—like gauges, dash cams, or infotainment upgrades—is a common source of wiring harness trouble. To avoid problems:
- Never tap critical circuits: Avoid splicing into airbag, ABS, or ECM wires.
- Use add-a-circuit fuse taps: These allow safe connection to unused fuse box positions.
- Install relays for high-draw devices: Prevents overload of OEM wiring.
- Label all new wiring: For future troubleshooting.
- Bundle and secure new wires: Route alongside OEM harnesses, using additional sheathing if needed.
For more detail, see our guide on Integrating Aftermarket Accessories Without Compromising Your Dash Harness.
Repairing Damaged Harnesses: Techniques and Tips
If you discover harness damage, careful repair can restore function and reliability:
- Cut out damaged sections: Use wire cutters to remove burned, melted, or chewed wire.
- Strip and splice with care: Use proper wire strippers and crimp connectors or solder joints, followed by heat-shrink tubing.
- Avoid “twist and tape” fixes: These are unreliable and prone to failure.
- Replace connectors as needed: Never force a damaged or corroded connector back into service.
- Test after repair: Check continuity and function before reassembling the dash.
For extensive damage, consider replacing the entire harness with an OEM or high-quality aftermarket unit. Our editorial on OEM vs Aftermarket Dash Harnesses: What You Need to Know can help you choose the right part.
Environmental Protection: Guarding Against Moisture and Heat
Environmental factors—especially moisture and heat—are leading causes of dash harness degradation:
- Seal all firewall penetrations: Use grommets and sealant where harnesses pass through metal panels.
- Fix HVAC leaks promptly: Condensation or heater core leaks can drip onto wiring.
- Use heat shields or wraps: In areas near hot components, thermal wraps can prevent insulation breakdown.
- Park in sheltered locations: Reduces UV and temperature cycling, which can embrittle insulation.
If you live in a humid or flood-prone area, consider periodic use of moisture-displacing sprays on accessible connectors.
Sourcing Quality Parts: What to Look For
Not all wiring and connectors are created equal. When sourcing replacement harnesses or components:
- Verify material quality: Look for automotive-grade copper wire with thick, flexible insulation. Avoid aluminum-core or “household” wire.
- Check for SAE or OEM certification: These standards ensure compatibility and safety3.
- Match harnesses to your vehicle: Year, make, model, and trim level all affect fitment.
- Avoid bargain “universal” kits: These rarely match OEM specs, especially for complex dash harnesses.
- Use reputable suppliers: AutoPartEx partners with certified manufacturers and offers a wide selection of wiring harness dash parts for most vehicles.
Investing in quality parts pays dividends in reliability and safety.
The Role of Standards: SAE and OEM Guidelines
Automotive wiring harnesses are designed to meet strict engineering standards—primarily those set by SAE International and vehicle manufacturers. These standards cover:
- Wire gauge and insulation type
- Connector design and pinout
- Color coding and labeling
- Test procedures for vibration, moisture, and heat resistance
When performing repairs or upgrades, always reference OEM wiring diagrams and, where possible, adhere to SAE standards3. This ensures your work meets the same reliability benchmarks as the original factory installation.
Maintenance Schedule: How Often Should You Inspect?
While the dash harness is designed for long-term durability, periodic inspection is wise—especially for older vehicles or those exposed to harsh conditions. Recommended intervals:
- Annually: Basic inspection as outlined in the checklist above.
- After any major dashboard work: Any time panels are removed or accessories installed.
- After water intrusion events: Flooding, windshield leaks, or HVAC failures.
- If electrical symptoms appear: Don’t wait—investigate at the first sign of trouble.
Timely maintenance prevents small issues from escalating into major repairs.
When to Replace vs. Repair: Making the Call
Sometimes, repair isn’t enough. Replace the dash harness if:
- Multiple circuits are affected: Especially if damage is widespread or wiring is brittle.
- Previous repairs were poorly done: “Rat’s nest” splices or excessive tape are red flags.
- Connector housings are melted or missing: These cannot be reliably repaired.
- You’re restoring a classic vehicle: A new harness brings peace of mind and supports modern upgrades.
Replacement harnesses can be found for most vehicles, including hard-to-source models. Consult AutoPartEx or your preferred supplier for fitment guidance.
Troubleshooting Electrical Issues: Diagnostic Tools for DIYers
Modern dash harnesses can be daunting, but several tools make troubleshooting manageable:
- Digital multimeter: For voltage, continuity, and resistance checks.
- Test light: Quick checks for power or ground presence.
- OBD-II scanner: For reading fault codes related to dash modules.
- Wiring diagrams: Essential for tracing circuits and understanding connector pinouts.
- Backprobe pins: Allow safe testing at connectors without damage.
If you’re new to diagnostics, our guide to Diagnosing Electrical Issues in Modern Dashboards is a valuable resource.
AutoPartEx: Your Partner in Reliable Dash Harness Solutions
At AutoPartEx, we understand that your vehicle’s wiring harness is the backbone of dashboard functionality and safety. Our commitment to quality means we offer only certified, vehicle-specific harnesses and components—backed by technical support and detailed fitment information. Whether you’re restoring a classic, upgrading a daily driver, or troubleshooting a persistent dash issue, our Wiring Harness (Dash) category is your starting point for reliable solutions.
We also provide editorial resources to help you make informed choices, from OEM vs Aftermarket Dash Harnesses: What You Need to Know to practical installation and diagnostic guides.
Take Action: Protect Your Vehicle’s Electrical Health
Preventing dash wiring harness failures is within reach for any DIYer willing to invest a little time and care. By inspecting regularly, using quality parts, adhering to proper standards, and integrating accessories wisely, you can avoid the most common causes of failure—and enjoy a safer, more reliable ride.
If you’re tackling a harness issue or planning an upgrade, start with the right information and the right parts. Visit AutoPartEx for trusted resources, expert support, and a full catalog of dash wiring harness solutions.
References
- Vehicle Safety and Equipment – National Highway Traffic Safety Administration
- Fuel Efficiency – United States Department of Energy
- Materials Technologies – United States Department of Energy