Advertisement
How to Replace an Engine Wiring Harness: Pro Tips
Replacing an engine wiring harness is one of the most demanding electrical tasks you can undertake on a modern vehicle. Done properly, it restores reliable power delivery, sensor accuracy, and overall engine performance. Done incorrectly, it can introduce new faults, trigger warning lights, or even create safety hazards. This guide gives you the expert, step-by-step advice needed for a safe, efficient harness replacement—whether you’re a seasoned technician or a determined DIYer. We’ll cover essential tools, removal/installation strategies, and the pitfalls that catch even experienced wrench-turners. If you’re looking for foundational knowledge before diving in, see our Engine Wiring Harness: The Nerve Center of Modern Powertrains category for a comprehensive overview.
Why Replacing an Engine Wiring Harness Matters
The engine wiring harness is the critical link between your vehicle’s electronic control unit (ECU) and every sensor, actuator, and engine management component. As vehicles grow more complex, harnesses have evolved to handle hundreds of connections, multiple data protocols, and increasingly sensitive signals. When a harness fails—due to age, heat, abrasion, rodent damage, or corrosion—engine performance, safety, and even fuel efficiency can suffer dramatically. According to the U.S. Department of Energy, electrical integrity is directly tied to engine efficiency and emissions compliance [^1].
A faulty harness can cause:
- Hard starting or no-start conditions
- Intermittent misfires or rough running
- Unexplained warning lights
- Loss of critical functions (fuel injection, ignition, VVT, etc.)
- Increased risk of electrical fires or shorts
Prompt, precise replacement is essential to restore both safe operation and optimal performance.
The Hidden Challenges of Harness Replacement
Many assume that replacing an engine wiring harness is a simple “unplug and replug” job. In reality, it’s a complex, high-stakes operation. Modern harnesses snake through tight spaces, under intake manifolds, around exhaust components, and behind accessory brackets. Connectors are indexed for one-way fitment, often with hidden locks or secondary latches. Incorrect routing can lead to chafing, pinched wires, or misfires after installation.
Moreover, modern vehicles use multiple harnesses with overlapping circuits—engine, transmission, body, and accessory harnesses all interact. Misidentifying connectors or missing a ground strap can introduce hard-to-trace problems. Poor-quality aftermarket harnesses or incorrect part numbers lead to fitment issues and diagnostic headaches.
Technical Deep Dive: Understanding Engine Harness Complexity
Today’s engine wiring harnesses are engineered to meet strict standards for material, insulation, shielding, and connector quality. The U.S. Department of Energy highlights the use of lightweight, heat-resistant materials and advanced manufacturing techniques to improve both performance and durability [^2]. Harnesses must withstand:
- Extreme temperature cycles (from subzero to underhood heat)
- Continuous vibration and flexing
- Chemical exposure (oil, coolant, brake fluid)
- Electromagnetic interference (from ignition or charging systems)
Harnesses are routed to minimize length, weight, and potential damage points. Connectors are color-coded and keyed, but even small mistakes—like reversing a sensor plug—can cause major drivability issues. Understanding these complexities is crucial before attempting a replacement.
Signs Your Engine Harness Needs Replacement
Before diving into replacement, confirm that the harness is truly at fault. Symptoms of a failing harness can mimic sensor or ECU problems. Look for:
- Brittle, cracked, or melted insulation
- Exposed, greenish (oxidized) copper wires
- Broken, corroded, or burned connectors
- Intermittent electrical faults that move when the harness is wiggled
- Persistent trouble codes that return after clearing and replacing sensors
If you suspect harness damage, see our Diagnosing Engine Electrical Issues guide for a systematic troubleshooting approach.
Preparing for Harness Replacement: Tools and Safety
Before you begin, gather the necessary tools and review all safety procedures. Modern vehicles have sensitive electronics, and improper handling can trigger airbag deployment or damage control modules.
Advertisement
Essential Tools:
- Complete socket and wrench set (metric and SAE)
- Torx and Allen bit sets
- Trim/panel removal tools
- Small flat-blade and Phillips screwdrivers
- Needle-nose pliers and wire cutters
- Multimeter (for continuity checks)
- Electrical contact cleaner
- Zip ties and harness tape
- Service manual or wiring diagrams for your specific vehicle
Safety Gear:
- Safety glasses
- Insulated gloves (for hybrid/electric vehicles)
- Fume extractor or well-ventilated workspace
Safety Checklist:
- Disconnect the negative battery terminal before starting.
- Wait at least 10 minutes after disconnecting the battery to allow capacitors to discharge.
- Avoid static discharge—ground yourself before touching connectors.
- Never force connectors apart—look for hidden locks or tabs.
Step-by-Step Engine Wiring Harness Removal
Removing the old harness is a methodical process. Rushing can damage connectors, break plastic guides, or create confusion during reassembly.
Removal Procedure Checklist
- Disconnect the Battery: Always start by disconnecting the negative terminal. For hybrids/electrics, follow manufacturer safety protocols.
- Remove Engine Covers and Accessories: Take off air boxes, engine covers, and any components blocking harness access. Refer to our Air Box/Air Cleaner guide if needed.
- Label Connectors: Use masking tape or numbered tags to label each connector as you unplug it. Even experienced techs can mix up similar connectors.
- Release Connector Locks: Modern connectors often have secondary locks or sliders. Use a small pick or screwdriver—never force them.
- Unclip Harness Fasteners: Harnesses are secured with plastic clips, zip ties, or brackets. Carefully pry or unbolt these to avoid breakage.
- Document Routing: Take photos as you go. Pay special attention to routing behind brackets, under manifolds, or through tight spaces.
- Remove the Harness: Once all connections and fasteners are free, gently extract the harness, working from one end to the other.
Pro Tip: If the harness is stuck, double-check for hidden fasteners or ground wires bolted to the engine or chassis.
Inspecting and Comparing the Replacement Harness
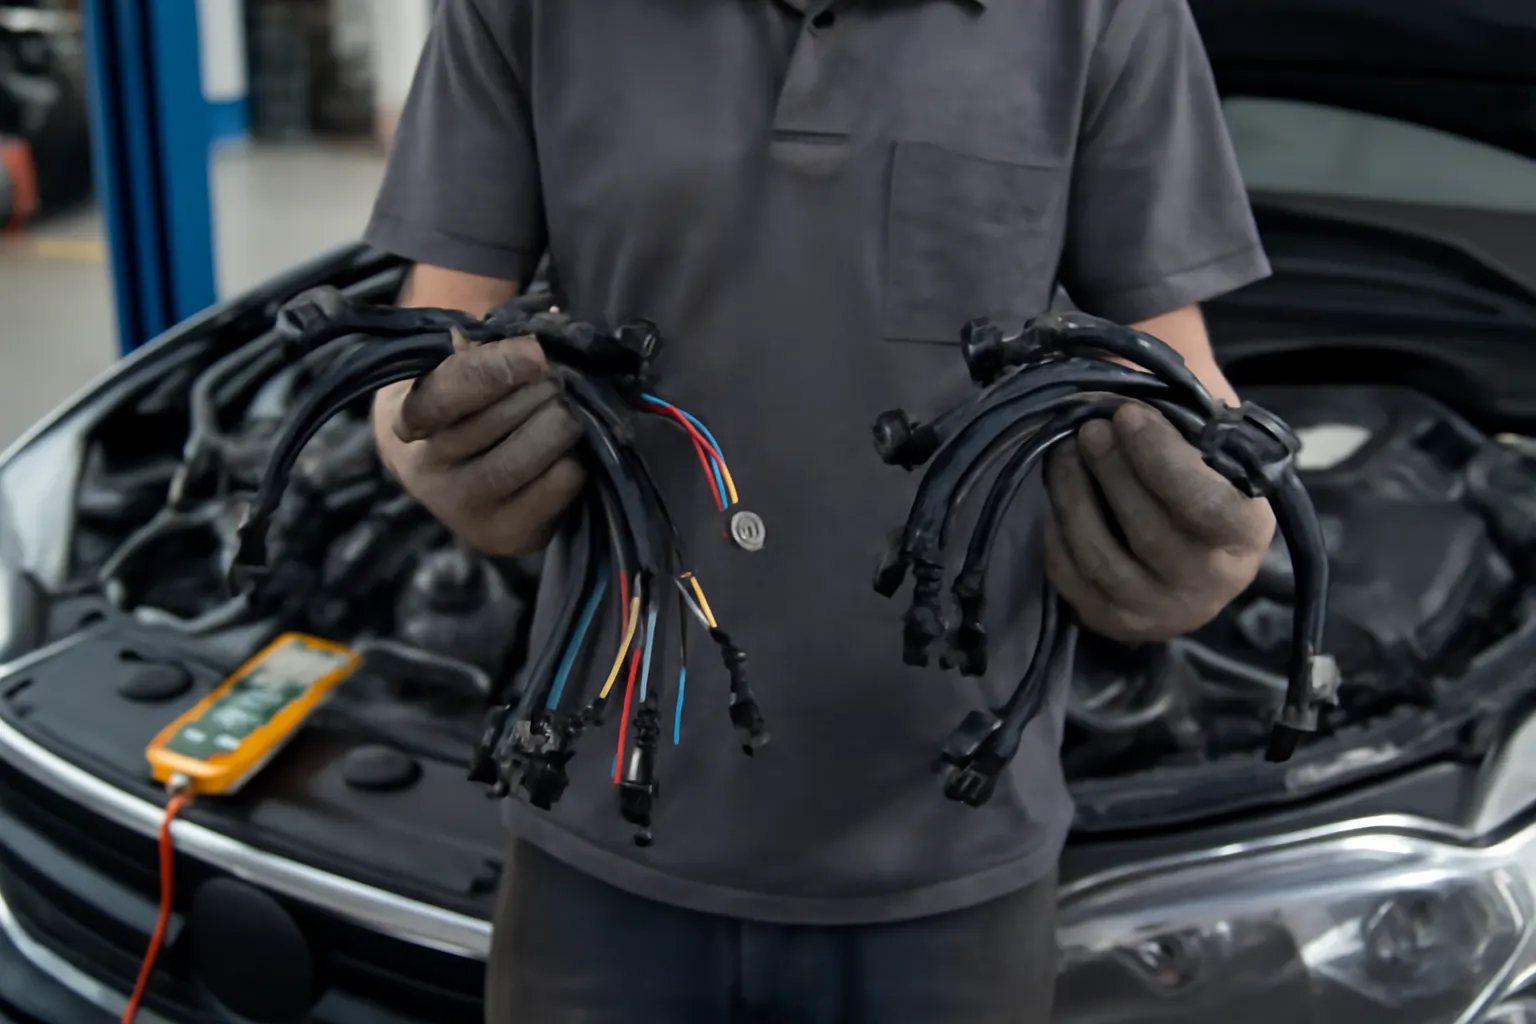
Before installing the new harness, lay it out side-by-side with the old one. Carefully compare:
- Connector types and pin counts
- Wire colors and lengths
- Branching points and routing paths
- Mounting clip locations
- Ground strap positions
Checklist: What to Inspect Before Installation
| Item | Old Harness | New Harness | Match? |
|---|---|---|---|
| ECU connectors | [ ] | [ ] | [ ] |
| Injector plugs | [ ] | [ ] | [ ] |
| Sensor connectors | [ ] | [ ] | [ ] |
| Ground straps | [ ] | [ ] | [ ] |
| Clip locations | [ ] | [ ] | [ ] |
| Length/branching | [ ] | [ ] | [ ] |
If any differences are found, stop and verify part numbers. Harness design can vary by model year, engine code, or emissions package. Never attempt to “make it work” by modifying connectors or splicing wires.
Installing the New Engine Wiring Harness: Best Practices
Installation is the reverse of removal, but attention to detail is critical. Improper routing or connector seating can introduce new issues.
Installation Steps
- Route the Harness: Follow the factory routing exactly. Use your photos and labels as a guide.
- Secure with Clips/Brackets: Fasten the harness at every original point. Loose wires can chafe or melt against hot engine parts.
- Connect Sensors and Actuators: Plug in each connector, ensuring you hear/feel a positive click. Engage any secondary locks.
- Attach Ground Straps: Secure all grounds to clean, bare metal. Poor grounds are a leading cause of electrical gremlins.
- Double-Check Connections: Cross-reference your labels, photos, and the wiring diagram before proceeding.
- Reinstall Accessories: Replace air boxes, covers, and any components removed earlier.
Pro Tip: Use dielectric grease on connectors (unless expressly forbidden by the manufacturer) to prevent corrosion and ensure long-term reliability.
Critical Pitfalls and How to Avoid Them
Even with careful work, several common mistakes can compromise your harness replacement:
Advertisement
- Connector Misalignment: Forcing connectors or misaligning pins can bend terminals, causing intermittent faults.
- Missed Grounds: Forgetting a ground wire can disable entire circuits.
- Improper Harness Routing: Routing too close to exhaust manifolds or moving parts can melt or cut wires.
- Mixing Up Connectors: Many sensors use similar plugs—incorrect connections may not trigger an immediate code but will cause drivability issues.
- Overtightening Fasteners: Overtorquing harness brackets can crack plastic or strip threads.
Always refer to the service manual torque specs and wiring diagrams for your application.
Testing After Installation: Verification Checklist
Before starting the engine, perform a thorough check:
- Visual Inspection: Check all connectors, clips, and routing.
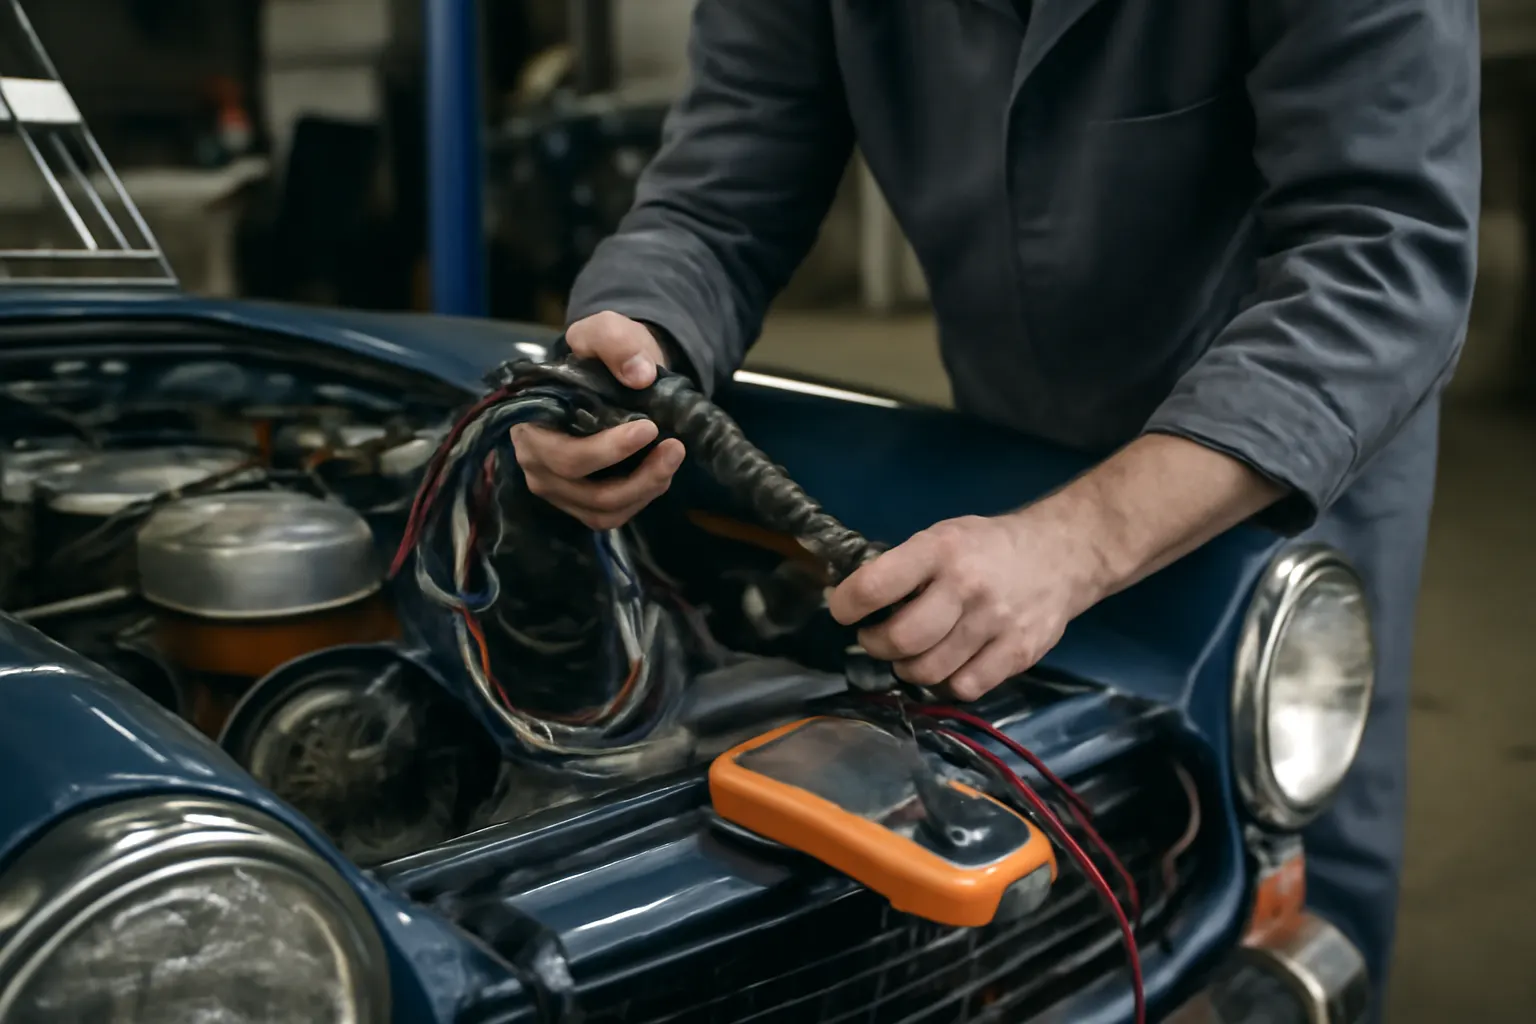
- Continuity Test: Use a multimeter to verify continuity between critical connectors and ground points.
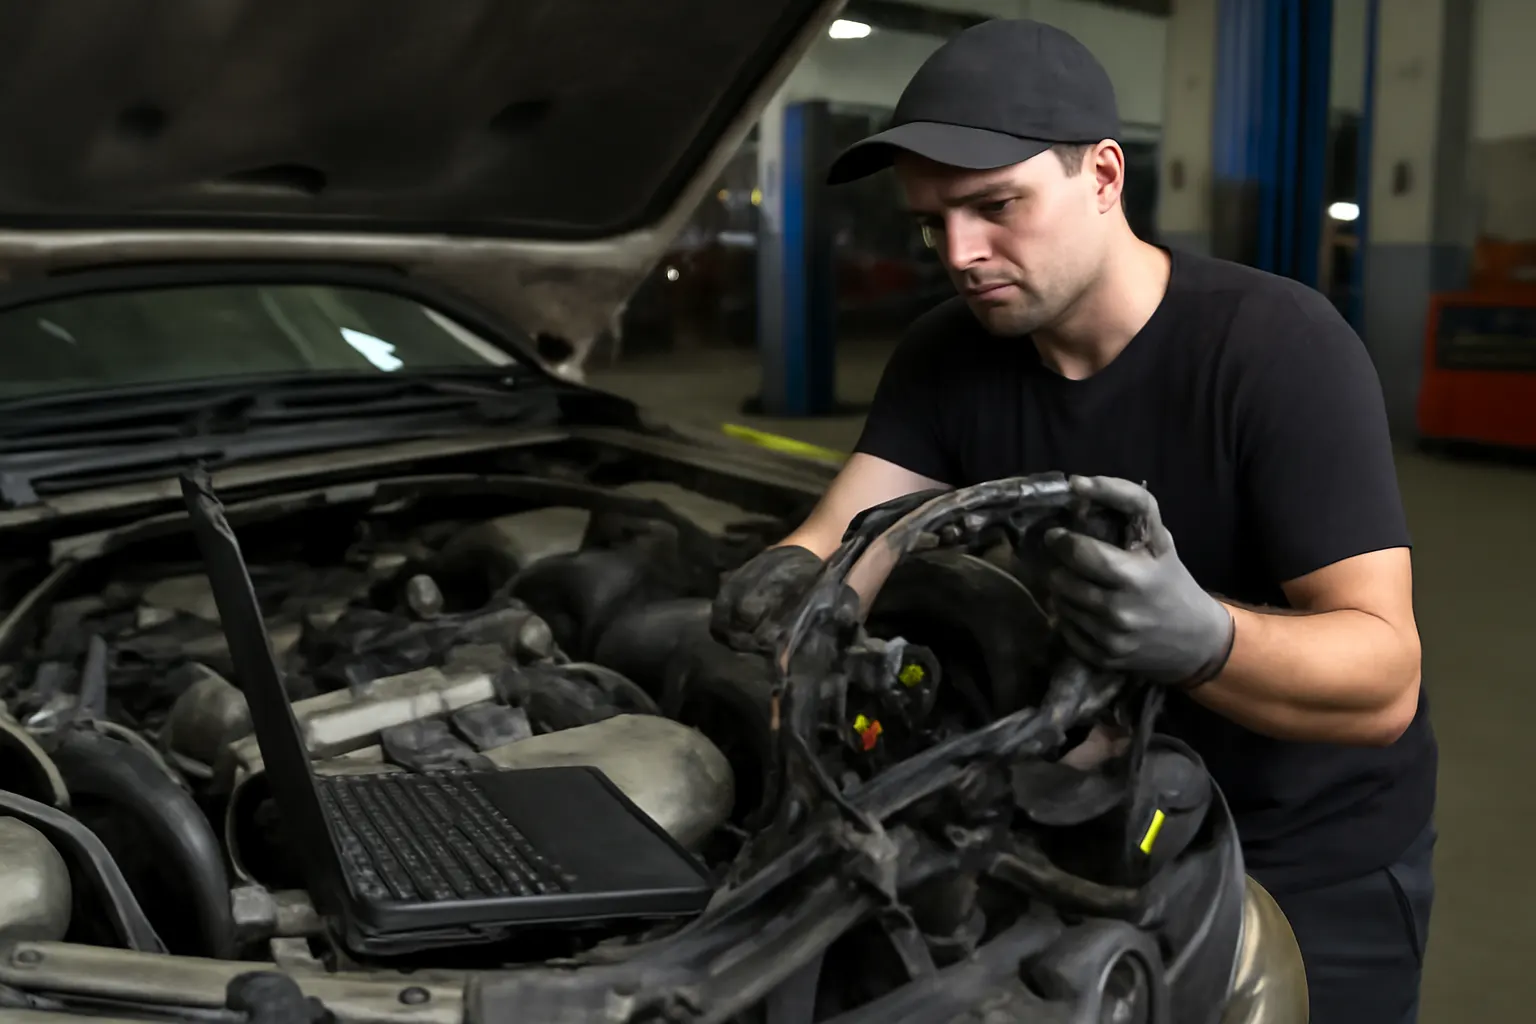
- Scan Tool Check: Connect an OBD-II scanner to check for stored codes or communication errors.
- Key-On Test: Turn the ignition to “on” (do not start) and observe for warning lights or unusual noises.
- Engine Start: Start the engine and monitor for smooth idle, proper sensor readings, and absence of warning lights.
- Road Test: Drive the vehicle through various operating conditions, monitoring for misfires, hesitation, or warning lamps.
If issues arise, double-check connector seating, ground points, and harness routing before suspecting other components.
Sourcing the Right Harness: OEM, Aftermarket, or Custom?
Choosing the correct replacement harness is as critical as the installation itself. Options include:
- OEM (Original Equipment Manufacturer): Guarantees fitment, material quality, and correct pinouts. Often more expensive, but reduces troubleshooting time.
- Aftermarket: Can be more affordable, but quality varies widely. Ensure the supplier has a reputation for precision and uses high-quality materials. Poor insulation or incorrect connectors can cause premature failure.
- Custom or Rebuilt: For classic vehicles or modified engines, custom harnesses may be necessary. Work with reputable builders who follow industry standards and use proper materials.
For rare or discontinued harnesses, see our Classic Car Restorations: Sourcing Rare Engine Harnesses guide.
Maintaining Your Engine Wiring Harness for Longevity
Once installed, proper maintenance will maximize your harness’s lifespan:
- Regular Inspections: Check for abrasion, loose clips, or signs of rodent damage during oil changes.
- Keep Connectors Clean: Use electrical contact cleaner if exposure to moisture or corrosion is suspected.
- Avoid Chemical Exposure: Keep oil, coolant, and brake fluid away from harnesses whenever possible.
- Protect from Heat: Ensure heat shields and routing are intact to prevent insulation breakdown.
If you work in extreme environments, consider additional protective sleeving or rerouting to minimize exposure.
When to Seek Professional Help
While many skilled enthusiasts can replace an engine harness, certain situations call for professional intervention:
- Hybrid/Electric Vehicles: High-voltage systems require specialized training and equipment.
- Extensive Modifications: Engine swaps or custom electronics often demand custom harness fabrication and advanced diagnostics.
- Persistent Electrical Issues: If problems persist after replacement, a professional technician can perform advanced diagnostics using oscilloscopes, TDR (time domain reflectometry), and factory scan tools.
Don’t hesitate to consult a certified technician if you encounter issues beyond your experience level.
The AutoPartEx Advantage
At AutoPartEx, we understand that the engine wiring harness is the nervous system of your powertrain. Our curated selection of OEM and high-quality aftermarket harnesses ensures you get the right part for your application—backed by technical support and expert guidance. Whether you’re working on a daily driver, a high-performance build, or a classic restoration, our resources and inventory help you avoid common pitfalls and achieve professional results. Explore our Engine Wiring Harness: The Nerve Center of Modern Powertrains section for tailored solutions, or connect with our technical team for personalized advice.
Further Learning and Related Resources
- Want to understand connector types and pinouts? See Understanding Automotive Connectors and Terminals.
- Diagnosing a no-start or random misfire? Our Diagnosing Engine Electrical Issues guide offers step-by-step troubleshooting.
- Sourcing rare or discontinued harnesses? Don’t miss Classic Car Restorations: Sourcing Rare Engine Harnesses.
References
Advertisement