Advertisement
Top 5 Engine Wiring Failures (and How to Avoid Them)
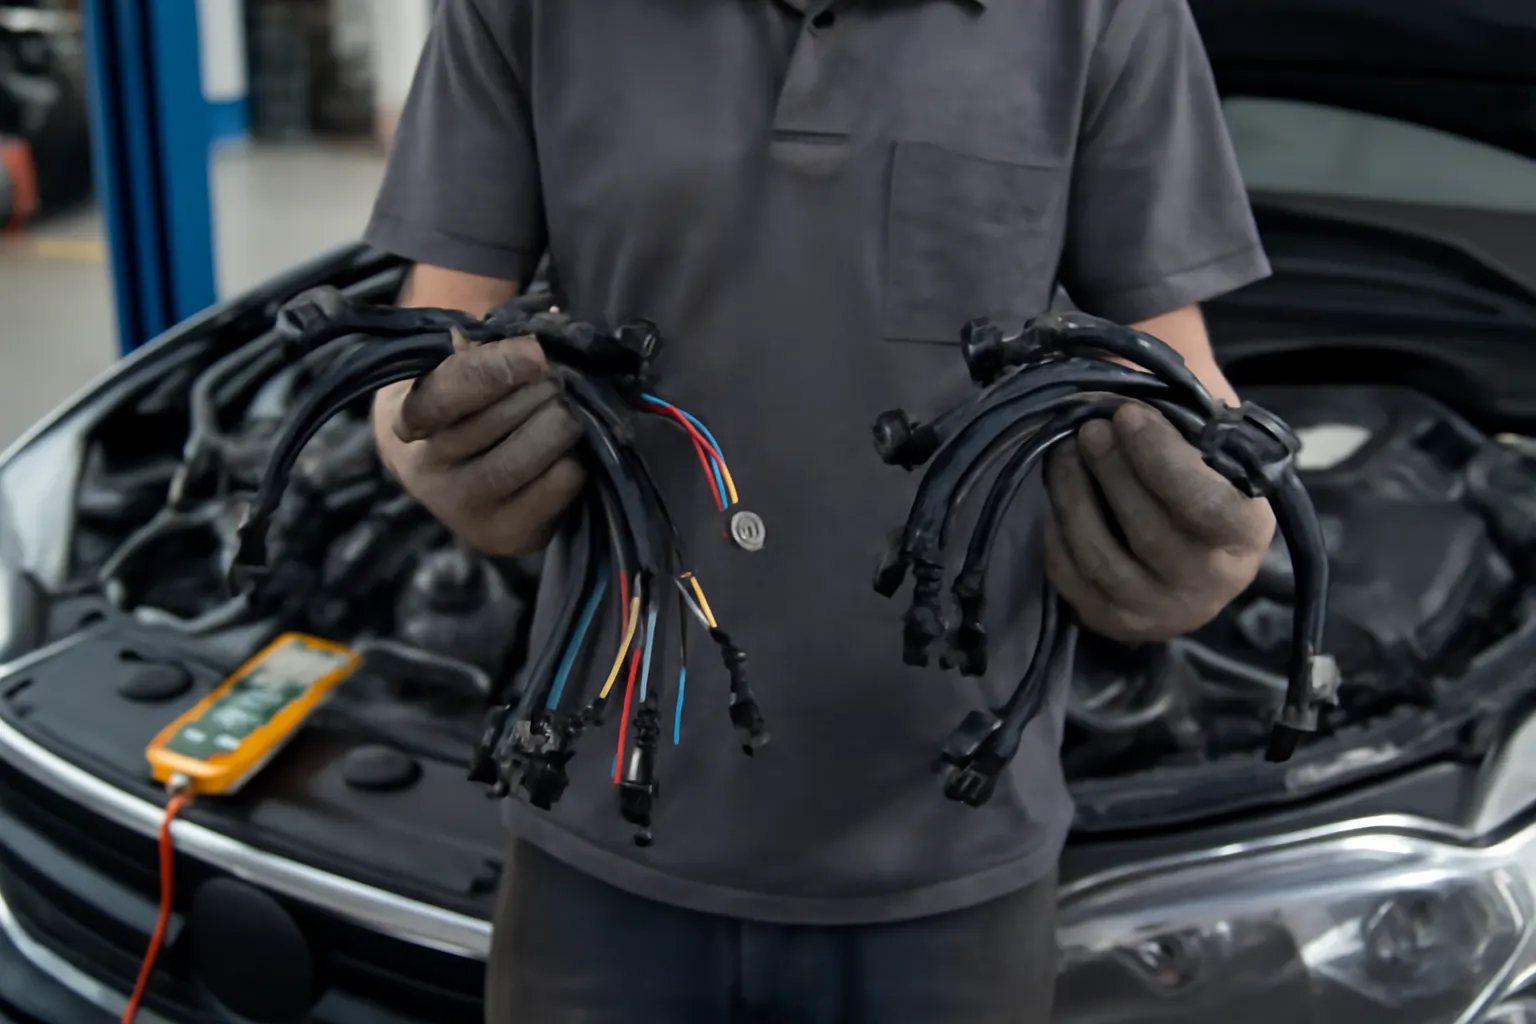
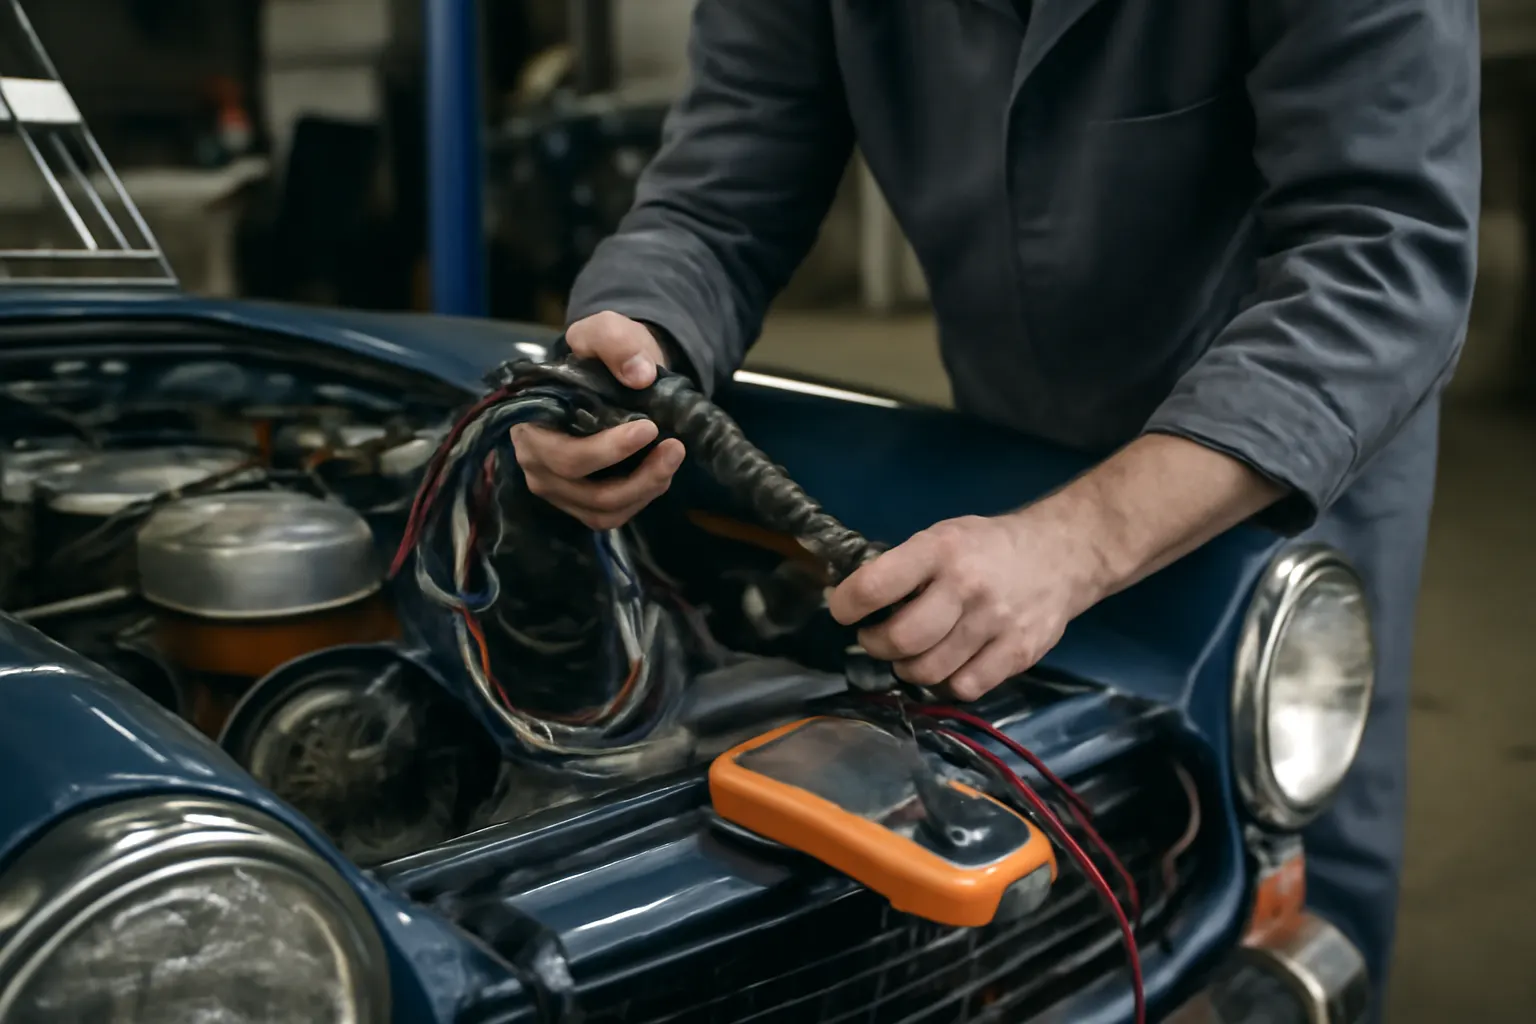
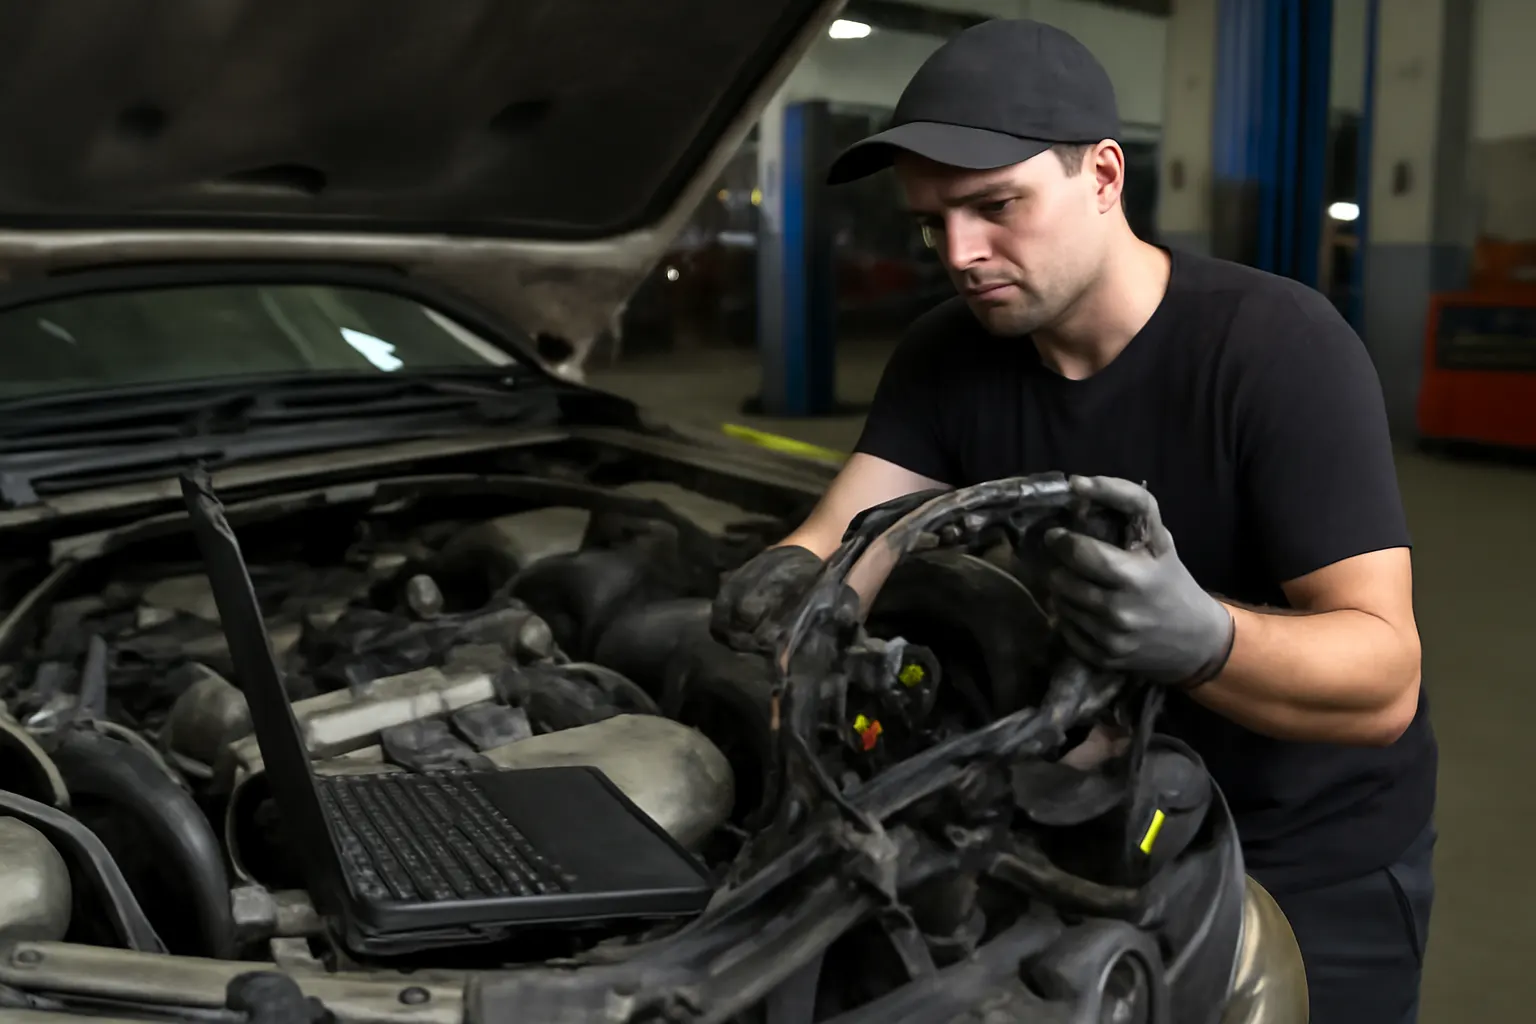
Engine wiring harnesses are the silent backbone of every modern vehicle, responsible for relaying critical signals and power throughout the engine bay. When these harnesses fail, the consequences range from inconvenient no-start conditions to catastrophic engine damage. Understanding the most common engine wiring failures—and how to prevent them—can save you time, money, and frustration. In this in-depth guide from AutoPartEx, you'll discover the top five failure modes, their underlying causes, and proven field-tested repair and prevention strategies. For comprehensive information on engine harness fitment and diagnostics, visit our Engine Wiring Harnesses: OEM Fitment, Diagnostics & Replacement category page.
Immediate Answer: The Top 5 Engine Wiring Harness Failures
What are the most common engine wiring harness failures?
The five most frequent engine wiring harness failures are:
- Corroded Connectors and Terminals
- Broken or Chafed Wires
- Melted or Overheated Insulation
- Faulty Ground Connections
- Rodent or Physical Damage
Each of these issues can lead to intermittent faults, engine misfires, sensor failures, or even total loss of engine function. Early detection and proactive maintenance are crucial to avoiding costly repairs.
The Hidden Problem: Why Engine Wiring Harnesses Fail Prematurely
While most harnesses are engineered to last the vehicle’s lifetime, real-world conditions often expose them to far more stress than anticipated. Many failures are not immediately visible and may develop silently over months or years. Factors such as engine heat, vibration, moisture, road salt, and even minor installation mistakes can accelerate degradation. In some cases, wiring issues are misdiagnosed as sensor or module failures, leading to unnecessary part replacements and escalating costs.
Deeper Technical Explanation: Anatomy of Engine Wiring Harness Failures
1. Corroded Connectors and Terminals
Connectors are the nerve endings of the wiring harness. Over time, exposure to water, humidity, and road de-icing chemicals can infiltrate connector housings, leading to oxidation and corrosion. This increases resistance, causing voltage drops and unreliable sensor readings. Modern vehicles with low-voltage, high-sensitivity circuits are especially vulnerable, as even minor corrosion can trigger engine warning lights or limp mode.
2. Broken or Chafed Wires
Harnesses routed too tightly against engine components or frame rails can experience insulation wear from constant vibration and movement. Over time, this chafing exposes copper conductors, which may then break or short to ground. Broken wires often cause intermittent or complete loss of signal to critical components such as crankshaft or camshaft position sensors, injectors, or ignition coils.
3. Melted or Overheated Insulation
Engine bays are hot environments. When wires are routed too close to exhaust manifolds or turbochargers, or when engine cooling issues occur, excessive heat can melt or embrittle wire insulation. This leaves conductors exposed to shorting or open circuits. Additionally, electrical overloads—often from aftermarket accessory installations—can overheat wires not rated for the increased current.
4. Faulty Ground Connections
A secure and clean ground path is essential for proper sensor and actuator operation. Rust, paint, or loose fasteners at ground points create high resistance, leading to erratic engine behavior, sensor misreads, or module failures. Ground issues are notorious for causing difficult-to-diagnose electrical gremlins.
5. Rodent or Physical Damage
Rodents are attracted to the warmth of engine bays and sometimes chew on wiring insulation, especially if it contains soy-based compounds. Physical damage can also result from improper repairs, dropped tools, or accident impact. Such damage often leads to immediate and catastrophic electrical failures.
Symptom Checklist: How to Spot Engine Wiring Harness Problems
Early detection of wiring harness issues can prevent costly breakdowns. Watch for these warning signs:
- Engine warning lights (Check Engine, ABS, etc.)
- Intermittent stalling or no-start conditions
- Erratic sensor readings (temperature, MAP/MAF, etc.)
- Misfires or rough running
- Blown fuses or repeated circuit faults
- Visible corrosion, broken insulation, or exposed wires
- Unusual odors (burning plastic) from engine bay
Advertisement
If you observe any of these symptoms, a systematic diagnosis is critical. For a step-by-step troubleshooting process, refer to our Step-by-Step Engine Wiring Harness Diagnosis guide.
Failure #1: Corroded Connectors and Terminals
Causes and Effects
Corrosion at connectors is often caused by moisture intrusion, poor sealing, or the use of subpar aftermarket connectors. Over time, even high-quality OEM connectors can degrade—especially in regions with high humidity or frequent road salt use. Corroded terminals increase resistance, causing signal loss or voltage drops that may not trigger a fault code immediately but will degrade performance.
Field-Proven Prevention and Repair
- Use dielectric grease on connector terminals during installation to repel moisture.
- Replace corroded connectors with OEM-quality, weather-sealed units.
- Inspect and clean connectors during routine maintenance, especially after exposure to water or road salt.
- If corrosion is found, clean terminals with electrical contact cleaner and a small brush, then apply protective grease before reconnecting.
Failure #2: Broken or Chafed Wires
Causes and Effects
Broken or chafed wires typically result from vibration, poor routing, or missing harness supports. Engine movement and thermal expansion can cause wires to rub against sharp edges, eventually wearing through insulation and breaking the conductor. This is especially common in high-mileage vehicles or after engine/transmission work.
Field-Proven Prevention and Repair
- Routinely inspect harnesses for tight bends, missing clips, or contact with moving parts.
- Use abrasion-resistant split loom or tape to protect vulnerable sections.
- Repair damaged wires with soldered splices and heat-shrink tubing, never with simple twist-and-tape methods.
- Secure all repairs with proper harness supports to prevent recurrence.
Failure #3: Melted or Overheated Insulation
Causes and Effects
Excessive heat from engine components or electrical overloads can degrade insulation, leading to shorts or open circuits. Aftermarket installations—such as high-output alternators or audio amplifiers—may draw more current than stock wiring can handle, compounding the risk.
Field-Proven Prevention and Repair
- Always route harnesses away from heat sources; use heat shields or reflective sleeves for protection.
- Upgrade wire gauge if adding high-current accessories.
- Replace any wire with melted or brittle insulation rather than attempting to patch it.
- Ensure engine cooling systems are functioning properly to prevent underhood overheating.
Failure #4: Faulty Ground Connections
Causes and Effects
Ground connections are often overlooked but are vital for reliable engine management. Corrosion, loose bolts, or paint under ground straps can cause high-resistance paths, resulting in voltage offsets and erratic sensor signals.
Field-Proven Prevention and Repair
- During service, inspect all engine and chassis grounds for tightness and corrosion.
- Clean ground lugs and mounting points with a wire brush.
- Apply conductive grease to prevent future oxidation.
- Replace damaged ground straps with OEM-spec or better.
Failure #5: Rodent or Physical Damage
Causes and Effects
Rodents are a surprisingly common cause of wiring failures, especially in vehicles parked outdoors or stored for extended periods. Chewed insulation and severed wires can cause immediate and severe electrical malfunctions. Physical damage from accidents, improper repairs, or engine work can also compromise harness integrity.
Field-Proven Prevention and Repair
- Use rodent deterrents (ultrasonic devices, repellant sprays) if parking outside.
- Inspect harnesses after any collision or major engine service.
- Repair chewed or cut wires with OEM-quality connectors and heat-shrink tubing.
- Replace harness sections if damage is extensive.
In-Depth Diagnostic Approach: How Professionals Pinpoint Harness Failures
Professional technicians use a systematic process to diagnose wiring harness issues:
- Visual Inspection: Look for visible damage, corrosion, or loose connectors.
- Wiggle Test: With the engine running, gently move harness sections to see if symptoms change.
- Voltage Drop Testing: Measure voltage across connectors and grounds to identify high-resistance areas.
- Continuity and Resistance Checks: Use a multimeter to confirm wire integrity.
- Scan Tool Analysis: Retrieve and interpret fault codes, then correlate with wiring diagrams.
- Thermal Imaging: Identify hot spots indicating overloaded or shorted wires.
Advertisement
A complete diagnostic workflow is available in our Step-by-Step Engine Wiring Harness Diagnosis.
Preventive Maintenance: Keeping Your Engine Harness Healthy
Preventing wiring harness failures is far easier—and less expensive—than repairing them after the fact. Here’s a practical checklist for ongoing harness health:
Engine Wiring Harness Preventive Maintenance Checklist
- Inspect all harnesses for visible damage, corrosion, and missing supports every oil change.
- Confirm all connectors are fully seated and locked.
- Apply dielectric grease to connectors in high-moisture or high-salt environments.
- Check ground straps for tightness and clean contact surfaces.
- Ensure harnesses are routed away from heat sources and moving parts.
- Use rodent deterrents if the vehicle is stored outside.
- After any engine or transmission work, double-check harness routing and connection integrity.
Regular maintenance not only prevents failures but also supports optimal engine efficiency and safety, as emphasized by the National Highway Traffic Safety Administration.
Selecting the Right Replacement: OEM vs Aftermarket Engine Harnesses
When replacement is necessary, the choice between OEM and aftermarket harnesses is critical. OEM harnesses guarantee fitment and material quality, while aftermarket options may vary in construction, connector quality, and insulation durability. The SAE Standards set the baseline for automotive wiring, but not all aftermarket products meet these benchmarks.
Key considerations:
- Fitment: OEM harnesses are designed for exact fit, reducing installation time and risk of routing errors.
- Materials: High-quality insulation and terminals resist heat and corrosion.
- Warranty: OEM and reputable aftermarket harnesses offer better support if issues arise.
For more details, see our editorial on Choosing OEM vs Aftermarket Wiring Harnesses.
Installation Guidance: Best Practices for Harness Replacement
Replacing an engine wiring harness is a demanding task, but following best practices ensures lasting reliability:
- Disconnect the battery to prevent accidental shorts.
- Label all connectors during removal to avoid mix-ups.
- Compare new and old harnesses for exact matches in length, connectors, and routing.
- Install harness using all factory clips and supports to prevent future chafing.
- Apply dielectric grease to all connectors during installation.
- Double-check all ground connections for cleanliness and tightness.
- Test all circuits before final reassembly.
Refer to our Engine Wiring Harnesses: OEM Fitment, Diagnostics & Replacement category page for model-specific installation resources.
Advanced Materials and Technology in Modern Harnesses
Advancements in wiring harness materials and design have improved durability and performance. The U.S. Department of Energy’s Materials Technologies initiative highlights the use of lightweight, heat-resistant polymers and improved conductor alloys. Modern harnesses integrate shielded cables for noise immunity and use sealed connectors to resist water and corrosion.
Benefits:
- Improved fuel efficiency through reduced weight
- Enhanced safety via better insulation and fire resistance
- Longer service life with advanced corrosion protection
When selecting a harness, prioritize those that leverage these modern materials for maximum reliability.
Impact of Wiring Harness Health on Engine Performance and Efficiency
A compromised wiring harness can have ripple effects throughout the engine management system. Faulty signals from sensors (such as O2, MAF, or coolant temperature) can cause incorrect fuel delivery, increased emissions, and reduced fuel economy. According to the U.S. Department of Energy, maintaining optimal engine efficiency is not just about mechanical components—electrical integrity is equally vital.
Consequences of neglecting harness health:
- Lower fuel economy due to poor sensor data
- Increased emissions
- Hard starting or stalling
- Potential engine or catalytic converter damage
Proactive wiring harness maintenance supports both performance and environmental responsibility.
AutoPartEx: Your Partner in Engine Wiring Harness Solutions
At AutoPartEx, we understand the critical role of engine wiring harnesses in vehicle reliability and performance. Our curated selection of OEM and high-quality aftermarket harnesses is backed by technical expertise and field-tested diagnostics. Whether you’re seeking a direct-fit replacement, diagnostic support, or installation guidance, our resources are designed to empower both DIYers and professionals.
- Explore our Engine Wiring Harnesses: OEM Fitment, Diagnostics & Replacement page for part selection and model-specific support.
- Dive deeper into electrical fundamentals with Understanding Vehicle Electrical Systems.
- For general harness needs, visit our general wiring harness category.
Choose AutoPartEx for dependable parts, expert guidance, and a commitment to your vehicle’s long-term health.
References
Advertisement