How to Prevent Water Leaks in Your Cargo Area
Water leaks in your cargo area can ruin interior trim, cause corrosion, and lead to costly repairs—but preventing them is entirely achievable with the right knowledge and proactive maintenance. The integrity of your back door latch system plays a critical role in weatherproofing, affecting not only the security and safety of your vehicle but also its resistance to water intrusion. This comprehensive guide will walk you through the connection between back door latches, weather seals, and cargo area leaks, offering actionable steps for diagnosis, prevention, and long-term protection.
If you're looking for a deeper dive into latch system engineering or need quality replacement parts, visit our Back Door Latch Systems: Security, Safety, and Precision Engineering category page for technical resources and product options.
The Immediate Answer: Stop Leaks by Targeting the Latch and Seal Interface
The fastest way to prevent water leaks in your cargo area is to focus on the interface between your back door latch and its surrounding weather seals. Ensuring that the latch mechanism operates smoothly, that the door closes flush, and that the weather seal is intact and properly seated will block most water entry points. If you notice dampness, visible water trails, or corrosion in your cargo area, start your inspection at the latch and seal zone before looking elsewhere.
The Hidden Problem: Why Leaks Persist Despite New Seals
Many vehicle owners replace the cargo area weatherstripping, only to find that leaks persist. The hidden culprit is often a misaligned or worn back door latch. When the latch fails to pull the door tight against the body, even the best seals can’t compensate for the resulting gaps. Additionally, latch corrosion, improper adjustment, or damage from previous repairs can compromise the door’s fitment, creating a path for water ingress.
The Technical Link: How Latch Engineering Impacts Weatherproofing
Back door latches are precision-engineered not just for security, but also to maintain a uniform compression of the cargo door weather seal. According to industry standards set by organizations like SAE International, latch systems must meet specific requirements for closure force, alignment, and durability to ensure both safety and environmental sealing (SAE Standards). When the latch mechanism is compromised—by wear, corrosion, or poor adjustment—the door may not compress the seal evenly, leaving vulnerable points where water can enter.
Cargo doors are especially susceptible because they’re larger, often open more frequently, and are exposed to heavy use—factors that accelerate latch and seal degradation. The result: even a small misalignment can translate into significant leaks, especially during heavy rain or car washes.
Diagnosing Water Leaks: A Step-by-Step Checklist
Early detection is key to preventing long-term damage. Here’s a systematic approach to diagnosing water leaks in your cargo area:
Cargo Area Water Leak Diagnostic Checklist
-
Visual Inspection of the Cargo Area Interior
- Check for damp carpets, water stains, or rust on the cargo floor, side panels, and under the spare tire.
- Look for mold or musty odors, which indicate persistent moisture.
-
Examine Back Door Weather Seals
- Inspect the rubber gasket around the cargo door for cracks, flattening, or missing sections.
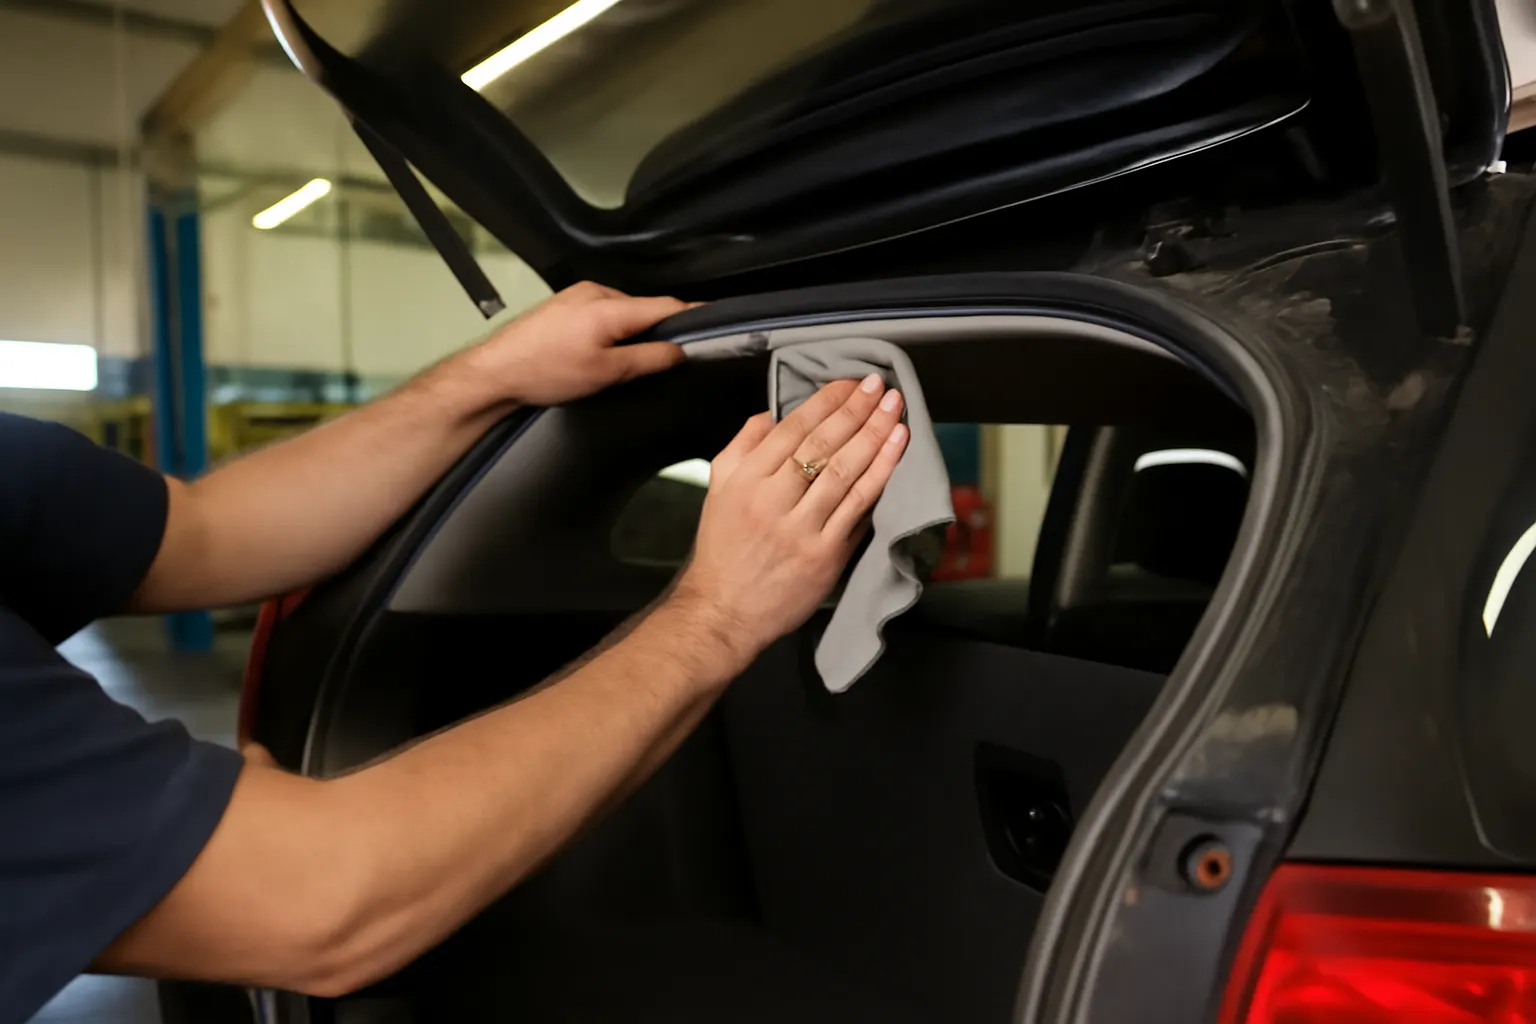
- Check for dirt or debris preventing full seal contact.
-
Inspect the Latch and Striker
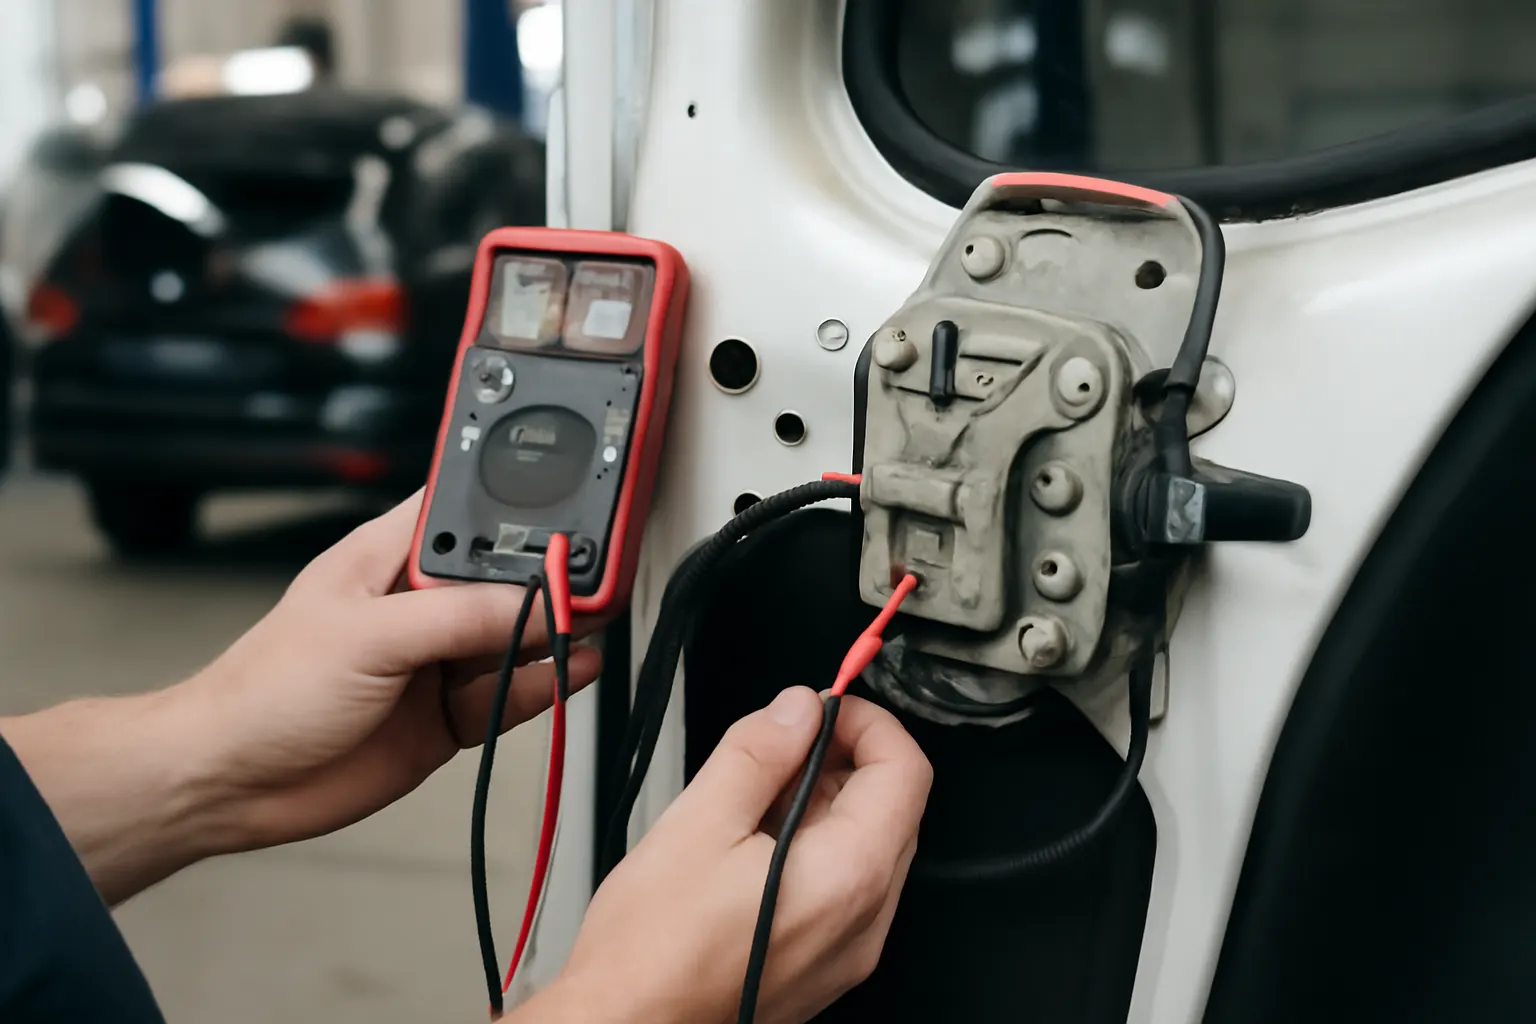
- Look for corrosion, wear, or looseness on the latch and striker plate.
- Ensure the latch pulls the door tight and that there’s uniform pressure on the seal.
-
Test Door Closure and Alignment
- Close the cargo door slowly, observing whether it seats evenly all around.
- Feel for resistance or “bounce-back,” which may indicate latch misalignment.
-
Water Hose Test
- With an assistant inside the cargo area, spray the perimeter of the closed door with water.
- Watch for drips or water trails inside—note the exact entry points.
-
Check for Hidden Entry Points
- Inspect tail light gaskets, roof seams, and body panel joints near the cargo area.
- Examine the rear window seal (if applicable).
-
Evaluate Latch Operation
- Open and close the latch several times, listening for grinding or sticking.
- Lubricate and retest; persistent roughness may indicate internal latch corrosion.
Understanding the Water Path: Where and How Leaks Happen
Most cargo area water leaks originate at one of several critical points:
- Latch/Seal Interface: The most common entry point. If the latch doesn’t compress the weather seal evenly, water can bypass the rubber gasket.
- Seal Degradation: Age, UV exposure, and chemical contamination can cause the weather seal to harden, shrink, or crack.
- Latch Corrosion: Rust or debris inside the latch can prevent full closure, creating a gap.
- Door Misalignment: Structural impacts, worn hinges, or prior repairs may leave the door out of square.
- Adjacent Component Failures: Tail light gaskets, rear window seals, and body seams can also channel water toward the cargo area.
Understanding these water paths helps you target your inspection and repairs for maximum effectiveness.
The Role of Latch Adjustment and Fitment
Proper latch adjustment is essential for both security and weatherproofing. The latch mechanism must be positioned so that, when closed, the cargo door compresses the weather seal uniformly along its entire perimeter. If the striker plate is misaligned or the latch is worn, the door may appear closed but actually leave a small gap—enough for water to enter.
Adjustment Tips:
- Most latch strikers are adjustable; loosening the mounting bolts allows you to move the striker plate slightly up, down, in, or out.
- Adjust in small increments, testing door closure and seal compression each time.
- A properly adjusted latch will require a firm, even push to close and will not rattle or flex when pressed.
If you’re unsure about making these adjustments, consult your vehicle’s service manual or seek professional help. Poor adjustment can also compromise door security and safety, as outlined by the National Highway Traffic Safety Administration.
Weather Seal Selection: Materials and Fit Matter
Not all weather seals are created equal. Modern vehicles use seals made from advanced EPDM rubber compounds, designed for resilience against UV, ozone, and temperature extremes (Materials Technologies). When replacing seals, always choose OEM or high-quality aftermarket parts that match the original profile and material.
Key Weather Seal Features:
- Correct cross-section and length to ensure full perimeter coverage
- High elasticity for consistent compression and recovery
- UV and ozone resistance to prevent premature aging
- Adhesive backing or secure mounting to prevent shifting
Incorrect or poorly fitted seals can actually worsen leaks by creating new water paths. Always clean the mounting surface thoroughly before installing a new seal.
Preventing Corrosion at the Latch and Seal Interface
Corrosion is both a cause and a consequence of cargo area leaks. Water entering through the latch zone can settle on metal surfaces, accelerating rust on the latch, striker, and even the surrounding sheet metal. Preventing corrosion involves both keeping water out and protecting vulnerable metal components.
Corrosion Prevention Steps:
- Regularly clean and lubricate the latch and striker with a suitable automotive grease or spray lubricant.
- Inspect for rust at every oil change or seasonal inspection, especially if you live in a region with road salt.
- If rust is found, clean it with a wire brush, treat with a rust converter, and repaint as needed.
- Consider using dielectric grease on electrical connectors in the cargo area to prevent moisture-related failures.
When to Replace Your Back Door Latch
Latch mechanisms are subject to wear and environmental exposure. Replace the latch if you observe any of the following:
- Difficulty opening or closing the cargo door
- Door does not stay securely closed
- Visible rust or pitting on the latch mechanism
- Grinding, sticking, or “catching” during operation
- Evidence of water leaks despite new seals and proper adjustment
Replacement latches should meet or exceed OEM specifications and comply with safety standards referenced by the National Highway Traffic Safety Administration. For advanced options, see our guide to Upgrading to Power-Operated Rear Door Latches.
Installation Tips: Getting the Best Seal from Your Latch and Weatherstripping
Proper installation is critical to leak prevention. Here’s how to ensure success:
-
Remove the Old Latch and Seal
- Carefully detach the latch and weather seal, noting their original position and mounting method.
- Clean all mounting surfaces of old adhesive and debris.
-
Inspect and Prepare the Mounting Area
- Check for rust, dents, or misalignment in the door and frame.
- Repair or treat as necessary before proceeding.
-
Install the New Weather Seal
- Dry-fit the new seal to confirm correct length and profile.
- Apply adhesive (if required) and press the seal firmly into place, ensuring no gaps or twists.
-
Install and Adjust the New Latch
- Mount the latch and striker, aligning them to factory specifications.
- Adjust incrementally for even seal compression and smooth operation.
-
Test Closure and Seal
- Close the cargo door multiple times, checking for uniform contact and no visible gaps.
- Perform the water hose test to confirm leak-free installation.
Maintenance for Longevity: Routine Checks and Seasonal Care
Regular maintenance of your back door latch and weather seals is the best defense against leaks and corrosion. Integrate these checks into your vehicle care routine:
- Inspect seals and latch at every oil change or at least twice a year.
- Clean dirt and debris from the seal area with a damp cloth.
- Lubricate the latch and striker with a silicone-based lubricant.
- Check for proper door alignment after any significant impact or repair.
- After exposure to heavy rain or a car wash, inspect the cargo area for signs of moisture.
By catching small issues early, you can prevent major water ingress and expensive repairs down the road.
The Impact of Water Leaks: Beyond Just Wet Carpets
Ignoring water leaks in your cargo area can lead to a host of problems:
- Corrosion: Water accelerates rust on body panels, latch mechanisms, and underbody components.
- Electrical Failures: Many vehicles have wiring harnesses, sensors, or control modules in the cargo area that are vulnerable to water damage.
- Mold and Odor: Persistent moisture creates an ideal environment for mold growth, leading to unpleasant odors and potential health hazards.
- Resale Value: Water damage can significantly reduce the value of your vehicle and complicate future sales.
Prevention is always more cost-effective than repair. Addressing leaks at the source—usually the latch and seal interface—protects your investment and keeps your cargo area safe and dry.
Sourcing Quality Parts: What to Look for in Latches and Seals
When sourcing replacement parts, prioritize quality, fitment, and compliance with safety standards. The right back door latch and weather seal should be:
- Designed for your specific vehicle make, model, and year
- Manufactured from corrosion-resistant materials
- Tested to meet or exceed OEM performance specifications
- Backed by a reputable supplier or manufacturer
Avoid generic or universal-fit parts, as they may not provide the precise seal or mechanical engagement required for optimal weatherproofing and security. For trusted options, explore our curated selection in the Back Door Latch Systems category.
Advanced Troubleshooting: When the Leak Won’t Go Away
If you’ve replaced the latch and seal, adjusted the striker, and still have leaks, consider these advanced troubleshooting steps:
- Check for Hidden Body Damage: Previous rear-end impacts can distort the cargo door frame, preventing a proper seal.
- Inspect Adjacent Components: Tail light assemblies, rear window seals, and roof seams may be channeling water toward the cargo area.
- Test for Capillary Action: Even tiny gaps can draw water inside by capillary action; use talcum powder or chalk to trace water paths during hose testing.
- Consult Technical Bulletins: Some vehicles have known leak issues addressed by manufacturer bulletins or recalls. Check the NHTSA recall database for your make and model.
If all else fails, a professional body shop or dealership may have specialized tools and expertise to diagnose and correct complex leak sources.
AutoPartEx: Your Partner in Cargo Area Leak Prevention
At AutoPartEx, we understand that preventing water leaks in your cargo area goes beyond swapping out parts—it’s about precision, quality, and technical know-how. Our technical editorial team curates guides, checklists, and product solutions that meet or exceed industry standards, ensuring your repairs are both effective and long-lasting.
Explore our Back Door Latch Systems: Security, Safety, and Precision Engineering page for in-depth technical content, or check out our related editorial guides like Diagnosing Rear Door Locking Issues for further troubleshooting tips.
Conclusion: Secure, Dry, and Ready for the Road
Cargo area water leaks are a nuisance that can quickly escalate into serious damage if left unchecked. By understanding the critical relationship between your back door latch, weather seals, and overall door fitment, you can diagnose, prevent, and resolve leaks before they become costly problems. Whether you’re a DIY enthusiast or a professional technician, following the steps outlined in this guide will help keep your cargo area dry, your vehicle secure, and your maintenance routine on track.
For more information on high-quality parts and technical guidance, rely on AutoPartEx—your source for precision-engineered solutions and expert support.