Advertisement
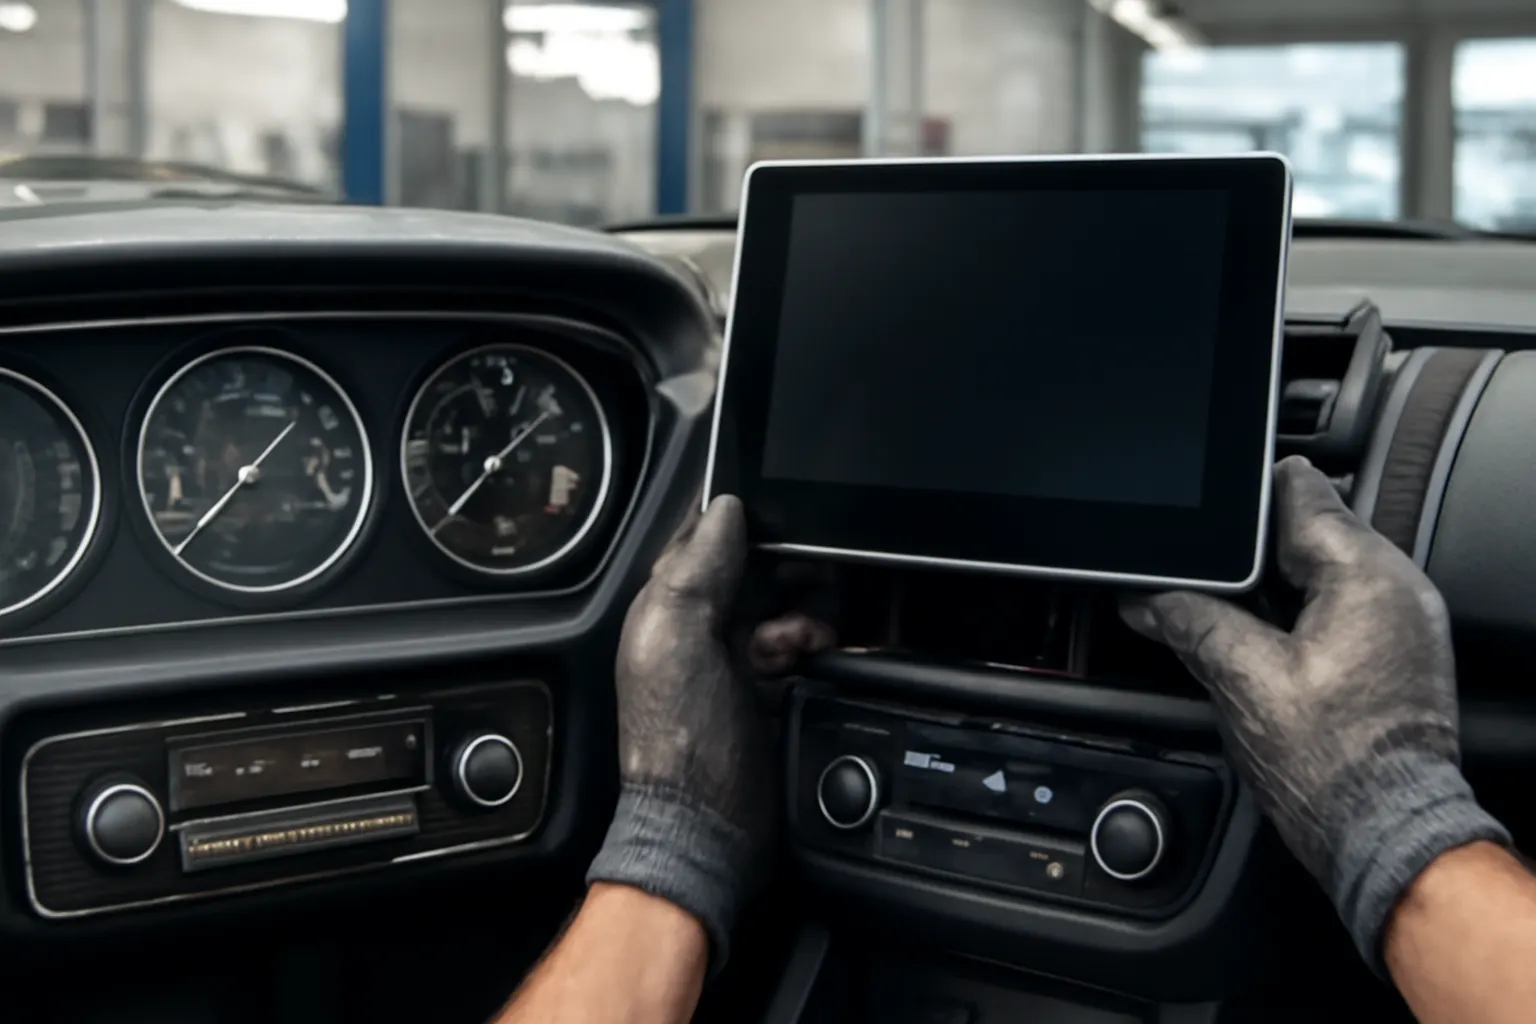
Modern vehicles have transformed the way drivers and passengers interact with their cars’ comfort systems. Today, the GPS display isn’t just a navigation aid—it’s the central hub for controlling your radio, heater, and air conditioning (AC). If your screen fails, you may lose access to these critical comfort features. In this comprehensive guide, we’ll explain how integrated screens manage your car’s comfort, what can go wrong, and how to diagnose, repair, and maintain these advanced systems.
For a broader look at display evolution and part specifics, visit our Comprehensive Guide to GPS Screens (See Also Radio or Heater/AC Control) category page.
The Immediate Answer: Integrated Screens Are Now the Command Center
Integrated screens—often called infotainment or GPS screens—have become the default interface for controlling radio, climate, and navigation systems in most new vehicles. Instead of separate knobs and switches for each function, you now access these features through a central display. This consolidation allows for sleeker dashboards, more customization, and advanced features like voice commands, app integration, and system diagnostics.
Key Comfort Functions Managed by Integrated Screens:
- Temperature setting and climate mode selection
- Fan speed and airflow direction
- Seat heating/cooling controls
- Radio, media, and Bluetooth audio
- Navigation and system settings
With one touchscreen, you can command everything from the cabin temperature to audio sources—streamlining your driving experience and reducing dashboard clutter.
The Hidden Problem: When Screens Fail, Comfort Features Disappear
While these integrated systems offer convenience, they also introduce a single point of failure. If the screen malfunctions, you may lose access to essential comfort controls—sometimes including defrost, AC, or even the radio. Unlike traditional vehicles, where you could still adjust the heater or radio manually, a failed screen can render these systems inoperable.
Symptoms of Integrated Screen Failure:
- Blank or unresponsive display
- Frozen or lagging interface
- Inability to access climate or radio menus
- Loss of touchscreen calibration
- Intermittent or total loss of control over comfort features
This vulnerability makes diagnosing and repairing screen-related issues critical for both comfort and safety, especially in extreme weather conditions.
Why Modern Vehicles Rely on Integrated Screens
The shift from physical controls to integrated screens is driven by several factors:
1. Space and Weight Optimization
By consolidating multiple control modules into a single unit, automakers reduce dashboard complexity and vehicle weight. According to the U.S. Department of Energy’s Materials Technologies, lightweighting and efficient design directly contribute to improved fuel efficiency and overall vehicle performance.
2. Advanced Feature Integration
Integrated screens support complex features—like dual-zone climate, adaptive audio profiles, and even seat massage functions—that would be cumbersome to manage with physical buttons alone.
3. Over-the-Air Updates and Diagnostics
Manufacturers can update software, add features, and even diagnose issues remotely, which is impossible with purely analog controls.
4. Safety and Ergonomics
Centralized controls can be easier to reach and operate, reducing driver distraction when designed correctly. However, poor interface design or screen failure can have the opposite effect, as outlined by the National Highway Traffic Safety Administration (NHTSA).
How Integrated Screens Interface with Vehicle Comfort Systems
Integrated screens communicate with various vehicle modules via digital networks like CAN (Controller Area Network) or LIN (Local Interconnect Network). Here’s how the system works:
1. Touch or Voice Input
The driver or passenger selects a function (e.g., temperature up, fan speed, radio station) using the touchscreen or voice command.
2. Signal Processing
The screen’s control unit translates the user input into digital signals.
3. Communication with Control Modules
These signals are sent over the vehicle’s network to the appropriate module: HVAC (Heating, Ventilation, and Air Conditioning), radio, or navigation.
4. Actuation
The module carries out the command—adjusting the blend door, starting the AC compressor, changing the radio station, etc.
Advertisement
5. Feedback and Display
The result (e.g., new temperature setting) is displayed on the screen, confirming the action.
This architecture enables complex, coordinated control but also means a failure in the screen or network can disrupt multiple systems.
Common Causes of Integrated Screen Failure
Understanding why screens fail helps you diagnose and prevent issues. The most frequent causes include:
1. Electrical or Software Faults
- Blown fuses or relays
- Faulty wiring or connectors
- Software bugs or corrupted updates
2. Physical Damage
- Cracked or broken touchscreens
- Water intrusion from leaks or spills
- Wear and tear from repeated use
3. Module or Network Failures
- Malfunctioning HVAC, radio, or body control modules
- CAN/LIN network faults causing lost communication
4. Environmental Extremes
- Overheating or freezing temperatures
- Excessive vibration or shock
When these issues occur, the integrated screen may partially or completely lose function, affecting your ability to control comfort systems.
Diagnosing Integrated Screen and Comfort Control Failures
Accurate diagnosis is essential before replacing costly components. Here’s a step-by-step checklist for troubleshooting:
Integrated Screen Failure Diagnostic Checklist
-
Check Fuses and Power Supply
- Inspect fuses related to infotainment/HVAC systems.
- Test for battery voltage at the screen’s power connector.
-
Observe Screen Behavior
- Does the screen light up at all?
- Is it stuck on a logo, blank, or flickering?
-
Test Touch and Button Response
- Try all touchscreen areas and any physical buttons.
- Note if only certain functions are lost (e.g., climate but not radio).
-
Listen for HVAC and Audio Feedback
- Does pressing climate controls trigger any noise (blower, relays)?
- Do radio or navigation functions work via steering wheel buttons?
-
Scan for Diagnostic Trouble Codes (DTCs)
- Use a scan tool to check for codes in the infotainment, HVAC, and body control modules.
- Note any communication errors or module faults.
-
Inspect for Physical Damage
- Look for cracks, water stains, or signs of impact.
- Check connectors for corrosion or loose pins.
-
Attempt a System Reset
- Cycle the ignition off/on.
- Disconnect and reconnect the vehicle battery (observe safety procedures).
-
Check for Software Updates
- Consult manufacturer resources for known software issues or recalls.
If multiple systems are affected, suspect a network or module issue. If only the screen is unresponsive, focus on the display unit and its immediate wiring.
Repair and Replacement Options
Once you’ve diagnosed the problem, you need to determine the best repair path. Options include:
1. Software Reset or Update
Many screen issues result from software glitches. A dealer or qualified technician can attempt a reset or install the latest updates.
2. Screen or Module Replacement
If the display is physically damaged or unresponsive, replacement is often necessary. You may need to replace just the screen, the control module, or both.
3. Wiring and Connector Repair
Corroded or loose connectors can cause intermittent failures. Cleaning and securing these connections may restore function.
4. Network Diagnostics
If the CAN/LIN network is at fault, tracing and repairing wiring faults is required. This is best handled by experienced technicians with access to wiring diagrams and specialized tools.
5. Aftermarket Solutions
In some cases, aftermarket replacement screens or modules are available, but compatibility and feature support may vary. For a detailed comparison, see OEM vs Aftermarket GPS Screens: What You Need to Know.
Preventative Maintenance for Integrated Screens
Proactive care can extend the life of your integrated screen and reduce the risk of failure.
Best Practices:
- Avoid spilling liquids on or near the screen.
- Use only approved cleaners—never harsh chemicals or abrasives.
- Protect the vehicle interior from extreme heat and direct sunlight.
- Regularly check for and address any warning lights or error messages.
- Keep software up to date via dealer or manufacturer-approved methods.
Advertisement
Routine inspection of the Air Box/Air Cleaner and cabin air filter can also help prevent excessive dust and debris from affecting screen and HVAC controls.
The Impact of Screen Failure on Vehicle Safety and Comfort
A failed integrated screen is more than a minor inconvenience. Loss of climate control can affect driver alertness and visibility (e.g., inability to defrost windows), while radio and navigation issues can distract drivers as they search for alternative controls.
The NHTSA’s Vehicle Safety and Equipment guidelines emphasize the importance of reliable, accessible controls for occupant safety. Manufacturers are required to meet standards for screen brightness, touch accuracy, and fail-safe behavior—but real-world failures still occur, especially as vehicles age.
Choosing the Right Replacement: OEM vs Aftermarket Screens
When replacement is necessary, you’ll need to choose between original equipment manufacturer (OEM) and aftermarket options.
OEM Screens:
- Guaranteed fit and full feature compatibility
- Covered by manufacturer warranty (when installed by authorized service)
- Generally more expensive
Aftermarket Screens:
- May offer additional features (e.g., Android Auto/Apple CarPlay upgrades)
- Lower cost, but may lack certain vehicle-specific functions
- Compatibility and quality vary by brand and model
Always verify part numbers, software compatibility, and vehicle trim level before purchasing. For guidance, consult our Comprehensive Guide to GPS Screens (See Also Radio or Heater/AC Control).
Installation Tips and Considerations
Replacing an integrated screen is not as simple as swapping a radio or HVAC knob. Here’s what to keep in mind:
Installation Steps:
- Disconnect the negative battery terminal to prevent electrical shorts.
- Carefully remove trim panels—use plastic pry tools to avoid damage.
- Unplug all connectors from the old screen/module.
- Install the new unit, ensuring all connectors are fully seated.
- Reconnect the battery and test all functions before reassembling trim.
- If required, perform system initialization or software pairing as per manufacturer instructions.
Common Pitfalls:
- Failing to disconnect the battery, risking airbag or module damage
- Damaging trim or connectors during removal
- Overlooking software version mismatches
If you’re not experienced with in-dash electronics, professional installation is recommended.
Troubleshooting Intermittent or Partial Failures
Not all screen issues are total failures. Sometimes, specific functions (like AC control or radio presets) stop working, while others remain operational.
Potential Causes:
- Partial network faults (e.g., one module not communicating)
- Software bugs affecting only certain features
- Physical wear on specific touchscreen zones
Troubleshooting Steps:
- Isolate which functions fail and when (e.g., after startup, only in hot/cold weather)
- Check for relevant error codes with a scan tool
- Attempt a hard reset (battery disconnect) to clear temporary glitches
- If only one feature is affected, consider module-specific diagnostics
For deeper diagnostic strategies, see our guide on Diagnosing Infotainment Screen Failures.
Reducing Future Risk: Design Trends and Upcoming Technologies
Automakers are responding to the challenges of integrated screens with several innovations:
- Physical Redundancy: Some models now include basic backup controls (e.g., physical knobs for temperature or volume).
- Haptic Feedback: Next-generation screens provide tactile feedback to improve usability without looking away from the road.
- Modular Design: Easier replacement of individual components (screen, control module, etc.) without replacing the entire system.
- Voice and Gesture Controls: Reducing reliance on touch input to enhance safety and accessibility.
Staying informed about these trends will help you make better decisions when maintaining, repairing, or upgrading your vehicle.
AutoPartEx: The Expert’s Choice for Integrated Screen Solutions
At AutoPartEx, we understand how critical your vehicle’s integrated screen is to comfort and safety. Our curated selection of OEM and high-quality aftermarket screens, modules, and related parts ensures you’ll find the right fit for your make and model. Our technical guides, like The Evolution of Automotive Displays: From Dials to Touchscreens, help you stay ahead of the curve.
Whether you drive an Acura, AMC, or another brand, our parts experts and support resources are here to help you diagnose, source, and install the right components—backed by industry standards and real-world experience.
References
Advertisement