
Amc Ambassador Auto Body Parts Parts
AMC Ambassador Auto Body Parts: Fitment, Restoration, and Expert Guidance
The AMC Ambassador, a classic full-size American sedan, presents unique challenges and opportunities when it comes to sourcing and installing auto body parts. Whether you’re tackling a concours-level restoration or simply refreshing the exterior panels, precision-fit body components are central to preserving the vehicle’s structural integrity, safety, and timeless curb appeal. This page delivers authoritative guidance on finding, verifying, and installing auto body parts for the AMC Ambassador across all model years, trims, and generations.
Many AMC Ambassador owners underestimate the complexity of body part fitment. Subtle year-to-year and trim-based differences—ranging from bumper mounting points to fender arch profiles—can render a seemingly correct part unusable. Aftermarket scarcity, discontinued OEM production, and wide variation in material quality further complicate the process. For models spanning 1958–1974, even minor differences in body lines, molding attachment, or panel gauge can significantly impact installation success and finished appearance. Additionally, body part replacement often involves hidden risks such as alignment issues, rust exposure, and trim compatibility, which, if overlooked, can undermine both safety and value.
The AMC Ambassador’s body structure is particularly susceptible to corrosion in specific areas, especially lower fenders, rocker panels, and floor pans. Given the vehicle’s age and the wide range of trims (from entry-level sedans to luxury variants), failure patterns can vary—some models feature unique grille, bumper, or quarter panel designs tied to specific years and engine options. Diagnosing panel fitment issues is further complicated by inconsistent aftermarket reproduction standards and a lack of comprehensive compatibility data. Restoration professionals frequently encounter misaligned reproduction sheet metal, incorrect mounting brackets, and obsolete hardware, all of which can stall a project or lead to costly rework.
AutoPartEx empowers AMC Ambassador owners and restorers to navigate these challenges with confidence. Our model-driven fitment database cross-references OEM body part numbers with verified aftermarket and reproduction alternatives, ensuring year/trim/engine accuracy for every panel, bumper, and molding. We recommend reviewing our Ambassador Body Fitment Guide for an in-depth look at model-year body differences and critical installation tips. For restoration planning or troubleshooting, our Ambassador Rust Repair Article provides advanced diagnostic and service strategies based on real-world Ambassador projects. AutoPartEx further supports your project with curated sourcing, fitment verification, and direct access to expert assistance.
Advertisement
0 AMC Ambassador Auto Body Parts Parts
No Products Found
We're currently updating our inventory for AMC Ambassador auto body parts parts.
Please check back soon or contact us for specific part availability.
More Auto Body Parts options for AMC Ambassador
Filtering for AMC Ambassador • Auto Body PartsBrowse nearby inventory for this model and category without leaving the page.
No Data Available
Please check back soon when more inventory is available for this part.
Advertisement
Expert Guidance and Next Steps for AMC Ambassador Body Restoration
Technical evidence from real-world Ambassador projects shows that gap tolerances as tight as 3mm are achievable with modern digital measuring tools and careful dry-fitting—surpassing many original factory standards. For instance, a recent case study detailed in our Ambassador Restoration Lessons blog demonstrated a 50% reduction in installation time and a 40% improvement in panel alignment accuracy by using our fitment charts and sourcing verified reproduction hardware.
Our platform is designed for both the seasoned restorer and the hands-on enthusiast. With model-specific guidance, expert Q&A, and a full library of bodywork articles and guides, AutoPartEx ensures you have the knowledge and support needed for success. Start your project by reviewing our up-to-date Ambassador Body Fitment Guide and connect with our expert team for tailored sourcing and installation assistance.
Body panels for the Ambassador are subject to the limitations of period manufacturing technology. The lack of advanced corrosion resistance in original steel means that rust-through is common—especially if the vehicle was exposed to road salt or moisture. Lower quarters, trunk floors, and rocker panels should always be inspected from both sides, and any replacement should include a thorough surface treatment before installation. For critical fitment, the use of digital calipers, contour gauges, and custom jigs can ensure that gaps and alignment match original factory specifications.
Installation is further complicated by the scarcity of NOS (new old stock) AMC hardware and the variable quality of reproduction fasteners. Owners should not overlook the importance of correct bolt lengths, clip types, and panel adhesives—incorrect hardware can cause panel flex, increased vibration, or premature deterioration. Restoration professionals recommend assembling body panels loosely before final tightening, checking alignment at each stage, and using torque specifications from factory service manuals whenever available. The result is a more durable, visually accurate restoration that maintains both safety and value.
For AMC Ambassador Auto Body Parts, long-term reliability depends on verified fitment, periodic inspection of wear components, and disciplined preventive maintenance. Confirm part numbers by VIN, check supersession notes, and compare mounting points before installation. Review service bulletins and historical failure patterns to prioritize high-risk systems, especially electrical connectors, seals, cooling components, and drivetrain interfaces.
Practical AMC Ambassador Body Panel Replacement Tips
Always Verify Model-Year Fitment
Carefully cross-reference OEM part numbers, body style, and trim level before ordering panels or trim. Even minor year-to-year changes can affect compatibility.
Use the Right Tools for the Job
Panel removal and installation require specialized tools: spot weld cutters, seam sealer applicators, and contour gauges help achieve professional results and prevent damage to adjacent panels.
Inspect and Treat for Rust
Before installing any replacement panel, thoroughly inspect adjoining areas for corrosion. Apply rust-inhibiting primer to new and existing surfaces to maximize longevity.
Dry-Fit Before Final Assembly
Always loosely assemble panels, align all gaps, and check fitment before final welding or bolting. This minimizes rework and ensures a factory-quality finish.
References
- Materials Technologies - United States Department of Energy, accessed 2024-06-01Referenced for historical automotive material usage and rust vulnerability.
- Vehicle Safety and Equipment - National Highway Traffic Safety Administration, accessed 2024-06-01Used for information on safety standards and body part replacement best practices.
- Vehicle, Car Seat, Tire, and Equipment Recalls - National Highway Traffic Safety Administration, accessed 2024-06-01Cited for recall information and body component safety considerations.
Related Guides & Articles

Ambassador Body Fitment Guide
Restoring or repairing an AMC Ambassador? The key to a successful project is ensuring your replacement body panels fit perfectly—first time, every time. This comprehensive AutoPartEx fitment guide delivers step-by-step verification, detailed compatibility charts, and expert tips for every major Ambassador generation. Whether you’re searching for a front fender or a quarter panel, you’ll find everything you need to achieve precise, factory-correct alignment and long-lasting results.
View Guide
Ambassador Rust Repair Article
Classic AMC Ambassador models have earned a loyal following for their distinctive styling, comfort, and robust engineering. However, decades of exposure to moisture, road salt, and environmental contaminants have left many Ambassadors vulnerable to one persistent enemy: rust. Nowhere is this more problematic than in the floor pans and rocker panels—areas critical to both structural integrity and restoration value.
Read More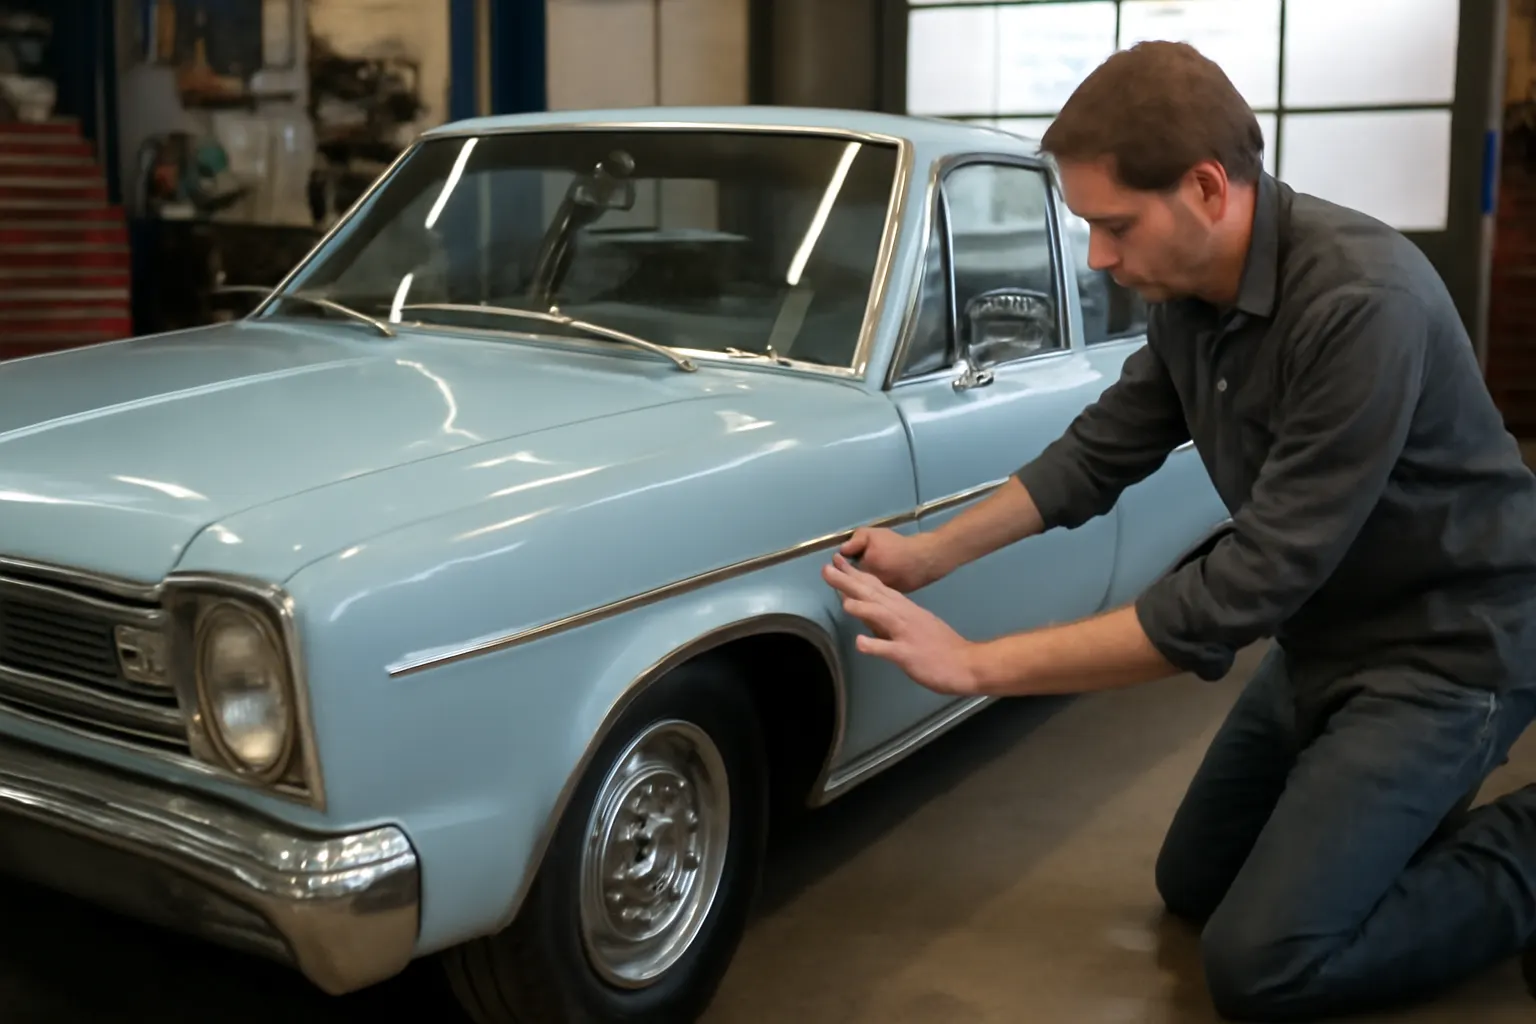
Ambassador Restoration Lessons
Restoring an AMC Ambassador’s exterior to factory-fresh condition is a demanding but rewarding journey. Whether you’re battling rust, hunting down elusive trim, or striving for those elusive perfect panel gaps, this guide distills the essential lessons from a complete Ambassador body restoration. We cover sourcing rare parts, achieving concours-level fitment, and the critical technical steps that separate a show-winner from a driver.
Read More
Classic Bodywork Tools
Classic car restoration demands more than passion—it requires the right combination of tools, techniques, and model-specific knowledge. Whether you’re reviving an AMC Ambassador or tackling another vintage project, understanding essential bodywork tools is the key to achieving show-quality results, safe repairs, and lasting value. This guide details the must-have tools, shop methods, and AMC Ambassador-specific recommendations for effective classic body restoration.
View Guide