
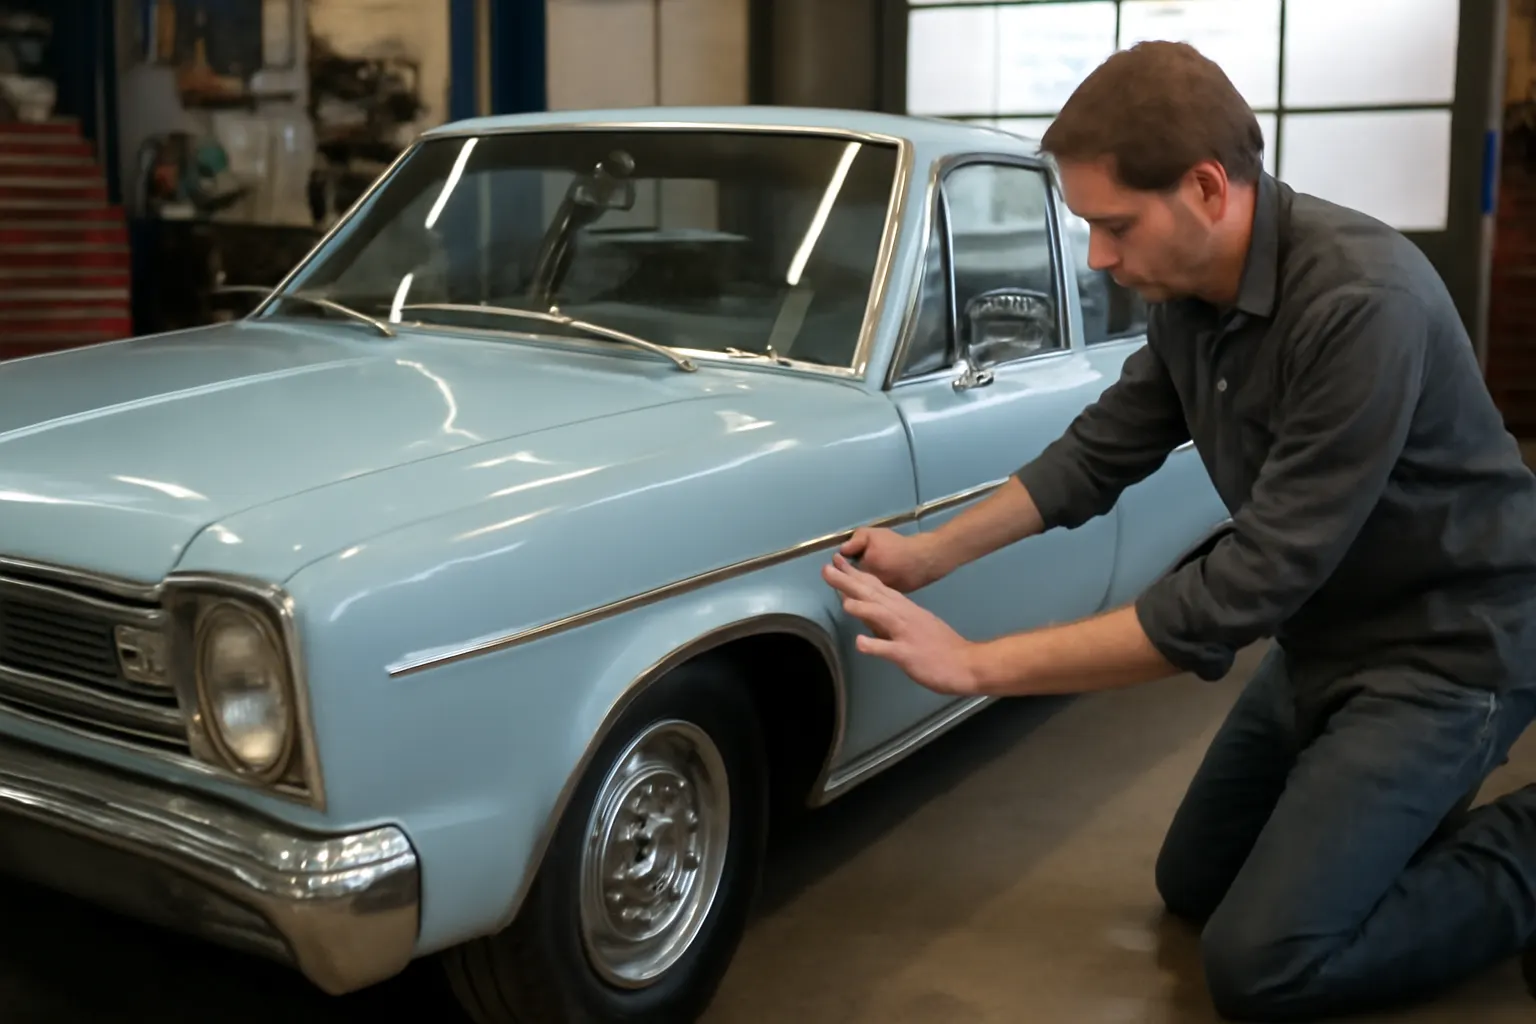
Ambassador Restoration Lessons
Restoring an AMC Ambassador’s exterior to factory-fresh condition is a demanding but rewarding journey. Whether you’re battling rust, hunting down elusive trim, or striving for those elusive perfect panel gaps, this guide distills the essential lessons from a complete Ambassador body restoration. We cover sourcing rare parts, achieving concours-level fitment, and the critical technical steps that separate a show-winner from a driver. For a detailed overview of AMC Ambassador body parts and restoration strategies, see our AMC Ambassador Auto Body Parts: Fitment, Restoration, and Expert Guidance page.
Immediate Lessons: The Fast Track to a Show-Quality AMC Ambassador Exterior
- Start with a full bodywork assessment. Use a checklist to map out all visible and hidden issues, including rust, dents, and missing or damaged trim.
- Prioritize sourcing rare trim and body panels early. These parts can have months-long lead times.
- Achieve perfect panel gaps by test-fitting panels repeatedly before paint. Don’t rely on factory tolerances—each Ambassador is unique after decades.
- Use modern materials and adhesives where appropriate, but respect original construction for value and authenticity.
- Document every step. Restoration records add value and help with future maintenance.
These are the headline lessons, but each one hides deeper technical and sourcing challenges that can derail even experienced restorers.
The Hidden Problem: AMC Ambassador Restoration Is a Game of Details
Most AMC Ambassador restorations stall not on the big jobs—like paint or rust repair—but on details: sourcing correct trim, aligning doors and hoods, and matching original materials. The Ambassador’s unique trim, variable production tolerances, and decades of repairs or damage mean there is rarely a straight bolt-on solution.
Common Restoration Pitfalls
- Trim Sourcing: Many Ambassador-specific moldings, badges, and clips are not reproduced and rarely appear in NOS (new old stock) form.
- Panel Alignment: Factory gaps were generous, but today’s standards demand precision. Warped or previously repaired panels complicate alignment.
- Material Matching: The Ambassador used a mix of steel, stainless, and aluminum. Incorrect choices can cause galvanic corrosion or fitment issues.
- Documentation Gaps: Service manuals and parts lists are often incomplete, especially for late-model Ambassadors.
Understanding these hidden challenges is essential for planning and budgeting your restoration.
Why AMC Ambassador Restoration Is Uniquely Challenging
The AMC Ambassador’s status as a classic means that body parts and trim are less available than those for “big three” contemporaries. Production numbers were lower, and aftermarket support is thinner. This scarcity affects every stage of the restoration, from initial teardown to final assembly.
The Parts Sourcing Dilemma
- Trim and Molding: Unlike Mustangs or Camaros, Ambassador-specific trim is rarely reproduced. Salvage yards, enthusiast forums, and swap meets become critical.
- Body Panels: While some panels interchange with other AMC models, many are unique to the Ambassador, especially on later years.
- Fasteners and Clips: Many are model-specific. Substitutes may not fit or may cause damage.
Fitment and Tolerance Issues
- Original Assembly: AMC’s assembly line tolerances were wider than today’s standards. Over time, previous repairs may have further altered fitment.
- Panel Gaps: Achieving modern, consistent gaps requires careful shimming, welding, and sometimes custom fabrication.
Material Technologies and Safety
Modern restoration benefits from advances in adhesives, anti-corrosion treatments, and lightweight materials. However, using incompatible materials can cause galvanic corrosion or reduce crashworthiness. Refer to Materials Technologies for in-depth background on automotive body materials.
Step-by-Step: Full Exterior Assessment
Before you buy parts or strip paint, perform a comprehensive assessment. This is the foundation for a successful project.
Exterior Restoration Checklist
| Task | Details/Tools Needed | Notes |
|---|---|---|
| Inspect body panels | Magnet, light, paint gauge | Look for filler, rust, previous repairs |
| Check trim and moldings | Visual, parts catalog, photos | List missing/damaged pieces |
| Evaluate panel gaps | Feeler gauge, tape measure | Document gaps at all doors/hood/trunk |
| Assess glass and seals | Visual, water test | Check for leaks, cracks, dry rot |
| Identify fasteners/clips | Parts list, sample fasteners | Note any non-original hardware |
| Photograph everything | Camera or phone | Shoot before/after every change |
Document your findings with photos and notes. This will guide your sourcing and repair efforts—and provide proof of work for future buyers.
Sourcing Rare Trim and Body Parts
The Ambassador’s trim is both its signature and its Achilles’ heel. Many pieces are unique to each model year, body style, or even trim level.
Strategies for Hard-to-Find Parts
- Network with Enthusiasts: AMC clubs and forums are invaluable. Members often have spares or leads.
- Salvage Yards: Focus on yards specializing in classics or AMC. Be ready to travel or pay for shipping.
- Swap Meets and Online Auctions: Set up alerts for specific part numbers or descriptions.
- Custom Fabrication: For truly unobtainable pieces, work with a metal fabricator to reproduce trim or moldings.
- Rechroming and Restoration: Damaged trim can often be straightened and rechromed or polished, preserving originality.
Verifying Fitment
Whenever possible, compare salvaged or NOS parts to your originals. AMC’s running production changes mean even “correct” parts may require tweaking. For detailed fitment guidance, see our Ambassador Body Fitment Guide.
Achieving Perfect Panel Gaps: Preparation and Technique
Factory panel gaps on 1960s–1970s American cars were generous—sometimes up to 1/4". Today’s restoration standards call for much tighter, more consistent gaps (often 3/16" or less). Achieving this requires patience and precise technique.
Process for Panel Alignment
- Test-Fit All Panels Before Paint: Bolt on doors, fenders, hood, and trunk. Shim as needed to achieve even gaps.
- Adjust Hinges and Latches: Use OEM-style shims and adjusters. Avoid over-tightening, which can warp panels.
- Check for Twists and Warps: Use straightedges and measure diagonals to detect misalignment.
- Weld or Fill as Needed: For panels that cannot be adjusted into place, consider welding up holes and redrilling for proper fit.
- Repeat After Primer: Panels can shift during bodywork. Recheck gaps after each major step.
Pro Tip
Work from the center outward: align the doors to the body, then the fenders to the doors, then the hood to the fenders. This sequence ensures the best overall fitment.
Rust Repair: Structural and Cosmetic Considerations
Rust is the number one enemy of any classic Ambassador. Addressing it requires both proper diagnostics and correct repair materials.
Diagnostic Steps
- Tap and Probe: Use a pick and light tapping to find hidden rust under paint or undercoating.
- Inspect Common Trouble Spots: Lower fenders, rocker panels, trunk floor, and windshield channels are notorious for rot.
- Remove All Affected Metal: Don’t just patch over rust—cut it out completely.
Repair Materials and Techniques
- Use OEM-Grade Steel: Match thickness and composition to factory panels to maintain strength and avoid galvanic corrosion.
- Weld, Don’t Rivet: Welding is safer and more durable. Use plug welds to mimic factory spot welds where possible.
- Protect With Modern Coatings: After repair, use epoxy primer and seam sealer to prevent future rust. For more on modern materials, see Materials Technologies.
For a deeper dive into rust repair procedures, see our Ambassador Rust Repair Article.
Material Selection: Balancing Authenticity and Performance
The Ambassador’s body uses a mix of steel, stainless, and aluminum—sometimes even within the same trim piece. Selecting the correct material is critical for fitment, longevity, and value.
Material Matching Guidelines
- Steel Panels: Use same-gauge, automotive-grade steel for repairs. Avoid mixing types (e.g., galvanized with bare steel) unless properly isolated.
- Stainless Trim: Clean and polish original pieces. If replacement is needed, ensure grain and finish match factory original.
- Aluminum Components: Handle carefully—aluminum is softer and prone to distortion.
When to Use Modern Materials
- Adhesives: Modern panel adhesives can supplement (but not replace) welds, especially for non-structural repairs.
- Sound Deadening: Use modern, lightweight materials under carpet and headliner for comfort without adding excessive weight.
Always ensure materials and adhesives are compatible to avoid corrosion or failure.
Safety and Equipment: Modern Standards for Classic Cars
While originality is prized, safety should never be compromised. Restoration offers the opportunity to upgrade certain safety-related body components.
Key Safety Upgrades
- Glass: Replace delaminated or cracked glass with modern, laminated safety glass.
- Seals and Weatherstripping: Use new, high-quality replacements to prevent leaks and wind noise.
- Lighting: Upgrade to modern bulbs or LED conversions for improved visibility, but retain original housings where possible.
Consult Vehicle Safety and Equipment for current standards and recommendations.
Fastener and Clip Sourcing: Small Parts, Big Impact
Fasteners and clips are often overlooked until assembly, leading to delays and frustration. Many AMC-specific fasteners are not reproduced.
Sourcing Tips
- Salvage and Clean Originals: When disassembling, keep and catalog every fastener. Clean and reuse where possible.
- Match by Size and Finish: If replacements are needed, match thread, length, and finish (e.g., zinc, phosphate) for both fit and originality.
- Buy in Bulk: For common sizes, purchase extras—many will be lost or damaged during restoration.
Documentation: The Restorer’s Secret Weapon
Meticulous documentation benefits both the restoration process and the vehicle’s future value.
What to Document
- Disassembly Photos: Capture every bracket, clip, and routing of wires or hoses.
- Parts Lists: Maintain a spreadsheet of every part sourced, including origin and cost.
- Work Log: Record dates, steps taken, and materials used for each repair or replacement.
Documentation is critical for troubleshooting, resale, and insurance valuation.
Tools and Techniques: Investing in the Right Equipment
Restoration success hinges on using the correct tools and techniques. Investing in quality bodywork tools pays dividends in fitment and finish.
Essential Tools Checklist
- Body Hammers and Dollies: For straightening panels and trim.
- Panel Stands and Braces: Support panels during fitting and painting.
- Feeler Gauges and Straightedges: Measure and adjust panel gaps.
- Spot Weld Cutters and MIG Welder: For rust repair and panel replacement.
- Trim Removal Tools: Prevent damage to delicate moldings.
For a detailed breakdown, see our Classic Bodywork Tools guide.
Assembly and Final Fitment: The Devil Is in the Details
Final assembly is where the quality of your preparation pays off—or where small mistakes become glaringly obvious.
Assembly Sequence
- Install Doors and Latches: Adjust for smooth operation and consistent gaps.
- Fit Fenders and Hood: Align to doors, then set hood height and gaps.
- Install Trim and Moldings: Use correct clips and avoid over-tightening.
- Seal and Test Weatherstripping: Use a water hose to check for leaks.
- Final Polish and Inspection: Address any scratches, chips, or misalignments before calling the job done.
Take your time—rushing this stage can undo months of careful work.
Maintaining Your Restored AMC Ambassador
A restored Ambassador is a joy, but maintenance is key to preserving its value and appearance.
Ongoing Care Tips
- Wash and Wax Regularly: Prevent dirt buildup and protect finishes.
- Inspect for Rust: Especially after wet weather or winter storage.
- Check Trim and Moldings: Re-tighten loose pieces and replace missing clips.
- Store Indoors: If possible, keep the car in a dry, climate-controlled garage.
Regular maintenance prevents small issues from becoming major repairs.
AutoPartEx: Your Partner in AMC Ambassador Restoration
Restoring an AMC Ambassador is a labor of love that rewards patience, research, and craftsmanship. AutoPartEx is dedicated to supporting restorers with expert guidance, fitment resources, and a curated selection of quality parts. Whether you’re tracking down rare trim, seeking technical advice, or comparing restoration strategies, our platform connects you with the knowledge and parts you need for success.
For a comprehensive overview of available parts, restoration tips, and fitment data, visit our AMC Ambassador Auto Body Parts: Fitment, Restoration, and Expert Guidance page.
Taking the Next Step: Expert Action
Ready to begin or advance your AMC Ambassador restoration? Start with a detailed assessment, build your sourcing network, and invest in quality tools and documentation. Refer to our related guides, including the Ambassador Body Fitment Guide, for in-depth technical procedures. If you encounter a stubborn issue—from elusive trim to tricky panel alignment—reach out to the AutoPartEx community for expert support. With the right approach and resources, your Ambassador can be restored to a standard that exceeds even its original showroom glory.