Advertisement
Toyota Tacoma Frame Rail Restoration
Restoring a collision-damaged Toyota Tacoma frame rail is not only possible—it can return your truck to factory safety and performance standards if done with the right parts and procedures. In this real-world case report, we walk through the complete process of Tacoma frame rail restoration using genuine Toyota OEM rails and factory-correct techniques. Whether you’re a collision repair professional, an advanced DIYer, or a Tacoma owner researching repair options, this guide delivers the technical depth, sourcing strategy, and practical steps you need for a successful frame rail restoration.
For readers seeking comprehensive information on Toyota frame rail fitment, technical guidance, and sourcing, refer to our parent category: Toyota Frame Upper & Lower Rails: Genuine Fitment, Technical Guidance & Sourcing.
Immediate Answer: Can a Tacoma's Frame Rail Be Properly Restored?
Yes—using OEM Toyota frame rails, precise diagnostics, and adherence to factory procedures, a collision-damaged Tacoma can be safely and effectively restored. When performed correctly, frame rail replacement restores structural integrity, crash energy management, and original ride characteristics. The process involves careful assessment, sourcing correct parts, following manufacturer guidelines, and post-repair verification.
The Hidden Problem: Why Frame Rail Damage Is Often Underestimated
Frame rail damage on a Toyota Tacoma (or any modern truck) is rarely superficial. Even a moderate collision can introduce subtle misalignments, hidden cracks, or metallurgical changes in the frame rails that escape initial visual inspection. Many repair shops or owners may focus on visible deformations, overlooking critical structural and safety issues beneath the surface. This underestimation can compromise crash safety, handling, and even fuel efficiency over the long term.
Expanding the Problem: Frame Rail Complexity and Its Impact
The Role of Frame Rails in Tacoma Safety and Performance
Frame rails are the backbone of the Tacoma’s ladder frame architecture, providing structural rigidity, crash energy dissipation, and mounting points for suspension, drivetrain, and body components. Modern Toyota frame rails are engineered with advanced materials and specific geometries to meet stringent safety, performance, and fuel efficiency standards (DOE Materials Technologies, NHTSA Equipment).
Why Simple Straightening Isn’t Enough
Attempting to “straighten” a bent frame rail with heat or brute force can compromise the rail’s metallurgy, introduce microcracks, and violate manufacturer safety standards. Without OEM replacement and proper sectioning, the repaired area may not behave as designed in a subsequent collision—potentially endangering occupants and failing to meet SAE Standards for automotive structural repair.
Deep Dive: Anatomy of a Tacoma Frame Rail
Material Composition and Evolution
Toyota Tacoma frame rails are typically constructed from high-strength, low-alloy (HSLA) steel, sometimes incorporating tailored blanks or hydroformed sections for optimal strength-to-weight ratio. These materials are chosen to maximize crashworthiness while minimizing weight, directly impacting fuel efficiency and durability (DOE Fuel Efficiency). For more on the evolution of Toyota frame materials, see Toyota Frame Materials Evolution.
Upper vs. Lower Rails
The Tacoma’s frame comprises upper and lower rails, each with unique roles:
- Upper Rails: Often provide mounting points for body and cab, absorb vertical loads, and contribute to torsional stiffness.
- Lower Rails: Support the drivetrain, suspension, and absorb longitudinal (front/rear) crash forces.
Understanding this distinction is critical when diagnosing damage and selecting replacement parts.
Step-by-Step Diagnostic Process: Identifying Frame Rail Damage
Before any restoration begins, a thorough diagnostic is essential. Here’s a proven checklist:
Advertisement
Tacoma Frame Rail Damage Diagnostic Checklist
- Visual Inspection
- Look for kinks, bends, cracks, and deformation along the rails.
- Inspect weld seams for separation or stress marks.
- Measurement and Squaring
- Use a tram gauge or computerized frame measuring system.
- Compare measurements to Toyota service manual specifications.
- Paint and Coating Disruption
- Check for cracked or wrinkled paint, which can indicate underlying stress.
- Fastener and Mounting Point Alignment
- Ensure suspension, body, and drivetrain mounts line up correctly.
- Hidden Corrosion
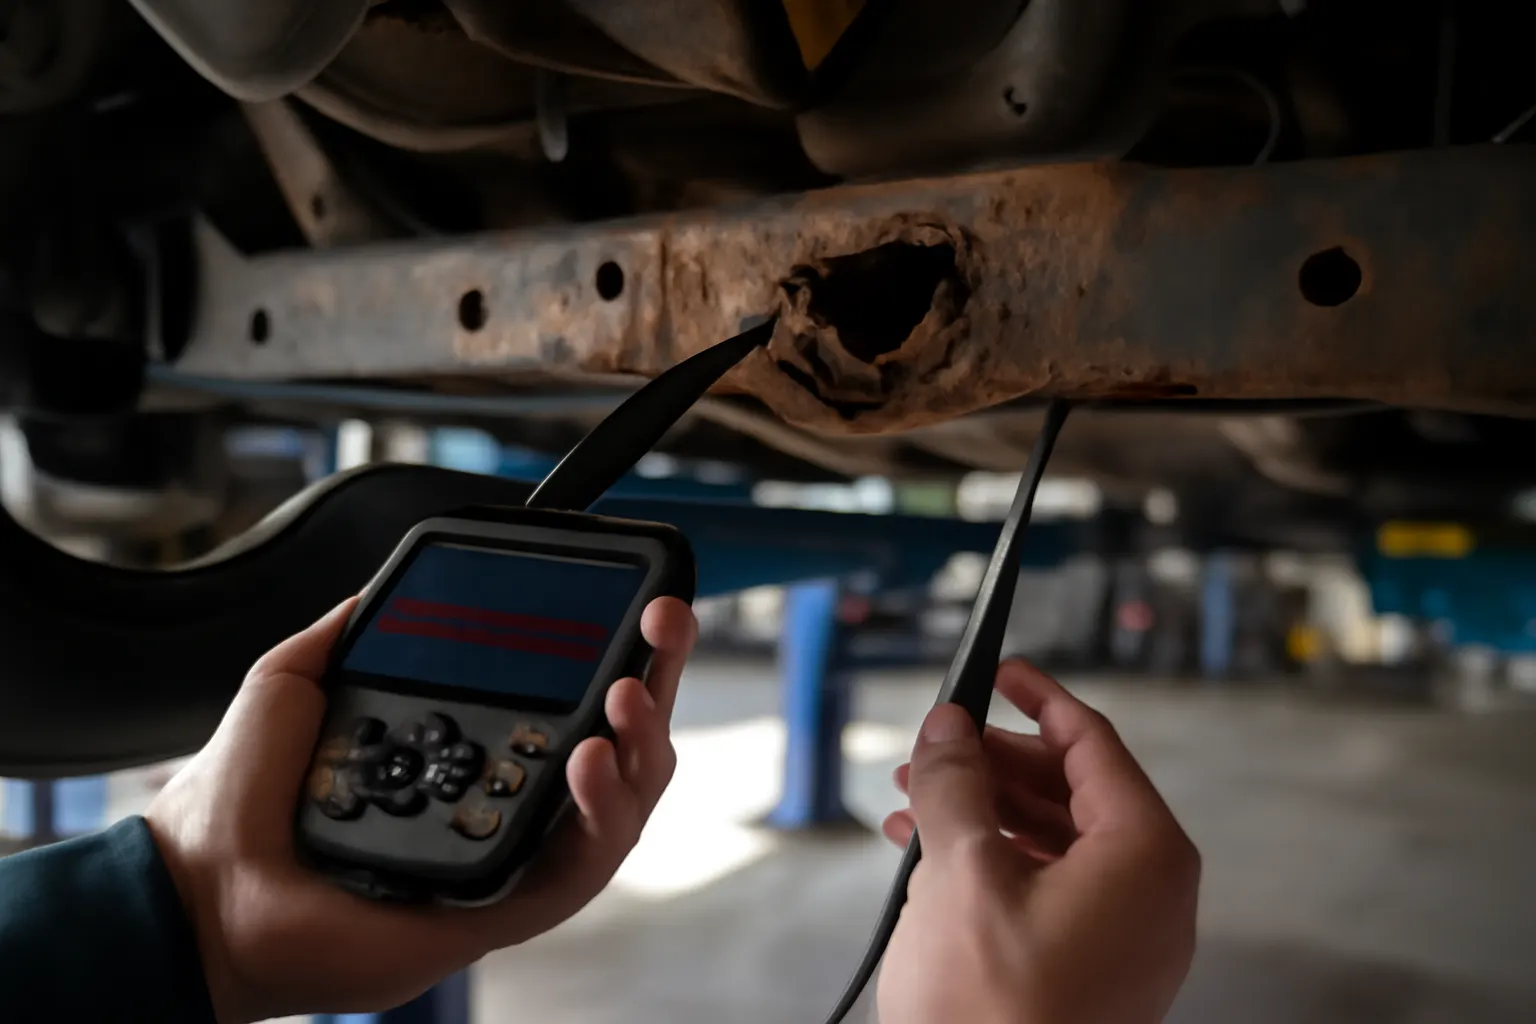
- Probe inside boxed sections for rust or water intrusion.
- Safety System Integration
- Inspect areas near airbag sensors and crumple zones for hidden compromise.
If you need more detail on frame rail diagnostics, see our guide: Toyota Frame Rail Diagnostics.
Sourcing Genuine OEM Toyota Frame Rails
Why Only Genuine Parts Will Do
Aftermarket or “universal fit” rails may not match the original material grade, geometry, or weld points of OEM Toyota rails. Only genuine Toyota frame rails guarantee:
- Factory-correct metallurgical properties.
- Precise fitment for bolt-on and weld-in applications.
- Full compatibility with crash management systems and sensors.
- Compliance with NHTSA safety equipment standards.
Navigating Parts Supersession and Model Year Variations
Toyota periodically updates part numbers and supersedes older rails with improved designs. Always cross-reference your Tacoma’s VIN and build date against the latest Toyota parts catalog. For help with supersession, consult our Toyota Rails Supersession Guide.
Where to Buy
- Toyota Dealership Parts Departments
- Authorized OEM Parts Distributors
- Reputable Online Platforms Specializing in Toyota OEM Parts
Be wary of used rails from salvage yards—hidden stress or corrosion can make them unsafe for reuse.
Factory-Approved Frame Rail Replacement Procedures
Sectioning vs. Full Rail Replacement
- Sectioning: Cutting and replacing only the damaged portion, as permitted by Toyota’s repair manual. Requires precise cutting, alignment, and welding.
- Full Rail Replacement: Removing and replacing the entire rail. Needed for extensive or complex damage.
Key Procedure Steps (Generalized for Tacoma)
- De-energize Safety Systems
- Disconnect battery and follow airbag sensor safety protocols.
- Body and Drivetrain Removal
- Remove components obstructing rail access, such as suspension, steering, and wiring harnesses.
- Cutting and Preparing the Frame
- Use manufacturer-specified locations and tools for sectioning.
- Deburr and treat cut edges to prevent future corrosion.
- Mock-Up and Alignment
- Temporarily fit the new rail; verify all measurements before welding.
- Use factory jigs or precision measuring systems.
- Welding
- Employ correct weld type (MIG, spot, or plug welds) per Toyota’s guidelines.
- Avoid excessive heat input to preserve steel properties.
- Corrosion Protection
- Apply factory-equivalent primers, seam sealers, and cavity waxes.
- Reassembly and Torque Specs
- Reinstall all components to Toyota torque specifications.
Post-Repair Verification: Ensuring Structural Integrity
Critical Post-Restoration Checks
- Dimensional Verification: Confirm all frame dimensions match factory specs using a frame bench or laser measuring system.
- Wheel Alignment: Ensure suspension geometry is correct to prevent abnormal tire wear and handling issues.
- Safety System Function: Test airbag sensors, seatbelt pre-tensioners, and crash data modules.
- Road Test: Listen for unusual noises, vibrations, or steering pull.
A thorough verification process is mandatory for both safety and long-term durability.
Common Pitfalls and How to Avoid Them
Pitfall 1: Inadequate Diagnosis
Missing hidden frame distortion can lead to recurring alignment issues or safety system malfunctions. Always use both visual and measuring tools.
Pitfall 2: Non-OEM Parts
Using non-genuine rails may result in poor fitment, unpredictable crash behavior, and regulatory non-compliance.
Pitfall 3: Improper Welding
Overheating or incorrect welds can weaken the frame and void the repair’s structural integrity.
Pitfall 4: Skipping Corrosion Protection
Neglecting rustproofing steps can cause premature frame failure, especially in northern climates or off-road environments.
Advanced Technical Considerations
Metallurgy and Heat-Affected Zones
Tacoma frame rails are engineered with specific heat treatments to balance strength and ductility. Welding or heating outside recommended procedures can create brittle zones, reducing crashworthiness (DOE Materials Technologies).
Advertisement
Integration with Modern Safety Systems
Modern Tacomas incorporate sensors and crumple zones into frame rails. Incorrect rail geometry or sensor misalignment can prevent airbags from deploying correctly or alter crash energy pathways (NHTSA Equipment).
Fuel Efficiency Implications
A poorly restored frame rail can introduce alignment drag or increase weight, negatively affecting fuel economy (DOE Fuel Efficiency).
Maintenance and Longevity After Frame Rail Restoration
Post-Restoration Maintenance Checklist
- Inspect Welds Annually: Look for rust, cracks, or separation.
- Monitor for Unusual Alignment Wear: Have wheel alignment checked every 12,000 miles.
- Wash Frame Regularly: Especially after driving on salted roads or off-road.
- Reapply Cavity Wax: Every 2–3 years to maintain rust protection.
- Document All Repairs: For future resale value and warranty support.
Proper post-repair care can extend the life of your Tacoma and maintain its resale value.
Sourcing and Fitment: Practical Buying Guidance
How to Identify the Correct Frame Rail Part Number
- VIN Lookup: Use your Tacoma’s VIN with the Toyota EPC (Electronic Parts Catalog).
- Year, Cab, and Bed Configuration: Ensure the rail matches your truck’s wheelbase and body style.
- Supersession Awareness: Confirm if your rail has been updated or replaced by a newer part number.
Questions to Ask Your Supplier
- Is this a genuine Toyota part with full traceability?
- Does it include all necessary brackets and mounting points?
- Has it been stored in a dry, rust-free environment?
- What is the return policy if the part doesn’t fit?
Fitment Verification Steps
- Dry Fit: Before welding, temporarily bolt or clamp the rail in place.
- Check All Mounts: Body, suspension, and bumper brackets must align.
- Measure Twice: Confirm overall length, width, and hole placement.
Professional vs. DIY Restoration: Who Should Attempt This Repair?
Professional Shop Requirements
- Access to frame benches, laser measuring systems, and certified welders.
- Familiarity with Toyota’s collision repair manuals and up-to-date training.
- Ability to document repairs for insurance and resale purposes.
Advanced DIY Considerations
- Only attempt if you have advanced welding skills and proper equipment.
- Must be able to interpret Toyota technical documentation.
- Understand that improper repairs may void insurance or reduce safety.
For most owners, professional restoration is the safest and most reliable path.
The AutoPartEx Advantage: Expert Guidance and OEM Sourcing
At AutoPartEx, we specialize in technical guidance and genuine fitment solutions for Toyota frame rails. Our expert team provides:
- VIN-based OEM parts lookup.
- Step-by-step technical support for diagnostics and installation.
- Sourcing assistance for hard-to-find rails and superseded part numbers.
- Access to authoritative resources on Toyota frame design, materials, and repair.
Explore more about Toyota frame rail sourcing, technical documentation, and fitment at Toyota Frame Upper & Lower Rails: Genuine Fitment, Technical Guidance & Sourcing.
Related Reading and Resources
- Toyota Frame Rail Diagnostics: Detailed diagnostic procedures and tool recommendations.
- Toyota Frame Materials Evolution: In-depth look at materials innovation in Toyota frames.
- Toyota Rails Supersession Guide: How to navigate part number changes and fitment updates.
Expert Action: Ensuring a Safe and Durable Tacoma Restoration
To restore a collision-damaged Tacoma to its original safety and performance standards:
- Diagnose thoroughly using both visual and measurement techniques.
- Source only genuine OEM Toyota frame rails, referencing VIN and model configuration.
- Follow factory repair procedures for sectioning, welding, and corrosion protection.
- Verify all dimensions, safety systems, and alignment post-repair.
- Maintain the repaired area for long-term durability.
When in doubt, consult with a Toyota-certified collision repair facility or leverage AutoPartEx’s technical resources to ensure the job is done right. Your Tacoma—and its occupants—deserve nothing less than a restoration to factory standards.
References
Advertisement