Advertisement
Replacing the exhaust pipe on a Toyota Prius presents unique challenges and opportunities for both DIYers and professional technicians. This comprehensive field report delivers a step-by-step guide to diagnosing, sourcing, and installing a new exhaust pipe on a Prius, with hybrid-specific insights and a focus on real-world service conditions. If you’re looking for a practical, technically accurate approach to Prius exhaust service—one that respects both Toyota engineering and the nuances of hybrid drivetrains—this is your essential resource.
For broader context on Toyota exhaust system fitment, common failure patterns, and service solutions, visit our Toyota Exhaust Pipe: OEM Fitment, Failure Patterns, and Service Solutions category page. This report builds on those fundamentals with Prius-specific insights and field-tested procedures.
Immediate Answer: Prius Exhaust Pipe Service in the Real World
The Toyota Prius, with its hybrid powertrain and lightweight construction, demands a tailored approach to exhaust service. Replacement is more than a routine swap—attention to hybrid safety, part compatibility, and emissions system integrity is critical. The most common issues leading to Prius exhaust pipe replacement include corrosion (especially in humid or salted-road regions), cracked flanges, and damage from road debris.
A successful repair hinges on:
- Accurate diagnosis of exhaust leaks or failures
- Sourcing the correct OEM or equivalent pipe (paying close attention to model year and emissions configuration)
- Careful installation with hybrid safety protocols
- Ensuring all sensors and heat shields are properly reinstalled
Hybrid-specific challenges—such as the presence of high-voltage wiring and unique underbody layouts—make it imperative to follow a Prius-focused checklist. This field report delivers those details and more.
Hidden Problem: Prius Exhaust Replacement Is Not Like Other Toyotas
While the Prius shares some underbody architecture with other Toyota models, its hybrid drivetrain introduces several hidden complexities:
- High-voltage cables: The undercarriage contains orange high-voltage wiring that runs near the exhaust tunnel. Careless tool use can damage insulation or cause arcing.
- Battery cooling ducts: The exhaust system routes close to air ducts that serve the hybrid battery. Misalignment or heat shield omission can affect battery performance or longevity.
- Sensor integration: Prius models (especially from the second generation onward) use multiple oxygen sensors and, in some cases, temperature sensors that must be reinstalled precisely.
- Weight-saving materials: Many Prius exhaust components use thinner-gauge stainless steel for weight reduction, making them more prone to corrosion and requiring gentle handling during removal and installation.
Ignoring these factors can lead to safety risks, emissions failures, or premature part wear. Even experienced Toyota technicians may overlook hybrid-specific vulnerabilities if they approach Prius exhaust service as a generic job.
Problem Expansion: Why Prius Exhaust Pipes Fail and What’s at Stake
Common Failure Patterns
The Prius exhaust pipe is subject to the same environmental and mechanical stresses as conventional vehicles, but its lightweight materials and frequent stop-start operation contribute to unique failure modes:
- Corrosion: Prius exhaust pipes, often constructed from thin stainless or aluminized steel, are vulnerable to rust, especially in regions with salted winter roads or high humidity. The catalytic converter’s heat cycles can accelerate corrosion at welds and flanges.
- Road Damage: The low ride height and underbody aerodynamics increase the risk of physical impacts from debris, road hazards, or improper jacking.
- Flange and Gasket Leaks: The exhaust system uses multiple flanged joints with gaskets that can degrade over time, causing leaks that may trigger check engine lights or emissions test failures.
- Sensor Issues: Faulty or poorly reinstalled oxygen sensors can cause drivability issues, reduced fuel efficiency, or persistent diagnostic trouble codes (DTCs).
Consequences of Neglect
Failing to address Prius exhaust system issues can lead to:
- Decreased fuel efficiency: Even minor leaks disrupt oxygen sensor readings, prompting the hybrid control system to alter fuel trim and reduce overall efficiency (DOE Fuel Efficiency).
- Emissions test failures: Exhaust leaks or sensor faults will often result in failed state inspections.
- Safety risks: Hot exhaust gases leaking near high-voltage wiring or battery ducts can create fire hazards or damage sensitive components.
- Noise and vibration: Broken or loose pipes cause excessive noise, vibration, and harshness (NVH), undermining Prius’s trademark smoothness.
Advertisement
Diagnostic Approach: Confirming Prius Exhaust Pipe Failures
A systematic diagnostic process ensures accurate identification of Prius exhaust pipe problems:
Step 1: Visual Inspection
- Inspect the entire exhaust run from the manifold to the tailpipe, focusing on pipe sections, flanges, hangers, and heat shields.
- Use a bright LED inspection light and a mirror to check the tops of pipes and hidden flanges.
- Look for rust perforation, black soot marks (indicative of leaks), and missing or damaged heat shields.
Step 2: Listen and Feel
- With the engine running (in maintenance mode to keep the engine on), listen for ticking, hissing, or rumbling noises from beneath the car.
- Feel for escaping exhaust gases near joints and suspect areas, taking care to avoid burns.
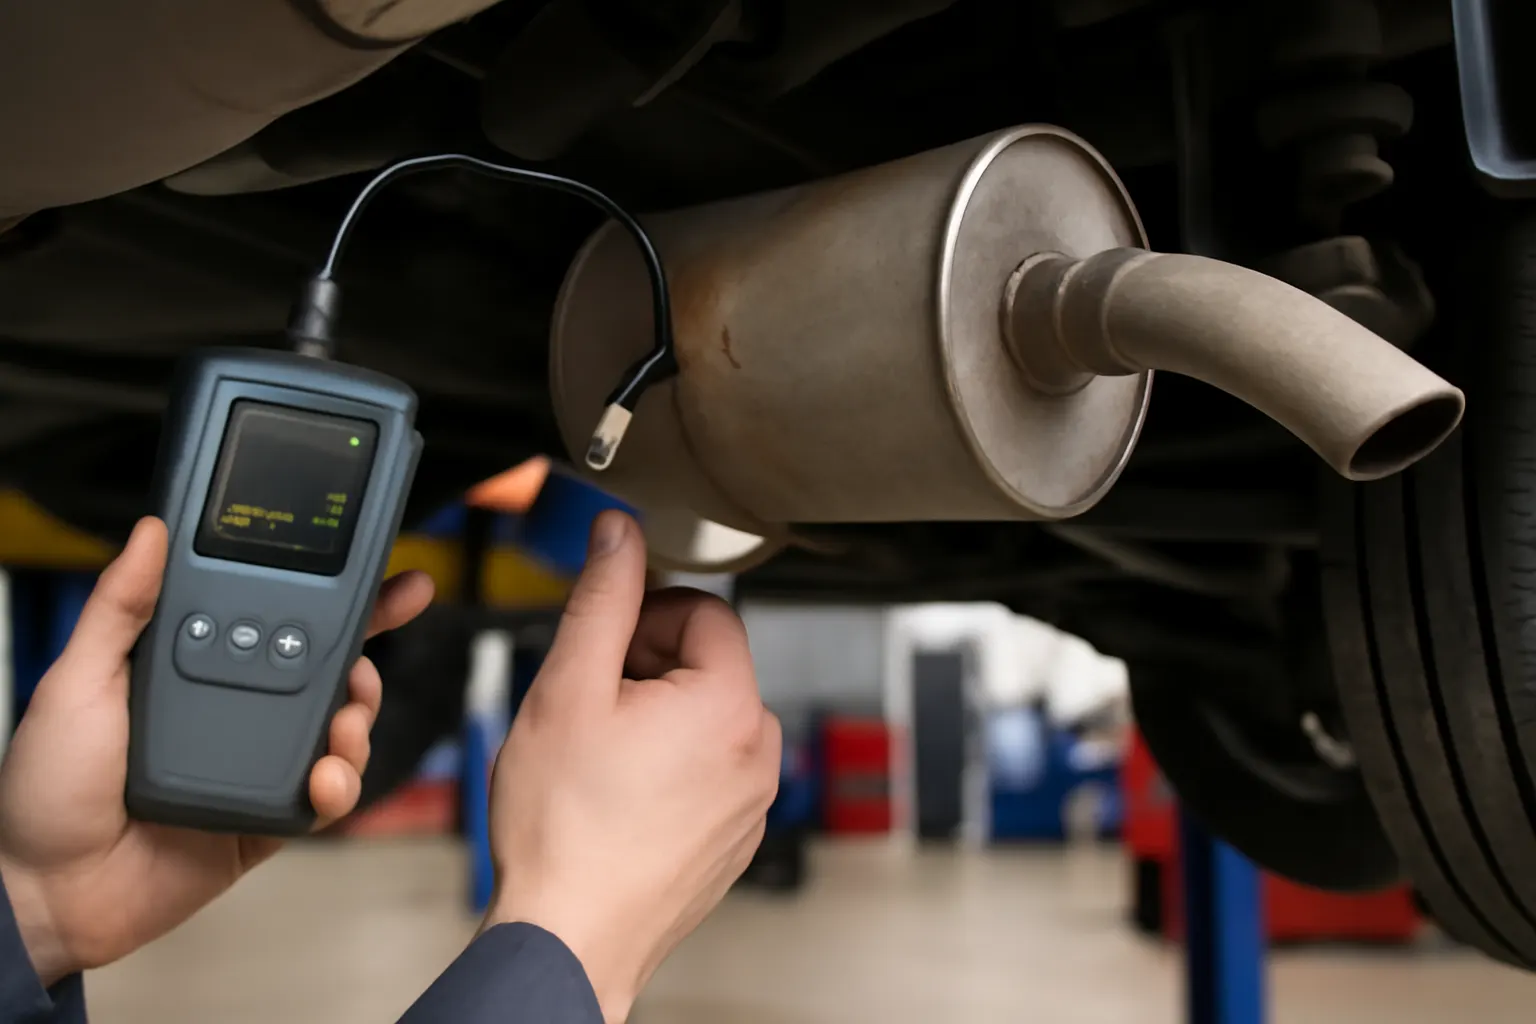
Step 3: Emissions and Sensor Check
- Scan for DTCs related to oxygen sensors, catalytic efficiency, or exhaust temperature.
- Observe short- and long-term fuel trim values—excessive correction may indicate leaks upstream of the O2 sensors.
Step 4: Underbody Safety Check
- Visually confirm the routing of high-voltage cables and battery ducts before planning any removal.
For a deeper dive into Toyota exhaust leak diagnostics, consult our Toyota Exhaust Leak Diagnostics guide.
Sourcing the Correct Prius Exhaust Pipe: OEM vs. Aftermarket
Model Year and Emissions Configuration
Toyota Prius exhaust systems vary significantly by model year, trim, and emissions equipment (e.g., California vs. Federal emissions). Key points to verify:
- Generation: First (2001–2003), second (2004–2009), third (2010–2015), and fourth generation (2016+) each use unique pipe layouts and sensor placements.
- Catalytic Converter Integration: Many Prius exhaust pipes are welded to the catalytic converter, requiring replacement of both as a unit.
- Sensor Ports: Confirm the number and location of O2 sensor bungs and any additional sensor ports.
OEM vs. Aftermarket Choices
- OEM Pipes: Ensure fitment and material quality, typically matching the original’s corrosion resistance and sensor placement.
- Aftermarket Pipes: Often less expensive, but may require modifying hangers, heat shields, or sensor locations. Choose reputable brands that meet or exceed SAE standards (SAE Standards).
Materials and Longevity
- Stainless Steel: Standard on most Prius models, balancing weight and corrosion resistance. Review our Toyota Exhaust Materials Overview for in-depth material performance insights.
- Aluminized Steel: Cheaper, but less durable—best for short-term repairs or vehicles in dry climates.
Hybrid Safety Protocols: Working Safely Around High Voltage
Before beginning any Prius exhaust work, follow these essential safety steps:
- Power Down the Hybrid System: Turn off the ignition and remove the key or fob from the work area.
- Disconnect the 12V Battery: Prevents accidental hybrid system activation.
- Identify High-Voltage Components: Locate orange cables and battery cooling ducts—never pry, cut, or strike near these.
- Allow Cool-Down: Exhaust components and catalytic converters may remain hot for over an hour after shutdown.
- Elevate Securely: Use properly rated jack stands or a lift; never trust a scissor jack for underbody work.
Failure to observe hybrid safety can result in electrical shock, fire, or costly component damage. Always consult Toyota service information for model-specific precautions.
Removal Checklist: Taking Out a Prius Exhaust Pipe
Use this checklist to ensure a safe and thorough exhaust pipe removal:
| Step | Action | Notes |
|---|---|---|
| 1 | Raise vehicle securely | Use ramps or lift; chock wheels |
| 2 | Disconnect 12V battery | Isolate hybrid system |
| 3 | Allow exhaust to cool | Prevent burns |
| 4 | Spray all fasteners with penetrating oil | Focus on flange bolts, hangers |
| 5 | Remove heat shields as needed | Use care to avoid bending |
| 6 | Disconnect O2 sensors | Mark locations for reinstallation |
| 7 | Unbolt flanges and hangers | Support pipe to prevent damage |
| 8 | Remove old pipe/catalytic converter assembly | Inspect for hidden damage |
| 9 | Clean mating surfaces | Remove old gasket material, rust |
This systematic approach reduces the risk of damaging sensitive components or missing hidden fasteners.
Installation Insights: Hybrid-Specific Considerations
Installing a new Prius exhaust pipe requires extra diligence compared to conventional models:
Advertisement
- Gasket and Flange Integrity: Always use new, high-quality gaskets. Torque flange bolts to Toyota specifications to prevent leaks.
- Sensor Reinstallation: Carefully reinstall O2 sensors using anti-seize on threads (avoid contaminating sensor tips). Ensure each sensor is in the correct port.
- Heat Shield Placement: Prius heat shields often double as battery duct protection. Reinstall all shields correctly to prevent overheating or noise.
- Pipe Alignment: Double-check that the new pipe clears all high-voltage cables and battery ducts. Misalignment can cause rattles, wire abrasion, or heat damage.
- Test for Leaks: After installation, start the engine and check for leaks using soapy water at each joint.
Hybrid-specific diligence pays off in long-term reliability and safety.
Post-Service Validation: Ensuring a Quality Repair
After installation, complete these validation steps:
- Double-Check Fasteners: Verify all flanges, hangers, and heat shields are tight and secure.
- Sensor Function: Use a scan tool to monitor O2 sensor operation and confirm no DTCs are present.
- Hybrid System Check: Confirm the vehicle starts and transitions between engine and electric drive normally.
- Road Test: Listen for unusual noises, rattles, or vibrations. Monitor for check engine lights or abnormal fuel economy.
- Final Inspection: Recheck all underbody work for tool marks, misplaced shields, or damaged wiring.
A methodical post-service check ensures both emissions compliance and hybrid system integrity (NHTSA Vehicle Safety and Equipment).
Maintenance Tips: Maximizing Prius Exhaust Longevity
Preventative measures can greatly extend the life of your Prius exhaust system:
- Wash the Undercarriage: Especially after winter or exposure to road salt, to prevent corrosion.
- Inspect Annually: Look for rust, loose hangers, or damaged heat shields during routine maintenance.
- Address Leaks Early: Small leaks can quickly worsen or damage sensors.
- Use Quality Fuel: Reduces soot and acid buildup in the exhaust.
- Avoid Deep Puddles: Rapid cooling can crack hot pipes or welds.
Routine attention to these details can delay the need for major repairs and preserve fuel efficiency (DOE Fuel Efficiency).
Buying Guidance: Selecting the Right Prius Exhaust Pipe
When sourcing a replacement pipe, keep these buying tips in mind:
Advertisement
- Verify Fitment: Use VIN or detailed model/year/trim lookup to avoid ordering the wrong part.
- Check Emissions Label: California (CARB) and Federal emissions systems may use different part numbers.
- Consider Warranty: Reputable suppliers offer warranties that match or exceed OEM standards.
- Review Material Specs: Opt for stainless steel in harsh climates for maximum longevity.
- Compare Price vs. Quality: The cheapest option may lack proper heat shields or sensor bungs—factor in total installation cost.
For a deeper understanding of Toyota exhaust part supersession and cross-referencing, see our Toyota Exhaust Supersession Guide.
Advanced Troubleshooting: Addressing Persistent Issues
If you encounter ongoing issues after a Prius exhaust replacement, consider these advanced diagnostics:
- Persistent DTCs: Double-check sensor wiring, connector seating, and sensor order. Swapped O2 sensors are a common cause of repeated codes.
- Noise or Vibration: Inspect for misaligned pipe sections, missing isolator bushings, or contact with underbody panels.
- Emissions Test Failures: Confirm that all exhaust joints are leak-free and that the catalytic converter is functioning. Use a scan tool to check catalyst efficiency monitors.
- Hybrid System Errors: Ensure no high-voltage cables or battery ducts were disturbed during exhaust work.
Chronic problems often trace back to installation oversights—systematic troubleshooting is key.
Field-Tested Tips: What Experienced Prius Techs Know
- Heat Shield Rattles: Prius heat shields are thin and easily bent. Use wide washers or specialty fasteners if the original hardware is corroded.
- Sensor Thread Repair: If a sensor bung is stripped, use a thread chaser or install a thread repair insert—never force a sensor.
- Rusty Flange Bolts: If bolts snap, use a torch or induction heater to free them, or drill out and replace with new hardware.
- Catalytic Converter Theft: If replacing after theft, consider a shield or cage to deter future incidents.
These practical insights can save hours of frustration and ensure a professional result.
AutoPartEx Positioning: Your Toyota Prius Exhaust Resource
AutoPartEx delivers the most comprehensive, field-tested guidance for Toyota Prius exhaust service. Whether you’re a professional technician or a dedicated DIYer, our platform combines verified technical standards, real-world repair data, and model-specific insights. For a broader look at Toyota exhaust system fitment, failure patterns, and service solutions, visit our Toyota Exhaust Pipe: OEM Fitment, Failure Patterns, and Service Solutions hub.
Our editorial team leverages industry standards, OEM documentation, and direct field experience to help you achieve safe, reliable, and lasting repairs. Bookmark AutoPartEx for up-to-date guides, part sourcing tips, and maintenance strategies for every Toyota model.
References
Advertisement