
Advertisement
Toyota Power Window Diagnostics
When your Toyota’s power window stops working, you need answers fast. Whether the glass is stuck halfway, the switch is unresponsive, or you hear grinding noises from inside the door, this guide delivers a complete step-by-step diagnostic strategy. We’ll cover electrical, mechanical, and Toyota model-specific troubleshooting, ensuring you can pinpoint the issue—whether it’s a failed window motor, a faulty regulator, or a wiring problem. For Toyota owners and professional technicians alike, this is the comprehensive resource for restoring your front door window system to full function. If you need more on fitment or OEM replacement, visit our Toyota Front Door Window Motor: OEM Fitment, Diagnosis & Replacement Solutions category page for in-depth guides and parts.
Immediate Answer: How to Diagnose a Toyota Power Window Failure
If your Toyota’s power window isn’t working, start with these steps:
- Check the window lock switch—it may be engaged, disabling all other switches.
- Test all window switches—try both the driver’s master switch and the individual door switch.
- Listen for sounds—if you hear a click or the motor running but the glass doesn’t move, the regulator is likely at fault.
- Check the fuse and relay—locate your fuse box (usually under the dash or hood) and inspect the window circuit fuse and relay.
- Inspect for obvious obstructions—sometimes debris or misaligned glass can physically jam the window.
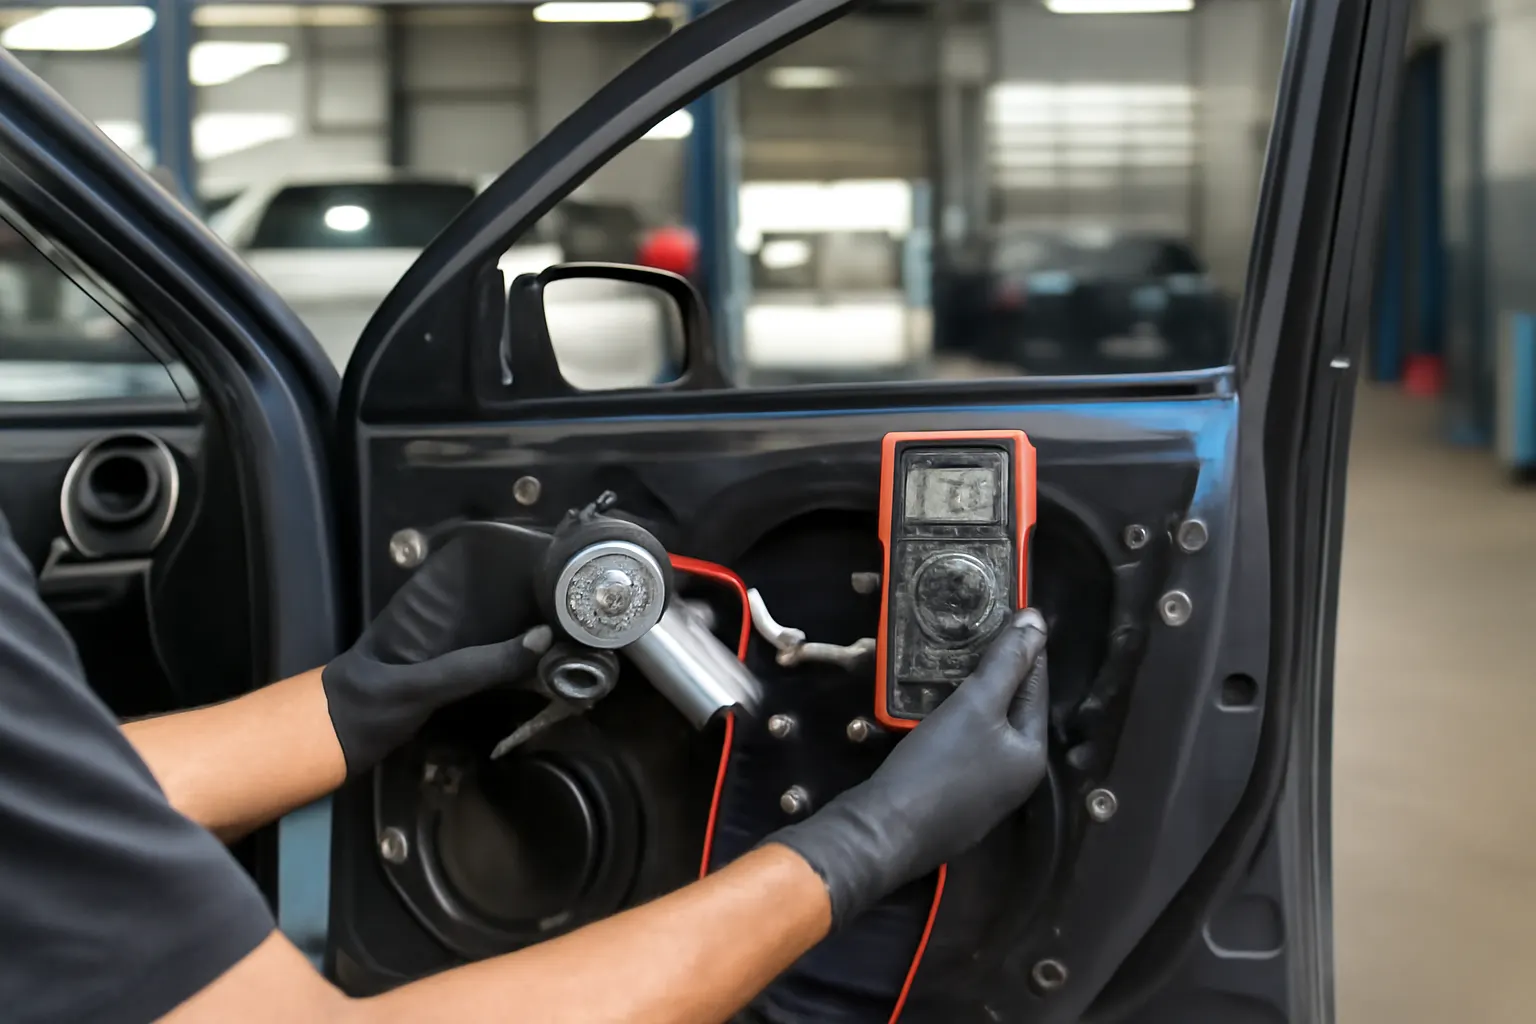
- Use a test light or multimeter—check for power at the window motor connector when the switch is pressed.
If you follow these steps and still can’t isolate the problem, keep reading for a deep dive into Toyota-specific diagnostics and repair strategies.
The Hidden Problem: Why Toyota Power Windows Fail
Power windows seem simple—push a button, the glass moves. Yet, Toyota’s window systems are a complex interplay of electrical, mechanical, and safety components. Failures can originate from:
- Worn-out window motors or regulators
- Broken or frayed wiring within the door harness
- Faulty or corroded switches
- Blown fuses or failed relays
- Misaligned or jammed glass
- Model-specific quirks (such as pinch-protection or auto-up/down features)
Many Toyota owners replace the motor or switch first, only to discover the underlying cause was a wiring short, relay issue, or regulator failure. Without a systematic approach, you risk wasted time and money.
Understanding Toyota’s Power Window System
A typical Toyota front door power window system includes:
- Window motor: Drives the regulator, raising and lowering the glass.
- Regulator: Mechanical linkage (scissor, cable, or track type) that guides the glass.
- Switches: Driver’s master switch and individual door switches.
- Wiring harness: Connects switches to motors, relays, and the vehicle’s body control module (BCM).
- Fuses and relays: Protect circuits and manage current flow.
- Safety features: Pinch-protection, auto-up/down, and window lockout.
Electrical signals from the switch activate the relay, sending power to the window motor. The motor, in turn, moves the regulator, which raises or lowers the glass. If any component fails, the system can become inoperative or behave erratically.
Common Toyota Power Window Failure Modes
Let’s break down the most frequent failure points:
1. Window Motor Failure
Symptoms:
-
No sound or movement when pressing the switch
-
Motor runs slowly or intermittently
-
Motor makes noise but doesn’t move the glass
2. Regulator Failure
Symptoms:
-
Grinding, popping, or crunching noises inside the door
-
Window glass tilts or falls into the door
-
Glass moves unevenly or sticks
3. Switch Failure
Symptoms:
- Only one switch (master or door) operates the window
Advertisement
- Switch feels loose, sticky, or unresponsive
- Intermittent operation
4. Electrical Issues
Symptoms:
-
Multiple windows inoperative
-
Blown window circuit fuse
-
No voltage at the motor or switch connector
5. Mechanical Jam or Obstruction
Symptoms:
-
Glass moves partway then stops
-
Window reverses direction (pinch-protection triggered)
-
Physical debris or misaligned glass visible
Toyota Model-Specific Diagnostic Considerations
Toyota employs different window motor and regulator designs across models and years:
- Camry, Corolla, RAV4 (2000s–present): Cable-driven regulators, common for cable fraying or detachment.
- Tacoma, Tundra: Heavy-duty motors, but prone to switch wear and harness breaks at the door hinge.
- Highlander, Sienna: More advanced anti-pinch and auto-up/down features, requiring initialization after battery disconnect.
- Older models (Pre-2000s): Scissor-type regulators, robust but susceptible to pivot wear.
Always consult your Toyota’s wiring diagram and service manual for model-specific testing points and initialization procedures.
Step-by-Step Toyota Power Window Diagnostic Checklist
Use this checklist to systematically isolate the fault:
| Step | Action | Tools Needed | Result/Next Step |
|---|---|---|---|
| 1 | Confirm ignition ON | — | Ensures power to window circuit |
| 2 | Test all window switches | — | Identify if problem is isolated or systemic |
| 3 | Listen for motor sound | — | No sound: electrical issue; Sound: regulator or obstruction |
| 4 | Check window lock switch | — | Disengage if active |
| 5 | Inspect fuse/relay | Fuse puller, multimeter | Replace blown fuse/relay |
| 6 | Test for voltage at switch/motor | Multimeter/test light | No voltage: trace wiring back to source |
| 7 | Bypass switch with jumper wire | Jumper wire | Motor runs: replace switch; Motor dead: replace motor/regulator |
| 8 | Remove door panel, inspect mechanism | Trim tools | Identify broken regulator, loose glass, or debris |
| 9 | Check for broken wires at door harness | Visual/multimeter | Repair or replace harness if needed |
| 10 | Reinitialize window system (if equipped) | Owner’s manual | Needed after battery disconnect or motor replacement |
Electrical Diagnostics: Tools and Techniques
Electrical issues are among the most common and frustrating power window failures. Here’s how to approach electrical diagnostics in a Toyota:
Multimeter Testing
- At the switch: With the ignition ON, back-probe the window switch connector. Press the switch and confirm 12V is present on the output wire.
- At the motor: Remove the door panel and test for voltage at the motor’s connector while pressing the switch.
- Continuity checks: With the battery disconnected, check for continuity between the switch and motor, and from both to ground.
Common Electrical Faults
- Broken wires inside the flexible door harness (especially at the hinge area).
- Corroded connectors at the switch or motor.
- Shorted switch contacts due to spilled liquids or wear.
Relay and Fuse Testing
- Relays can fail intermittently. Swap with a known-good relay of the same type for testing.
- Fuses may appear intact but can have hairline cracks; test with a multimeter for continuity.
Mechanical Diagnostics: Regulator and Motor Inspection
If the motor runs but the window doesn’t move, or you hear grinding noises, focus on the regulator and motor assembly.
Door Panel Removal
- Use trim tools to carefully remove the door panel, disconnecting any electrical connectors.
- Peel back the moisture barrier to access the regulator and motor.
Regulator Inspection
- Look for frayed or broken cables (cable-type) or worn pivots (scissor-type).
- Check for broken or missing mounting bolts.
- Manually move the glass (with the motor detached) to check for smooth operation.
Motor Bench Testing
- Remove the motor and apply 12V directly to the terminals to confirm operation.
- If the motor runs outside the vehicle but not when installed, suspect a binding regulator or electrical fault.
Advertisement
Switch and Control Module Troubleshooting
Toyota’s window switches are generally reliable, but wear, corrosion, or liquid intrusion can cause failure.
Switch Testing
- Remove the switch panel and inspect for corrosion or burn marks.
- Use a multimeter to check for continuity across switch terminals when pressed.
- Swap with a known-good switch (if available) to confirm diagnosis.
Control Module and Initialization
Some Toyotas use a Body Control Module (BCM) to manage window operation and safety features. After battery replacement or motor installation, the window may need to be re-initialized:
- Fully close the window, then hold the switch up for 3–5 seconds.
- Fully open the window, then hold the switch down for 3–5 seconds.
- Consult your owner’s manual for model-specific procedures.
Toyota-Specific Power Window Safety Features
Toyota incorporates several safety features:
- Pinch-protection: Reverses the window if an obstruction is detected during auto-up.
- Auto-up/down: One-touch operation, but requires initialization if power is lost.
- Window lockout: Disables all passenger window switches from the driver’s master switch.
These features add diagnostic complexity, as a non-initialized system or engaged lockout can mimic failure.
Sourcing the Right Replacement Parts
When replacement is necessary, always match the part number to your Toyota’s year, model, and door position (front left, front right, etc.). Consider the following:
- OEM vs Aftermarket: OEM motors and regulators offer guaranteed fit and performance, while quality aftermarket parts can provide cost savings. For a full comparison, see Oem Vs Aftermarket Toyota Window Motors.
- Motor-regulator assemblies: Many Toyotas use integrated units—replace both together for long-term reliability.
- Fitment guides: Use our Toyota Front Door Window Motor Fitment Guide for precise compatibility information.
Always verify part numbers and visual appearance before installation.
Installation and Calibration Best Practices
Proper installation is as important as correct diagnosis. Follow these best practices:
- Disconnect the battery to prevent accidental airbag deployment or electrical shorts.
- Support the window glass securely before removing the regulator.
- Torque mounting bolts to manufacturer specifications.
- Apply dielectric grease to electrical connectors to prevent corrosion.
- Perform window initialization as required for auto-up/down and pinch-protection functions.
After installation, cycle the window several times to confirm smooth, quiet operation.
Preventive Maintenance for Toyota Power Windows
Extend the life of your window system with these maintenance tips:
- Clean window tracks: Use silicone spray to reduce friction and prevent binding.
- Inspect weatherstripping: Replace cracked or worn seals to keep debris and moisture out.
- Operate all windows regularly: Prevents regulator and motor seizure from lack of use.
- Check door harness flex points: Repair or reinforce if you notice cracked insulation or exposed wires.
Routine maintenance can prevent many common failures and keep your Toyota’s windows operating smoothly for years.
Advanced Troubleshooting: When to Seek Professional Help
Some Toyota power window issues require advanced tools or expertise:
- Intermittent electrical faults: May require oscilloscope or scan tool to trace BCM signals.
- Multiple window failures: Could indicate a deeper BCM or wiring harness issue.
- Airbag-equipped doors: Removing the door panel incorrectly can trigger airbag lights or deployment.
If you encounter these scenarios, consult a Toyota specialist or certified technician for further diagnosis.
AutoPartEx: Your Partner for Toyota Window Solutions
At AutoPartEx, we support Toyota owners and professional technicians with expert diagnostics, premium parts, and detailed repair guides. Whether you need an OEM-fit window motor or regulator, in-depth fitment information, or practical troubleshooting tips, our resources are designed to get your Toyota back on the road quickly and reliably. Explore our full suite of Toyota Window Regulator Motor Service options and diagnostic tools to ensure every repair meets the highest standards of safety and performance.
References
Advertisement
