
Advertisement
Toyota Front Valance Fitment Case Study
When it comes to Toyota front valance replacement, precision matters. Using an incorrect front valance—even one that seems nearly identical—can lead to immediate misalignment, water intrusion, and a cycle of repeat repairs that frustrates both DIYers and professionals. This detailed case study explores a real-world scenario where improper Toyota front valance fitment led to cascading issues, and provides step-by-step technical guidance to ensure you avoid these costly pitfalls. For a broad overview of Toyota front valance compatibility and technical details, see our Toyota Front Valance: OEM Fitment, Model Compatibility, and Technical Guidance resource.
The Immediate Consequences of Incorrect Toyota Front Valance Fitment
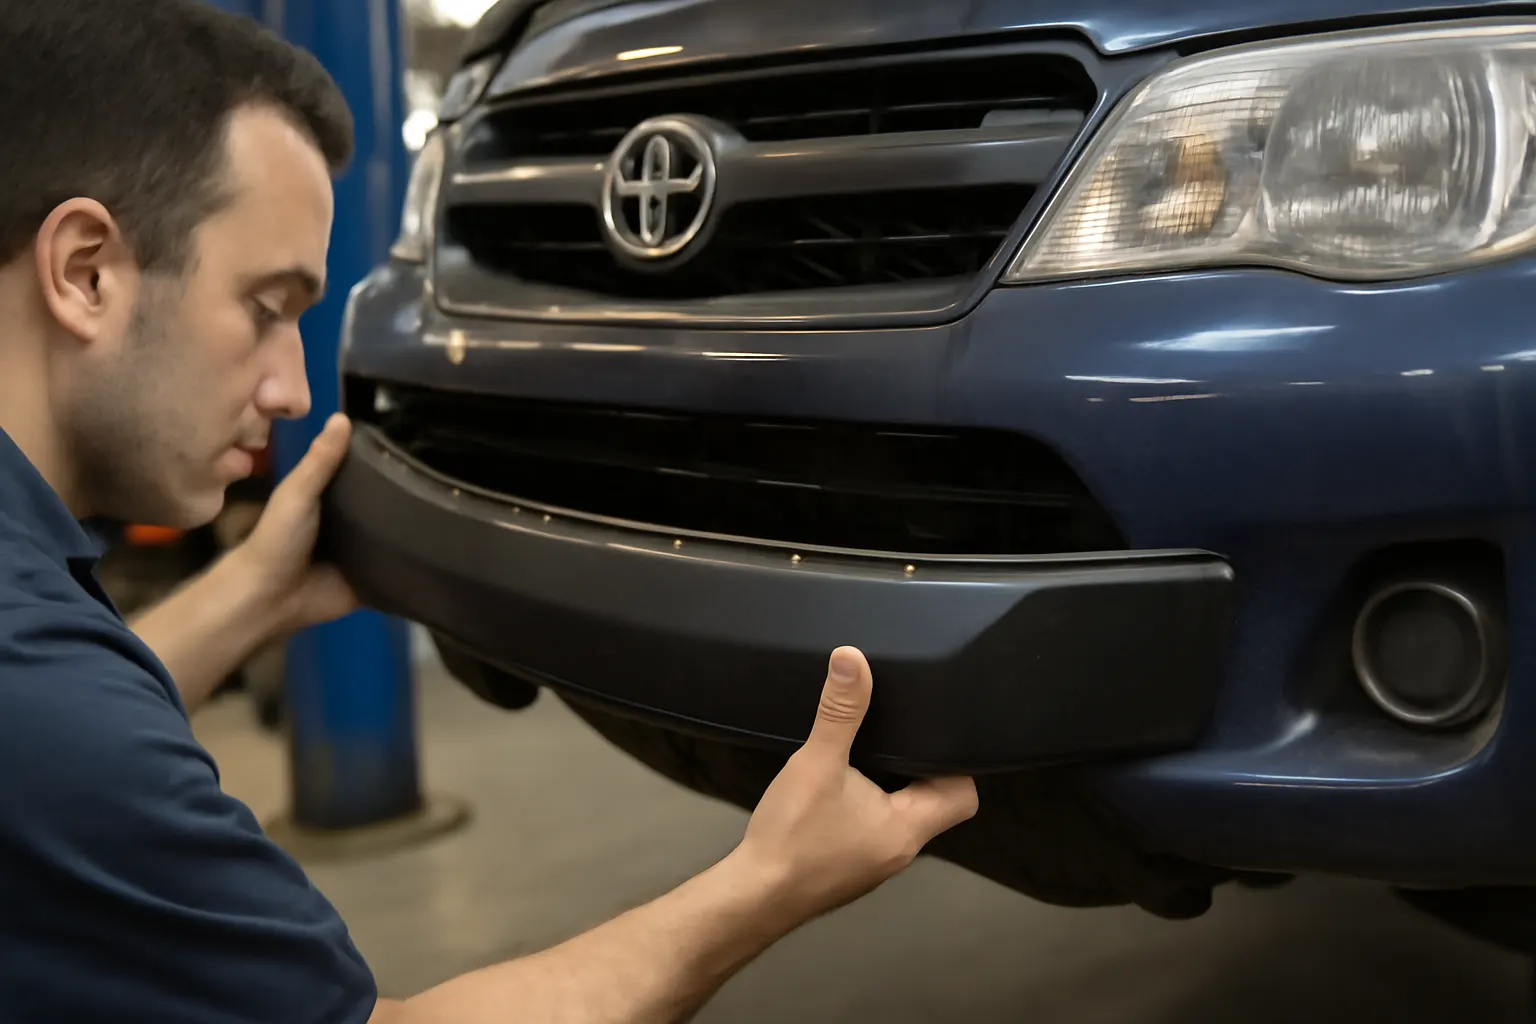
The front valance is more than just a cosmetic panel—it plays a functional role in protecting the undercarriage, directing airflow, and preventing debris and water from reaching sensitive components. In our case study, a Toyota Camry owner sourced a non-OEM valance marketed as “universal fit” for 2012-2014 models. Installation appeared routine, but subtle differences in mounting points and contour led to a visible gap between the valance and the bumper cover. Within weeks, the owner noticed water pooling in the engine bay after rain, rattling noises at highway speeds, and premature corrosion on exposed fasteners.
The lesson is clear: even minor misalignments or dimensional inaccuracies can have outsized impacts on both vehicle safety and long-term durability. These problems are rarely apparent at first glance, but the consequences become increasingly severe over time.
Why Do Incorrect Front Valances Cause So Many Problems?
Most Toyota front valances are designed with model-specific engineering, tailored to the unique bumper profile, mounting hardware, and aerodynamic requirements of each vehicle year and trim. Aftermarket “universal” or “multi-fit” panels often cut corners on these subtle but crucial details. The result is a part that may bolt up, but never truly integrates with the vehicle’s structure.
Common issues include:
- Gaps and misalignment: Exposes mounting points and undercarriage to water, dirt, and debris.
- Poor sealing: Allows water ingress, increasing the risk of corrosion and electrical faults.
- Fitment stress: Forces mounting hardware into unnatural positions, eventually loosening or cracking.
- Aerodynamic inefficiency: Disrupts designed airflow, potentially reducing fuel efficiency and increasing road noise.
The National Highway Traffic Safety Administration (NHTSA) has documented numerous recalls and safety notices related to improper equipment fitment, underscoring the importance of using correctly specified parts for each Toyota model [NHTSA Recalls].
Case Study Background: 2012-2014 Toyota Camry Front Valance Replacement
Let’s examine the real-world scenario in detail. The owner of a 2013 Toyota Camry sought to replace a cracked front valance after a minor parking mishap. Wanting to save money, they ordered an aftermarket part labeled as compatible with “2012-2014 Toyota Camry.” The part arrived, and at first glance, it looked nearly identical to the original. However, upon closer inspection during installation, several issues became apparent:
- The mounting holes were slightly offset from the vehicle’s threaded inserts.
- The lower lip of the valance failed to match the contour of the OEM bumper cover.
- The thickness and rigidity of the panel were noticeably less than the original.
Despite these concerns, the part was installed using some force and a few longer bolts. Within days, the owner noticed:
- Visible gaps along the bumper-valance seam.
- Unusual rattling and vibration at speeds above 50 mph.
- Water stains and corrosion on the lower radiator support.
Diagnosing Fitment Issues: What to Look For
If you suspect an incorrect Toyota front valance has been installed, a thorough diagnostic inspection is essential. Here’s a practical checklist for identifying common fitment problems:
| Symptom | Possible Cause | Diagnostic Action |
|---|---|---|
| Visible gap at bumper seam | Incorrect contour/mounting points | Inspect panel alignment, measure gap |
| Rattling or vibration | Loose or stressed fasteners | Check fastener torque, look for cracks |
| Water ingress in engine bay | Poor sealing or coverage | Inspect for water trails after rain/wash |
| Premature corrosion | Exposed metal due to misalignment | Look for rust on fasteners, supports |
| Poor aerodynamic performance | Incorrect lower lip profile | Listen for increased road/wind noise |
A close inspection with the vehicle on a lift or ramps is recommended. Pay special attention to the mating surfaces between the valance, bumper, and fender liners. Even a few millimeters of deviation can have significant consequences.
Advertisement
Technical Deep Dive: Why Toyota Front Valance Fitment Is So Exacting
Toyota engineers design the front valance as an integrated component of the vehicle’s aerodynamic and protective systems. Specific factors that make fitment so critical include:
1. Aerodynamic Channeling
The valance helps direct airflow under the vehicle, reducing drag and protecting underbody components from turbulent air and debris. A misaligned or ill-fitting panel can increase drag, negatively impacting fuel efficiency—a key concern documented by the U.S. Department of Energy [DOE Fuel Efficiency].
2. Water and Debris Management
Properly fitted valances ensure that water, mud, and road grit are channeled away from sensitive areas such as the radiator, alternator, and electrical harnesses. Gaps or poor sealing allow water to reach these components, accelerating corrosion and increasing the risk of electrical faults.
3. Structural Integration
The front valance often provides additional support to the lower bumper cover, stabilizing it at highway speeds. Incorrect fitment can introduce stress concentrations, leading to cracking, loosening, or complete detachment over time.
4. Material Compatibility
OEM Toyota valances are manufactured using materials that meet strict SAE and manufacturer standards for impact resistance, UV stability, and weight. Aftermarket parts may use substandard plastics or thinner gauge steel, compromising both fit and durability [DOE Materials Technologies].
The Hidden Problem: Compounding Damage Over Time
While a misaligned valance may seem like a minor inconvenience, the real danger lies in the cumulative effects. In our case study, the initial installation error led to:
- Progressive loosening of mounting hardware due to vibration and stress.
- Water intrusion that corroded the lower radiator support and caused electrical connector failures.
- Aerodynamic drag that reduced highway fuel efficiency by an estimated 2-3%, according to onboard diagnostics.
- Repeat repairs, as the owner attempted to reseal the gap with adhesive and eventually replaced the valance again—this time with an OEM part.
These secondary issues often cost far more in the long run than the savings from the initial aftermarket part. In some cases, improper fitment can even void manufacturer warranties or trigger safety recalls if the part interferes with crash performance or pedestrian protection.
Solution Path: Ensuring Proper Toyota Front Valance Fitment
Avoiding these problems requires a disciplined approach to part selection, installation, and post-installation inspection. Here’s how to get it right the first time:
1. Sourcing the Correct Part
- Use the full VIN to confirm model year, trim, and production date.
- Cross-check part numbers with Toyota’s official catalog or a reputable dealer.
- Be wary of “universal fit” or “multi-fit” claims—Toyota front valances are rarely interchangeable between years or trims.
- Consider OEM vs. quality aftermarket: If using aftermarket, ensure the part meets or exceeds original specifications. For a detailed comparison, see Toyota Front Valance Oem Vs Aftermarket.
2. Pre-Installation Inspection
- Test fit the panel before final installation. All mounting holes should align without force.
- Check panel thickness and rigidity against the original part.
- Inspect edge contours to ensure seamless mating with bumper and fender liners.
3. Installation Best Practices
- Clean all mating surfaces to remove debris and old adhesive.
- Use new fasteners if the originals show signs of corrosion or wear.
- Torque fasteners to manufacturer specifications—do not overtighten, as this can crack plastic panels.
- Double-check alignment after tightening all bolts.
4. Post-Installation Quality Check
- Check for visible gaps along all seams.
- Test for rattles by gently tapping the valance and driving at a range of speeds.
- Spray water onto the seam and inspect for leaks inside the engine bay.
- Monitor for new noises or changes in fuel efficiency during the first weeks of use.
Common Pitfalls in Toyota Front Valance Replacement
Even experienced technicians can fall into these traps:
- Assuming “close enough” is sufficient: Slight deviations can have big impacts.
- Reusing damaged clips or fasteners: Old hardware may not secure a new panel properly.
- Skipping test fits: Always check alignment before final installation.
- Neglecting underbody shields or air dams: These components often integrate with the valance and must be reinstalled correctly.
Maintenance Tips: Maximizing the Life of Your Toyota Front Valance
Proper maintenance can extend the service life of your front valance and prevent repeat repairs:
- Inspect the valance at every oil change for cracks, loose fasteners, or signs of impact.
- Clean road salt and mud from the lower body after winter driving to prevent corrosion.
- Replace missing or damaged splash shields promptly.
- Address minor cracks or chips with touch-up paint or plastic repair kits before they spread.
Advertisement
These steps are especially important for vehicles driven in harsh climates or on rough roads, where the front valance is exposed to more debris and road hazards.
Buying Guide: How to Source the Right Toyota Front Valance
When purchasing a replacement Toyota front valance, keep these factors in mind:
- OEM vs. Aftermarket: OEM parts guarantee fit and material quality, while reputable aftermarket brands can offer cost savings if they meet SAE and Toyota specifications.
- Part Number Verification: Always match the part number to your vehicle’s VIN.
- Supplier Reputation: Buy from dealers or suppliers with a proven track record of accuracy and customer support.
- Return Policy: Ensure you can return the part if it does not fit as expected.
For a comprehensive installation walkthrough, refer to our Toyota Front Valance Install Guide.
Checklist: Toyota Front Valance Fitment and Installation
Use this step-by-step checklist to ensure a successful replacement:
-
Gather Tools and Parts
- New front valance (OEM or verified aftermarket)
- Replacement fasteners/clips
- Socket set, screwdrivers, trim removal tools
- Torque wrench
- Protective gloves and eye protection
-
Remove Old Valance
- Raise vehicle securely (ramps or lift)
- Remove fasteners and gently detach the old valance
- Inspect mounting points for damage or corrosion
-
Prepare New Valance
- Test fit on the vehicle
- Compare thickness, contour, and mounting points to OEM
- Clean all mating surfaces
-
Install New Valance
- Align panel and hand-tighten fasteners
- Check alignment at all seams
- Torque fasteners to spec
-
Final Inspection
- Check for gaps, rattles, and proper sealing
- Spray water to test for leaks
- Confirm all underbody shields and air dams are reinstalled
-
Post-Installation Monitoring
- Listen for new noises during test drive
- Inspect for leaks or loose hardware after first week
Advanced Diagnostics: When Problems Persist
If you continue to experience issues after replacing the front valance, consider these advanced diagnostic steps:
Advertisement
- Inspect for hidden impact damage: Bent mounting tabs or deformed bumper covers may prevent proper fitment.
- Check adjacent components: Fender liners, splash shields, and underbody panels must also align correctly.
- Scan for DTCs (Diagnostic Trouble Codes): Some newer Toyotas have sensors in the bumper area that can throw codes if air flow or position is affected.
- Consult OEM repair manuals: These provide precise torque specs, assembly diagrams, and troubleshooting flowcharts.
Persistent problems may require professional body shop intervention, especially if frame or bumper alignment is compromised.
The Role of Materials and Engineering Standards
The quality of a front valance depends not just on shape, but on the materials used and adherence to automotive engineering standards. OEM Toyota valances are typically made from high-impact ABS plastic or lightweight steel, engineered for crash performance and durability [SAE Standards]. Aftermarket options vary widely—some use recycled plastics or inferior blends that fade, warp, or crack prematurely.
When evaluating a replacement part, look for:
- SAE or ISO certification markings
- UV-resistant and impact-resistant material claims
- Reinforced mounting points
Substandard materials are a leading cause of premature failure and warranty issues.
When to Seek Professional Help
While many DIYers successfully replace Toyota front valances, certain situations call for professional expertise:
- Significant misalignment or body damage: May require frame straightening or bumper replacement.
- Persistent water leaks: Could indicate deeper sealing or drainage issues.
- Integration with advanced driver assistance systems (ADAS): Some newer Toyotas have sensors in or near the front valance.
Professional body shops have the equipment and training to ensure a perfect fit, proper integration with adjacent components, and full restoration of factory aerodynamics and safety.
AutoPartEx: Your Partner for Toyota Front Valance Success
At AutoPartEx, we specialize in providing technically accurate, model-specific guidance for Toyota front valance selection, installation, and troubleshooting. Our parts database is cross-referenced by VIN, ensuring you get the exact match for your vehicle. We also offer detailed installation guides, technical articles, and expert support for both DIYers and professionals.
For more on Toyota front valance design and aerodynamic function, see our Toyota Aerodynamics Front Valance editorial. If you have questions about compatibility, our Toyota Front Valance: OEM Fitment, Model Compatibility, and Technical Guidance page is a comprehensive starting point.
Conclusion: Fitment Is Not Optional—It’s Essential
The real-world case study of the 2013 Toyota Camry highlights the high cost of seemingly minor fitment errors. Using the wrong front valance can set off a chain reaction of misalignment, water leaks, and repeat repairs that far outweigh any initial cost savings. By following the technical guidance and checklists provided, you can ensure a professional, lasting repair that protects your Toyota’s performance, safety, and value.
References
Advertisement
