
Advertisement
Toyota Collision Repair Evolution
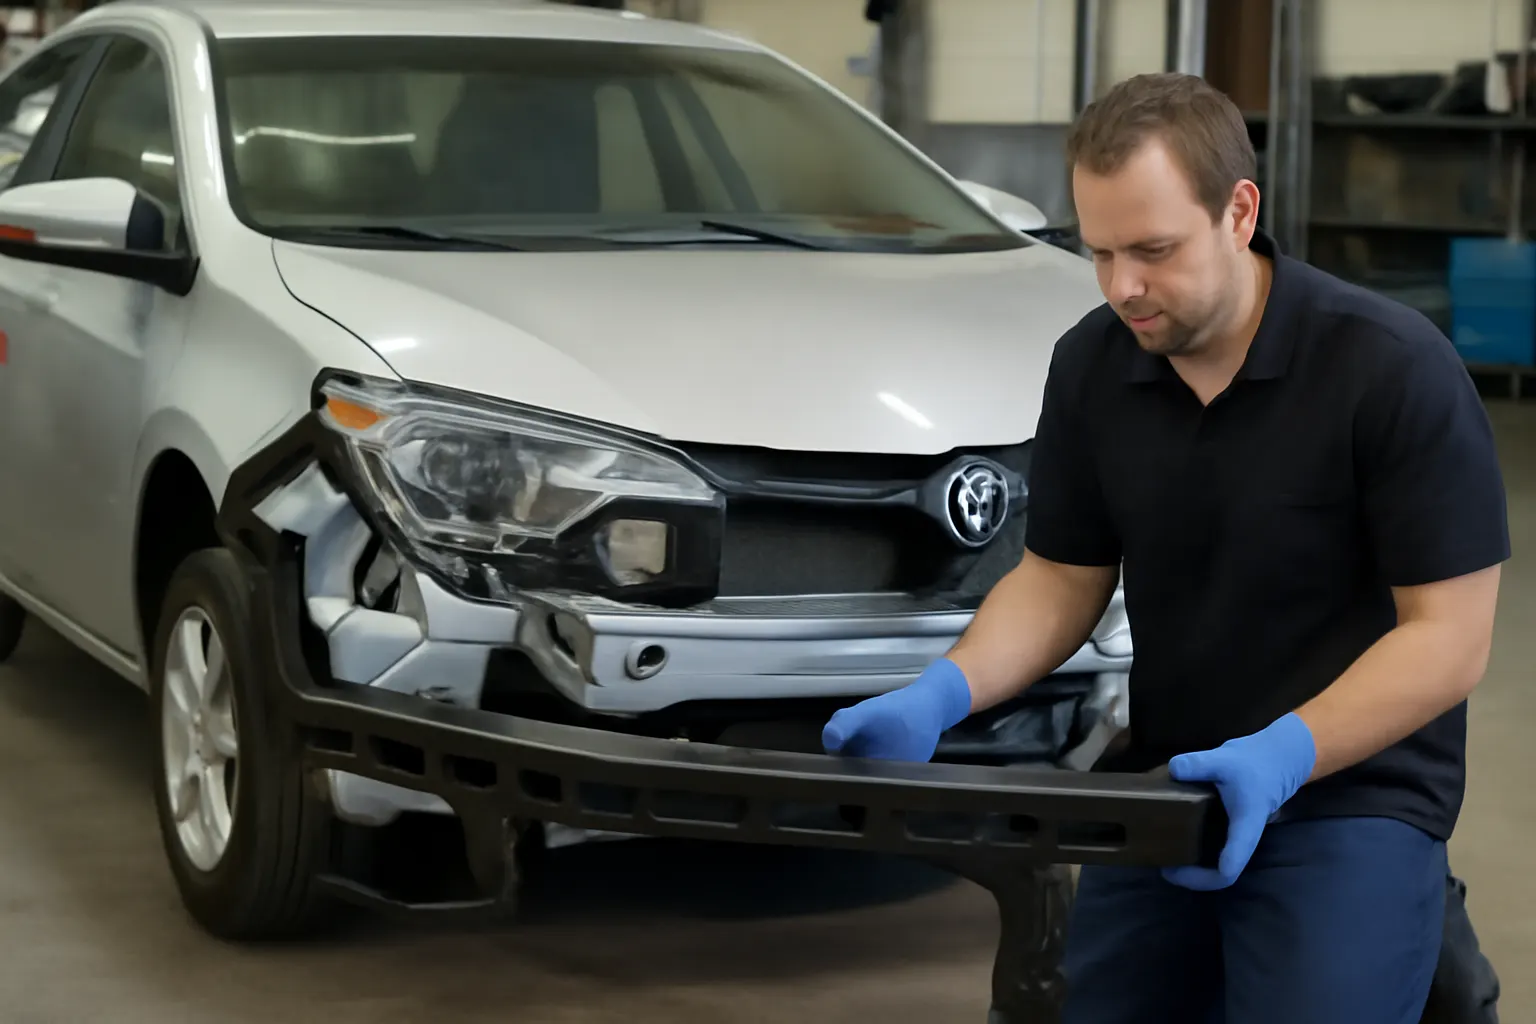
Toyota’s approach to collision repair has transformed dramatically over the last two decades. Today’s Toyota front bumper reinforcements are engineered with advanced materials, precision fitment, and strict safety standards. If you’re repairing or replacing a Toyota bumper reinforcement in 2026, understanding these evolutions is essential for restoring crashworthiness and ensuring safety. This guide explores Toyota’s changing crash structures, key material advances, and the smartest sourcing strategies for genuine bumper reinforcements—giving you a practical, up-to-date roadmap for the entire repair process.
For a deep dive into compatible fitment, material integrity, and expert sourcing, visit our Toyota Front Bumper Reinforcement: Genuine Fitment, Material Integrity, and Expert Sourcing category page. It’s your starting point for mastering Toyota collision repair in a world of evolving standards and parts technology.
The Immediate Answer: Toyota Bumper Reinforcement Today
If you’re repairing a Toyota after a collision, the front bumper reinforcement is a critical structural component. The latest Toyota models use high-strength steel, aluminum, and even composite reinforcements designed to absorb energy and protect vehicle occupants. Genuine Toyota reinforcements are engineered for exact fitment, meet federal crash safety standards, and integrate with advanced driver assistance systems (ADAS). Sourcing the correct reinforcement is not just a matter of aesthetics—it’s essential for restoring crash safety, airbag timing, and sensor alignment.
Key Takeaways:
- Toyota’s bumper reinforcements are now highly specialized, model-specific, and often integrate with sensors and crash management systems.
- Genuine or OE-equivalent parts are required to maintain safety and warranty compliance.
- Installation and calibration steps have become more complex due to material and technology advances.
The Hidden Problem: Why Old Collision Repair Habits Fail
Many repairers and DIYers still treat bumper reinforcement replacement as a “bolt-on” job. However, Toyota’s evolving crash structures have made this a risky shortcut. Using non-genuine, ill-fitting, or outdated reinforcements can:
-
Compromise crash energy management, leading to increased injury risk.
-
Cause airbag deployment timing errors.
-
Disrupt ADAS sensor calibration (for features like adaptive cruise, lane keep, or automatic emergency braking).
-
Result in failed inspections or recall-related liabilities.
The hidden problem: Toyota’s collision repair evolution means that shortcuts—like using generic or recycled reinforcements—can silently undermine vehicle safety and compliance. Even experienced technicians can overlook these pitfalls without updated knowledge of Toyota’s latest repair standards.
How Toyota’s Crash Structures Have Changed
1. High-Strength Steel and Lightweight Alloys
Toyota’s early 2000s models used standard steel bumper reinforcements. Over time, Toyota adopted high-strength steel, aluminum, and even composite structures to balance crash protection with weight savings for fuel efficiency. As the Department of Energy’s Materials Technologies program notes, lighter, stronger materials reduce vehicle mass while maintaining or improving crash performance.
Practical Impact:
- High-strength steel reinforcements offer greater energy absorption with less deformation.
- Aluminum and composite reinforcements reduce weight but require specific repair and installation procedures to avoid galvanic corrosion or improper torque.
2. Integrated Crash Management
Modern Toyota front bumper reinforcements are not standalone bars—they are engineered to work with crush cans, brackets, and sometimes foam or plastic energy absorbers. This integration improves the crash pulse and helps direct forces away from the passenger cabin.
Practical Impact:
- All components must be replaced or inspected after a collision.
- Missing or mismatched crush cans or absorbers can change how the structure performs during a crash.
3. Advanced Driver Assistance System (ADAS) Integration
The latest Toyota models embed radar, ultrasonic, or camera-based sensors in the bumper or behind the reinforcement. This means the reinforcement’s design and material composition are critical for sensor transparency and accuracy.
Practical Impact:
- Even a minor misfit or material substitution can block or distort sensor signals, disabling safety features or causing false warnings.
- ADAS calibration is now a mandatory step after many bumper repairs. See our Toyota Adas Bumper Calibration guide for details.
Advertisement
Why Genuine Fitment and Material Integrity Matter
1. Safety Certification and Crash Testing
Toyota’s OE bumper reinforcements are designed, crash-tested, and certified to meet NHTSA and global standards. The National Highway Traffic Safety Administration (NHTSA) mandates that replacement parts maintain original crash performance.
Risks of Non-Genuine Parts:
- Aftermarket or recycled reinforcements may not match the original’s material composition or geometry.
- Structural integrity can be compromised by hidden fatigue, rust, or previous impact damage.
2. Airbag Timing and Occupant Protection
The reinforcement’s deformation characteristics determine how quickly crash sensors trigger airbag deployment. Even small differences in stiffness or mounting position can affect airbag timing.
Real-World Example:
A non-genuine reinforcement that is too stiff may delay airbag deployment, while an overly flexible one may trigger it prematurely—both scenarios can increase injury risk.
3. Insurance and Liability
Many insurance policies and collision centers now require genuine or OE-equivalent reinforcements to avoid liability in the event of a subsequent crash or inspection failure.
Checklist: Is Your Toyota Bumper Reinforcement Genuine?
- Does it have a Toyota part number and label?
- Is the material (steel, aluminum, composite) identical to the OE part?
- Are all brackets, crush cans, and sensors present and undamaged?
- Does it match the latest Toyota supersession (updated part number)?
See Toyota Front Bumper Reinforcement Supersession for details.
Diagnosing Bumper Reinforcement Damage: What to Look For
1. Visual and Structural Inspection
After any front-end collision, the reinforcement must be removed and inspected for:
-
Bends, kinks, or cracks in the bar.
-
Deformation or tearing at mounting points.
-
Rust, corrosion, or previous welds (especially on recycled parts).
-
Damage to attached brackets, crush cans, or absorbers.
2. Sensor and Wiring Check
If your Toyota is equipped with ADAS, inspect for:
-
Broken or misaligned radar/camera mounts.
-
Pinched or damaged wiring harnesses.
-
Dislodged or moisture-exposed sensors.
3. Alignment and Fitment
Test-fit the new reinforcement before final installation:
-
All holes and brackets should align without force.
-
The reinforcement should sit flush with the frame rails and bumper cover.
-
No interference with sensors or cooling components.
Toyota Bumper Reinforcement Sourcing: Smart Strategies
1. OE vs. Aftermarket vs. Recycled
- OE (Original Equipment): Direct from Toyota, guaranteed fit, correct material, and up-to-date supersession.
- Aftermarket: May be less expensive but can vary in material, fitment, and crash performance. Only use certified parts from reputable suppliers.
- Recycled: Environmentally friendly, but check for hidden damage or fatigue. Only use if undamaged and from the exact same model and year.
2. Supersession Awareness
Toyota frequently updates part numbers as engineering improvements are made. Always check for the latest supersession to avoid installing an obsolete or incompatible part. Use the Toyota Front Bumper Reinforcement Supersession resource to verify you have the correct part.
3. Sourcing Checklist
| Step | Action |
|---|---|
| Identify VIN | Use the full VIN to confirm model, year, and build date. |
| Verify Part Number | Cross-check Toyota’s EPC or trusted supplier database. |
| Confirm Supersession | Check for updated part numbers or design changes. |
| Inspect Before Install | Examine for shipping damage, material differences, or missing brackets. |
| Retain Documentation | Keep receipts and part labels for insurance or inspection purposes. |
Installation: Toyota Bumper Reinforcement Best Practices
1. Preparation
- Disconnect the battery (especially if airbags or sensors are involved).
- Remove the bumper cover, grilles, and any attached lighting.
- Unplug all sensors and wiring harnesses attached to the reinforcement.
2. Removal
- Unbolt the reinforcement from the frame rails, noting the location of each fastener.
- Remove crush cans, brackets, and absorbers—replace any that show deformation or fatigue.
- Document the configuration with photos for reference during reassembly.
3. Installation
- Pre-fit the new reinforcement to check alignment.
- Install new crush cans, brackets, and absorbers as required.
- Torque all fasteners to Toyota’s specified values (consult the service manual).
- Reconnect sensors and harnesses, ensuring proper routing and secure connections.
4. Post-Installation
- Reinstall the bumper cover and related components.
- Perform a sensor calibration procedure if ADAS features are present (see Toyota Adas Bumper Calibration).
- Test all lighting, sensors, and warning systems before returning the vehicle to service.
Advertisement
Maintenance and Inspection: Keeping Toyota Crash Structures Ready
1. Regular Visual Inspections
- Inspect the bumper area after any minor impact, even if cosmetic damage is minimal.
- Look for signs of cracking, rust, or loose hardware.
2. Sensor Function Checks
- Run ADAS self-tests or diagnostics if available.
- Watch for warning lights or error messages related to front sensors.
3. Corrosion Prevention
- For steel reinforcements, check for paint chips or exposed metal.
- Touch up with OEM-approved primer and paint to prevent rust.
4. Fastener Retorque
- After major repairs or heavy impacts, retorque all bumper reinforcement fasteners to specification.
The Role of Standards and Regulations
Toyota’s collision structures must comply with both U.S. federal and international safety standards. The NHTSA and SAE International set the bar for material integrity, crash energy management, and replacement part performance.
Key Regulatory Points:
- All replacement reinforcements must restore the vehicle to original crashworthiness.
- Parts must not interfere with airbag, sensor, or safety system operation.
- Documentation of part numbers and installation procedures may be required for insurance or inspection.
The Science Behind Material Advances
1. Why High-Strength Steel and Aluminum?
According to the Department of Energy’s Materials Technologies initiative, using advanced metals and composites in bumper systems:
-
Reduces overall vehicle weight, improving fuel efficiency (DOE Fuel Efficiency) without sacrificing safety.
-
Allows for more complex geometries that improve energy absorption during crashes.
-
Demands precise manufacturing and fitment to ensure performance.
2. Repair and Replacement Implications
- Aluminum and composites are more sensitive to improper repair techniques (e.g., over-torquing, galvanic corrosion).
- Always use OE fasteners and follow torque specs.
- Never weld or heat-repair advanced material reinforcements—replace if damaged.
ADAS Bumper Calibration: The New Collision Repair Essential
Why Calibration Matters
With radar, lidar, and camera sensors now embedded in or behind the bumper reinforcement, any repair or replacement can alter sensor alignment. Without calibration:
-
Lane keep, adaptive cruise, and emergency braking may malfunction.
-
The vehicle may display warning lights, or worse, fail to detect hazards.
Calibration Steps
- Follow Toyota’s specific calibration procedure for the model and year.
- Use OE or OE-equivalent diagnostic tools.
- Confirm with a test drive and functional check of all ADAS features.
For a complete walkthrough, see our Toyota Adas Bumper Calibration editorial.
Common Pitfalls and How to Avoid Them
1. Using the Wrong Part
- Double-check part numbers and supersessions.
- Don’t assume similar-looking reinforcements fit across Toyota models or years.
2. Skipping Crush Can or Absorber Replacement
- These components are designed to deform in a crash; always replace if damaged.
3. Ignoring Calibration
- Never skip ADAS calibration after reinforcement replacement.
4. Poor Documentation
- Keep a record of all parts, procedures, and calibration steps for future reference.
Toyota Bumper Reinforcement Checklist
Before returning any Toyota to the road after a collision repair, use this checklist:
| Task | Complete? |
|---|---|
| Genuine or OE-equivalent reinforcement installed | |
| All brackets, crush cans, and absorbers replaced if damaged | |
| Correct torque applied to all fasteners | |
| All sensors and wiring reconnected and routed properly | |
| Bumper cover fits flush, no interference | |
| ADAS calibration performed and verified | |
| Documentation and part numbers recorded |
Choosing the Right Partner: Why AutoPartEx?
AutoPartEx specializes in sourcing genuine Toyota front bumper reinforcements, providing up-to-date supersession data, and supporting installers with technical guidance. Our platform ensures you receive the right part for your Toyota, every time—backed by material verification and fitment support.
- Access the full range of Toyota Front Bumper Reinforcement: Genuine Fitment, Material Integrity, and Expert Sourcing.
- Get installation, calibration, and diagnostic help from our expert editorial team.
- Stay ahead of evolving Toyota repair standards with our regularly updated guides.
Final Thoughts: The Future of Toyota Collision Repair
Toyota’s front bumper reinforcements are no longer simple steel bars—they are engineered, multi-material crash structures with integrated electronics and safety-critical roles. As collision repair evolves, keeping up with Toyota’s changing standards, materials, and technologies is essential for safety, compliance, and peace of mind. Choose genuine parts, follow OE procedures, and leverage AutoPartEx’s expertise to ensure every Toyota repair is done right—today and in the future.
References
Advertisement
