Advertisement
Front Structure Repair Best Practices
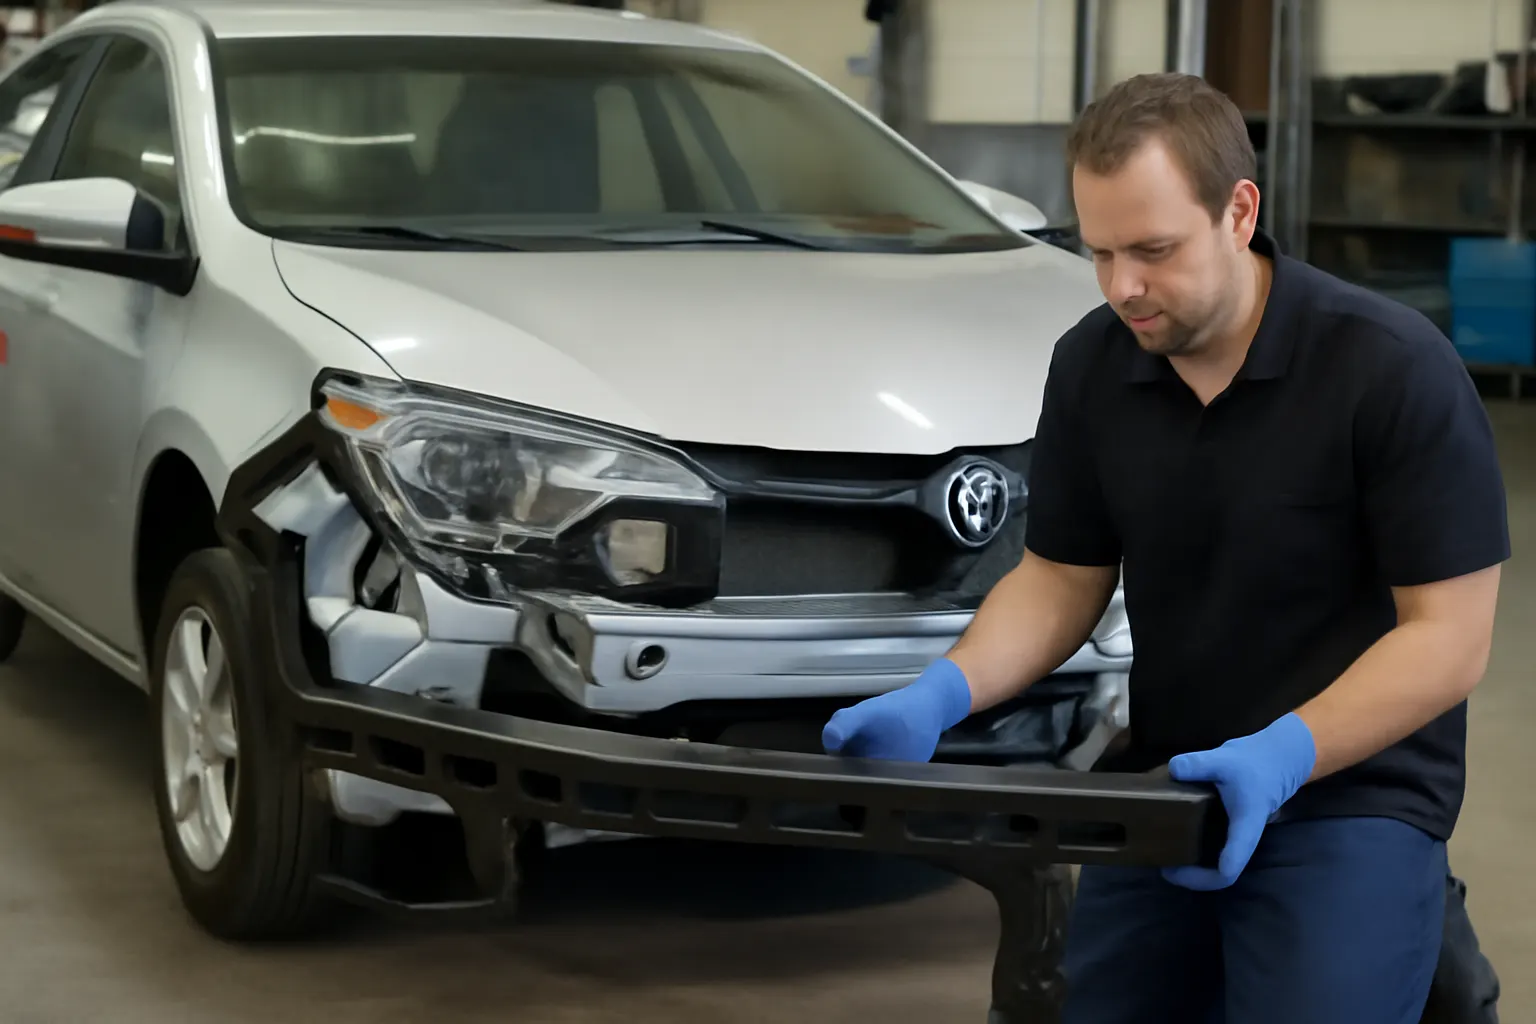
Front-end collisions are among the most common automotive accidents, and the integrity of your Toyota’s front structure—especially the bumper reinforcement—is critical to both occupant safety and vehicle longevity. Whether you’re a professional collision repair technician or a dedicated DIY owner, understanding and applying best practices for front structure repair ensures your Toyota meets OEM safety standards and maintains its value. This comprehensive guide details the most frequent mistakes in Toyota front structure repairs, with a focus on bumper reinforcement, and provides actionable solutions to avoid costly errors.
If you want to explore the full range of OEM-quality Toyota bumper reinforcement parts and related fitment information, visit our Toyota Front Bumper Reinforcement: Precision Fitment and Structural Integrity OEM Parts category page.
Immediate Answer: What Are the Best Practices for Toyota Front Structure Repair?
The most important best practices for Toyota front structure repair include:
- Always use OEM or OEM-equivalent bumper reinforcements and structural components.
- Verify correct part fitment using VIN-based lookup or OEM catalogs.
- Adhere strictly to Toyota and SAE repair procedures for welding, bolting, and material handling.
- Inspect for hidden damage beyond the obvious impact area, including subframe, crumple zones, and sensor mounts.
- Validate all sensor recalibrations (radar, camera, airbag) after repairs.
- Perform a final safety inspection following NHTSA equipment guidelines before returning the vehicle to service.
Following these steps minimizes the risk of compromised crash safety, improper fitment, and future costly repairs.
The Hidden Problem: Why Front Structure Repairs Go Wrong
Many Toyota front structure repairs fail not due to lack of effort, but because of unseen issues and common pitfalls:
- Incorrect part selection: Using aftermarket or mismatched reinforcements can alter crash energy management.
- Overlooking advanced materials: Modern Toyotas use high-strength steel, aluminum, and composites. Incorrect repair methods can weaken these materials.
- Sensor misalignment: Advanced Driver Assistance Systems (ADAS) require precise mounting points and calibrations.
- Inadequate inspection: Subtle frame or mounting point shifts can go undetected, undermining long-term safety.
These issues are often hidden beneath the surface and may only become apparent in subsequent collisions or during advanced diagnostics.
Expanding the Problem: Technical Realities of Modern Toyota Front Structures
The Role of Bumper Reinforcement in Crash Safety
The bumper reinforcement is far more than a cosmetic or minor structural part. It is engineered to:
- Absorb and dissipate kinetic energy during a frontal impact.
- Distribute crash forces away from the passenger compartment.
- Maintain the correct geometry for airbag sensor activation and ADAS performance.
Toyota engineers design reinforcements for specific models, often utilizing multi-material construction for optimal strength-to-weight ratios. Improper replacement or repair can dramatically alter these characteristics, compromising both safety and regulatory compliance.
Advanced Materials and Repair Complications
According to the US Department of Energy’s Materials Technologies report, modern automotive structures increasingly use high-strength steels, aluminum alloys, and composite reinforcements to reduce weight without sacrificing crash performance. However, each material requires unique repair methods—welding, bonding, or bolting—and can be irreparably damaged by improper techniques such as excessive heat or incorrect fasteners.
The Challenge of Electronics and Sensors
Toyota’s front structure often houses radar sensors, cameras, and impact sensors. Even minor deviations in mounting position or orientation can disable ADAS features or delay airbag deployment. The NHTSA’s Vehicle Safety and Equipment guidelines stress the importance of restoring these systems to OEM specifications.
Step-by-Step Solution Path: Best Practices for Toyota Front Structure Repair
1. Comprehensive Damage Assessment
Begin with a thorough inspection that goes beyond the obvious:
Advertisement
- Visual examination: Check for visible cracks, bends, or paint displacement.
- Structural measurement: Use frame gauges or digital measuring tools to verify alignment.
- Sensor diagnostics: Scan for error codes related to ADAS or airbag systems.
- Material identification: Confirm the composition of damaged components (steel, aluminum, composite).
2. Accurate Part Sourcing and Fitment
Use Toyota’s VIN-specific parts catalogs or trusted resources like AutoPartEx to identify the correct bumper reinforcement and associated hardware. Reference our Toyota Vin Fitment Decoding guide for step-by-step fitment verification.
Checklist: OEM Part Sourcing
| Step | Action |
|---|---|
| VIN Lookup | Enter full VIN in Toyota or AutoPartEx database |
| Cross-Reference | Check part numbers for supersession/updates |
| Material Match | Confirm material type matches original |
| Hardware Inclusion | Source all required fasteners and brackets |
| Certification | Verify parts meet SAE and Toyota standards |
3. Material-Specific Repair Techniques
- High-Strength Steel: Use manufacturer-approved welding or bolting techniques. Avoid excessive grinding or heat.
- Aluminum: Use dedicated aluminum tools and avoid cross-contamination. Riveting and bonding may be required.
- Composites: Follow specific adhesive and curing protocols; never attempt to weld.
Refer to Toyota repair manuals and SAE Standards for detailed procedures.
4. Precision Installation Procedures
- Dry-fit all components: Ensure perfect alignment before final installation.
- Torque fasteners to spec: Use a calibrated torque wrench on all mounting bolts.
- Restore all sensor brackets: Mount sensors in original positions and angles.
- Replace damaged clips or brackets: Do not reuse deformed hardware.
5. Sensor and System Recalibration
After installing structural and electronic components:
- Run OEM diagnostic tools: Clear and reset any error codes.
- Calibrate ADAS systems: Use Toyota-specific calibration targets and procedures.
- Verify airbag readiness: Check system status and perform a functional test if required.
6. Final Safety Inspection
- Alignment check: Confirm that bumper, hood, and fender gaps are uniform.
- Road test: Ensure all systems (brakes, steering, ADAS) function as designed.
- Document repairs: Record all part numbers, procedures, and calibrations for future reference.
Diagnostic Guidance: Spotting Hidden Front Structure Damage
Even if a Toyota’s exterior appears undamaged, subtle issues can lurk beneath the surface. Here’s how to detect them:
- Inspect for ripple marks: Look for subtle waves in the engine bay’s sheet metal.
- Check mounting points: Use a mirror and flashlight to inspect welds and bolt holes.
- Digital measurement: Compare critical dimensions to Toyota’s published specs.
- Sensor scan: Use an OBD-II scanner to identify any latent sensor or airbag faults.
If you’re unsure, consult a collision repair professional or reference our Toyota Bumper Reinforcement Guide for model-specific diagnostic tips.
Installation Tips: Achieving OEM-Level Fit and Finish
Installing a Toyota front bumper reinforcement is not a generic task—precision is essential. Follow these expert tips:
- Pre-fit before painting: Always test-fit the reinforcement and bumper cover before any paintwork.
- Use new fasteners: Many Toyota reinforcements require single-use bolts or clips.
- Align with reference marks: Factory stampings or paint dots indicate correct alignment positions.
- Double-check sensor orientation: Even a 1-2° misalignment can affect ADAS performance.
A meticulous approach ensures both aesthetics and safety are restored.
Maintenance and Post-Repair Inspection
Proper maintenance after a front structure repair is often overlooked but critical for long-term reliability:
- Regularly inspect for corrosion: Especially at welds, seams, and fastener locations.
- Monitor sensor function: Pay attention to warning lights or ADAS alerts.
- Check alignment annually: Even minor shifts can indicate underlying issues.
- Keep repair documentation: This is invaluable for future diagnostics or resale.
Advertisement
A disciplined maintenance routine preserves the integrity of your Toyota’s front structure for years to come.
Common Mistakes to Avoid in Toyota Front Structure Repairs
1. Using Non-OEM or Poor-Quality Parts
Aftermarket reinforcements may not match Toyota’s crash energy management or fitment standards. Always source from reputable suppliers and verify part numbers.
2. Neglecting Sensor Systems
Failure to recalibrate or properly mount sensors can disable safety systems or trigger false warnings.
3. Overlooking Fastener Specifications
Using incorrect bolts, reusing single-use fasteners, or failing to torque to spec can lead to loosening or structural failure.
4. Ignoring Material Differences
Repairing high-strength steel or aluminum as if it were mild steel can weaken the structure and compromise crash safety.
The Impact of Materials Technology on Repair Outcomes
Modern Toyotas incorporate cutting-edge materials for optimal weight, strength, and fuel efficiency. The US Department of Energy’s Materials Technologies initiative highlights the importance of correct repair techniques for these advanced materials. For example:
- Ultra-high-strength steel: Requires precise welding and cannot be straightened once deformed.
- Aluminum: Needs specialized tools and isolated workspaces to prevent galvanic corrosion.
- Composites: Must be repaired with manufacturer-approved adhesives and procedures.
Missteps in handling these materials can lead to invisible but critical weaknesses.
Regulatory and Safety Considerations
The National Highway Traffic Safety Administration (NHTSA) sets strict standards for vehicle safety equipment. Any deviation from OEM repair procedures or use of uncertified parts can result in:
- Failed inspections
- Insurance claim denials
- Increased liability in the event of another collision
Always ensure repairs comply with both Toyota and federal safety regulations.
Buying Guidance: Selecting the Right Toyota Bumper Reinforcement
When sourcing a replacement front bumper reinforcement for your Toyota:
- Use VIN-based lookup: Guarantees model, year, and trim compatibility.
- Check material specifications: Match steel, aluminum, or composite construction.
- Verify certification: Look for SAE and Toyota compliance markings.
- Choose reputable suppliers: AutoPartEx provides OEM-quality reinforcements with guaranteed fitment.
For more detailed part selection assistance, see our Toyota Front Bumper Reinforcement: Precision Fitment and Structural Integrity OEM Parts category page.
Checklist: Toyota Front Structure Repair Best Practices
| Task | Completed (✓/✗) |
|---|---|
| Inspect for visible and hidden damage | |
| Identify all affected materials | |
| Source OEM or certified replacement parts | |
| Dry-fit all components before final install | |
| Use new, correct-spec fasteners | |
| Follow material-specific repair procedures | |
| Mount and calibrate all sensors correctly | |
| Perform final safety and alignment checks | |
| Document all part numbers and procedures | |
| Schedule post-repair maintenance checks |
The AutoPartEx Advantage for Toyota Structural Repairs
AutoPartEx delivers unparalleled expertise and inventory for Toyota front structure repairs:
- VIN-based fitment guarantee: Eliminate guesswork and ensure perfect compatibility.
- OEM-quality parts: All reinforcements and structural components meet or exceed Toyota and SAE standards.
- Expert technical support: Access detailed repair guides and live assistance.
- Comprehensive resources: From Toyota Advanced Materials Crash Safety to model-specific fitment guides, we provide the knowledge and parts you need for a safe, professional repair.
Choose AutoPartEx for your next Toyota front structure repair and restore your vehicle’s safety, appearance, and value with confidence.
Conclusion: Protect Safety, Value, and Performance
Front structure repair on a Toyota is a demanding task that requires technical precision, deep product knowledge, and a commitment to safety. By following best practices—comprehensive assessment, OEM part selection, material-specific repairs, precise installation, and thorough system recalibration—you ensure your Toyota is restored to its original safety and performance standards.
The risks of shortcuts or substandard repairs are too great: compromised crash protection, electronic malfunctions, and diminished resale value. Use the resources and expertise of AutoPartEx to avoid these pitfalls and achieve results that meet or exceed OEM expectations.
References
Advertisement