Advertisement
Toyota Bumper Guard Case Studies
Toyota bumper guards are a practical upgrade for drivers seeking protection from minor impacts, road debris, and parking mishaps. However, real-world shop case studies reveal that improper installation can cause more harm than good—especially with modern Toyota models equipped with advanced driver-assistance systems (ADAS). This guide delivers immediate, actionable insights based on field experience, helping you avoid the most common pitfalls and preserve both safety and ADAS functionality. If you’re considering a bumper guard upgrade or replacement, this case-driven resource is essential reading. For a broader overview of Toyota bumper guard fitment and replacement, start with our Toyota Front Bumper Guard – Fitment, Replacement, and Expert Guide | AutoPartEx.
The Immediate Answer: Avoid These Toyota Bumper Guard Mistakes
The most common installation errors with Toyota bumper guards—especially on models from 2018 onward—stem from overlooking sensor integration, improper torqueing, and poor alignment with factory mounting points. These missteps can compromise airbag sensors, interfere with adaptive cruise control, and even trigger false positives in collision warning systems. Based on shop case studies, the top three ways to ensure a successful installation are:
- Verify ADAS sensor locations before starting.
- Use only Toyota-approved or OEM-equivalent mounting hardware.
- Perform a complete ADAS recalibration after installation.
Neglecting any of these steps can lead to costly rework, diminished safety, and potential liability.
The Hidden Problem: ADAS and Sensor Interference
While bumper guards are designed to add protection, their improper fitment can disrupt the delicate balance of modern vehicle safety systems. Toyota’s latest models—such as the Camry, RAV4, Highlander, and Tacoma—come equipped with radar, ultrasonic, and camera-based ADAS modules often mounted behind or near the front bumper fascia. Case studies from professional shops reveal that aftermarket bumper guards, especially those not engineered for specific Toyota models, may block radar beams, reflect signals erratically, or physically dislodge sensors.
Common ADAS-Related Issues
- Adaptive Cruise Control Failure: If a guard blocks the radar sensor, the system may fail to detect vehicles ahead, disabling adaptive cruise features.
- False Collision Warnings: Misalignment of the guard can cause ultrasonic sensors to misread obstacles, triggering unnecessary braking or alerts.
- Lane Keep Assist Errors: Camera interference or improper bumper guard mounting may cause lane departure warnings to malfunction.
Expanding the Problem: Real-World Shop Case Studies
Case Study 1: 2022 Toyota RAV4 – ADAS Malfunction After Aftermarket Guard Install
A reputable shop installed a non-OEM bumper guard on a 2022 RAV4. The customer immediately reported persistent collision warning alarms and intermittent cruise control disengagement. Diagnostic scans showed radar sensor misalignment by 12 degrees, traced to the guard’s mounting bracket pressing against the sensor housing. Resolution required removing the guard, recalibrating the radar, and installing a model-specific guard with proper clearances.
Case Study 2: 2020 Toyota Tacoma – Airbag Sensor Fault
A fleet maintenance center installed a heavy-duty steel bumper guard on a 2020 Tacoma. Weeks later, the airbag warning light illuminated. Investigation found the guard’s mounting bolts had pinched a harness for the front impact sensor, causing intermittent open-circuit faults. The shop replaced the damaged harness and switched to a guard with a verified Tacoma fitment, using only factory mounting points.
Case Study 3: 2021 Toyota Camry – Fuel Efficiency Drop
A DIY install of an oversized, non-aerodynamic bumper guard on a 2021 Camry led to a 7% drop in highway fuel economy, confirmed by customer logs and OBD-II data. The guard’s design increased drag and disrupted airflow to the lower grille, negatively affecting both efficiency and engine cooling.
Advertisement
Technical Deep Dive: How Toyota Bumper Guards Interact with Vehicle Systems
Understanding Toyota Bumper Construction
Modern Toyota bumpers are engineered as part of the vehicle’s safety envelope, integrating energy-absorbing materials, pedestrian protection features, and sensor mounts. According to the Department of Energy’s Materials Technologies, Toyota employs high-strength plastics, aluminum, and composite materials to balance protection with weight and fuel efficiency. Any add-on guard must interface with these materials without introducing stress concentrations or interfering with the bumper’s crumple zones.
ADAS Sensor Placement and Calibration
Toyota’s Safety Sense suite relies on millimeter-wave radar (typically behind the Toyota emblem), ultrasonic parking sensors (in the bumper skin), and forward-facing cameras (at the windshield or grille). Aftermarket or ill-fitting bumper guards can:
- Block radar fields of view (FOV)
- Cause sensor housings to flex or vibrate
- Reflect or scatter signals, causing ghost objects
Calibration is critical. Per NHTSA guidelines, any work that disturbs sensors or their mounting points requires recalibration using manufacturer-specific procedures.
The Solution Path: Best Practices for Bumper Guard Installation
Step 1: Confirm Model-Specific Fitment
Always select a bumper guard engineered for your exact Toyota model and year. Universal guards may physically fit but are likely to cause interference or mounting issues. Consult resources like Toyota Bumper Guard Fitment for verified compatibility.
Step 2: Pre-Installation Sensor Mapping
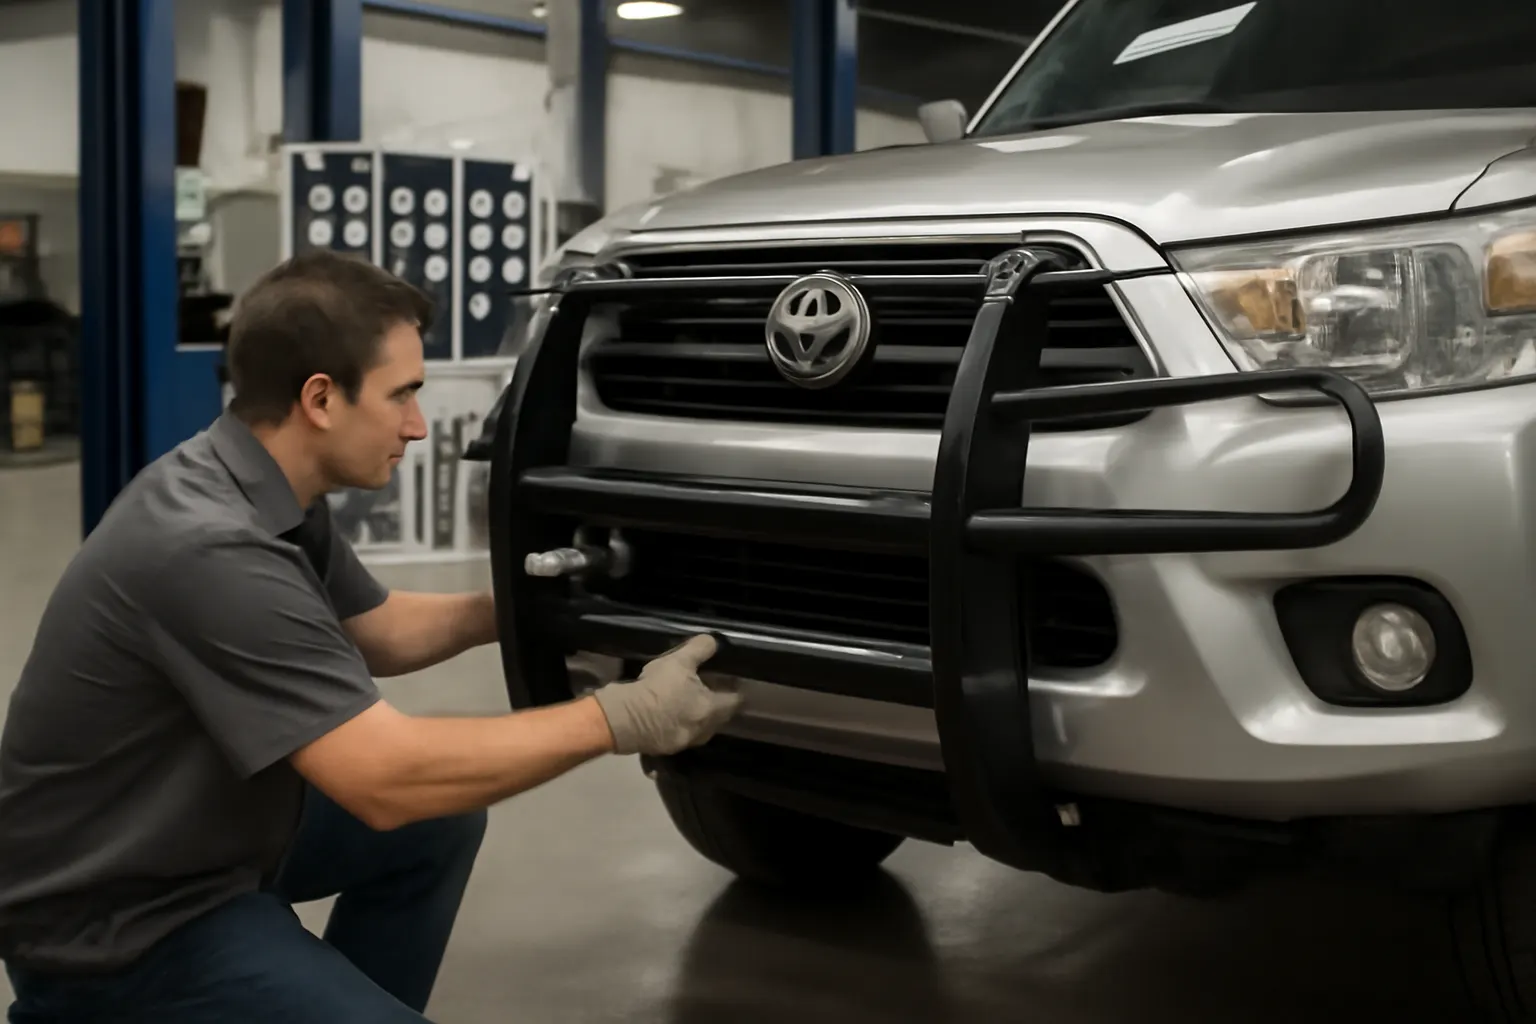
Before unbolting anything, map out all visible and hidden sensors using a scan tool or the vehicle’s service manual. Take photos of factory mounting points and routing for reference.
Step 3: Use Proper Hardware and Torque Specs
All mounting hardware should meet or exceed Toyota’s specifications. Over-torquing can distort bumper beams or crack plastic structures; under-torquing can allow guards to shift or rattle.
Step 4: Maintain Clearance and Alignment
Ensure the guard does not physically contact or shade any sensor, emblem, or harness. Use shims or spacers as required by the installation instructions.
Step 5: Post-Installation ADAS Calibration
Schedule a professional ADAS calibration after installation. Many Toyota models require dynamic (driving) or static (target-based) calibration procedures to restore full safety system functionality.
Diagnostic Checklist: Verifying a Successful Toyota Bumper Guard Installation
A disciplined post-installation inspection is essential. Use this checklist to confirm a safe, ADAS-compatible result:
| Step | Inspection Point | Pass/Fail Criteria |
|---|---|---|
| 1 | Guard alignment with bumper and body lines | No gaps, flush fit |
| 2 | ADAS sensor field of view (visual and scan tool) | No obstructions or error codes |
| 3 | Mounting hardware torque | Matches Toyota spec (see manual) |
| 4 | Harness and sensor routing | No pinching, stretching, or contact |
| 5 | Functional check of adaptive cruise, collision warning | All systems operate normally |
| 6 | Physical clearance to grille, lights, tow hooks | No interference |
| 7 | Visual check for paint or finish damage | None observed |
If any step fails, address the issue before returning the vehicle to service.
Sourcing the Right Toyota Bumper Guard: What to Look For
OEM vs. Aftermarket
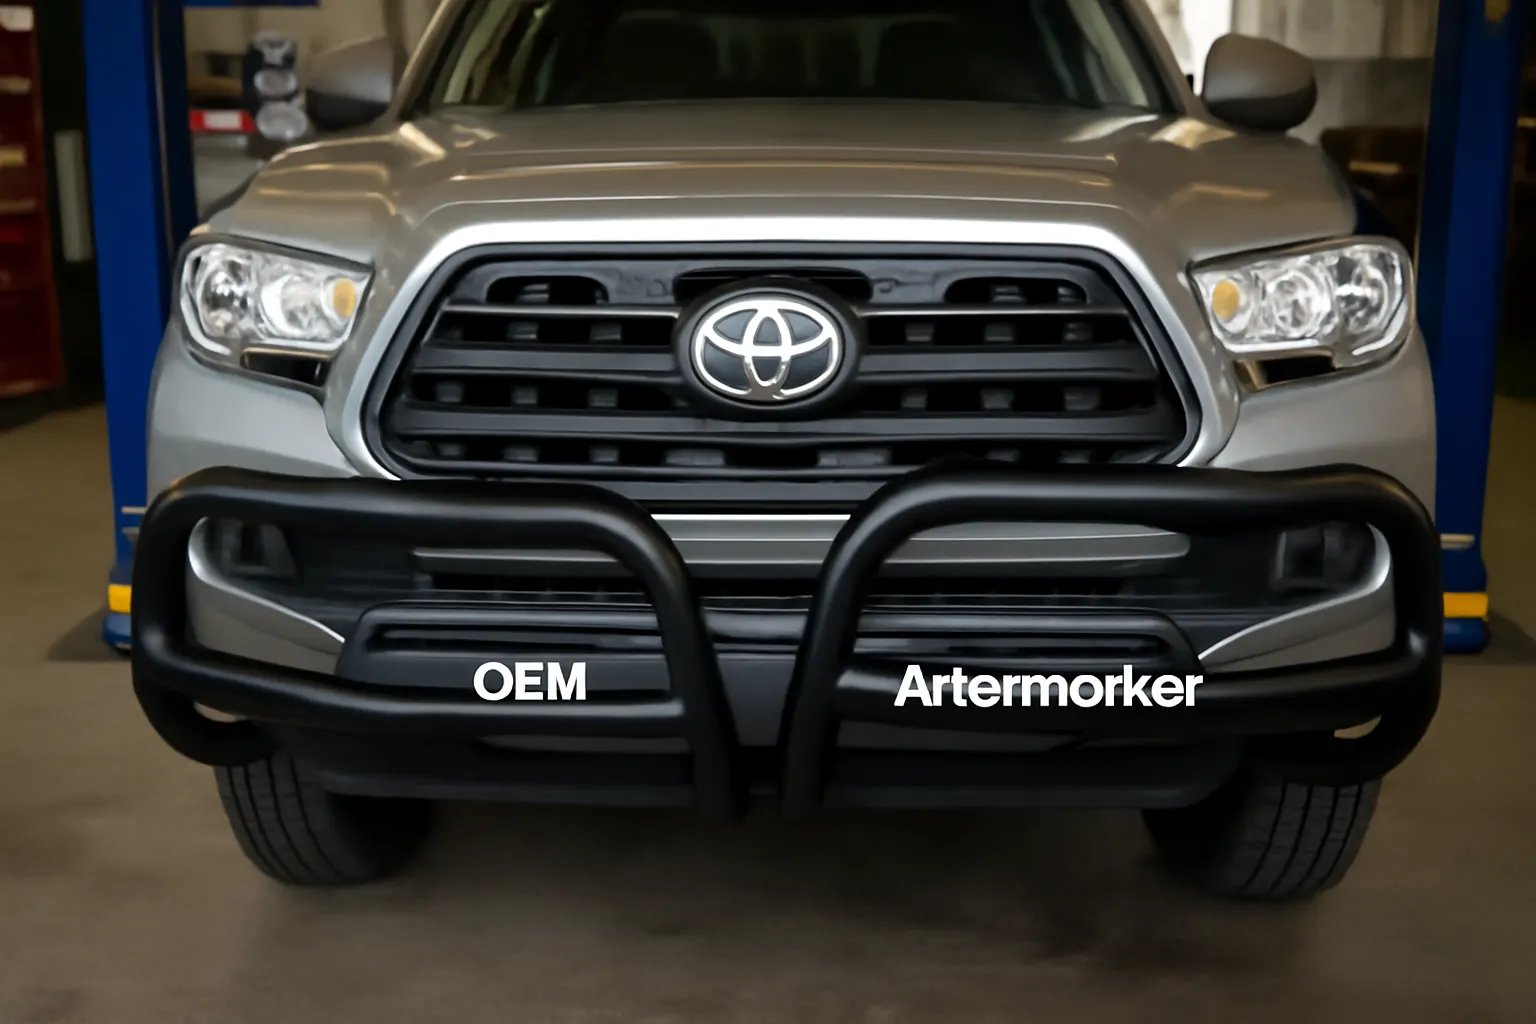
- OEM Guards: Engineered for precise fitment, full ADAS compatibility, and tested for crash safety.
- Aftermarket (Certified): Look for guards tested to SAE or NHTSA standards, with documentation on sensor compatibility.
- Aftermarket (Generic): Use extreme caution; verify fitment, hardware, and sensor clearance before purchase.
Material and Finish Considerations
Per the Department of Energy’s guidance on materials, lightweight, corrosion-resistant materials like aluminum and advanced plastics are preferred for fuel efficiency and durability. Heavy steel guards may offer more impact resistance but can increase vehicle weight, affecting handling and mileage.
Documentation and Support
Choose suppliers who provide installation guides, torque specs, and ADAS integration notes. Avoid products lacking technical documentation or customer support.
Advertisement
Maintenance and Ongoing Inspection: Keeping Your Guard (and Sensors) in Top Shape
Routine Checks
- Monthly: Inspect for loose hardware, rust, or physical damage.
- Quarterly: Scan for ADAS error codes; check for sensor lens cleanliness.
- After Any Impact: Re-inspect mounting points and schedule a recalibration if needed.
Cleaning
Use non-abrasive cleaners to avoid scratching sensor covers or the guard’s finish. Avoid pressure washers near sensor areas.
Seasonal Considerations
Winter road salt can accelerate corrosion, especially on steel guards. Rinse thoroughly and apply rust inhibitors as needed.
Recognizing and Resolving Sensor Issues Post-Installation
Even with careful installation, issues can arise. Watch for:
- Warning Lights: Immediate diagnostic scan required.
- Erratic ADAS Behavior: Sudden loss of adaptive cruise, lane keep, or collision warning.
- Unusual Noises or Vibrations: May indicate loose hardware or guard contact with body panels.
Troubleshooting Steps
- Scan for DTCs (Diagnostic Trouble Codes): Use a professional scan tool to identify sensor faults.
- Visual Inspection: Check for physical obstructions, pinched wires, or misaligned sensors.
- Consult Installation Records: Compare post-installation photos to factory condition.
- Schedule Recalibration: If in doubt, recalibrate all affected ADAS modules.
The Cost of Mistakes: Liability, Safety, and Rework
Case studies show that improper bumper guard installation can result in:
- Insurance Denials: If ADAS is compromised, insurers may deny claims after a collision.
- Safety Risks: Non-functioning safety systems put occupants and pedestrians at risk.
- Rework Costs: Shops report average rework costs of $350–$1,200, including labor and calibration.
Invest the time up front to avoid costly (and potentially dangerous) mistakes.
Shop Case Study: Fleet Retrofit Success Story
A regional delivery company retrofitted 30 Toyota Highlanders with OEM-equivalent bumper guards after repeated parking lot incidents. The shop followed these steps:
- Pre-mapped all ADAS sensors using manufacturer diagrams.
- Selected guards with ADAS compatibility certification.
- Installed using torque wrenches and factory hardware.
- Performed static and dynamic calibrations post-installation.
- Trained drivers to report any warning lights immediately.
Result: Zero ADAS faults after six months, with a 35% reduction in minor front-end damage claims.
Toyota Bumper Guard Fitment: Model-Specific Considerations
Each Toyota model presents unique challenges:
- Camry: Lower grille radar requires precise guard cutouts.
- RAV4: High trim levels may have additional corner sensors.
- Tacoma: Off-road variants may have skid plates or winch mounts to consider.
- Highlander: Hybrid models have additional cooling needs—guard design must not block airflow.
Consult Toyota Bumper Guard Fitment for detailed, model-specific guidance.
When to Seek Professional Help
DIY installation is possible for some Toyota models, but if your vehicle is equipped with adaptive cruise, lane keep assist, or parking sensors, professional installation and calibration are strongly advised. Certified shops have the tools to perform ADAS scans, torque checks, and calibrations to Toyota’s standards.
AutoPartEx: Your Trusted Source for Toyota Bumper Guard Solutions
AutoPartEx is dedicated to providing not just parts, but the technical expertise and shop-proven insights you need for safe, reliable bumper guard upgrades. Our curated catalog features only model-specific, ADAS-compatible guards, with installation support and technical documentation for every product. For a comprehensive guide to fitment and replacement, explore our Toyota Front Bumper Guard – Fitment, Replacement, and Expert Guide | AutoPartEx.
Looking for hands-on installation steps? See our Toyota Bumper Guard Installation walkthrough for detailed procedures.
Conclusion: Shop-Proven Success Starts with Preparation
Toyota bumper guards offer real protection, but only when installed with full consideration of modern vehicle systems. Shop case studies highlight the risks of shortcutting ADAS integration, hardware selection, and calibration. By following the diagnostic checklists, best practices, and sourcing guidance above, you ensure both safety and satisfaction—whether you’re a DIYer or a professional installer. For ongoing updates and technical bulletins, check out Toyota Bumper Guard Updates.
References
Advertisement