Advertisement
Toyota Bumper Cover Replacement Mistakes
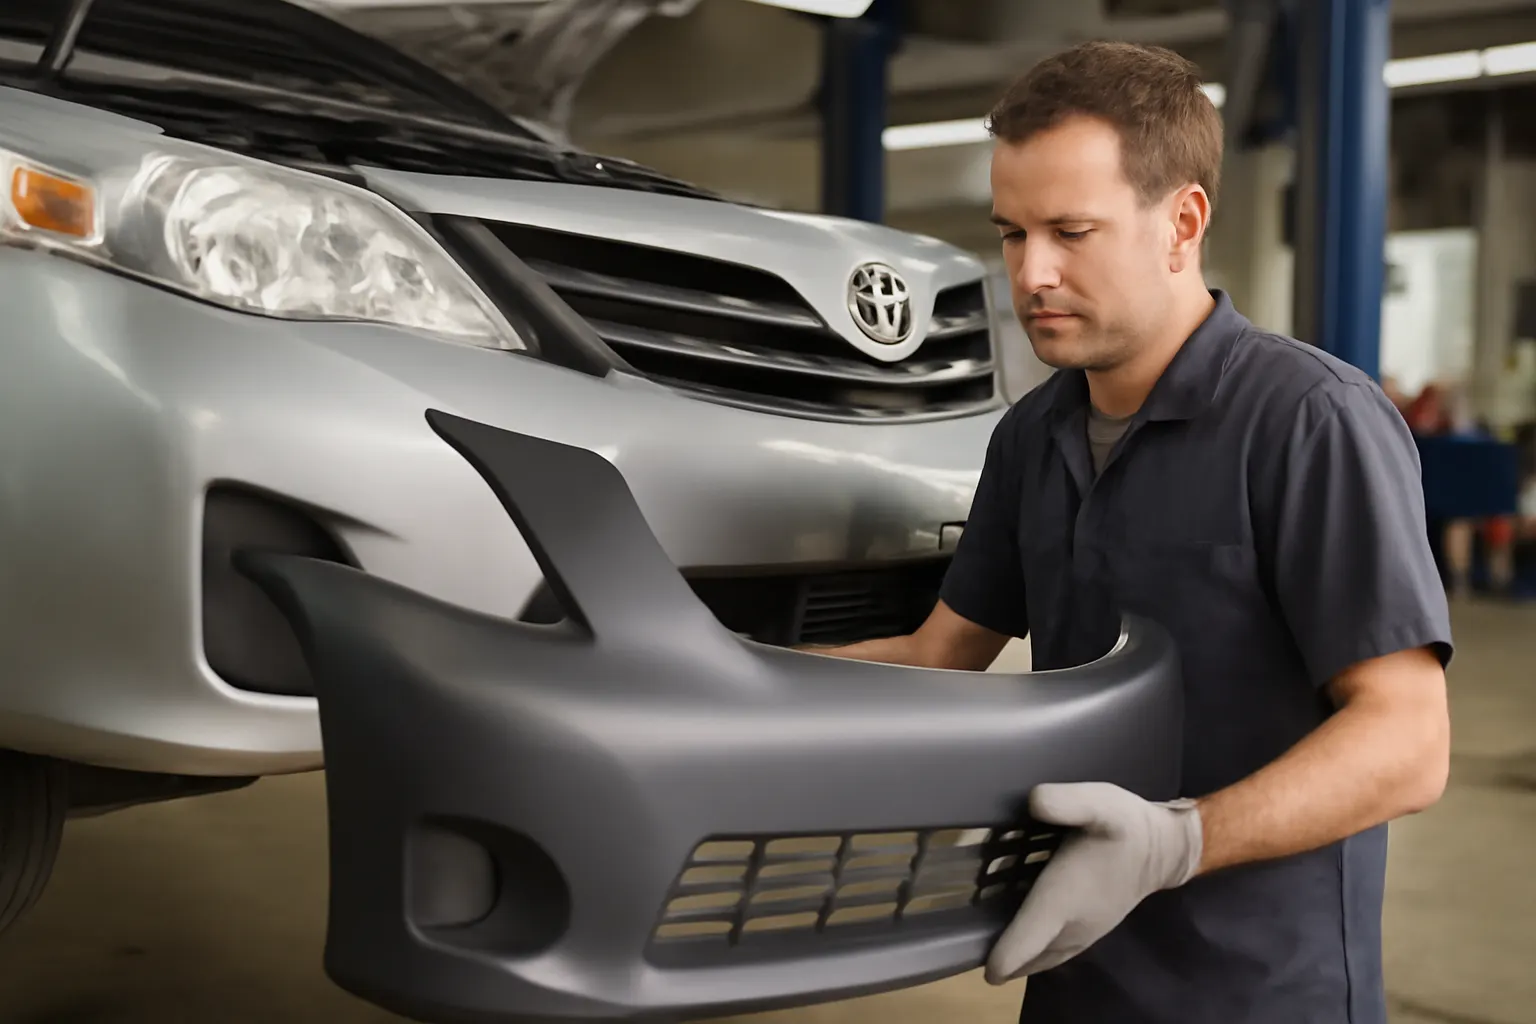
Replacing a Toyota bumper cover can seem straightforward, but a surprising number of DIYers and even some professionals make mistakes that lead to misfit, sensor errors, paint mismatch, and safety issues. This comprehensive guide details the most common Toyota bumper cover replacement pitfalls—and how to avoid them for a safe, factory-quality result.
For a deeper look at Toyota bumper cover fitment and technical requirements, see our Toyota Front Bumper Cover: Genuine Fitment, Replacement, and Technical Insights category page.
Immediate Answer: Avoid These Common Toyota Bumper Cover Replacement Mistakes
When replacing a Toyota bumper cover, the most common mistakes include:
- Selecting an incorrect or incompatible part (wrong year, trim, or sensor configuration)
- Failing to transfer or recalibrate sensors (parking, radar, or collision avoidance)
- Overlooking proper paint matching and surface prep
- Ignoring critical fasteners, clips, or brackets
- Using low-quality aftermarket covers with poor fitment
- Neglecting to check for structural or hidden damage beneath the old cover
To avoid these issues, always verify part compatibility using the VIN, follow Toyota’s installation procedures, and inspect all related components thoroughly before and after installation.
The Hidden Problem: Why Bumper Cover Replacement Is Not Just Cosmetic
Many Toyota owners and some repairers view bumper covers as purely cosmetic panels—easy to swap out after minor scrapes or parking lot mishaps. However, modern bumper covers are integral to:
- Safety sensor operation (parking assist, adaptive cruise, collision avoidance)
- Aerodynamics and fuel efficiency
- Structural energy absorption in low-speed impacts
- Compliance with federal safety and equipment standards (NHTSA Equipment)
Ignoring these aspects can lead to misaligned sensors, error codes, water leaks, increased wind noise, or even compromised safety in a collision. These hidden consequences are often not apparent until after the job is done—or until something goes wrong.
Deeper Technical Explanation: The Role of Bumper Covers in Modern Toyotas
Integrated Safety and Sensor Systems
Toyota’s front and rear bumper covers often house:
- Parking sensors
- Blind spot monitoring radar
- Adaptive cruise control radar
- Forward collision warning sensors
- Fog lamps and daylight running lights
These systems depend on precise alignment and specific material properties. For example, radar sensors require covers made from radar-transparent plastics of a specific thickness and composition (Materials Technologies). Installing a generic or incorrectly specified cover can block or distort sensor signals, leading to system malfunctions or false alerts.
Structural and Aerodynamic Functions
Bumper covers are engineered to work with the underlying impact bar, absorber, and brackets. They help manage airflow for cooling and fuel efficiency (Fuel Efficiency), direct air to radiators or intercoolers, and reduce drag. Gaps, misalignments, or missing air dams can increase wind noise, reduce efficiency, and even affect engine cooling.
Solution Path: Steps to a Successful Toyota Bumper Cover Replacement
1. Confirm Part Compatibility by VIN
Toyota model years, trims, and even mid-year updates can alter bumper cover shape, mounting points, and sensor locations. Always use your vehicle’s VIN to verify the correct part number, whether buying OE, OEM, or high-quality aftermarket.
Checklist: Bumper Cover Compatibility
- Confirm model year and trim (LE, SE, XLE, Limited, etc.)
- Check for sensor holes (parking, radar, etc.)
- Verify tow hook cover and fog light provisions
- Match paint code if ordering pre-painted
- Confirm with Toyota EPC (Electronic Parts Catalog) or trusted supplier
2. Inspect for Hidden Damage
Before removing the old cover, check for:
- Bent brackets or absorbers
- Cracked mounting tabs
- Misaligned headlights or grille
- Damage to sensors or harnesses
Repair or replace damaged components before installing the new cover.
3. Transfer All Hardware and Sensors Carefully
Modern Toyota bumper covers often require transferring:
- Parking sensors (and their grommets)
- Radar modules (with correct orientation)
- Wiring harnesses and clips
- Fog lamps and bezels
- Air dams or splash shields
Advertisement
Incorrect installation or damaged wiring can trigger error codes or disable safety systems.
4. Dry-Fit Before Painting or Final Assembly
Test-fit the new cover before painting or fully assembling. Check:
- Gap and flushness with fenders, hood, headlights, and grille
- Sensor alignment and unobstructed views
- All mounting points and clips
If fitment is off, stop and investigate—forcing the cover can cause cracks or permanent misalignment.
5. Paint Matching and Surface Preparation
Bumper covers are typically made from polypropylene or similar plastics, which require specific prep:
- Clean thoroughly with plastic-safe degreaser
- Use adhesion promoter before priming
- Apply flexible primer and basecoat
- Use Toyota’s paint code for color match
A poor paint match or improper prep leads to peeling, chipping, or obvious color differences.
6. Recalibrate Sensors and Test Systems
After installation, recalibrate all sensors per Toyota’s service manual procedures. This may require:
- Scan tool initialization
- Park-assist or radar alignment on a level surface
- Visual checks for sensor obstructions
Failure to recalibrate can disable safety features or cause persistent dashboard warnings.
In-Depth: Common Toyota Bumper Cover Replacement Mistakes
Mistake 1: Buying the Wrong Bumper Cover
Not all Toyota bumper covers are interchangeable, even within the same model year. Differences in sensor cutouts, fog lamp openings, and grille shapes can cause major fitment issues. Always cross-reference the part number with your VIN.
Mistake 2: Overlooking Sensor and Radar Provisions
Some covers come with blanking plates or require holes to be cut for sensors. Cutting or drilling plastic can lead to cracks, uneven holes, or sensor misalignment. It’s best to order a cover with pre-molded sensor locations.
Mistake 3: Poor Paint Preparation
Skipping adhesion promoter or using incompatible primers leads to paint flaking or bubbling. Polypropylene and TPO plastics need special prep for paint to bond securely.
Mistake 4: Improper Fastener and Clip Installation
Toyota uses a combination of bolts, push-clips, and plastic retainers. Missing or incorrect fasteners can cause the cover to sag, rattle, or detach at speed. Always replace worn clips and use OEM hardware when possible.
Mistake 5: Ignoring Underlying Structural Damage
If the impact bar, absorber, or brackets are bent, the new cover will not fit properly and may compromise crash performance. Inspect and repair all underlying components before installing the new cover.
Mistake 6: Forgetting to Recalibrate Sensors
Many Toyota models require sensor recalibration after bumper cover replacement. Skipping this step can disable critical safety systems or trigger persistent warning lights.
Diagnostic Guidance: Identifying Bumper Cover and Sensor Issues
After installation, check for these warning signs:
- Dashboard warning lights for park assist, radar, or collision avoidance
- Sensors not detecting obstacles or giving false alerts
- Visible gaps, misalignment, or uneven panel fit
- Unusual wind noise or water leaks in the front cabin
- Paint mismatch or peeling
A scan tool can help diagnose sensor errors. If issues persist, double-check part compatibility, sensor installation, and mounting hardware.
Installation Checklist: Toyota Bumper Cover Replacement
Use this step-by-step checklist for a smooth, error-free installation:
- Verify the correct bumper cover using VIN and part number
- Inspect all mounting points, brackets, and absorbers for hidden damage
- Remove the old cover carefully, saving all fasteners and clips
- Transfer sensors, wiring, and hardware to the new cover
- Dry-fit the cover and check all gaps and alignments
- Prep and paint the cover using proper plastic procedures
- Install the cover, tightening all fasteners to Toyota torque specs
- Reconnect all wiring and test sensor operation
- Recalibrate sensors using a scan tool and follow Toyota procedures
- Check for warning lights, test all safety systems, and inspect final fitment
Advertisement
Sourcing the Right Toyota Bumper Cover: OE, OEM, or Aftermarket?
OE vs. OEM vs. Aftermarket
- OE (Original Equipment): Made by Toyota or its direct suppliers, guaranteed fit and finish, but usually the most expensive.
- OEM (Original Equipment Manufacturer): Made by the same manufacturer as Toyota’s OE part but sold under a different brand.
- Aftermarket: Wide range of quality. Some are well-engineered, while others may lack precise fitment, proper sensor cutouts, or durable materials.
What to Look For
- Material: Ensure the cover is made from impact-resistant polypropylene or TPO, not brittle ABS.
- Sensor Provisions: Pre-molded holes for all sensors.
- Warranty: Choose reputable brands with a fitment guarantee.
- Paintable Surface: Some covers come primed and ready to paint, while others are raw plastic.
For more on material selection and engineering, see Toyota Bumper Cover Materials.
Paint Matching: Achieving a Factory Finish
Toyota uses unique paint codes and multi-layer finishes. To achieve a near-invisible repair:
- Obtain the correct paint code from the driver’s door jamb or Toyota EPC
- Work with a professional body shop for tri-coat or metallic colors
- Blend into adjacent panels if possible for best match
- Use flexible clearcoat to prevent cracking
DIY spray jobs rarely match perfectly, especially on metallic or pearl finishes. If appearance is critical, professional paintwork is strongly recommended.
Sensor and System Recalibration: Why It Matters
Modern Toyota bumpers play a critical role in ADAS (Advanced Driver Assistance Systems). Even small misalignments can:
- Cause adaptive cruise control to malfunction
- Disable automatic emergency braking
- Trigger false collision warnings
- Cause parking sensors to miss obstacles
Toyota’s service manuals specify recalibration procedures, often requiring level ground, precise measurements, and a scan tool. Skipping this step can compromise both convenience and safety.
For detailed fitment and installation procedures, see Toyota Front Bumper Cover Installation.
Maintenance and Inspection: Keeping Your Bumper Cover in Top Shape
After replacement, regular inspection helps prevent future issues:
- Check fasteners and clips at every oil change
- Inspect for paint chips or cracks after winter or off-road driving
- Clean sensors and camera lenses regularly
- Watch for water intrusion or fogging near sensor areas
Early detection of loose hardware or sensor misalignment can prevent expensive repairs and ensure all safety features function as intended.
When to Seek Professional Help
While many experienced DIYers can handle bumper cover replacement, professional installation is strongly recommended if:
- Your Toyota has advanced safety sensors or radar
- You lack access to a scan tool for recalibration
- There is structural damage to brackets or absorbers
- Paint matching is critical for resale or lease return
A professional body shop can ensure correct fitment, system recalibration, and a flawless paint finish.
AutoPartEx Positioning: Your Trusted Source for Toyota Bumper Covers
AutoPartEx specializes in genuine and high-quality replacement Toyota bumper covers. Our fitment database ensures you get the correct part the first time, and our technical guides help you avoid the most common mistakes. Explore our Toyota Front Bumper Cover: Genuine Fitment, Replacement, and Technical Insights category for more technical resources, or consult our Toyota Bumper Cover Fitment guide for in-depth compatibility checks.
Whether you’re a seasoned DIYer or a professional installer, AutoPartEx helps you get the job done right—first time, every time.
The Expert Action: Ensure Safety, Fitment, and Finish
Replacing your Toyota’s bumper cover is more than a cosmetic fix. Correct part selection, sensor handling, and installation technique are crucial for both safety and aesthetics. Always:
- Use your VIN to verify part compatibility
- Inspect for hidden damage and repair as needed
- Transfer and recalibrate all sensors
- Follow manufacturer-recommended paint and installation procedures
- Test all systems before returning the vehicle to service
By following these best practices—and leveraging trusted resources like AutoPartEx—you’ll avoid the most common Toyota bumper cover replacement mistakes and ensure your vehicle looks and performs as intended.
References
Advertisement