
Advertisement
Bumper Cover Installation Blog
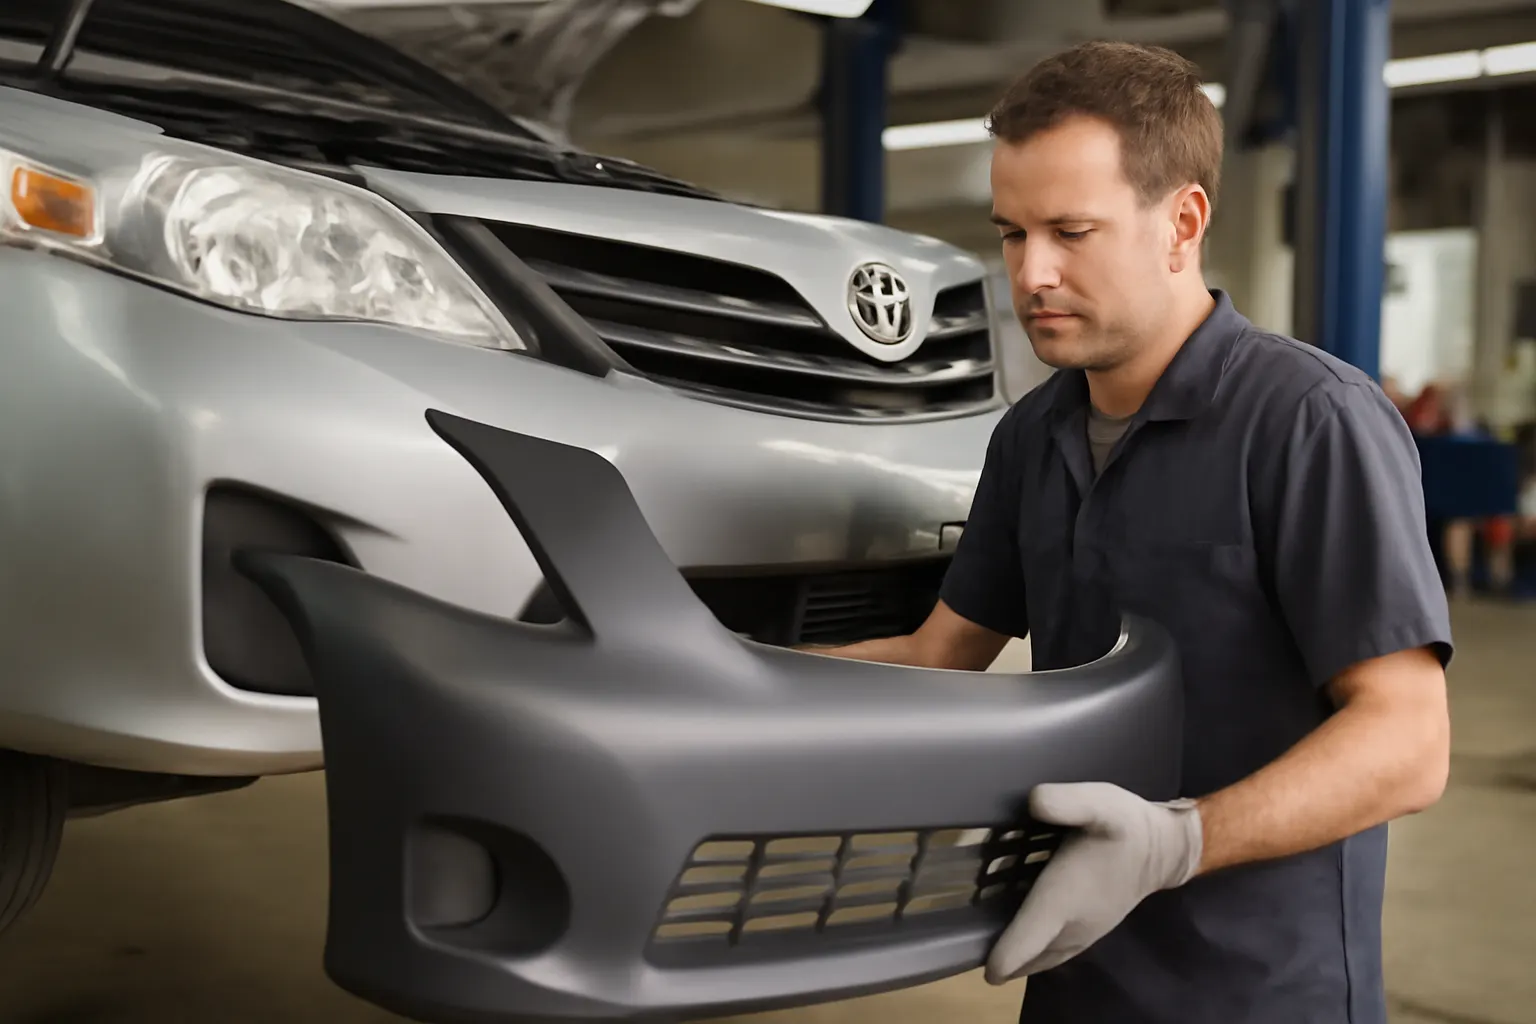
Replacing a Toyota front bumper cover is a task that seems straightforward on the surface, but professional installers know that the difference between a seamless fit and a problematic repair often comes down to attention to detail, diagnostic accuracy, and understanding modern vehicle systems. In this comprehensive guide, the AutoPartEx Technical Editorial Team distills years of installer experience into actionable advice, checklists, and technical insights. Whether you’re a DIY enthusiast or a seasoned technician, this blog will help you avoid the most common pitfalls and ensure your Toyota’s front bumper cover is installed safely, correctly, and to OEM standards.
For a broader look at Toyota bumper cover fitment, diagnostics, and sourcing, see our Toyota Front Bumper Cover: OEM Fitment, Diagnostics & Sourcing Guide.
Immediate Answer: The Essentials of Toyota Bumper Cover Installation
When replacing a Toyota front bumper cover, ensure you have the correct OEM or high-quality aftermarket part, verify all mounting hardware and sensor brackets, and follow a systematic removal and installation process. Most installation issues stem from misaligned brackets, missed fasteners, or overlooked sensor calibration. Always double-check fitment and safety systems before road use.
Key Steps for Success:
- Confirm part compatibility using VIN or Toyota part numbers.
- Inspect mounting points, hardware, and associated components for damage.
- Transfer all sensors, clips, and brackets from the original cover as required.
- Test all safety systems (sensors, lights) after installation.
- Follow torque specs and sequence for fasteners per Toyota documentation.
The Hidden Problem: Why Bumper Cover Replacements Go Wrong
Professional installers consistently report that the majority of bumper cover installation failures are not due to poor workmanship, but to hidden issues that only become apparent after the job is done. These include improper sensor mounting, misaligned body lines, and missed diagnostic trouble codes (DTCs) related to advanced driver assistance systems (ADAS).
Common Overlooked Issues:
- Sensor misalignment or omission: Many modern Toyotas use front bumper-mounted sensors for collision avoidance and parking assist. Failing to correctly transfer or align these can trigger warning lights or disable safety features.
- Incorrect fastener use: Mixing up bolts, clips, or push-pins leads to loose or uneven fitment, rattles, and potential for the cover to detach at speed.
- Unseen bracket or tab damage: Impact that damages the bumper often distorts underlying brackets or mounting points, which, if left unaddressed, compromise the new cover’s fit and longevity.
- Paint and finish mismatch: Even with correct installation, a poor paint match or finish can make the repair obvious and reduce resale value.
- Missed DTCs: Modern Toyotas may log DTCs if sensors or lights are disconnected during installation. Failing to clear or address these codes can affect vehicle operation or inspection compliance.
Expanding the Problem: Technical and Safety Implications
The consequences of an improper bumper cover installation extend beyond aesthetics. According to the National Highway Traffic Safety Administration (NHTSA), bumper systems are integral to vehicle crashworthiness and safety equipment compliance [^1]. Misaligned or loosely fitted covers can impair airbag deployment timing, reduce pedestrian safety, and compromise the function of ADAS features such as pre-collision braking.
Technical Risks Include:
- Compromised crash energy absorption: The front bumper cover, in conjunction with the reinforcement bar and absorbers, is designed to manage impact forces. Poor fitment can reduce effectiveness.
- Sensor and camera malfunction: Toyota’s Safety Sense systems rely on precisely positioned sensors. A cover that sits even a few millimeters off-spec can cause misreads or system shutdowns.
- Water intrusion and corrosion: Gaps or misaligned seals allow water to reach electrical connectors and metal supports, accelerating corrosion and leading to expensive repairs.
- Fuel efficiency impact: Aerodynamic drag increases with misaligned body panels, and while minor, this can have a measurable effect on fuel economy over time [^2].
Diagnostic Best Practices Before Removal
Before removing a damaged Toyota front bumper cover, a thorough diagnostic process is essential. This ensures that all related components are identified, and hidden damage is documented.
Pre-Removal Diagnostic Checklist:
Advertisement
- Visual inspection: Check for cracks, dents, or misalignment in adjacent panels (fenders, hood, grille).
- Sensor scan: Use an OBD-II scanner to check for stored DTCs related to front sensors, lights, or ADAS modules.
- Mounting hardware audit: Identify all fasteners, clips, and brackets; note any that are missing, broken, or corroded.
- Underlying structure check: Look for deformation in bumper reinforcement bars, absorber pads, or radiator supports.
- Photographic documentation: Take reference photos of sensor locations, wiring routes, and fastener types for reassembly.
Removal Process: Step-By-Step Guidance
Removing a Toyota front bumper cover can be straightforward if approached methodically. Rushing this process leads to broken tabs, lost fasteners, and damaged paint.
Stepwise Removal Process
- Disconnect the battery: Prevent accidental airbag deployment or electrical shorts, especially if working near sensors.
- Remove underbody shields and splash guards: These often conceal critical fasteners.
- Detach wheel arch liners: Access side fasteners by turning the wheels or removing the front wheels as needed.
- Unclip grille and trim pieces: Use a trim removal tool to avoid scratching painted surfaces.
- Disconnect wiring harnesses: Carefully unplug fog lights, sensors, and washer jets.
- Remove all fasteners: Keep track of bolt and clip locations; Toyota often uses multiple fastener types.
- Gently pull bumper cover free: Start from the sides and work towards the center to avoid stressing plastic tabs.
Tip: Store all hardware in labeled containers for quick reference during reinstallation.
Installation Pitfalls: What the Pros See Most
Professional installers repeatedly encounter a handful of recurring mistakes during bumper cover installation. Addressing these upfront saves time, money, and frustration.
Most Common Pitfalls:
- Forcing the cover into place: If the cover doesn’t align easily, something is likely bent or mispositioned underneath.
- Skipping test fits: Dry-fitting the cover before final installation reveals alignment or interference issues.
- Ignoring sensor calibration: Many Toyota models require sensor recalibration after bumper cover replacement. Skipping this step can disable ADAS features.
- Using generic clips or fasteners: OEM-specific hardware ensures correct fit and retention. Universal clips often loosen or fail.
- Neglecting torque specs: Over-tightening or under-tightening fasteners can crack plastic or allow the cover to shift.
Sensor and Electronics Transfer: Critical Steps for Modern Toyotas
Toyota’s increasing reliance on advanced sensors and electronics in the front bumper area makes careful component transfer essential. Failing to do so can compromise vehicle safety and function.
Key Components to Transfer
| Component | Transfer/Check? | Notes |
|---|---|---|
| Parking sensors | Yes | Mark locations, check orientation |
| Pre-collision radar | Yes | Ensure bracket is undamaged |
| Ambient temperature sensor | Yes | Confirm wiring integrity |
| Fog lights/DRLs | Yes | Check bulb and connector condition |
| Washer nozzles/hose | Yes | Inspect for leaks or cracks |
| Mounting brackets | Yes | Replace any bent or broken parts |
Expert Tip: Reference your photographic documentation to ensure each component is reinstalled in its original position.
Fitment Verification and Alignment
Once the new bumper cover is in place, careful fitment verification ensures a factory-quality result. This step is often rushed, leading to visible gaps, uneven lines, and future problems.
Fitment Checklist:
- Panel gaps: Check for uniform gaps between bumper, fenders, and hood.
- Flush mounting: The cover should sit flush with adjacent panels, with no protrusions or recesses.
- Fastener engagement: All bolts, clips, and tabs must be fully seated and hold the cover securely.
- Sensor alignment: Use scan tools or manufacturer procedures to verify sensor function and alignment.
- Road test: After installation, drive the vehicle at low speed to check for rattles, vibration, or warning lights.
Post-Installation Diagnostics and Calibration
Modern Toyota vehicles often require post-installation diagnostics and, in some cases, calibration of ADAS components. This step is critical for both safety and compliance.
Post-Installation Steps:
- Scan for DTCs: Use a diagnostic tool to check for any new or unresolved codes.
- Calibrate sensors: Follow Toyota or SAE procedures for radar and camera calibration if required.
- Check lighting and electronics: Verify proper operation of all transferred components.
- Inspect for leaks: Ensure washer hoses and nozzles are secure and leak-free.
Advertisement
Note: Skipping calibration can result in system errors, warning lights, or reduced crash avoidance performance [^1].
Materials and Paint: Matching OEM Standards
Toyota bumper covers are manufactured from advanced polymers and composites for weight savings and impact resistance [^3]. When sourcing a replacement, matching OEM material and finish is crucial for durability and appearance.
Material Considerations:
- OEM vs. aftermarket: OEM covers use Toyota-specified materials and fitment tolerances. Quality aftermarket options can be equivalent, but verify material specs and certifications before purchase. See our Oem Vs Aftermarket Toyota Bumper Covers for a detailed comparison.
- Painting: Professional painting and clear-coating are recommended to ensure color match and UV resistance. DIY paint jobs often lack durability and may not match factory finish.
- Surface prep: Proper sanding, priming, and cleaning before painting are essential to avoid peeling or bubbling.
Sourcing the Right Bumper Cover: OEM, Aftermarket, and Fitment Guides
Selecting the correct bumper cover is foundational to a successful installation. Errors here can lead to wasted time, additional costs, and repeat repairs.
Sourcing Checklist:
- Use VIN for part lookup: The vehicle identification number ensures you order the precise part for your Toyota’s year, model, and trim.
- Reference fitment guides: Consult resources like the Toyota Front Bumper Cover Guide for part numbers, supersession info, and compatibility notes.
- Check for included hardware: Some covers come with mounting clips or brackets; others require separate purchase.
- Beware of counterfeit parts: Only buy from reputable suppliers to avoid substandard materials or fitment issues.
- Understand part supersession: Toyota frequently updates part numbers; see our Toyota Part Supersession Guide for details on compatible replacements.
Maintenance and Inspection After Installation
Proper maintenance after installation extends the life of your new bumper cover and prevents future issues.
Maintenance Tips:
- Regular washing: Remove road salt, debris, and bugs to prevent paint damage and corrosion.
- Inspect fasteners: Check all mounting points periodically, especially after minor impacts or harsh weather.
- Monitor sensor function: Pay attention to warning lights or error messages from ADAS systems.
- Touch up chips: Address paint chips promptly to prevent moisture intrusion and plastic degradation.
Advertisement
Professional Versus DIY Installation: When to Call an Expert
While many Toyota owners successfully replace bumper covers themselves, certain situations demand professional expertise:
- Extensive underlying damage: Bent reinforcement bars, damaged sensors, or frame misalignment require professional tools and experience.
- Advanced sensor calibration: Shops with manufacturer-grade scan tools can perform required recalibrations to restore full ADAS function.
- Paint matching: Professional refinishers can blend new paint with existing panels for a seamless appearance.
- Warranty and insurance compliance: Some repairs must be performed by certified technicians to maintain coverage.
AutoPartEx: Your Partner for Toyota Bumper Cover Solutions
At AutoPartEx, we combine deep technical expertise with a commitment to quality and safety. Our curated catalog, technical guides, and expert support help you source the right Toyota front bumper cover, avoid common pitfalls, and achieve professional results—whether you’re a DIYer or a repair shop.
Explore our Toyota Front Bumper Cover: OEM Fitment, Diagnostics & Sourcing Guide for step-by-step instructions, fitment data, and sourcing tips. For detailed material and finish comparisons, see our Oem Vs Aftermarket Toyota Bumper Covers.
Actionable Checklist: Toyota Bumper Cover Installation
| Step | Action Item | Completed |
|---|---|---|
| 1. Verify Part | Confirm part number and compatibility | |
| 2. Inspect Components | Check brackets, sensors, and fasteners | |
| 3. Document Layout | Take photos of original setup | |
| 4. Disconnect Battery | Prevent electrical issues | |
| 5. Remove Old Cover | Follow methodical removal steps | |
| 6. Transfer Components | Move all sensors, lights, brackets as needed | |
| 7. Test Fit New Cover | Dry-fit to check alignment | |
| 8. Final Install | Secure with all correct fasteners | |
| 9. Calibrate/Scan | Run diagnostics and calibrate sensors | |
| 10. Inspect & Road Test | Check fitment, function, and perform road test |
Conclusion: Achieving Factory-Level Results
Replacing a Toyota front bumper cover is a blend of art and science. With the right preparation, attention to detail, and technical know-how, you can restore your vehicle’s appearance, safety, and functionality to OEM standards. Always prioritize diagnostic accuracy, use quality components, and don’t hesitate to seek professional help for advanced repairs or calibration.
For more in-depth fitment, diagnostics, and sourcing information, visit our Toyota Front Bumper Cover: OEM Fitment, Diagnostics & Sourcing Guide.
References
Advertisement
