Advertisement
Looking to transform your SterlingRover into a capable off-road machine? Whether you own a classic Discovery, Defender, or a modern SterlingRover model, the right upgrades can unlock significant gains in traction, durability, and real-world trail performance. This guide cuts through the noise—detailing proven off-road upgrade paths, fitment strategies, and real-world results for SterlingRover owners. We’ll also highlight essential safety, sourcing, and technical considerations, helping you avoid common pitfalls and make the most of your investment.
Quick Answer:
The most effective off-road upgrades for SterlingRover vehicles include all-terrain or mud-terrain tires, heavy-duty suspension lifts, reinforced underbody protection, locking differentials, and upgraded recovery gear. These modifications, when selected for your specific model and driving environment, yield the greatest improvements in ground clearance, traction, and vehicle survivability. However, not all aftermarket parts are created equal—proper fitment, material quality, and safety standards (such as SAE and NHTSA guidelines) are critical to reliable off-road performance.
For comprehensive SterlingRover parts selection, visit the SterlingRover OEM & Aftermarket Auto Parts | Heritage, Fitment, and Technical Guide or browse SterlingRover Parts Categories to jumpstart your upgrade path.
Why Off-Road Upgrades Matter for SterlingRover Owners
SterlingRover’s reputation for off-road prowess is built on robust engineering, but factory configurations often prioritize comfort and emissions over ultimate trail performance. For owners aiming to tackle more challenging terrain—mud, rock, sand, or steep grades—factory limitations quickly become apparent:
- Ground clearance is often marginal for technical trails.
- Tires may lack sidewall strength or aggressive tread for deep mud or rocks.
- Suspension components can bottom out under heavy articulation.
- Open differentials limit traction on uneven surfaces.
- Underbody components are vulnerable to rocks and debris.
Upgrading with purpose-built parts not only addresses these weaknesses but can also extend the service life of your SterlingRover by reducing wear on critical systems.
The Hidden Problem: Compatibility, Quality, and Safety Risks
It’s tempting to bolt on the most aggressive-looking parts—but not every upgrade is a true fit for every SterlingRover variant. Key hidden issues include:
- Fitment mismatches: Even within the same model year, SterlingRover vehicles can have major differences in suspension geometry, drivetrain, and body structure.
- Material quality: Off-brand or counterfeit parts may use subpar alloys or plastics, creating safety hazards or premature failures.
- Safety compliance: Non-compliant lighting, bumpers, or recovery points can fail regulatory checks or void insurance.
- Recalls and standards: Aftermarket parts lacking NHTSA or SAE certification may introduce new vulnerabilities or interact poorly with OEM safety systems.
Without careful selection, owners risk reduced reliability, increased maintenance costs, or even catastrophic failure on the trail.
Understanding the SterlingRover Platform: Classic vs. Modern
Before investing in upgrades, it’s essential to distinguish between classic SterlingRover platforms (e.g., Discovery I/II, Defender 90/110, Range Rover Classic) and modern generations (e.g., Discovery 5, Defender L663, Range Rover L405/L460). Each has unique strengths and limitations:
- Classic models: Favor solid axles, mechanical simplicity, and a vast aftermarket. Suspension lifts, differential upgrades, and basic armor are straightforward.
- Modern models: Incorporate advanced electronics (traction/stability control, air suspension), monocoque or hybrid chassis, and complex CAN-bus networks. Upgrades must integrate with vehicle electronics and meet stricter safety standards.
Knowing your platform’s architecture is vital for selecting compatible, effective upgrades—and for ensuring you don’t compromise core safety or drivability.
Core Off-Road Upgrades: What Actually Works?
1. Tires: The Single Most Impactful Upgrade
Why it matters:
Tires are your only contact with the terrain. Upgrading to aggressive all-terrain (A/T) or mud-terrain (M/T) tires with reinforced sidewalls provides immediate improvements in grip, puncture resistance, and ride quality over rough surfaces.
Key considerations:
- Size: Stay within the max allowable diameter for your model to avoid rubbing or speedometer errors.
- Load rating: Match or exceed OEM specs to maintain safety and stability.
- Tread pattern: Choose A/T for mixed use, M/T for deep mud or rock crawling.
Checklist: Selecting Off-Road Tires for SterlingRover
- Verify diameter and width fitment using VIN or model-specific data.
- Check load/speed rating against OEM requirements.
- Select tread pattern for intended terrain (A/T, M/T, hybrid).
- Inspect sidewall ply rating for puncture resistance.
- Confirm wheel offset/backspacing compatibility.
Advertisement
2. Suspension Lifts and Upgrades
Why it matters:
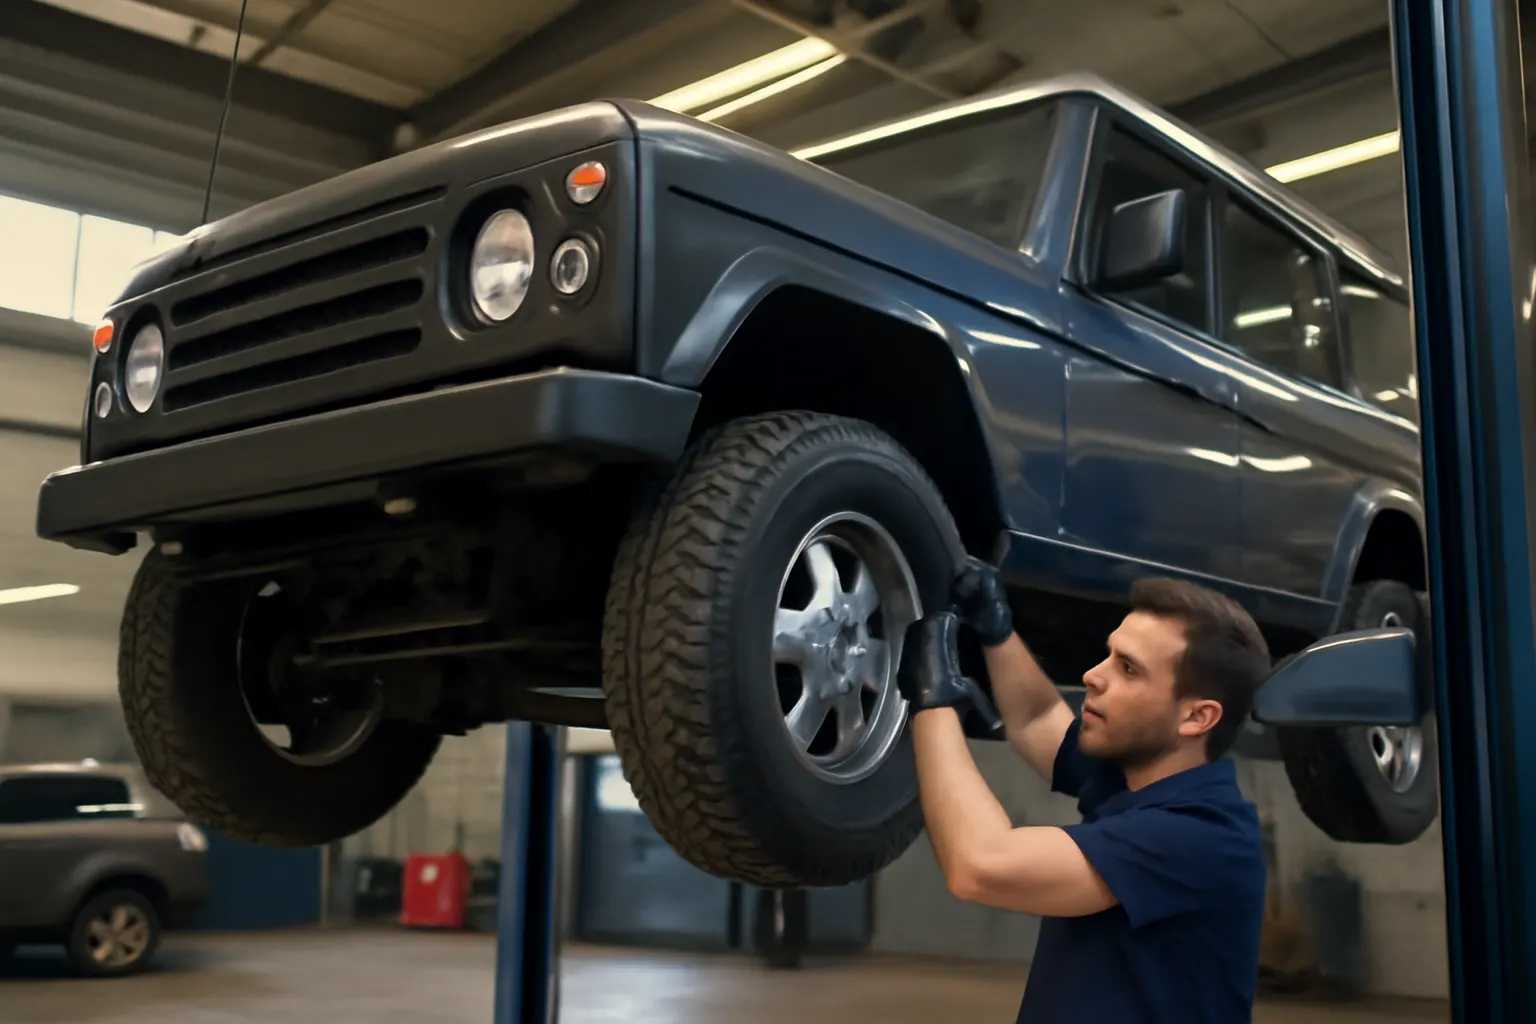
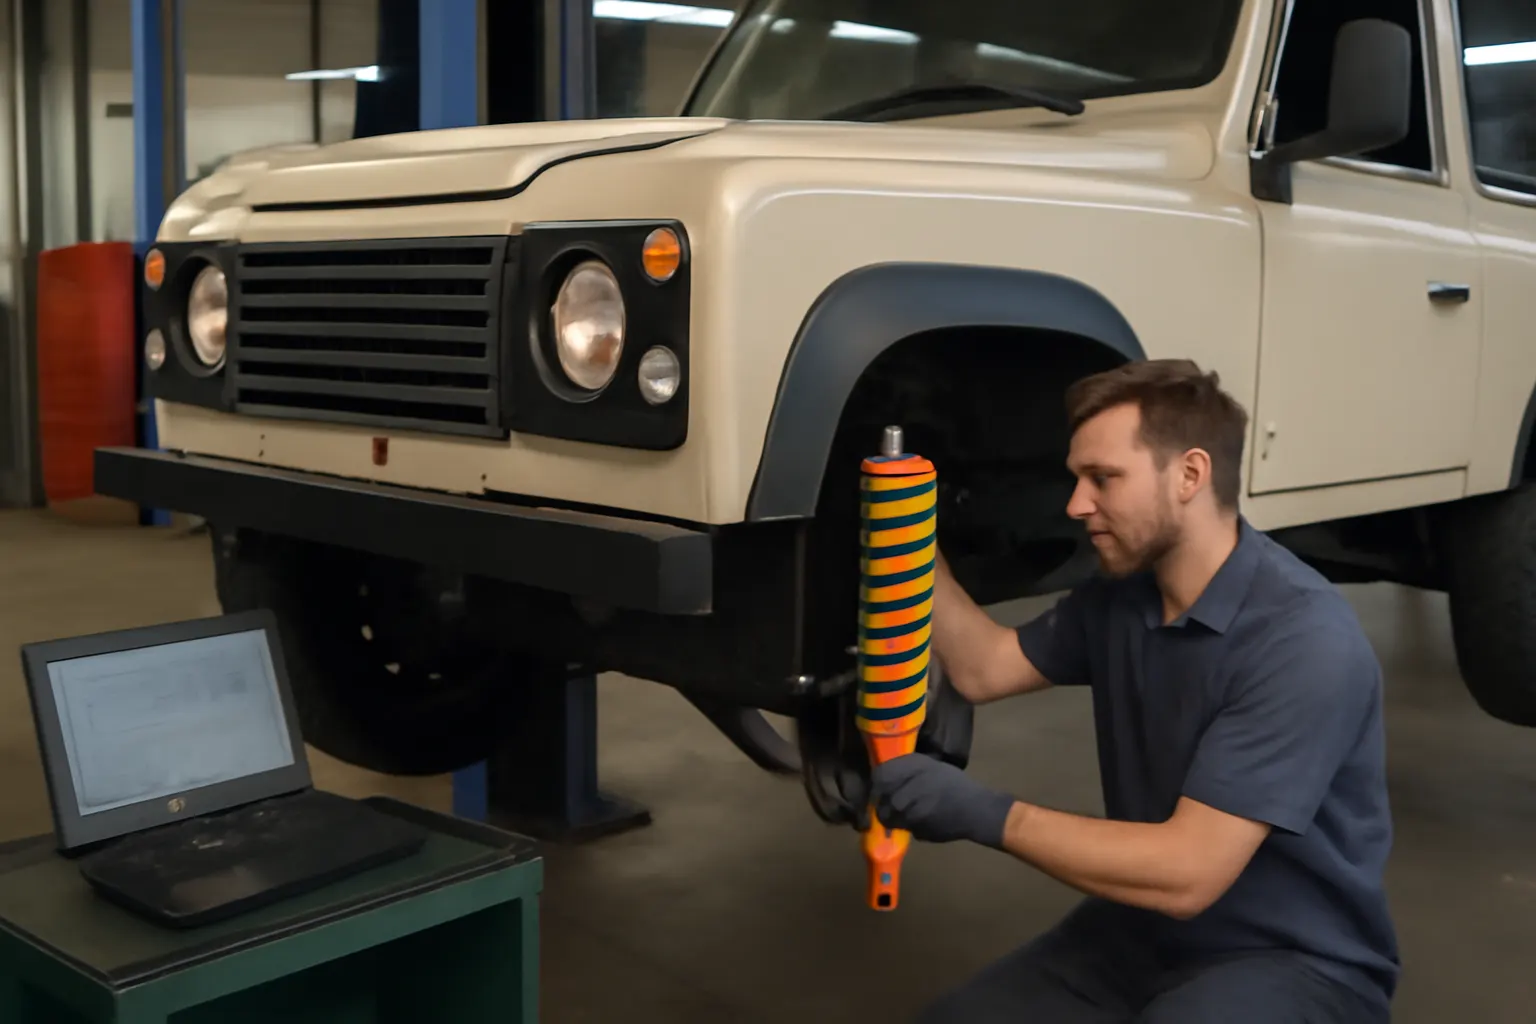
A quality suspension lift (2–3 inches) increases ground clearance and articulation, allowing your SterlingRover to clear larger obstacles and maintain traction on uneven terrain. Upgraded shocks and springs also improve ride quality under load.
Technical notes:
- Classic models: Coil spring spacers or long-travel shocks are typical. Watch for driveshaft and brake line length.
- Modern models: Air suspension modules may require recalibration. Aftermarket lifts must not interfere with electronic ride control.
Installation tips:
- Always use components tested to SAE standards.
- After installation, have alignment checked and recalibrated.
- Inspect for interference with ABS/traction control sensors.
3. Underbody Protection: Skid Plates and Rock Sliders
Why it matters:
OEM underbody panels are often lightweight and intended for mild use. Upgrading to heavy-duty aluminum or steel skid plates protects vital components—oil pan, transmission, transfer case, fuel tank—against rocks and stumps.
Best practices:
- Use hardware that meets or exceeds OEM tensile strength.
- Ensure full coverage without impeding routine maintenance access.
- Opt for designs with drainage and debris-shedding features.
Rock sliders:
Protect sills/doors from side impacts and serve as jacking points. Ensure mounting brackets are compatible with your model’s frame or body structure.
4. Traction Aids: Locking Differentials and Recovery Gear
Why it matters:
Factory open differentials limit traction when wheels lift or slip. Aftermarket locking differentials (manual, air, or electronic) ensure power reaches both wheels on an axle, dramatically improving off-road performance.
Key upgrades:
- Selectable lockers: Allow on-road drivability and off-road traction.
- Limited-slip differentials: Offer a compromise for mixed-use vehicles.
- Recovery gear: Upgraded tow points, winches, and kinetic ropes are essential for self-recovery.
Checklist: Traction and Recovery Essentials
- Confirm axle compatibility (splines, carrier style) for lockers.
- Use recovery points rated to at least twice vehicle weight.
- Select winches with minimum 1.5x gross vehicle weight rating.
- Carry rated shackles, snatch blocks, and gloves.
Advanced Upgrades: Lighting, Electronics, and Auxiliary Systems
5. Off-Road Lighting
Why it matters:
Upgraded LED or HID auxiliary lighting enhances visibility in dust, fog, and night conditions. However, improper installations can blind other drivers or violate NHTSA equipment standards.
Technical guidance:
- Use SAE/DOT-approved lights for road use.
- Relay all high-draw circuits and use weatherproof connectors.
- Mount lighting to avoid glare/reflection into the cabin.
6. Snorkels and Sealing
Why it matters:
Water crossings and deep mud expose air intakes and electronics to risk. A properly installed snorkel raises the intake above the hood line, preventing hydrolock and filter contamination.
Installation notes:
- Ensure all joints are sealed with automotive-grade silicone.
- Route breather hoses for axles and transmission above wading depth.
- Use template guides for precise fender/hood cuts.
7. Upgraded Bumpers and Winch Mounts
Why it matters:
Heavy-duty steel or aluminum bumpers provide improved approach angles, recovery points, and winch mounting options. They must be engineered to distribute recovery loads and retain airbag sensor functionality.
Selection tips:
- Confirm bumper is crash-rated or meets SAE J684 standards.
- Ensure compatibility with factory parking sensors and cameras.
- Check for integrated lighting and recovery shackle mounts.
Material Technologies: Why Alloy and Steel Choice Matters
According to the United States Department of Energy’s Materials Technologies research, the choice of steel, aluminum, or composite materials significantly impacts weight, strength, and durability. For off-road armor and suspension:
- High-strength steel: Offers the best impact resistance for skid plates and sliders but adds weight.
- Aluminum alloys: Provide substantial weight savings, ideal for roof racks and non-critical armor.
- Composites: Increasingly used in modern SterlingRover models; ensure aftermarket parts are compatible with OEM mounting points and do not cause galvanic corrosion.
Always verify material specs and coatings to prevent rust or electrolysis, especially when mixing metals.
Diagnosing Weak Points: What to Upgrade First
Before investing, perform a systematic inspection:
Advertisement
- Visual check: Look for signs of underbody scrapes, dented sills, or damaged suspension bushings.
- Tire examination: Check for uneven wear, sidewall cuts, or tread chunking.
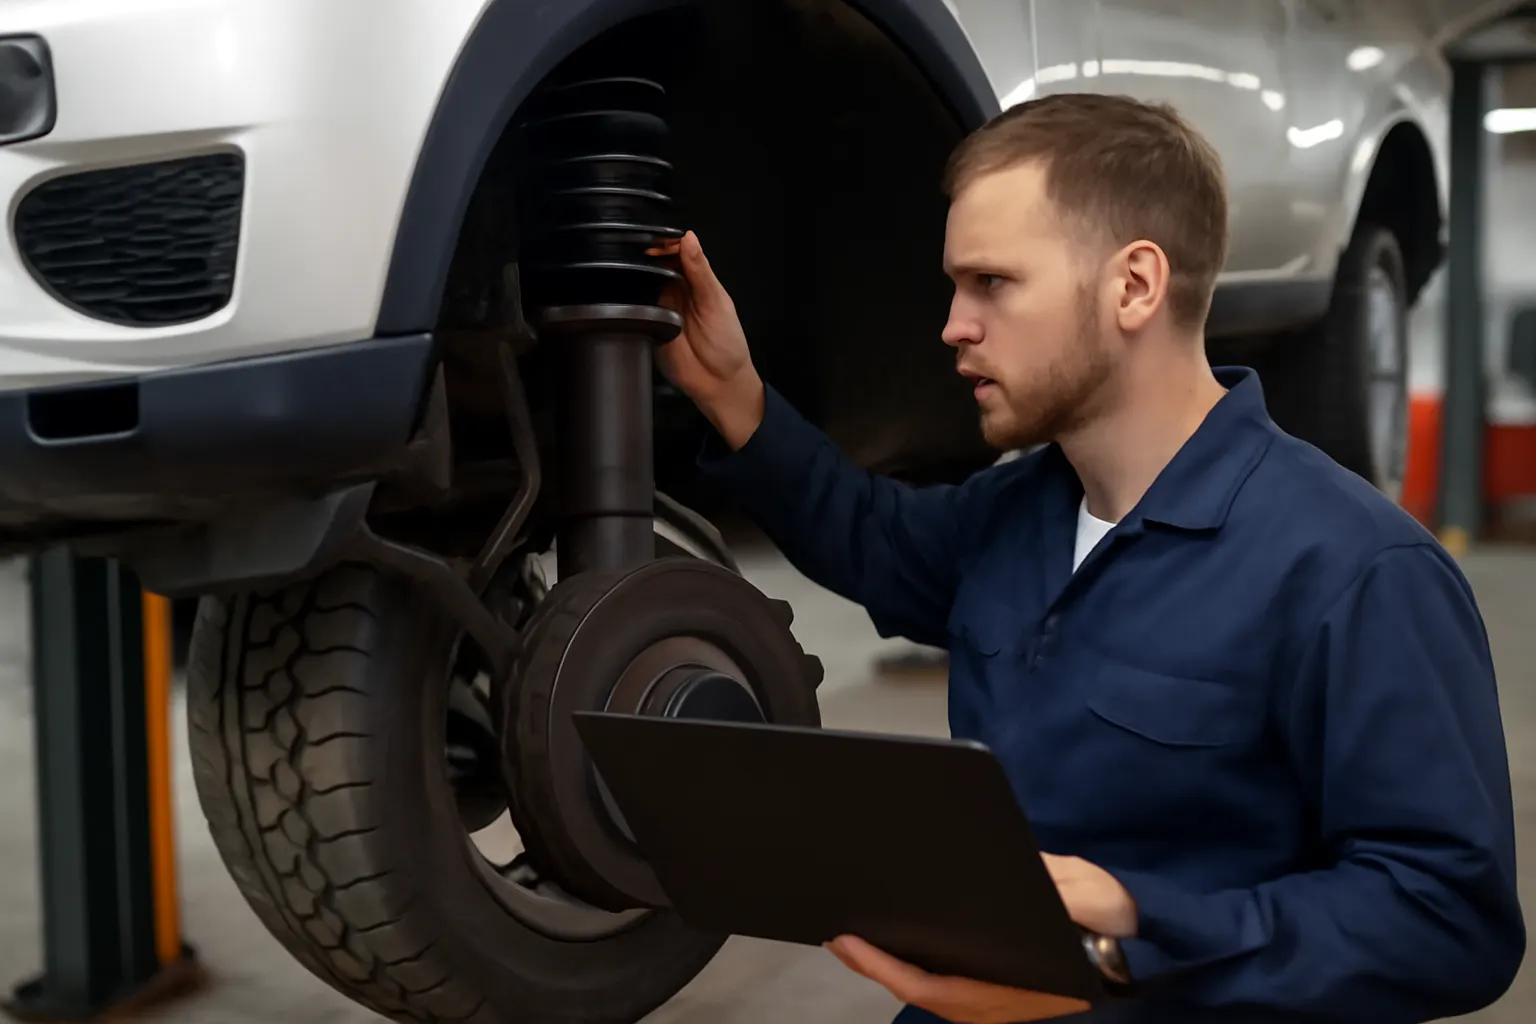
- Suspension bounce test: Excessive rebound or sag indicates worn shocks or springs.
- Drivetrain noises: Clicking or clunking may indicate worn CV joints or differentials.
- Electronic faults: Warning lights after off-road use may point to ABS, traction, or air suspension issues.
Prioritize upgrades that address observed weaknesses or failure points.
Sourcing Upgrades: Avoiding Counterfeits and Ensuring Fitment
The off-road aftermarket is rife with counterfeit and low-quality parts. To ensure safety and performance:
- Buy from reputable suppliers: Use trusted vendors who provide part numbers and fitment guarantees.
- Check for certifications: Look for SAE, NHTSA, or OEM certification marks on critical components.
- Use VIN-based fitment: Reference the VIN-Based Fitment: SterlingRover Parts Compatibility to avoid costly mismatches.
- Cross-check recalls: Verify that no recalls affect your intended upgrade via the NHTSA recalls database.
For more on avoiding counterfeit parts, see How to Avoid Counterfeit SterlingRover Parts.
Installation and Maintenance: Best Practices for Long-Term Reliability
Installation Tips
- Follow torque specs: Use manufacturer-recommended values for all fasteners.
- Double-check clearances: After any lift or tire change, cycle suspension and steering lock-to-lock.
- Recalibrate sensors: Modern models may require recalibration of ride height, ABS, or traction control.
- Professional help: For major upgrades (differentials, suspension geometry), professional installation is recommended.
Maintenance After Upgrading
- Inspect after each trip: Check for loose hardware, leaks, or abnormal tire wear.
- Lubricate moving parts: Grease suspension and driveline components regularly.
- Monitor alignment: Off-road use and lifts can accelerate misalignment.
- Replace worn parts promptly: Don’t delay repairs on shocks, bushings, or brakes.
Legal and Safety Compliance: Staying Within the Lines
Upgrades can impact legal compliance and insurance:
- Lighting: Only use SAE/DOT-approved lights on public roads (NHTSA Equipment).
- Bumpers and tow points: Must be rated and installed per SAE standards to avoid liability.
- Tire sizing: Exceeding manufacturer recommendations can affect speedometer accuracy and braking distances.
Advertisement
Check state and local regulations before making major modifications. Always keep documentation of parts and installations for insurance and resale.
Real-World Performance Data: What SterlingRover Owners Report
Field data from SterlingRover communities and off-road events consistently show:
- Tires and suspension lifts account for the most noticeable improvement in trail capability.
- Locking differentials are the single best upgrade for technical terrain, especially when combined with traction control.
- Underbody armor pays for itself by preventing catastrophic damage on rocky trails.
- Winches and recovery gear are essential for solo or remote travel.
Owners of modern SterlingRover models report that integrating electronics (e.g., air suspension, terrain response) with aftermarket upgrades requires careful calibration but yields impressive results when done correctly.
Selecting the Right Upgrade Path: Checklist
SterlingRover Off-Road Upgrade Planning Checklist
| Step | Action | Notes |
|---|---|---|
| 1 | Identify your model/generation | VIN lookup or model year |
| 2 | Set your off-road goals | Overlanding, rock crawling, expedition |
| 3 | Inspect for existing wear/damage | Prioritize weak points |
| 4 | Research compatible upgrades | Use model-specific guides |
| 5 | Verify part certifications (SAE, NHTSA) | Especially for safety-critical parts |
| 6 | Confirm fitment using VIN or OEM data | Prevents costly mismatches |
| 7 | Plan installation (DIY vs. professional) | Major mods often require shop tools |
| 8 | Recalibrate electronics (if applicable) | Required for modern models |
| 9 | Test and inspect after each upgrade | Look for new noises or warning lights |
| 10 | Maintain documentation | For resale and insurance |
AutoPartEx: Your Partner for SterlingRover Off-Road Upgrades
Navigating the world of off-road upgrades can be daunting—fitment, safety, and performance must all align for a successful build. AutoPartEx is committed to supporting SterlingRover owners with:
- Verified fitment data for classic and modern models
- Access to OEM and trusted aftermarket brands
- Editorial guides covering SterlingRover Maintenance Schedule & Model Service Guide and more
- VIN-based compatibility tools to eliminate guesswork
Whether you’re planning a mild overlanding build or a hardcore trail rig, our resources and parts catalog ensure you get the right upgrade, the first time.
Conclusion: Building a Reliable, Capable SterlingRover
Effective off-road upgrades for SterlingRover vehicles are about more than just appearance—they deliver measurable gains in capability, safety, and longevity. By understanding your model’s architecture, prioritizing proven upgrades, and insisting on certified, properly fitted parts, you can build a SterlingRover that meets your off-road ambitions without sacrificing reliability or safety.
Start your upgrade journey with the SterlingRover OEM & Aftermarket Auto Parts | Heritage, Fitment, and Technical Guide or explore the full SterlingRover Parts Categories for model-specific options.
References
Advertisement