Advertisement
Polymer Panel Repair on Saturns
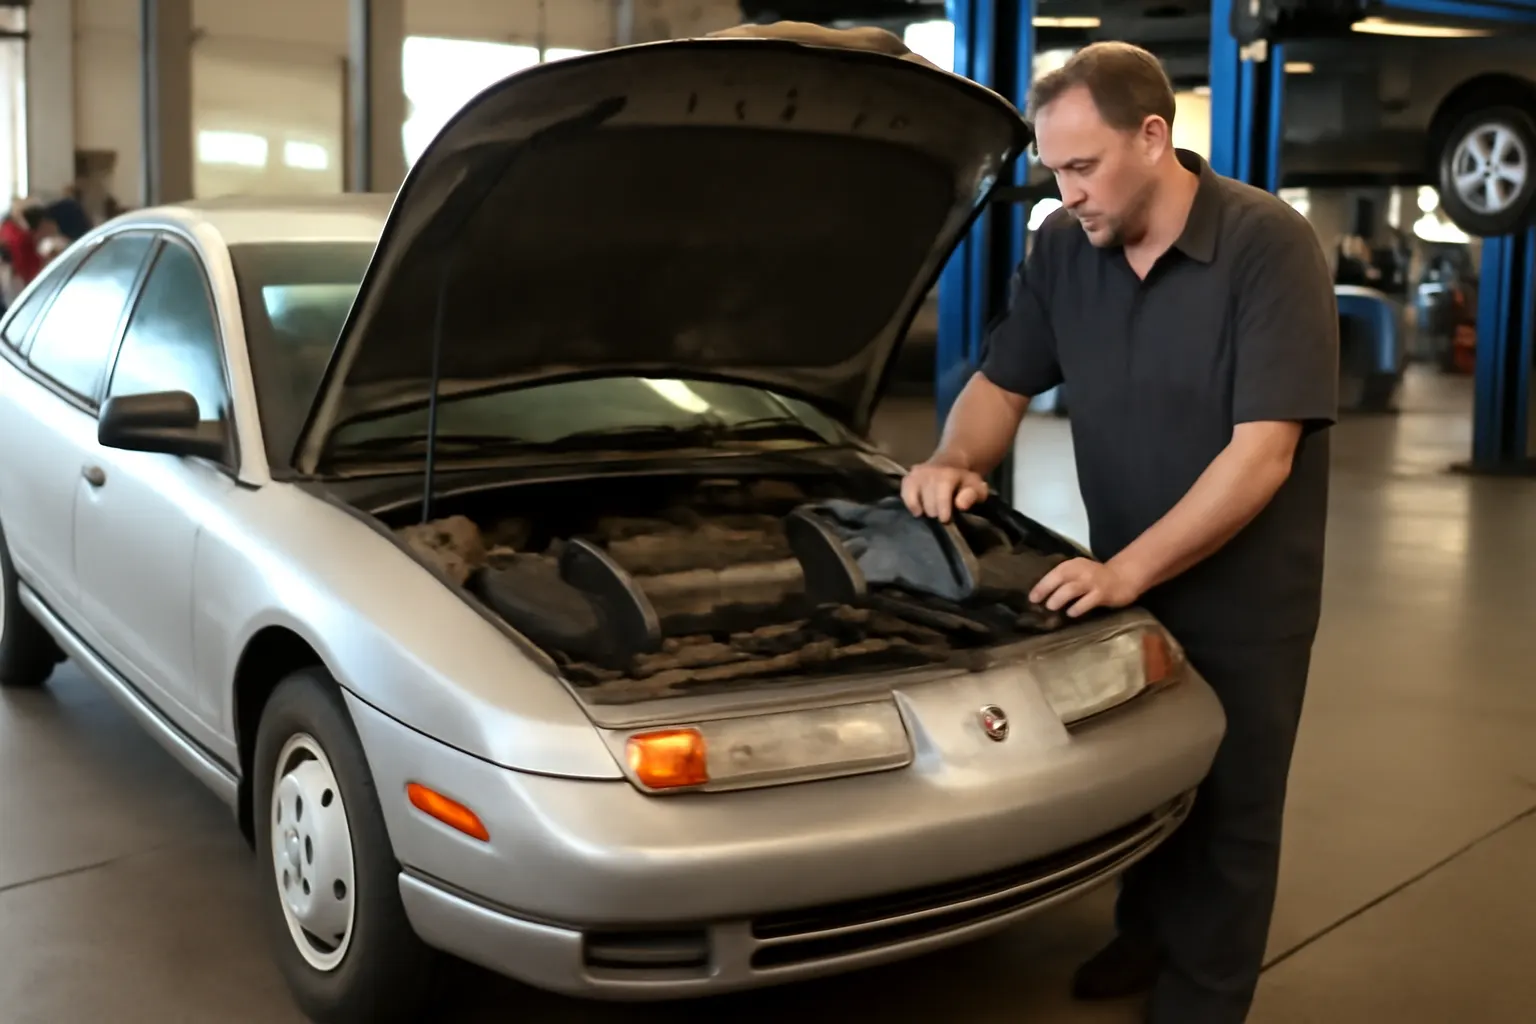
Saturn’s polymer body panels are legendary for their dent resistance and long-term durability, but when damage occurs, repairing and refinishing them correctly demands a specialized approach. This comprehensive guide delivers step-by-step instructions for repairing, sourcing, and refinishing Saturn’s signature polymer panels to restore both appearance and function—ensuring lasting results and original OEM fitment. Whether you’re a DIY enthusiast or a professional technician, understanding the nuances of Saturn’s exterior engineering is essential for a successful outcome.
If you’re exploring Saturn panel repairs, you’ll also benefit from the broader Saturn Auto Parts: OEM Fitment, Compatibility & Engineering Reference | AutoPartEx resource, which covers compatibility and sourcing across models.
Why Polymer Panels? Saturn’s Unique Body Engineering
Saturn made a bold move in the 1990s and early 2000s by fitting its S-Series, L-Series, and other models with polymer (thermoplastic) body panels. Unlike traditional steel, these panels resist dents, dings, and corrosion, contributing to lower long-term maintenance costs and helping vehicles retain a fresh appearance even after years on the road.
The use of polymer also supports vehicle efficiency goals. According to the United States Department of Energy, lightweight materials like polymers reduce overall vehicle mass, which can improve fuel economy and performance. This innovative engineering choice is a hallmark of Saturn’s design philosophy and continues to influence how owners approach repairs and restoration.
The Hidden Problem: Not All Damage Is Superficial
While Saturn’s polymer panels shrug off minor impacts, they are not immune to deeper gouges, cracks, or mounting tab breakage. Owners often discover that what looks like a simple scuff can mask structural issues—especially around panel attachment points, seams, or high-stress zones (such as door edges and rocker panels).
Another challenge emerges when sourcing replacement panels: Saturn ceased production in 2010, so new OEM panels are scarce. Used panels, while available, may have their own hidden flaws, mismatched paint, or degraded mounting hardware. This makes accurate assessment and careful sourcing crucial for any repair or replacement project.
Understanding Polymer Panel Construction on Saturns
Saturn’s polymer panels are typically made from thermoplastic polycarbonate or a similar engineered composite. These panels are attached to a steel spaceframe, meaning the polymer acts as a non-structural skin rather than a load-bearing component. Key engineering features include:
- Dent Resistance: Polymer’s flexibility allows it to deform and rebound from minor impacts.
- Corrosion Resistance: Unlike steel, polymers do not rust, which is especially valuable in harsh climates.
- Paint Compatibility: Panels are factory-finished with color-matched paint, but refinishing requires careful surface prep to ensure adhesion.
The panels are mounted using a combination of bolts, clips, and alignment tabs. Unlike metal panels, polymer parts can crack at mounting points if over-tightened or improperly aligned, so careful handling is vital.
Diagnosing Polymer Panel Damage
Before starting any repair, a thorough inspection is necessary. Here’s a systematic checklist for diagnosing Saturn polymer panel damage:
Polymer Panel Damage Diagnostic Checklist
- Visual Inspection: Look for cracks, gouges, deep scratches, or warping. Use bright lighting and view panels from multiple angles.
- Attachment Points: Check all mounting tabs, clips, and bolts for cracks, elongation, or missing hardware.
- Panel Fitment: Assess gaps between panels and alignment with adjacent body parts. Uneven gaps may indicate hidden damage or frame issues.
- Flex Test: Gently press on suspect areas; excessive flex or “crunching” sounds can indicate internal cracking.
- Paint Condition: Note areas of peeling, bubbling, or mismatched paint, which may signal previous repairs or environmental exposure.
- Underlying Structure: If possible, inspect the steel spaceframe beneath the panel for rust or impact damage.
A detailed assessment helps determine whether repair, refinishing, or full replacement is the best course of action.
Sourcing Replacement Saturn Polymer Panels
Due to Saturn’s discontinued status, sourcing panels requires a strategic approach:
Advertisement
Where to Find Panels
- Used Parts Suppliers: Many salvage yards and online resellers stock used Saturn panels. Inspect for cracks, mounting tab integrity, and paint condition.
- Aftermarket Panels: Limited aftermarket options exist, but fitment and material quality may vary. Always verify compatibility using VIN-based lookup tools or fitment guides.
- Private Sellers: Online forums, Saturn owner groups, and classifieds can yield rare panels, especially in less common colors.
Compatibility Considerations
Not all Saturn polymer panels are interchangeable across models or years. Before purchasing, consult the Saturn Parts Compatibility Guide for model-year specifics and cross-compatibility data. Pay close attention to body style (sedan, wagon, coupe), color codes, and trim details.
Preparing for Panel Removal and Installation
Proper preparation is essential to avoid new damage during removal and installation:
- Gather Tools: You’ll need a panel removal tool, Torx and hex drivers, trim clip pliers, and a soft work surface.
- Protect Adjacent Surfaces: Use masking tape and padded covers to shield paint from accidental scratches.
- Review Service Manuals: OEM service literature provides torque specs and disassembly order—critical for avoiding broken tabs or misalignment.
It’s also wise to photograph the panel and mounting points before disassembly for reference during reinstallation.
Step-by-Step: Repairing Minor Polymer Panel Damage
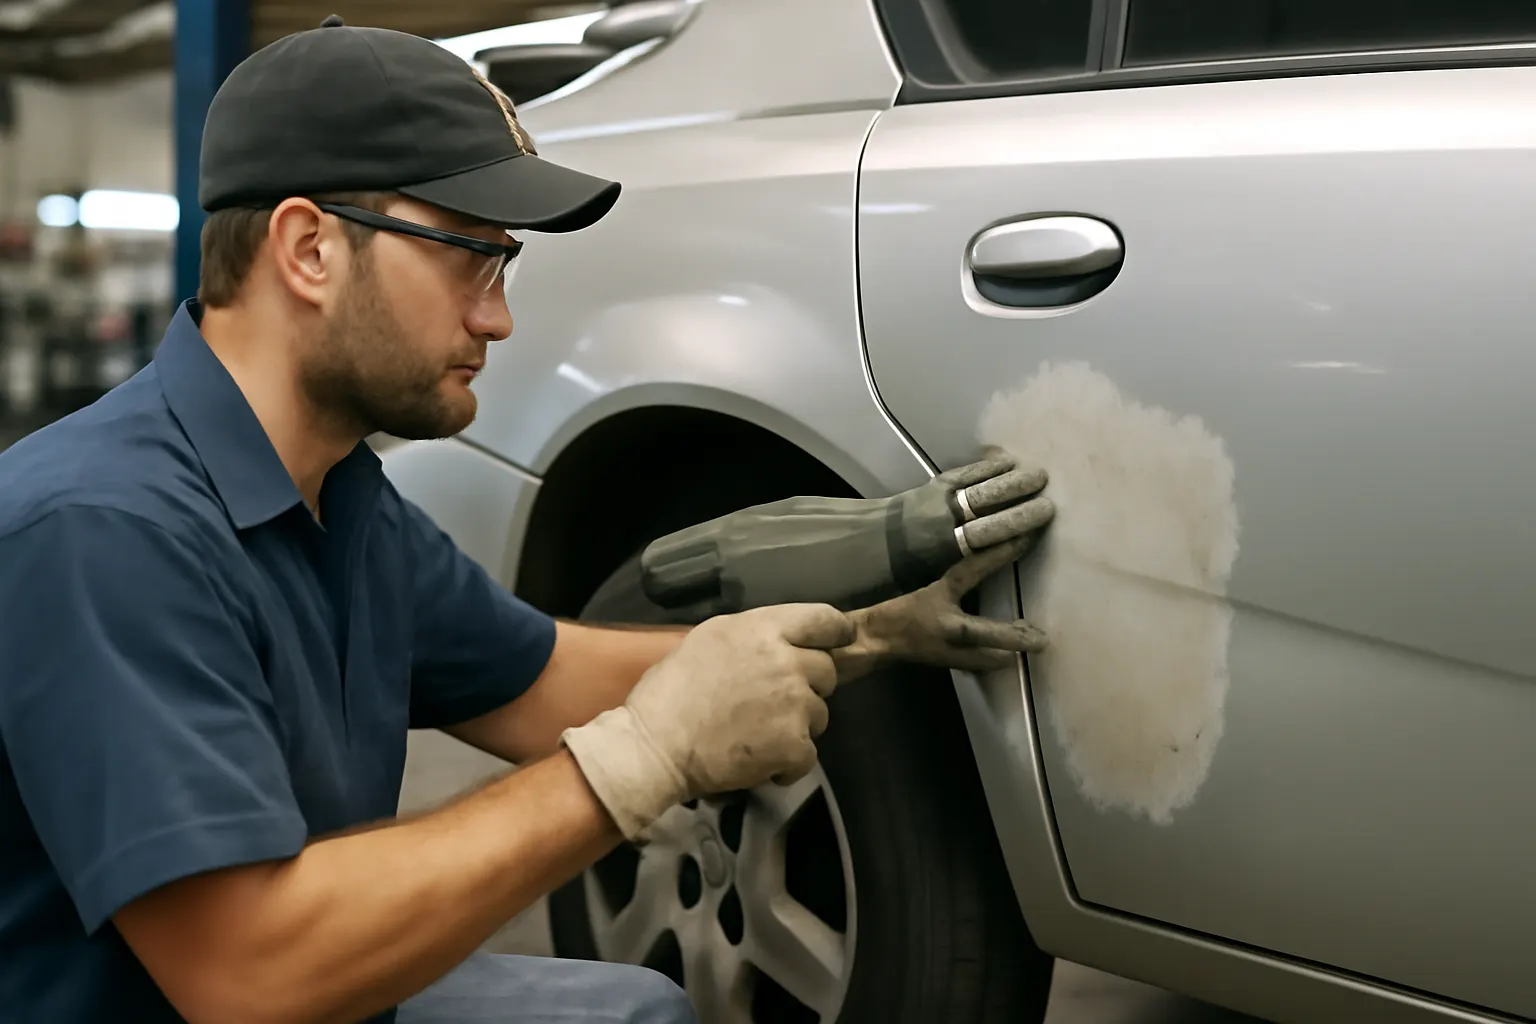
For minor scratches, scuffs, and shallow gouges, repair is possible using plastic-specific fillers and refinishing techniques.
Basic Repair Procedure
- Clean the Panel: Wash thoroughly with soap and water, then degrease using isopropyl alcohol or a plastic-safe cleaner.
- Sand the Area: Use 220-320 grit sandpaper to feather the damaged area, removing gloss and creating a key for filler.
- Apply Plastic Filler: Use a flexible plastic repair compound designed for thermoplastics. Build up in thin layers, allowing each to cure.
- Block Sand: Smooth the repair area with progressively finer sandpaper (up to 600 grit).
- Prime: Apply a plastic adhesion promoter followed by a compatible primer. Allow to dry fully.
- Paint: Use color-matched automotive paint, applying 2-3 coats as needed. Finish with a compatible clearcoat.
Tips for Success
- Use only products labeled for flexible plastics.
- Avoid excessive heat during sanding or curing.
- Maintain dust-free conditions for best paint results.
Addressing Cracks and Structural Repairs
Cracked panels—especially at mounting points—require more robust repair:
Crack Repair Process
- Drill Stop Holes: At each end of the crack, drill a small hole to prevent spreading.
- V-Groove the Crack: Use a rotary tool to create a shallow groove along the crack for filler adhesion.
- Plastic Welding (Optional): For severe cracks, plastic welding with a compatible rod can add strength.
- Reinforce the Back Side: Apply a fiberglass mesh or plastic repair tape to the panel’s reverse side using a two-part epoxy.
- Fill and Finish: As with minor repairs, use flexible filler, sand, prime, and paint.
Note: If mounting tabs are broken off entirely, replacement is often the most reliable option, as field repairs here tend to be short-lived.
Replacing Saturn Polymer Panels: Removal and Installation
When repairs aren’t feasible, panel replacement is straightforward but detail-oriented.
Removal Steps
- Disconnect Battery: For panels near airbags or electrical components.
- Remove Trim and Fasteners: Carefully unclip moldings, remove screws/bolts, and retain all hardware.
- Release Clips: Use a trim tool to gently pry off the panel, working from the edges.
- Inspect Mounts: Examine the steel frame and mounting points for rust or distortion.
Installation Steps
- Test Fit: Align the replacement panel and check for proper gaps and alignment.
- Secure Fasteners: Torque bolts to OEM specs; avoid over-tightening.
- Reinstall Trim: Replace any worn clips or seals.
- Final Inspection: Check panel fit, gap uniformity, and operation of doors/hatches.
Refinishing and Paint Matching for Polymer Panels
Matching Saturn’s factory paint on polymer panels requires attention to detail:
Advertisement
- Color Codes: Locate your vehicle’s paint code (typically on the spare tire cover or driver’s door jamb).
- Flexible Additives: Always use paint systems with plasticizers to prevent cracking or peeling.
- Adhesion Promoters: Essential for proper paint bonding to plastic—never skip this step.
- Curing: Allow extra time for paint to fully cure, as polymer panels can flex and expand with temperature changes.
Professional paint shops with experience in flexible substrates will yield the best results, but DIYers can achieve good outcomes using proper technique and materials.
Preventing Future Damage and Maintaining Polymer Panels
Once repaired or replaced, maintaining Saturn’s polymer panels is straightforward but important:
- Regular Washing: Use mild soap and avoid harsh chemicals that can degrade plastics.
- UV Protection: Apply a plastic-safe protectant to prevent fading or chalking.
- Gentle Handling: Avoid leaning or placing heavy items against panels, especially at edges.
- Prompt Repairs: Address chips, cracks, or mounting issues early to prevent worsening.
Routine inspection and maintenance will extend both the appearance and lifespan of your Saturn’s exterior.
Safety and Equipment Standards: What Matters for Polymer Panels
Polymer panels are non-structural, but their integrity still affects overall vehicle safety and function. According to the National Highway Traffic Safety Administration, body panels play a role in protecting internal components and maintaining aerodynamics. Always use components and repair materials that meet or exceed OEM standards (such as those outlined by SAE International).
If you suspect hidden damage to the steel spaceframe beneath a polymer panel, consult a professional. Structural rust or impact deformation can compromise safety, even if the panel itself appears intact.
Common Pitfalls and How to Avoid Them
Even experienced technicians can run into trouble with Saturn polymer panels. Avoid these frequent mistakes:
- Over-Tightening Fasteners: This can crack mounting tabs or distort panel fitment.
- Skipping Adhesion Promoter: Paint will eventually peel or flake without proper prep.
- Using Incompatible Fillers: Standard body filler may not flex with the panel, leading to cracks.
- Ignoring Color Mismatch: Small differences in shade can be glaring, especially on adjacent panels.
When in doubt, consult model-specific service literature or seek guidance from Saturn owner communities.
Saturn Panel Repair: Solution Pathway Checklist
Here’s a quick-reference checklist to guide your repair or replacement project:
| Step | Key Actions |
|---|---|
| Diagnose Damage | Inspect, flex test, check mounts and paint |
| Source Replacement Panels | Use VIN/compatibility guides, inspect used parts |
| Prepare Work Area | Gather tools, protect surfaces, review service info |
| Minor Damage Repair | Clean, sand, fill, sand, prime, paint |
| Crack/Tab Repair | Drill stop, V-groove, reinforce, fill, finish |
| Panel Replacement | Remove trim/fasteners, swap panel, align, reinstall |
| Refinishing | Use correct paint code, adhesion promoter, plasticizer |
| Maintenance | Wash, protect, inspect regularly |
AutoPartEx: Your Saturn Polymer Panel Resource
At AutoPartEx, we specialize in the details that matter for Saturn owners and restorers. Our Saturn Auto Parts: OEM Fitment, Compatibility & Engineering Reference portal connects you to verified compatibility data, sourcing strategies, and technical references for every Saturn model. For more advanced troubleshooting or to avoid pitfalls when buying used parts, explore our Buying Used Saturn Parts: Risks & Checks guide.
Whether you’re tackling a cosmetic touch-up or a full panel replacement, rely on AutoPartEx for accurate fitment, up-to-date standards, and technical support tailored to Saturn’s unique engineering legacy.
When to Seek Professional Help
DIY repairs are feasible for minor cosmetic issues, but complex cracks, structural rust, or color-matching challenges may require professional intervention. Certified body shops with experience in polymer panel repair can ensure safety, appearance, and long-term durability—especially when dealing with hidden damage or insurance claims.
If you notice persistent panel misalignment, water leaks, or unusual noises after repair, have your vehicle inspected by a Saturn-experienced technician.
Beyond Panels: Long-Term Saturn Maintenance
Polymer panels are just one element of Saturn’s longevity equation. For a deeper dive into maintenance strategies, see our Saturn S-Series: Long-Term Maintenance Patterns article, which covers drivetrain, suspension, and electrical upkeep for maximizing your Saturn’s service life.
References
Advertisement