Advertisement
How to Replace an Engine Wiring Harness: Step-by-Step
Replacing an engine wiring harness is a crucial task for restoring electrical reliability and optimal performance in modern vehicles. If you're experiencing persistent electrical gremlins, intermittent starting trouble, or visible wiring degradation, installing a new harness can solve these issues and help ensure your engine’s sensors, injectors, and actuators communicate flawlessly. In this comprehensive guide, the AutoPartEx Technical Editorial Team provides a detailed, step-by-step walkthrough for safely removing and installing a new engine wiring harness—whether you're a seasoned DIYer or a skilled technician. For more foundational information, see our Engine Wiring Harness: The Nerve Center of Modern Engines category page.
Immediate Answer: The Engine Wiring Harness Replacement Process in Brief
To replace your engine wiring harness:
- Disconnect the battery.
- Label and disconnect all harness connectors and grounds.
- Remove any obstructing components.
- Carefully extract the old harness, noting routing and attachment points.
- Route and install the new harness, securing and connecting all plugs and grounds.
- Reinstall removed components.
- Reconnect the battery and test the system.
While this summary outlines the core steps, the real challenge lies in the details—especially with modern engine bays packed with complex wiring. A methodical approach, attention to safety, and knowledge of best practices are essential to avoid costly mistakes and ensure long-term reliability.
The Hidden Problem: Why Wiring Harness Replacement Is Not Just a Plug-and-Play Job
Engine wiring harnesses serve as the nervous system of your vehicle, transmitting critical signals between the engine control unit (ECU), sensors, fuel injectors, and ignition components. Over time, harnesses can suffer from:
- Heat-induced insulation breakdown
- Corrosion at connectors and grounds
- Rodent damage or abrasion from vibration
- Pinched or shorted circuits from improper routing
Simply swapping in a new harness without a systematic process risks missed connections, pinched wires, or even electrical shorts. Furthermore, modern harnesses are highly vehicle-specific—incorrect fitment or missed connections can trigger check engine lights, drivability issues, or even safety hazards. According to the National Highway Traffic Safety Administration, electrical system failures are a leading cause of vehicle recalls and breakdowns, underscoring the importance of meticulous handling and correct installation.
Understanding the Scope: When and Why to Replace an Engine Wiring Harness
Before diving into the replacement process, it’s vital to determine if a full harness replacement is warranted. Symptoms indicating a failing harness include:
- Persistent electrical faults (e.g., misfires, sensor codes, inoperative injectors)
- Visible wire cracking, melting, or chafing
- Burnt or corroded connector pins
- Evidence of rodent damage or severe insulation wear
Harness replacement is typically necessary when:
-
Multiple circuits are compromised, making repair impractical
-
The harness has suffered heat/fire damage
-
A vehicle restoration or engine swap requires a new or upgraded harness
-
Aftermarket modifications have rendered the original harness unreliable
Not every electrical issue requires a full harness swap. For targeted troubleshooting, see Diagnosing Engine Electrical Issues for guidance on pinpointing faults before committing to replacement.
Preparing for the Job: Tools, Safety, and Workspace
Tools and Supplies Checklist:
- Socket and wrench set (metric and SAE)
- Screwdrivers (flathead and Phillips)
- Needle-nose pliers and wire cutters
- Electrical contact cleaner
- Zip ties and harness tape
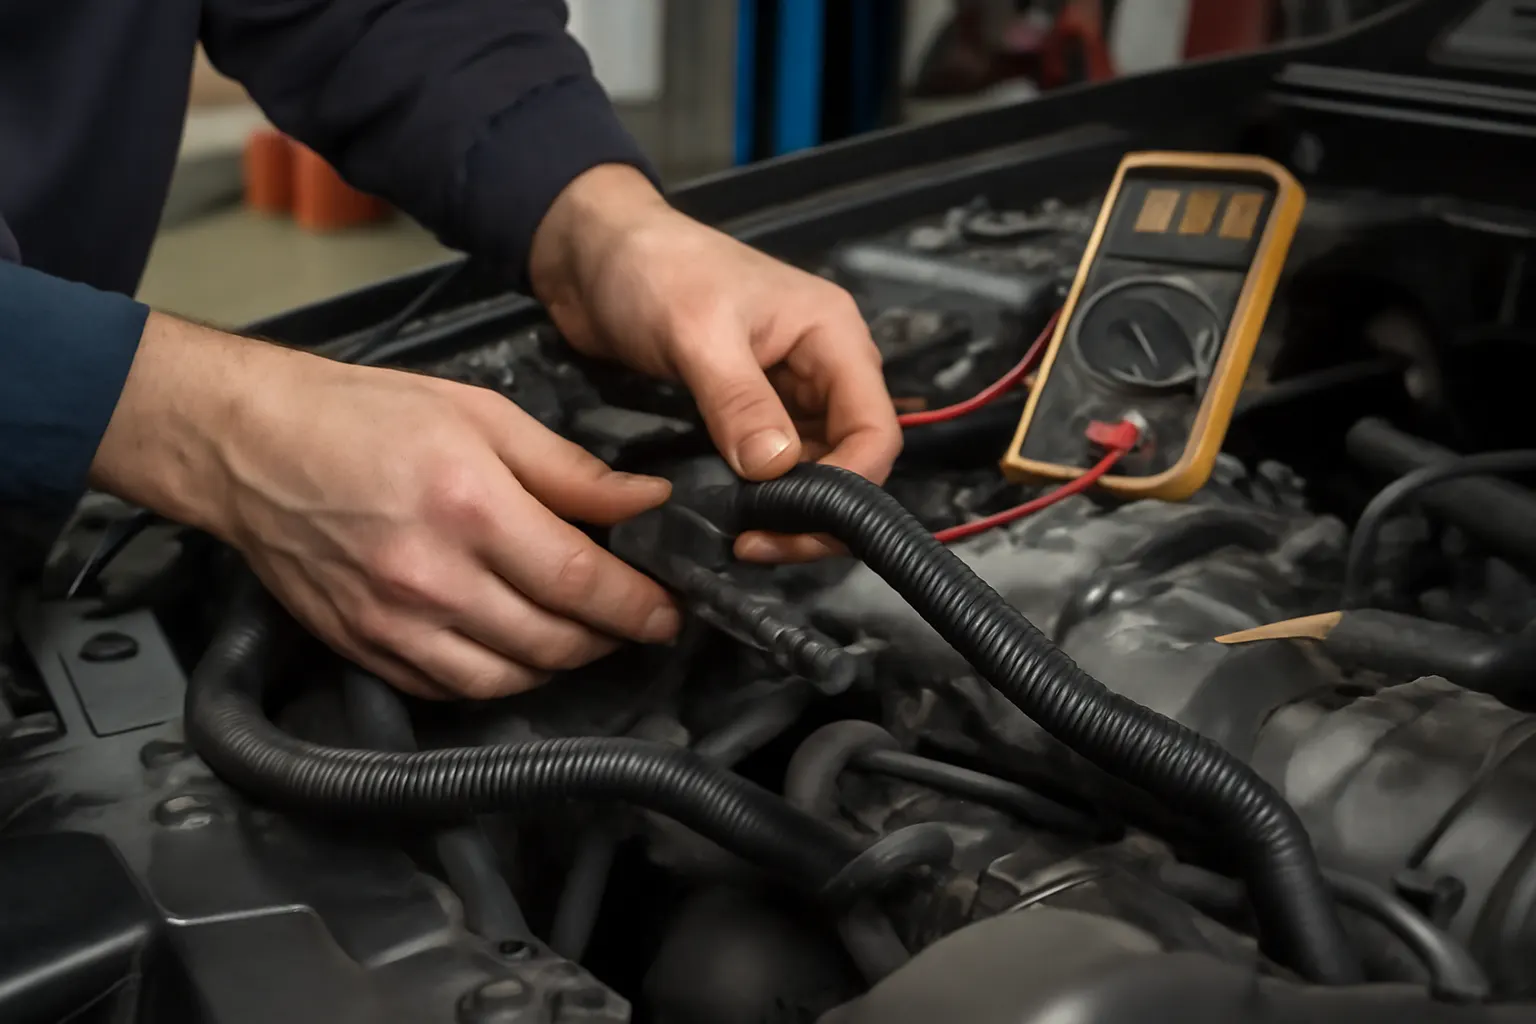
- Multimeter (for verification)
- Labeling tags or masking tape and marker
- Service manual with wiring diagrams
- Torque wrench (for critical fasteners)
- Replacement engine wiring harness (vehicle-specific)
Safety Precautions:
- Always disconnect the negative battery terminal before starting.
- Wear safety glasses and gloves.
- Work in a well-ventilated, well-lit area.
- Be cautious of sharp edges and hot engine components.
Workspace Preparation:
- Allocate sufficient time (typically 4–8 hours for most vehicles).
- Organize removed fasteners and components in labeled containers.
- Keep the new harness clean and protected until installation.
Step 1: Disconnecting the Battery and Prepping the Vehicle
Start by disconnecting the negative battery terminal to prevent accidental shorts or arcing. This is a critical safety step—modern vehicles retain power in several systems, and direct contact with live wires or connectors can cause injury or component damage.
Additional Prep:
Advertisement
- Remove the engine cover, air intake ductwork, and Air Box/Air Cleaner if necessary for access.
- If your vehicle is equipped with components like an AC Compressor or bracket obstructing harness access, remove them according to service manual procedures.
- Take reference photos of the engine bay and harness routing before disassembly. These images are invaluable during reinstallation.
Step 2: Labeling and Disconnecting Connectors and Grounds
Modern engine wiring harnesses feature dozens of unique connectors for sensors, injectors, ignition coils, and actuators. Even experienced technicians can misroute or misconnect plugs if not methodical.
Checklist for Connector Management:
- Use labeling tags or masking tape to number each connector and its mating component.
- Mark ground wires and note their exact attachment locations.
- Disconnect connectors by pressing the locking tab and pulling straight—never force or pry.
- Use electrical contact cleaner to remove corrosion or debris from terminals.
- Set aside and organize fasteners, clips, and brackets for each section.
Expert Tip: If connectors are difficult to release, gently wiggle while pressing the lock tab. Avoid pulling on the wires, which can cause internal breaks or terminal damage.
Step 3: Removing the Old Harness
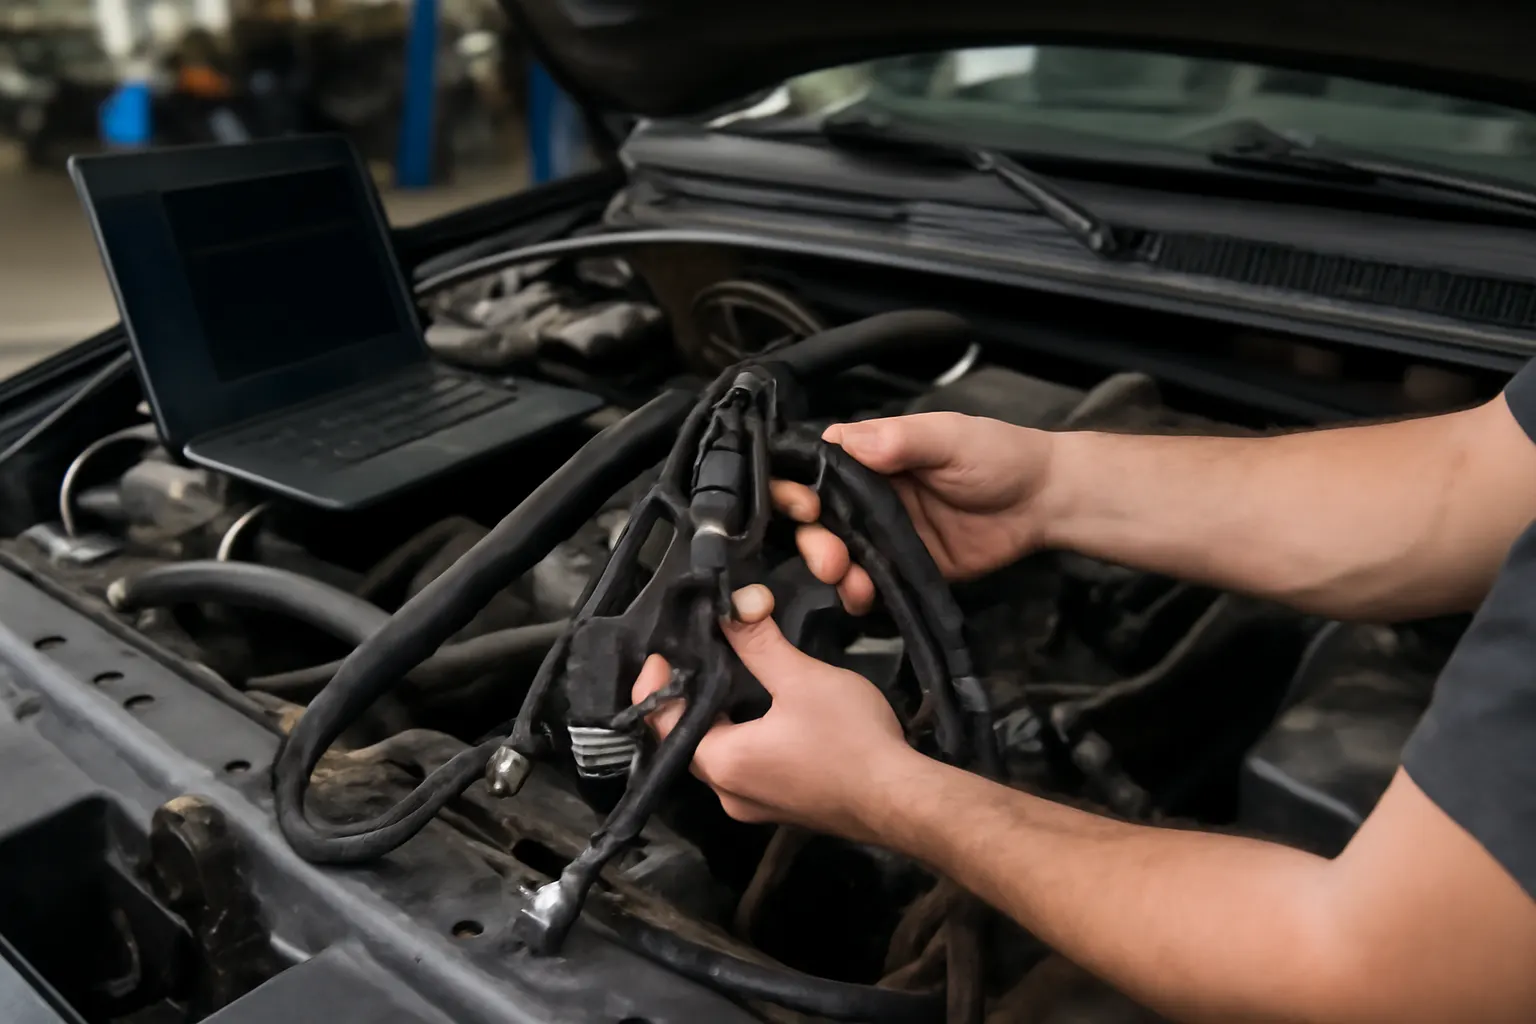
With all connectors, grounds, and attachment points labeled and disconnected, carefully extract the old harness. Most engine harnesses are routed through tight spaces, secured by clips, brackets, or grommets.
Removal Best Practices:
- Free the harness from all retaining clips and grommets.
- Note any areas where the harness passes near heat sources (exhaust manifold, turbo, etc.).
- Inspect the removed harness for signs of melting, abrasion, or pinched wires—these areas should be protected during installation of the new harness.
- If your harness passes through the firewall, feed it through gently to avoid damaging connectors.
Step 4: Comparing and Preparing the New Harness
Before installing the new harness, perform a detailed side-by-side comparison with the old one.
Comparison Checklist:
- Confirm connector types, wire colors, and branch lengths match.
- Check that all mounting tabs and clips are present and undamaged.
- Inspect for shipping damage or bent pins.
- Verify part numbers and compatibility with your vehicle’s year, make, model, and engine.
If your new harness is missing heat shielding or abrasion protection in critical areas, transfer protective sleeves from the old harness or install new ones. This is essential for long-term durability—see Preventing Wiring Harness Failures: Tips for Longevity for more on harness protection techniques.
Step 5: Installing the New Harness—Routing and Securing
Proper routing is crucial for both function and safety. Harnesses must be kept away from moving parts, sharp edges, and high-heat zones.
Installation Steps:
- Lay the new harness in the engine bay, aligning branches with their respective components.
- Route the harness using the same path as the original, referencing your photos and labels.
- Secure the harness with original clips and brackets. Replace any that are damaged or missing.
- Ensure all connectors reach their mating components without stretching or pinching.
- Attach ground wires to their correct locations and torque fasteners to specification.
Expert Note: Harnesses routed incorrectly may chafe, overheat, or interfere with throttle linkages and other moving parts, leading to premature failure or unsafe operation.
Step 6: Connecting All Plugs and Grounds
With the harness routed and secured, begin connecting each plug and ground wire. Work methodically, following your labels and service diagram.
Connection Guidelines:
- Insert connectors until the locking tab clicks.
- Double-check orientation—most connectors are keyed but may still be forced incorrectly.
- Apply dielectric grease to exposed terminals (if recommended by manufacturer) to prevent corrosion.
- Reconnect ground wires to clean, bare-metal surfaces for optimal conductivity.
After all connections are made, perform a visual inspection to ensure no plugs are missed and all wires are clear of hot or moving parts.
Step 7: Reinstalling Removed Components
Reinstall any components removed for access:
-
Air intake ducts and Air Box/Air Cleaner
-
AC compressor and brackets (if applicable)
-
Engine covers, hoses, and ancillary brackets
Torque all fasteners to manufacturer specifications. Double-check that no harness branches are pinched or misrouted under reinstalled components.
Step 8: Reconnecting the Battery and Testing the System
With the harness fully installed and all components reassembled, reconnect the negative battery terminal.
Initial Testing:
Advertisement
- Turn the ignition key to the “On” position (without starting) and listen for fuel pump priming or relay clicks.
- Observe the dashboard for warning lights or error codes.
- Use a scan tool to check for stored diagnostic trouble codes (DTCs).
- Start the engine and verify smooth idle, proper sensor operation, and normal electrical function (lights, horn, accessories).
Troubleshooting Tips:
- If the engine fails to start or runs poorly, double-check all connectors, especially at sensors and injectors.
- Inspect ground connections for tightness and cleanliness.
- Use a multimeter to verify voltage at key connectors.
Quality Assurance: Post-Installation Checklist
Before considering the job complete, use this checklist to ensure a professional result:
| Task | Completed? |
|---|---|
| All connectors fully seated and locked | ☐ |
| All grounds attached and torqued | ☐ |
| Harness secured away from heat/moving parts | ☐ |
| No wires pinched under brackets/covers | ☐ |
| All removed components reinstalled | ☐ |
| System tested for codes and operation | ☐ |
| Old harness inspected for root cause | ☐ |
Document your work with photos and notes. If you encounter persistent issues, consult your service manual or seek professional diagnostic help.
Technical Deep Dive: Why Correct Harness Replacement Matters
Modern engine wiring harnesses are engineered to exacting standards—each wire gauge, insulation material, and connector is chosen for specific voltage, current, and environmental requirements. According to SAE Standards, improper harness installation can introduce electrical noise, voltage drops, or intermittent faults that are difficult to diagnose.
Furthermore, engine harnesses are integral to safety-critical systems such as airbags, ABS, and electronic throttle control. The National Highway Traffic Safety Administration emphasizes that improper repairs or installations can compromise vehicle safety, trigger recalls, or void compliance with federal safety standards.
Harnesses also impact fuel efficiency and emissions. The United States Department of Energy notes that efficient electronic control is key to optimizing combustion, reducing fuel consumption, and meeting emissions targets. Faulty wiring can disrupt these controls, leading to increased fuel use and failed inspections.
Advertisement
Harness Fitment, Sourcing, and Compatibility Guidance
Choosing the right replacement harness is as important as the installation itself. Consider the following:
- OEM vs. Aftermarket: Original Equipment Manufacturer (OEM) harnesses guarantee fit and function but may be more costly. Quality aftermarket harnesses can offer savings but must meet or exceed OEM standards.
- Vehicle-Specific Fitment: Always verify the harness matches your vehicle’s year, make, model, engine, and transmission configuration. Variations in emissions equipment, sensor locations, and options can affect compatibility.
- Supplier Reputation: Source harnesses from reputable suppliers who provide technical support and warranty coverage.
- Pre-Installation Inspection: Before installation, bench-test circuits for continuity and inspect for shipping damage or missing connectors.
For classic or specialty vehicles, consider custom harnesses or professional harness-building services. For more on harness connectors and terminals, see Understanding Automotive Connectors and Terminals.
Maintenance and Prevention: Ensuring Long Harness Life
A new engine wiring harness is an investment in your vehicle’s reliability. To maximize lifespan:
- Routinely inspect for abrasion, heat exposure, or fluid leaks.
- Protect harnesses with heat shields or conduit in vulnerable areas.
- Keep connectors clean and dry—use dielectric grease on exposed terminals.
- Avoid aftermarket modifications that splice into harness circuits without proper protection.
- Secure the harness with zip ties or OEM clips—loose wires are prone to vibration damage.
For more tips, review Preventing Wiring Harness Failures: Tips for Longevity.
AutoPartEx: Your Partner for Engine Wiring Harness Solutions
At AutoPartEx, we understand that the engine wiring harness is the nerve center of your vehicle. Our curated selection of harnesses is engineered for precise fitment and durability, with technical support to guide you from diagnosis to installation. Whether you’re restoring a classic, upgrading for performance, or simply replacing a worn OEM harness, trust AutoPartEx for quality parts and expert guidance.
For a deeper dive into harness function, failure modes, and advanced diagnostic strategies, explore our Engine Wiring Harness: The Nerve Center of Modern Engines category page.
Conclusion: The Value of a Methodical Approach
Replacing an engine wiring harness is a complex but rewarding process. By following a systematic approach—disconnecting the battery, labeling and documenting each step, carefully removing and installing the harness, and thoroughly testing the system—you restore your vehicle’s electrical integrity and ensure reliable operation for years to come.
Remember, attention to detail is critical. Harness installation affects not only performance and efficiency but also the safety and compliance of your vehicle. When in doubt, consult your service manual, seek professional advice, or reach out to AutoPartEx for technical assistance and quality parts.
References
Advertisement