Advertisement
Replacing the back glass on your vehicle is a task that demands careful consideration. The immediate answer: professional installation is almost always the safest, most reliable, and cost-effective choice for back glass replacement. While DIY attempts may seem appealing due to perceived savings, the risks—ranging from compromised safety to higher long-term costs—can far outweigh the initial benefits. This article explores the critical differences between professional and DIY back glass replacement, the hidden problems that can arise, and how to make the best decision for your vehicle and your safety.
For those seeking high-quality, model-specific parts or expert guidance, start with our comprehensive Back Glass catalog for trusted solutions.
The Immediate Answer: Why Professional Installation Is Essential
When your vehicle's back glass is cracked, shattered, or otherwise compromised, professional installation is not just a convenience—it's a necessity. Certified automotive glass technicians possess the training, tools, and materials required to restore your vehicle to manufacturer safety standards. Modern automotive glass is an integral part of the vehicle’s structural integrity, and incorrect installation can lead to dangerous situations in the event of a collision or rollover.
A professional installer will:
- Use OEM or equivalent glass that meets or exceeds federal safety standards.
- Properly remove damaged glass without harming adjacent panels or sensitive electronics.
- Ensure a watertight, secure fit that prevents leaks and wind noise.
- Restore defrost, antenna, and backup camera functions reliably.
DIY kits often lack the quality adhesives, precision tools, and know-how needed for a safe, lasting repair. Even small installation errors can compromise occupant safety and vehicle performance.
The Hidden Problem: Risks Lurking in DIY Glass Replacement
The temptation to save money by replacing back glass yourself is understandable. However, hidden problems abound:
- Safety Hazards: Incorrectly installed back glass can pop out during a crash, severely reducing the vehicle’s protective envelope.
- Water Intrusion: Inadequate sealing leads to leaks, which can cause electrical failures, mold, and corrosion.
- Loss of Advanced Features: Modern back glass often integrates defrost grids, antennas, and backup cameras. DIY mistakes can disable these features, impacting comfort, safety, and resale value.
- Insurance and Liability Issues: Improper installation may void your insurance coverage or make you liable in the event of an accident.
These risks are not always immediately apparent but can manifest weeks or months after a DIY replacement, leading to significant repair bills or safety recalls.
Technical Expansion: Understanding Back Glass as a Structural and Safety Component
Back glass is more than just a window—it’s a key element of your vehicle’s body structure and safety systems. According to the National Highway Traffic Safety Administration (NHTSA), automotive glass is engineered to:
- Maintain cabin integrity during rollovers.
- Support airbag deployment by providing a rigid surface.
- Resist penetration from outside objects.
Additionally, the United States Department of Energy highlights that modern vehicle glass is designed for optimal strength-to-weight ratios, contributing to both safety and fuel efficiency. Laminated or tempered back glass must be installed to exacting standards, or it may not perform as intended during a collision.
Comparing Professional and DIY Back Glass Replacement
Let’s break down the main differences between professional and DIY approaches:
| Aspect | Professional Installation | DIY Replacement |
|---|---|---|
| Safety Compliance | Meets FMVSS and SAE standards | Often uncertain or non-compliant |
| Quality of Materials | OEM or certified aftermarket glass | Variable (often generic or inferior) |
| Adhesive Application | Specialized urethane with correct cure | Basic sealants, often incorrect |
| Integration | Proper reconnection of defrost, sensors | High risk of faulty connections |
| Warranty/Insurance | Work is warrantied and insurable | May void coverage or lack warranty |
| Time and Tools | Fast, with professional equipment | Slow, limited by tools/experience |
| Long-Term Reliability | High | Low, prone to leaks or failures |
Advertisement
Safety Standards: Why They Matter More Than Ever
Back glass replacement is governed by strict safety standards, including those set by the Federal Motor Vehicle Safety Standards (FMVSS) and SAE International. These standards dictate:
- Glass strength and shatter resistance
- Proper adhesive cure times and bonding strength
- Electrical integration for defrost and sensors
Professional installers are trained to meet or exceed these requirements. DIY methods often fall short, either because of incomplete instructions, lack of proper adhesives, or insufficient curing conditions. For a deeper dive into relevant safety regulations, see our editorial guide: Understanding Automotive Glass Safety Standards.
The Complexity of Modern Back Glass: Features and Fitment
Today’s back glass isn’t just a sheet of glass—it’s a high-tech component. Common features include:
- Heated Defrost Grids: Essential for winter visibility, requiring careful electrical reconnection.
- Integrated Antennas: For radio, GPS, or telematics, often embedded in the glass.
- Backup Cameras and Sensors: Increasingly located near or on the back glass.
- Tinting and UV Filters: Affect comfort and compliance with local regulations.
Professionals have access to vehicle-specific diagrams and diagnostic tools to ensure all features are restored. DIY replacements risk damaging or disabling these systems, especially if wiring or connectors are mishandled. For more on modern integrations, see Modern Vehicle Glass Technology Integration.
Diagnosing Back Glass Damage: When Is Replacement Necessary?
Not every chip or crack warrants immediate replacement, but certain signs mean professional attention is required:
- Large Cracks or Shattering: Any damage that compromises visibility or structural integrity.
- Failed Defrost or Electrical Features: Signs of broken grids or disconnected wiring.
- Water or Air Leaks: Indicating failed seals or improper previous installation.
- Distortion or Haze: Can impair visibility, especially at night.
For a detailed list of warning signs, review Signs Your Back Glass Needs Professional Attention.
The Professional Replacement Process: What to Expect
A certified back glass replacement typically involves these steps:
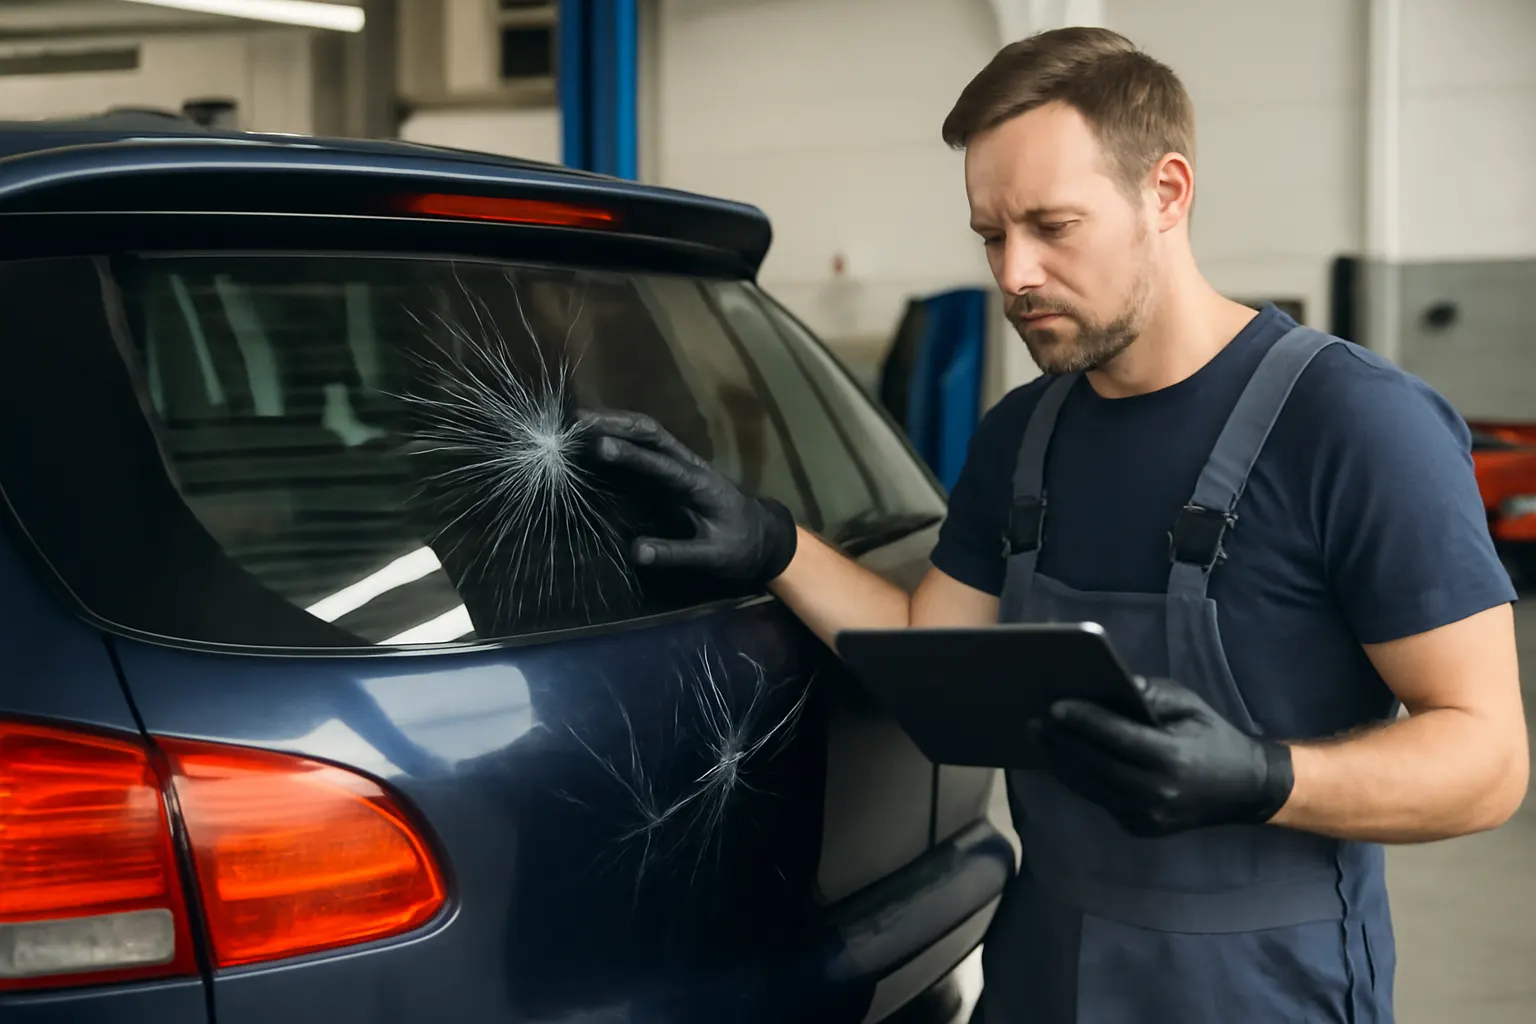
- Assessment: Technicians inspect the damage, verify glass specifications, and check for hidden issues (like frame damage or electrical faults).
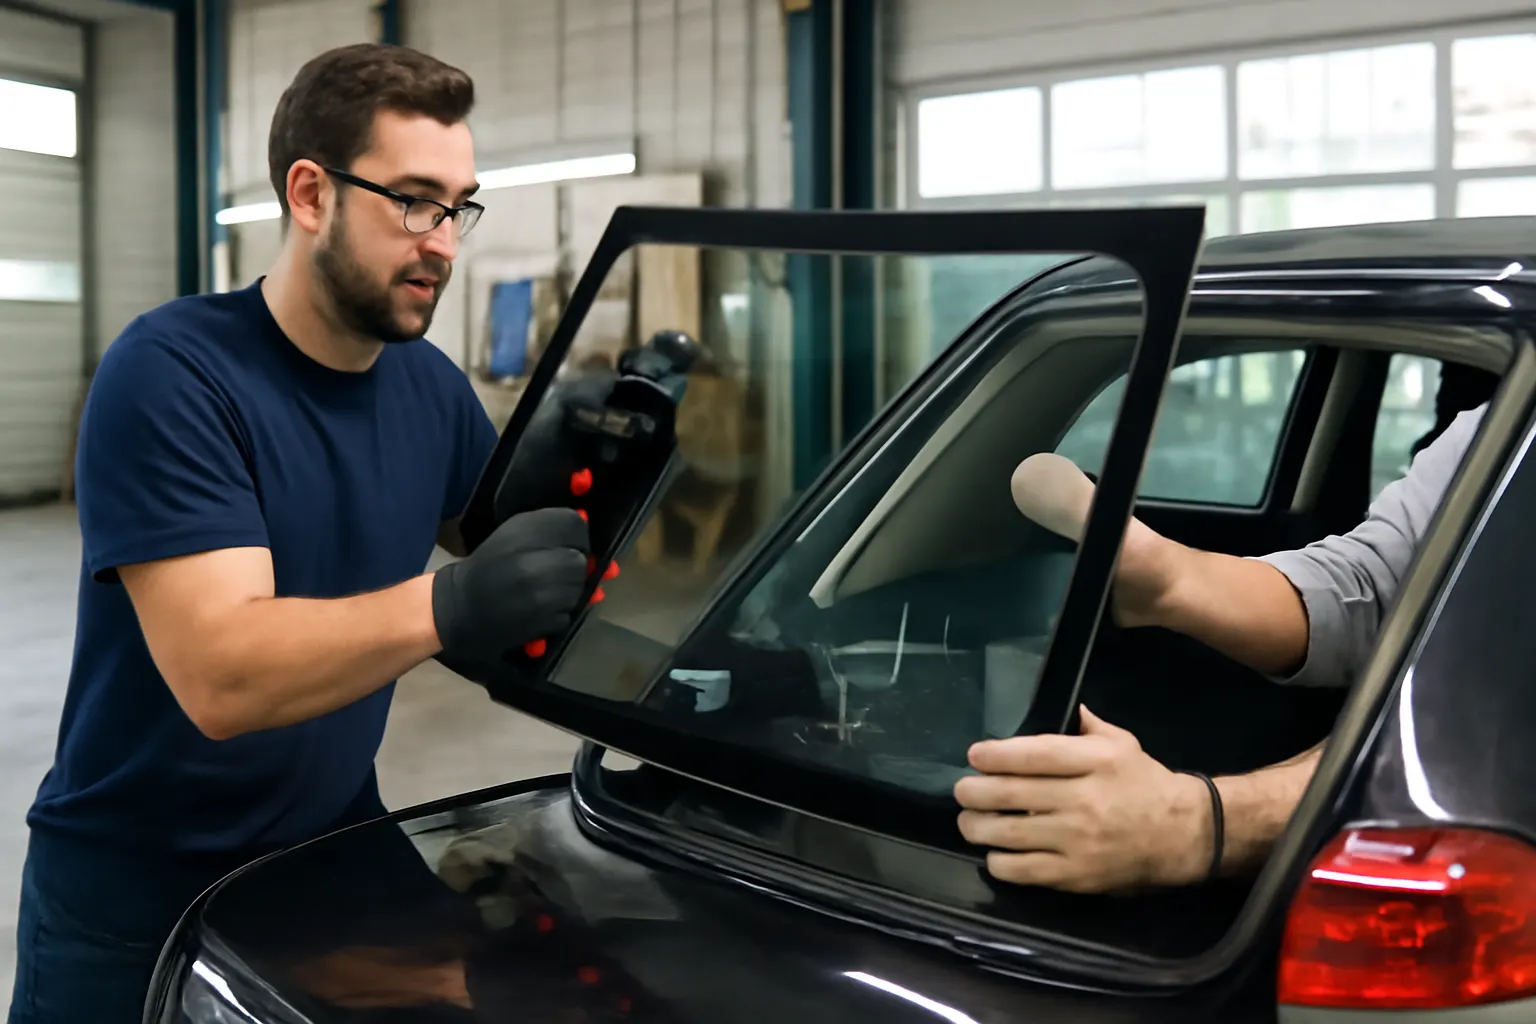
- Removal: The old glass is carefully cut away using specialized tools, preserving surrounding trim and paint.
- Preparation: The mounting surface is cleaned and prepped, with any rust or debris removed.
- Installation: New glass is positioned using alignment jigs, and high-strength urethane adhesive is applied for a factory-tight seal.
- Integration: Electrical connections for defrost, antennas, and cameras are tested and restored.
- Cure and Inspection: The adhesive is allowed to cure under controlled conditions, and the installation is leak- and function-tested.
This process ensures a safe, reliable, and long-lasting result that meets manufacturer and regulatory standards.
DIY Back Glass Replacement: What Can Go Wrong?
DIY replacement kits are widely available, but the risks are substantial:
- Incorrect Glass Selection: Vehicle-specific fitment is critical; generic glass may not fit or seal properly.
- Improper Adhesive Use: Most DIY kits use basic silicone sealants, which lack the strength and flexibility of professional urethane adhesives.
- Missed Electrical Connections: Reconnecting defrost or antenna wires incorrectly can short-circuit systems or render them inoperable.
- Inadequate Curing: Adhesives must cure for hours to reach full strength; premature driving can break the seal.
- Damage to Paint or Trim: Amateur removal often chips paint or bends trim, leading to rust or cosmetic issues.
Once installed, problems may not appear immediately. Weeks later, you might notice fogging, leaks, or malfunctioning electronics—by then, repairs are costlier and more complicated.
Maintenance and Aftercare: Ensuring Longevity and Performance
Proper aftercare is crucial, regardless of who installs your back glass. Follow these maintenance tips:
Advertisement
- Allow Full Curing: Don’t slam doors or drive aggressively for at least 24 hours after installation.
- Inspect Seals Regularly: Look for signs of water intrusion or loose trim.
- Test Electrical Features: Confirm the defrost and antennas work, especially before winter.
- Clean Carefully: Use non-abrasive cleaners and avoid scraping the defrost grid.
If you notice any issues, consult a professional immediately to prevent further damage.
Checklist: How to Choose the Right Back Glass Replacement Path
Before deciding between professional and DIY replacement, use this checklist:
Back Glass Replacement Decision Checklist:
- Is your back glass integrated with defrost, antennas, or cameras?
- Do you have access to vehicle-specific glass and OEM-grade adhesives?
- Can you safely remove and install glass without damaging paint or trim?
- Are you familiar with FMVSS and SAE safety standards?
- Do you have the tools and controlled environment for proper adhesive curing?
- Are you prepared to test and restore electrical features?
- Will your insurance cover DIY repairs, or is professional installation required for coverage?
- Are you comfortable accepting liability for installation errors?
If you answered “no” to any of these, professional installation is strongly recommended.
Cost Considerations: Upfront Savings vs. Long-Term Value
DIY kits may cost $100–$300 less than professional service, but hidden costs can add up:
- Failed Installations: Redoing a botched DIY job often costs more than a single professional replacement.
- Insurance Denials: Many insurers won’t cover claims if the glass was not installed by a certified technician.
- Resale Impact: Improperly installed glass can lower your vehicle’s value or fail pre-sale inspections.
- Safety Risks: The true cost of a compromised safety system can be immeasurable in an accident.
Professionals often provide warranties on both parts and labor, offering peace of mind and long-term value.
Sourcing Quality Back Glass: What to Look For
Not all replacement glass is created equal. When sourcing new back glass, ensure:
- Certification: Look for DOT and SAE markings indicating compliance with safety standards.
- Exact Fit: Use your vehicle’s VIN or consult the manufacturer to guarantee correct fitment.
- Feature Integration: Ensure the glass includes all necessary electrical grids, antenna elements, and camera mounts.
- Reputable Suppliers: Choose established suppliers who stand behind their products and provide installation support.
For trusted, model-specific options, browse the Back Glass section at AutoPartEx.
AutoPartEx Positioning: Your Partner in Safe, Reliable Back Glass Replacement
At AutoPartEx, we understand the complexity and importance of automotive glass replacement. Our curated selection of back glass components, defrost system modules, and backup camera accessories ensures you get the right fit, features, and compliance for your vehicle. Our technical resources and expert support empower you to make informed decisions—whether you’re consulting on a DIY project or booking professional service.
Our network of certified installers and robust warranty coverage means your back glass replacement is done right the first time, protecting your vehicle, your safety, and your investment.
When to Seek Professional Help: Key Indicators
Don’t delay professional intervention if you notice:
- Rapidly spreading cracks or complete shattering
- Malfunctioning defrost or electrical features
- Persistent water leaks or fogging
- Unusual wind noise or vibration from the rear window area
- Aftermarket features (like cameras or antennas) that stop working
Prompt attention to these issues prevents escalation and ensures your vehicle remains roadworthy and comfortable.
Conclusion: Professional vs DIY—The Clear Choice for Back Glass Replacement
While the appeal of DIY back glass replacement is understandable, the risks and complexities involved make professional installation the clear, responsible choice for most vehicle owners. Professional installers deliver not just technical expertise, but peace of mind—ensuring your car meets all safety standards, retains full functionality, and maintains its value.
If you’re facing a back glass issue, start with a trusted source: review our Back Glass inventory, consult our expert guides, and schedule a professional assessment. Your safety, and that of your passengers, is worth the investment.
References
Advertisement