Advertisement
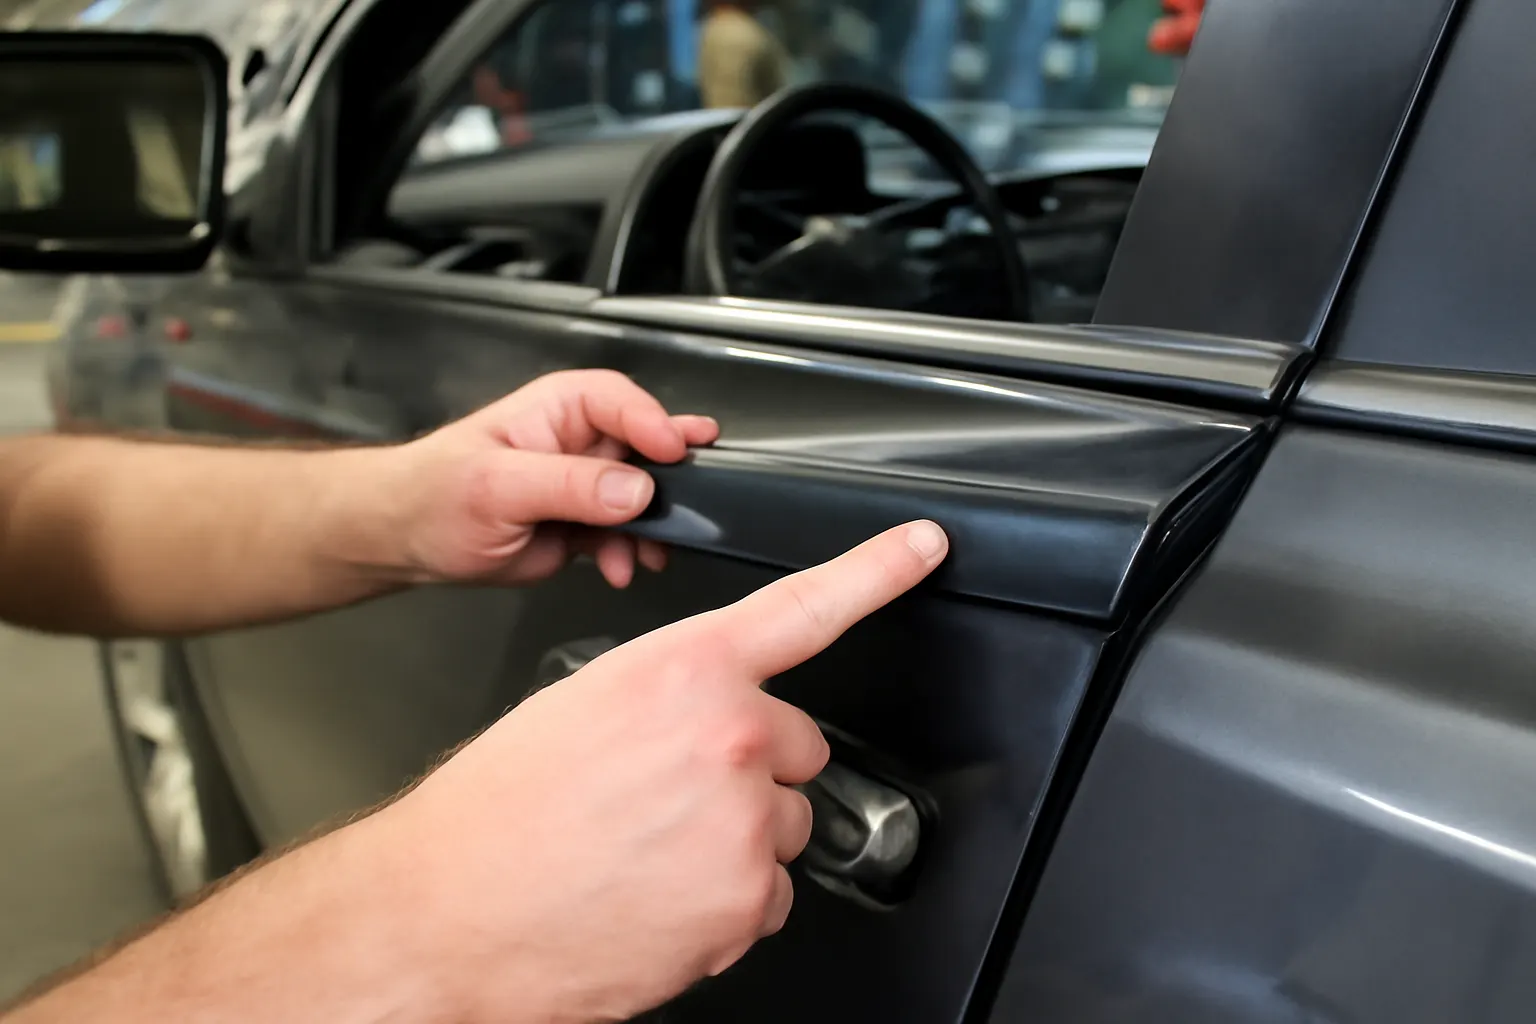
Front door moulding fitment is a deceptively crucial aspect of Toyota vehicle maintenance and repair. Whether you’re dealing with persistent wind noise, water leaks, or even subtle issues like rattling and poor door closure, the integrity of your front door moulding is often the hidden culprit. This comprehensive guide dives deep into the most common Toyota front door moulding fitment errors, explains how to avoid installation headaches, and provides expert-level solutions for achieving genuine fitment that restores your Toyota’s comfort, safety, and value.
If you’re seeking a reliable overview of Toyota front door moulding issues, refer to our Toyota Front Door Moulding – Genuine Fitment, Problems & Solutions category for model-specific insights and part selection.
Why Front Door Moulding Fitment Matters Immediately
The front door moulding on your Toyota is more than just a cosmetic accessory. It acts as the primary barrier against wind, rain, road debris, and temperature extremes. When properly fitted, quality door moulding:
- Prevents wind noise from entering the cabin
- Stops water leaks that can cause corrosion or interior damage
- Maintains optimal sealing for climate control and acoustic comfort
- Contributes to structural integrity and door alignment
- Supports vehicle safety by ensuring the door closes securely
Incorrect fitment or degraded moulding can quickly result in annoying symptoms such as whistling at highway speeds, water on the floor mats after rain, or even excessive dust and dirt entering the cabin. These issues, if left unaddressed, can escalate to more severe problems, including electrical faults, corrosion, and compromised crash safety (NHTSA Equipment).
The Hidden Problem: Overlooked Fitment Errors and Their Consequences
Many Toyota owners and even some technicians underestimate the complexity of front door moulding fitment. Common misconceptions include:
- Assuming all aftermarket mouldings fit identically to OEM parts
- Overlooking the impact of minor misalignments on sealing performance
- Failing to recognize that modern Toyotas use advanced materials and multi-layer moulding designs for specific models (DOE Materials Technologies)
Hidden fitment errors can lead to:
- Persistent wind noise that isn’t solved by replacing window regulators or weatherstrips alone
- Water leaks that only appear during certain rain or wash conditions
- Accelerated wear of interior trim and electronics due to moisture ingress
- Decreased fuel efficiency from increased aerodynamic drag (DOE Fuel Efficiency)
Addressing these issues requires a methodical approach that goes beyond simple part replacement.
Understanding Toyota Front Door Moulding: Construction and Function
Toyota front door mouldings are engineered with precision to match the body contours and door geometry of each model. Key technical aspects include:
- Material composition: Modern mouldings use a blend of EPDM rubber, thermoplastic elastomers, and sometimes embedded metal or plastic reinforcement for shape retention.
- Attachment methods: Depending on the model and year, mouldings may be attached with clips, adhesive tape, or a combination of both.
- Sealing technology: Dual-lip or triple-lip designs are common, providing multiple barriers against wind and water.
- Integration with other systems: Mouldings often interface with window channels, door panels, and even side airbags.
Understanding these elements is essential for diagnosing fitment problems and selecting the correct replacement part.
Most Common Toyota Front Door Moulding Fitment Errors
-
Incorrect Part Selection
- Using a moulding intended for a different Toyota model or year
- Failing to match handedness (driver vs. passenger side)
- Overlooking trim or body style variations (sedan, hatchback, SUV)
-
Improper Alignment
- Not aligning the moulding flush with the door edge
- Allowing gaps at corners or around curves
-
Inadequate Surface Preparation
- Installing new moulding over dirt, adhesive residue, or corrosion
- Not drying the surface thoroughly before installation
-
Faulty Attachment
- Skipping or misplacing clips
- Using incorrect adhesive tape type or not applying enough pressure
-
Reusing Old or Damaged Components
- Attempting to reuse worn clips or retaining strips
- Installing new moulding over warped or bent door frames
Each of these errors can compromise the seal and lead to noise, leaks, or premature moulding failure.
Diagnosing Toyota Front Door Moulding Fitment Issues
Before replacing or refitting your front door moulding, a thorough diagnostic process is essential. Use the following checklist to identify the root cause:
Advertisement
Fitment Diagnostic Checklist
- Visual Inspection:
- Are there visible gaps between the moulding and door frame?
- Is the moulding flush and continuous along the entire door perimeter?
- Are any clips or fasteners missing or loose?
- Is the rubber or plastic material cracked, torn, or deformed?
- Water Test:
- Run a gentle stream of water over the door. Check for leaks inside the cabin or along the sill.
- Wind Noise Test:
- Drive at 40–60 mph. Listen for whistling, hissing, or buffeting sounds near the door edge.
- Door Closure Test:
- Does the door require extra force to close, or does it not latch securely?
- Is there noticeable play or rattling when the door is closed?
- Interior Inspection:
- Check for dampness on the floor, door panel, or lower dash after rain.
- Look for dust accumulation near the door edge or speaker grille.
If any of these symptoms are present, a fitment correction or moulding replacement is likely needed.
Selecting the Right Toyota Front Door Moulding
Precision starts with sourcing the correct part. Toyota’s extensive model lineup means that even small differences in trim, year, or body style can affect moulding fitment. Here’s how to ensure an accurate match:
-
Verify Vehicle Details:
- Model, year, trim level, and body style
- VIN (Vehicle Identification Number) for exact identification
-
Consult Manufacturer Diagrams:
- Use Toyota’s parts catalogs or our Toyota Part Identification Guide to cross-reference part numbers
-
Check Handedness:
- Confirm whether you need left (driver) or right (passenger) side moulding
-
Assess OEM vs. Aftermarket:
- Genuine Toyota mouldings are engineered for precise fit, materials, and durability
- Quality aftermarket options may be available, but always verify compatibility and warranty
-
Inspect for Included Hardware:
- Some mouldings come with new clips or adhesive strips, while others require separate purchase
Careful part selection is the foundation of a successful repair.
Preparing for Installation: Tools and Surface Prep
Proper preparation prevents recurring fitment issues. Gather these tools and materials before starting:
- Plastic trim removal tools (to avoid scratching paint)
- Clean microfiber towels
- Isopropyl alcohol or automotive adhesive remover
- Replacement clips or fasteners (if required)
- New moulding and any included hardware
- Masking tape (for alignment reference)
- Heat gun or hair dryer (for cold weather installation)
Surface Preparation Steps:
-
Remove Old Moulding:
- Gently pry away the old moulding using trim tools. Remove all clips and clean off adhesive residue.
-
Clean the Surface:
- Wipe the door edge with isopropyl alcohol to remove oils and contaminants.
-
Inspect for Damage:
- Check for rust, bent metal, or irregularities. Address these before proceeding.
-
Dry Thoroughly:
- Ensure the area is completely dry before attaching the new moulding.
A clean, smooth surface ensures optimal adhesion and fitment.
Installing Toyota Front Door Moulding: Step-by-Step Process
Every Toyota model has unique installation nuances, but the general process is as follows:
Step-By-Step Installation
-
Test Fit the Moulding:
- Align the new moulding on the door without removing adhesive backing or engaging clips. Confirm fit and orientation.
-
Mark Alignment Points:
- Use masking tape to mark the start and end points, and any curves or corners.
-
Attach Clips or Prepare Adhesive:
- If using clips, pre-install them into the moulding. For adhesive types, peel a small section of the backing to start.
-
Install the Moulding:
- Begin at one end and gradually press the moulding into place, following alignment marks. For adhesive, peel backing as you go, applying firm, even pressure.
-
Secure and Seat:
- Ensure all clips snap securely. For adhesive, use a roller or your palm to press along the entire length, ensuring full contact.
-
Final Inspection:
- Check for gaps, misalignment, or loose sections. Make adjustments as needed before the adhesive sets.
-
Allow Adhesive to Cure:
- If adhesive is used, avoid washing the car or exposing it to heavy rain for at least 24 hours.
For detailed, model-specific instructions, consult our Toyota Front Door Moulding Install Guide.
Advertisement
Avoiding Common Installation Pitfalls
Even experienced DIYers and professionals can run into trouble during installation. Here are the most frequent pitfalls and how to avoid them:
-
Skipping Surface Prep:
- Adhesive will not bond correctly to dirty or oily surfaces, leading to early failure.
-
Misaligning the Moulding:
- Rushing the placement can result in visible gaps or overlapping sections.
-
Reusing Old Clips:
- Old clips may be brittle or deformed. Always use new clips for a secure fit.
-
Forcing the Moulding:
- If the moulding doesn’t sit naturally, check for obstructions or incorrect part selection.
-
Ignoring Temperature:
- Adhesive tapes bond poorly in cold conditions. Warm the moulding and door edge for best results.
Being methodical and patient is the key to a professional-grade result.
Post-Installation Checks and Maintenance
Once the moulding is installed, perform these checks to ensure lasting performance:
Post-Installation Checklist
-
Visual Inspection:
- Confirm the moulding is flush, continuous, and fully seated.
-
Leak and Noise Test:
- Repeat the water and wind noise tests to verify the seal.
-
Recheck After 24 Hours:
- Inspect for lifting or separation, especially if adhesive was used.
-
Routine Maintenance:
- Clean the moulding with mild soap and water—avoid harsh chemicals.
- Inspect periodically for signs of wear, UV cracking, or detachment.
Proactive maintenance extends the life of your new moulding and preserves your Toyota’s comfort and value.
When to Replace vs. Refit: Decision Factors
Sometimes, a simple refit or reseating of the existing moulding is all that’s needed. In other cases, replacement is the only viable solution. Consider replacement if:
- The moulding is cracked, torn, or permanently deformed
- Clips or attachment points are broken
- There is persistent wind noise or leaks despite reseating
- The moulding has shrunk or hardened due to age/UV exposure
If the moulding is in good condition but misaligned, a careful refit may suffice. However, always inspect the underlying door structure for hidden damage.
Sourcing Genuine and Quality Aftermarket Toyota Door Mouldings
Choosing the right supplier is as important as selecting the correct part number. Here’s what to look for:
-
OEM Suppliers:
- Provide factory-original fitment and materials, ensuring full compatibility with Toyota’s safety and performance standards (NHTSA Equipment).
-
Reputable Aftermarket Brands:
- Some aftermarket mouldings offer comparable quality at a lower price. Look for brands with positive reviews and clear compatibility listings.
-
Beware of Counterfeits:
- Counterfeit or low-quality mouldings may look similar but often use inferior materials that degrade quickly or fail to seal properly.
-
Warranty and Support:
- Choose suppliers who back their products with clear warranties and installation support.
For a curated selection and expert advice, AutoPartEx connects you with trusted Toyota parts suppliers.
Integrating Fitment with Vehicle Safety and Performance
Properly installed door mouldings do more than prevent wind and water ingress. They contribute to:
- Crash Safety:
- Mouldings help maintain door alignment, which is critical for side-impact protection.
- Fuel Efficiency:
- Good seals reduce aerodynamic drag, supporting optimal fuel economy (DOE Fuel Efficiency).
- Noise, Vibration, and Harshness (NVH) Control:
- Quality mouldings reduce road and wind noise, enhancing cabin comfort.
Neglecting fitment can compromise these critical vehicle systems, underscoring the importance of expert installation and inspection.
Advanced Diagnostics: When Fitment Fixes Don’t Solve the Problem
If you’ve replaced or refitted the front door moulding and still experience leaks or noise, consider these advanced diagnostics:
- Inspect Door Alignment:
- Misaligned doors can prevent even the best moulding from sealing.
- Check Window Channels:
- Damaged or misaligned window seals can mimic moulding issues.
- Evaluate Door Frame Integrity:
- Accident damage or corrosion can warp the door edge.
For persistent or complex issues, consult our Toyota Door Moulding Diagnostic Guide for systematic troubleshooting.
AutoPartEx: Your Partner for Genuine Toyota Fitment Solutions
At AutoPartEx, we combine technical expertise with an extensive inventory of genuine and quality aftermarket Toyota door mouldings. Our editorial guides, diagnostic tools, and fitment resources empower DIYers and professionals alike to achieve factory-grade results.
Explore the full range of Toyota front door moulding solutions, installation tutorials, and expert diagnostic guides in our Toyota Front Door Moulding – Genuine Fitment, Problems & Solutions category. Whether you’re restoring a daily driver or maintaining a fleet, AutoPartEx is your trusted source for reliable, safe, and lasting repairs.
References
Advertisement