
Advertisement
Common Moulding Failures
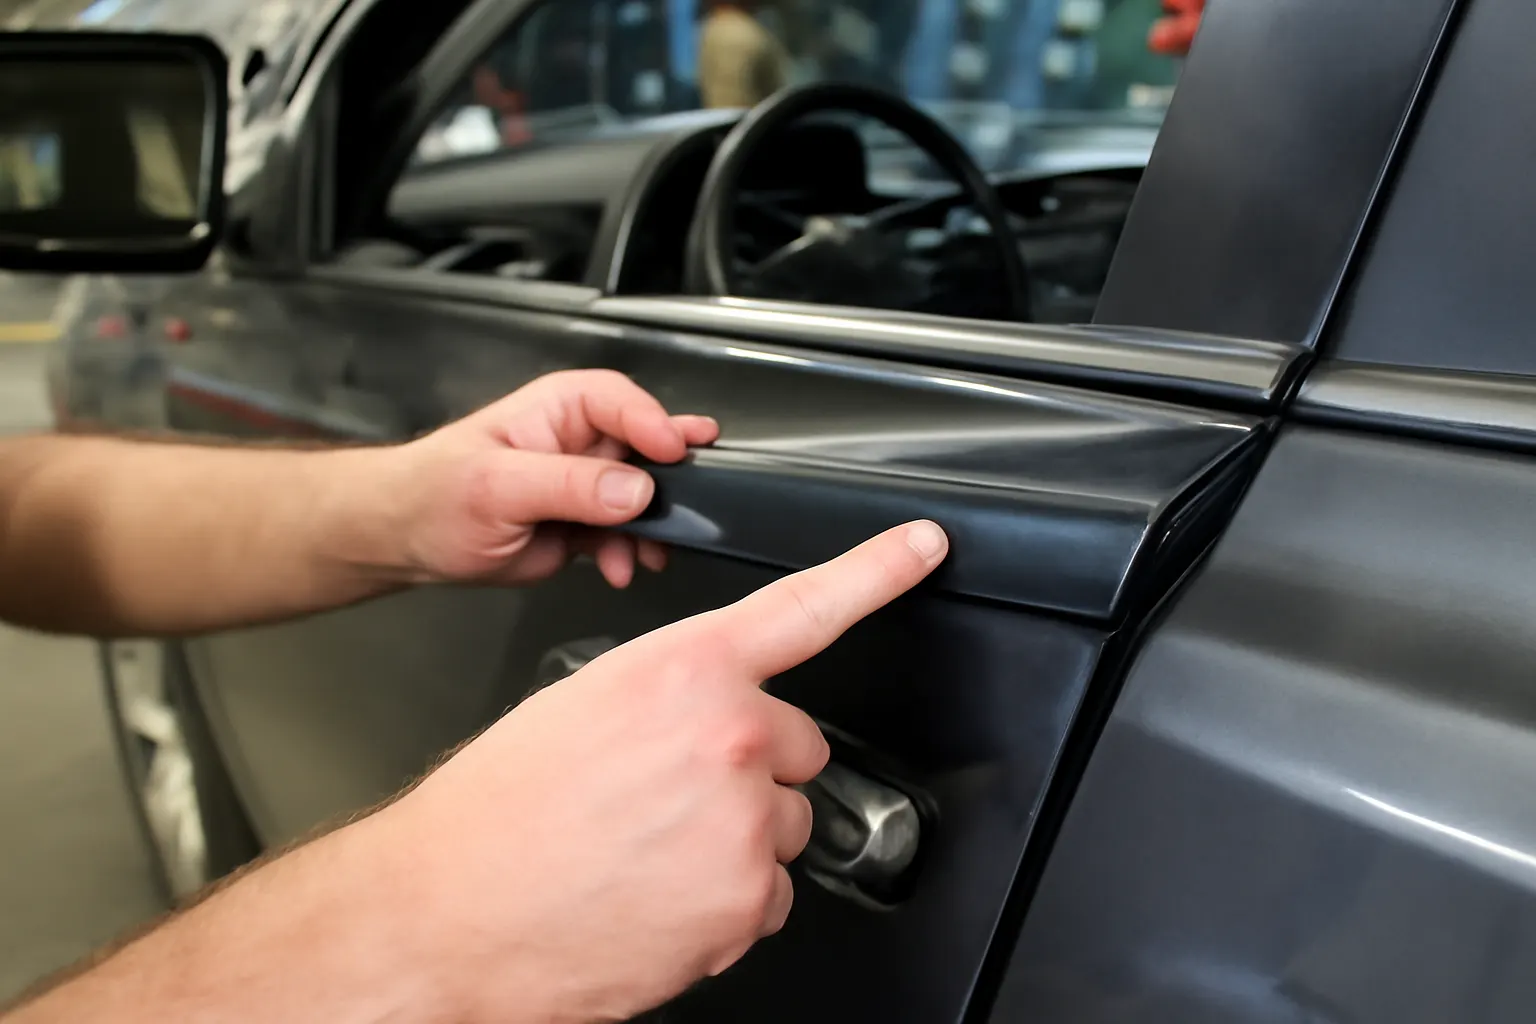
When Toyota front door mouldings fail, the consequences go far beyond cosmetic concerns. From wind noise and water leaks to compromised safety and increased maintenance costs, understanding the most common moulding failures—and how to prevent them—is essential for owners and technicians alike. In this comprehensive guide, we break down the real-world causes, technical explanations, and actionable solutions for Toyota door trim issues, drawing on industry best practices and the latest materials standards. For further model-specific fitment and sourcing information, see our Toyota Front Door Moulding – Genuine Fitment, Quality, and Service Guidance page.
The Immediate Answer: What Are the Most Common Toyota Door Moulding Failures?
The most frequent Toyota front door moulding failures include:
- Adhesive separation and detachment
- Warping or deformation due to material fatigue
- Incorrect installation leading to gaps or misalignment
- Weather-related deterioration (UV, heat, moisture)
- Physical damage from impact or abrasion
- Rust or corrosion at mounting points
- Loss of noise and water sealing function
Each of these issues can result in visible trim defects, water ingress, excessive wind noise, or even safety equipment malfunctions if not addressed promptly. Understanding the origins and mechanics behind these failures is crucial for effective diagnostics and long-term repair.
The Hidden Problem: Why Do Moulding Failures Escalate?
While a loose or damaged door moulding might seem minor, it often signals deeper issues—such as improper installation technique, substandard materials, or underlying structural misalignment. Left unchecked, even a small gap or crack can:
- Allow water to infiltrate the door cavity, leading to corrosion and electrical faults.
- Compromise the vehicle’s aerodynamics, reducing fuel efficiency.
- Create entry points for dirt and debris, accelerating wear on window regulators and locks.
- Undermine the effectiveness of side-impact protection systems.
In many cases, the visible failure is just the tip of the iceberg, with the root cause hidden beneath the surface.
Expanding the Problem: Technical Factors Behind Moulding Failures
1. Material Degradation
Toyota, like most OEMs, utilizes advanced polymers and elastomers for exterior trim to balance weight, durability, and cost (DOE Materials Technologies). However, exposure to UV radiation, temperature extremes, and automotive chemicals can cause:
- Embrittlement: Loss of flexibility, leading to cracks or breakage.
- Discoloration: Fading or yellowing, often a precursor to material fatigue.
- Loss of adhesion: Degradation of double-sided tapes or adhesive pads.
2. Installation Errors
Improper installation remains a leading cause of premature moulding failure. Common errors include:
- Surface contamination: Failing to thoroughly clean and de-grease the door surface before application.
- Incorrect alignment: Misplaced mouldings create stress points, leading to peeling or warping.
- Insufficient pressure: Not applying enough force during installation, reducing adhesive bond strength.
3. Poor Fitment and Part Selection
Using non-OEM or ill-fitting aftermarket mouldings can introduce:
- Excessive gaps: Allowing water and air intrusion.
- Interference with window operation: Causing rattles or scratching glass.
- Aesthetic mismatches: Detracting from vehicle appearance and resale value.
4. Environmental and Physical Stress
Door mouldings are exposed to:
- Thermal cycling: Expansion and contraction from daily temperature swings.
- Mechanical impact: Door dings, shopping carts, or careless entry/exit.
- Chemical exposure: Road salts, cleaning agents, and atmospheric pollutants.
Over time, these factors accelerate wear and increase the likelihood of failure.
Real-World Examples: Installation Failures and Their Consequences
To illustrate the impact of improper installation, consider these common scenarios:
Example 1: Adhesive Failure Due to Surface Contamination
A Toyota Camry owner replaces a weathered moulding using a generic replacement kit. They skip the recommended isopropyl alcohol wipe-down, and within weeks, the new trim begins to peel away at the corners. Water leaks develop, and the door interior shows early signs of rust.
Advertisement
Example 2: Warped Moulding from Improper Storage
A body shop stores new moulding strips in direct sunlight before installation. The UV exposure softens and warps the polymer. Once installed, the trim never sits flush, creating visible gaps and wind noise at highway speeds.
Example 3: Misalignment on Hybrid Models
A Prius owner attempts a DIY replacement but fails to align the moulding correctly with the door’s edge. This misalignment interferes with the window’s travel, causing scratching and increased regulator wear—resulting in a costly secondary repair.
Each of these cases demonstrates how a seemingly minor oversight can have cascading consequences for vehicle function and longevity.
Diagnostic Checklist: Identifying Moulding Failures
A systematic approach is essential for diagnosing Toyota moulding problems. Use the following checklist during inspection:
Toyota Door Moulding Diagnostic Checklist
| Step | Inspection Point | What to Look For |
|---|---|---|
| 1 | Visual surface check | Cracks, gaps, peeling, discoloration |
| 2 | Adhesion test | Gently tug at edges—look for loose sections |
| 3 | Alignment assessment | Confirm flush fit along entire door length |
| 4 | Water intrusion | Signs of dampness, water stains, or corrosion |
| 5 | Wind noise evaluation | Listen for whistling at highway speeds |
| 6 | Window operation | Smooth up/down motion, no scraping or sticking |
| 7 | Fastener and clip integrity | Missing, broken, or rusted clips/screws |
| 8 | Under-moulding inspection | Dirt, debris, or trapped moisture |
Document any issues found and cross-reference with repair history to identify patterns or recurring installation mistakes. For more in-depth troubleshooting, consult our Toyota Door Moulding Diagnostics Guide.
Technical Deep Dive: Materials, Engineering, and Standards
OEM Material Choices
Toyota front door mouldings typically use a blend of thermoplastic elastomers (TPE), polypropylene, or ABS plastic for the main body, with high-performance adhesives or mechanical clips for attachment. These materials are engineered to meet SAE and NHTSA standards for:
- Impact resistance
- UV and weathering performance
- Compatibility with vehicle paint and finishes
Material selection directly affects durability, weight, and noise/vibration dampening (DOE Materials Technologies).
Engineering Fit and Tolerances
Precision fitment is critical. Even a 1-2mm deviation can:
- Compromise sealing against water and wind
- Cause visible misalignment with adjacent panels
- Lead to premature adhesive failure due to uneven load distribution
Toyota’s quality control processes ensure that genuine mouldings conform to exact door curvature and mounting geometry, minimizing the risk of installation-related failures.
Regulatory and Safety Considerations
The National Highway Traffic Safety Administration (NHTSA) mandates that exterior trim components not interfere with critical safety systems or create hazards in the event of an accident (NHTSA Equipment). Poorly fitted or degraded mouldings can:
- Obstruct side airbag deployment zones
- Increase injury risk from loose or sharp trim
- Allow water ingress that damages electronic door locks or sensors
Always verify that replacement mouldings meet or exceed OEM specifications and relevant safety standards.
Solution Path: Preventing and Fixing Moulding Failures
Best Practices for Installation
Proper installation is the single most effective way to prevent premature moulding failure. Follow these steps:
-
Preparation
- Clean the mounting area thoroughly with isopropyl alcohol.
- Ensure the surface is dry and free of wax, grease, or debris.
-
Test Fit
- Dry-fit the moulding to check alignment and coverage.
- Adjust as needed before removing adhesive backing.
-
Application
- Remove backing and press moulding firmly into place.
- Use a roller or soft tool to apply even pressure along the entire length.
Advertisement
-
Curing
- Allow adhesives to cure for at least 24 hours before washing or exposure to rain.
-
Final Inspection
- Recheck alignment, adhesion, and window operation.
For more detailed step-by-step instructions, refer to our Toyota Front Door Moulding Fitment Guide.
Maintenance Tips
- Regularly inspect mouldings for signs of loosening, cracking, or discoloration.
- Wash with mild soap—avoid harsh chemicals that degrade plastics and adhesives.
- Park in shaded areas to reduce UV exposure and prevent material warping.
- Address minor damage promptly to avoid water ingress and rust formation.
Sourcing Genuine Parts
Whenever possible, use OEM or certified aftermarket mouldings designed for your Toyota model. Genuine parts ensure:
- Correct fit and finish
- Compliance with safety standards
- Long-term durability
For a comprehensive overview of Toyota’s exterior trim materials and sourcing guidance, see our Toyota Materials Exterior Trim resource.
Buying Guidance: What to Look for in Replacement Mouldings
Choosing the right replacement moulding can make the difference between a long-lasting repair and a recurring headache. Here’s what to consider:
- Model-specific compatibility: Verify part numbers and fitment for your exact year and trim.
- Material quality: Look for UV-resistant polymers and high-strength adhesives.
- Mounting method: Prefer mouldings with pre-installed clips or OEM-approved adhesives.
- Supplier reputation: Buy from trusted vendors with clear return policies and warranty support.
Avoid generic “universal” mouldings, which often lack the precise curvature and mounting geometry required for modern Toyota doors.
Expert Insight: The Role of Mouldings in Fuel Efficiency and Safety
While often overlooked, door mouldings play a subtle but important role in vehicle efficiency and safety:
- Aerodynamics: Properly fitted mouldings smooth airflow around the door, reducing drag and contributing to better fuel economy (DOE Fuel Efficiency).
- Noise reduction: Sealing out wind noise improves cabin comfort and reduces driver fatigue.
- Water management: Channeling rainwater away from critical seams protects electronics and prevents corrosion.
- Crash safety: Secure mouldings prevent trim detachment in side impacts, reducing injury risk.
Neglecting these components can have a measurable impact on both performance and occupant protection.
Troubleshooting: When to Repair vs. Replace
Not every moulding issue requires full replacement. Use these guidelines:
- Repair: Minor peeling, small cracks, or loose ends can often be re-secured with automotive-grade adhesive or clip replacement.
- Replace: Large sections of detachment, severe warping, or compromised material integrity demand full replacement to restore function and appearance.
If in doubt, consult a professional or refer to the Toyota repair manual for your model.
Case Study: Avoiding Repeat Failures with Corrective Action
A Toyota RAV4 owner experienced repeated moulding detachment after multiple DIY attempts. A professional technician identified the root cause: residual adhesive and wax buildup from previous installations prevented new adhesive from bonding effectively. After a thorough cleaning with a solvent, proper surface prep, and installation using OEM clips and tape, the new moulding remained secure through multiple seasons.
Key takeaway: Effective surface preparation and adherence to OEM installation procedures are critical for lasting results.
The AutoPartEx Advantage: Trusted Guidance for Toyota Owners
At AutoPartEx, we combine technical expertise with real-world experience to help you avoid the most common pitfalls in Toyota door moulding maintenance. Our editorial team rigorously tests installation methods, sources only proven materials, and curates in-depth resources for every step of the repair process.
Whether you’re a DIY enthusiast or a professional technician, our commitment to fitment accuracy, safety, and value ensures your Toyota remains protected and looking its best. For model-specific guidance and part sourcing, visit our Toyota Front Door Moulding – Genuine Fitment, Quality, and Service Guidance hub.
Additional Resources and Internal Links
- Toyota Door Moulding Diagnostics Guide
- Toyota Materials Exterior Trim
- Toyota Front Door Moulding Fitment Guide
References
Advertisement
