Advertisement
Distributor caps and rotors are often overlooked yet are absolutely vital to classic ignition performance. Many believe these components last forever or only need replacement if the engine misfires. This is a costly misconception. In reality, distributor cap and rotor wear can subtly degrade engine efficiency, cause hard starts, and even damage modern ignition upgrades. In this AutoPartEx deep dive, we’ll clear away persistent myths, explain real-world maintenance intervals, and show you how distributor cap and rotor care directly affects performance, safety, and fuel economy.
If you’re restoring or maintaining a classic vehicle, or simply want to ensure peak reliability, understanding distributor systems is essential. For a broader look at ignition fundamentals, explore our Distributor Systems: The Heartbeat of Classic Ignition category page.
The Immediate Truth: Distributor Cap and Rotor Maintenance Is Essential
Contrary to old garage tales, distributor caps and rotors are not “lifetime” components. They are subject to electrical arcing, thermal cycling, vibration, and environmental contaminants. Even if your engine runs, hidden wear in these parts can lead to:
- Gradual loss of fuel efficiency
- Increased emissions
- Reduced starting reliability
- Hard-to-diagnose misfires
Modern fuels, higher engine bay temperatures, and longer service intervals have only made distributor cap and rotor maintenance more critical. Ignoring them risks not only performance loss but also the integrity of downstream ignition components.
The Hidden Problem: Why Cap and Rotor Wear Is Often Overlooked
Many drivers and even some technicians underestimate how distributor cap and rotor wear can masquerade as other issues. Symptoms like rough idle, hesitation, or poor fuel economy are often blamed on spark plugs, wires, or even fuel system faults. This leads to unnecessary part swaps and persistent drivability complaints.
The root of the problem is that distributor wear is gradual. Carbon tracking, hairline cracks, and corroded contacts develop over time, not overnight. Since the engine may still start and run, the issue is often ignored until a no-start event or severe misfire occurs.
Expanding the Problem: Technical Details of Cap and Rotor Failure
Let’s break down the technical mechanisms behind common distributor cap and rotor failures, and how they impact your ignition system:
1. Carbon Tracking
High-voltage electricity always seeks the path of least resistance. Over time, microscopic cracks or contaminants in the cap’s plastic can create carbon tracks—fine black lines that conduct electricity. This causes spark energy to short to ground or to the wrong cylinder, resulting in misfires and rough running.
2. Corroded or Burned Contacts
The cap’s internal terminals and the rotor tip are made from conductive metals but are exposed to constant arcing. This leads to oxidation, pitting, and burning, which increases resistance and weakens spark delivery. Corroded contacts are a leading cause of hard starts and poor performance, especially in damp conditions.
3. Cracked or Warped Housing
Age, heat, and vibration can cause the cap’s insulating plastic to crack or warp. Even hairline cracks may allow moisture intrusion, resulting in cross-firing and unpredictable ignition behavior. Warped caps may not seal properly, letting in dust and oil vapors that accelerate wear.
4. Rotor Degradation
Rotor arms can erode, pit, or even break under stress. A damaged rotor may intermittently fail to deliver spark to certain cylinders, causing surging, hesitation, or outright misfires.
Understanding these failure modes is crucial for accurate diagnostics and effective maintenance.
Debunking Common Myths About Distributor Cap and Rotor Care
Many persistent myths surround distributor cap and rotor maintenance. Let’s set the record straight:
Myth 1: “If the Engine Starts, the Cap and Rotor Are Fine”
Fact: Engines can run with marginal caps and rotors, but performance, efficiency, and emissions may suffer. Early degradation rarely causes a no-start, but does reduce reliability and fuel economy.
Myth 2: “Caps and Rotors Only Need Replacement Every 100,000 Miles”
Fact: While modern materials have improved longevity, most OE and aftermarket caps and rotors are designed for 30,000 to 50,000-mile intervals under normal conditions. High-heat, high-mileage, or classic car applications may require even more frequent service.
Myth 3: “All Distributor Caps and Rotors Are the Same”
Fact: Materials, design tolerances, and even the type of plastics and metals used can vary widely. Inferior materials are more prone to cracking, tracking, and corrosion. Always select high-quality, vehicle-specific components.
Advertisement
Myth 4: “A Quick Visual Inspection Is All That’s Needed”
Fact: Many failures, such as carbon tracking or internal corrosion, are not easily visible without disassembly and close inspection. Relying on a casual glance can leave underlying problems undetected.
The Real Maintenance Interval: When Should You Replace Your Cap and Rotor?
There’s no universal answer, but the following guidelines will help you set a realistic maintenance schedule:
- Normal Use (Daily Driver): Inspect every 15,000–20,000 miles; replace every 30,000–50,000 miles.
- Severe Service (High Heat, Frequent Short Trips, Classic Cars): Inspect every 10,000–12,000 miles; replace every 20,000–30,000 miles.
- After Flooding, Overheating, or Major Engine Work: Always inspect and consider replacement.
Remember: If you notice misfires, rough idle, hard starts, or unexplained drops in fuel economy, check the distributor cap and rotor first—even if you’re within the suggested mileage window.
Step-by-Step: How to Inspect Distributor Cap and Rotor Condition
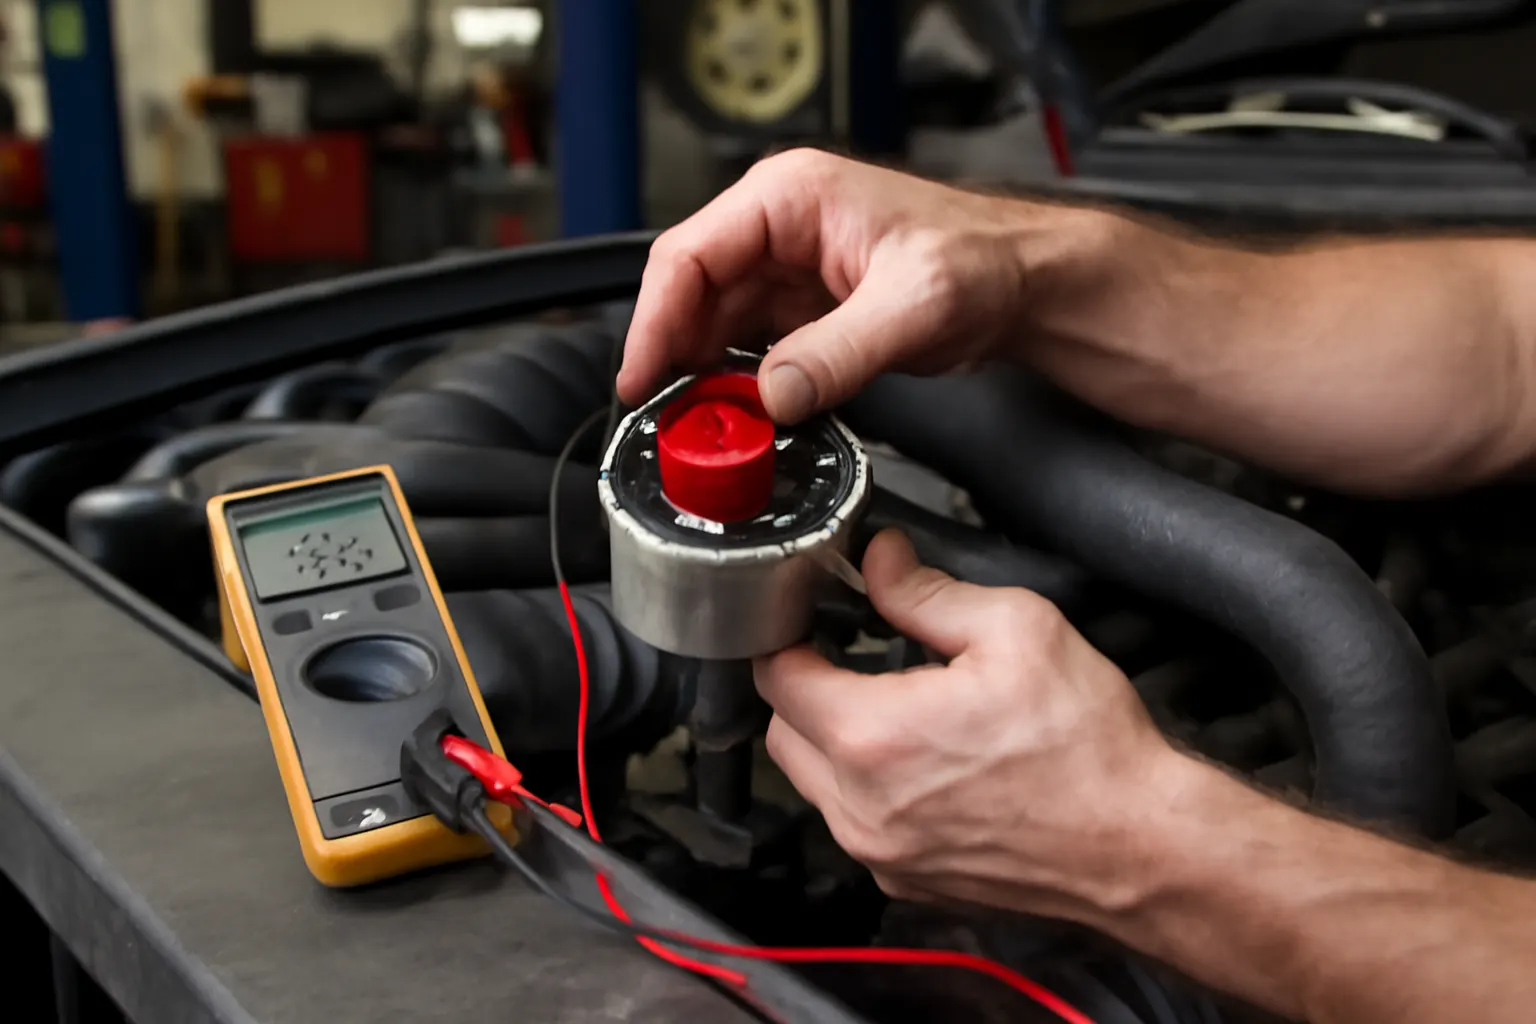
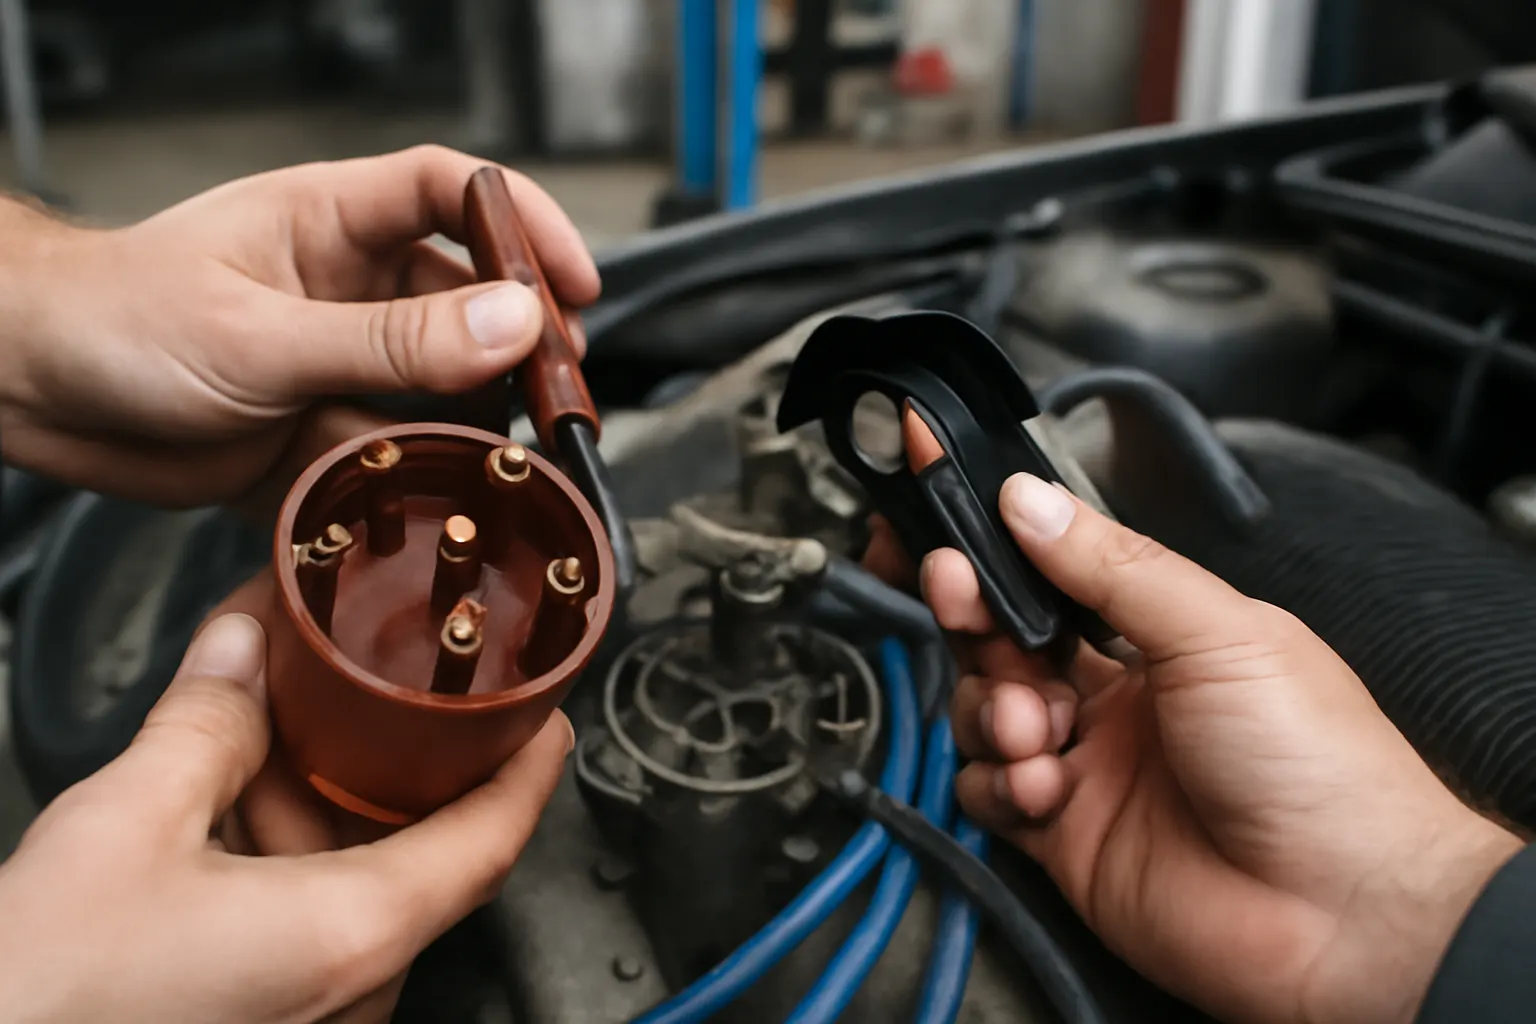
A thorough inspection is the backbone of effective maintenance. Here’s a practical checklist for evaluating distributor cap and rotor health:
Distributor Cap and Rotor Inspection Checklist
- Remove Cap and Rotor: Disconnect the battery. Mark and remove spark plug wires from the cap. Unscrew and lift off the cap, then the rotor.
- Check for Cracks: Examine the cap’s exterior and interior for any cracks, chips, or warping.
- Look for Carbon Tracking: Inspect the inside of the cap for fine black lines or streaks (carbon tracks).
- Examine Contacts: Check all internal terminals for corrosion, pitting, or heavy discoloration. The rotor tip should be clean and intact.
- Inspect Rotor Arm: Look for burning, pitting, or excessive wear.
- Check for Moisture or Contaminants: Any sign of oil, water, or dirt inside the cap warrants cleaning and possible replacement.
- Assess Fitment: Ensure the cap and rotor fit snugly and the cap gasket (if present) is intact.
- Reinstall or Replace: If any defects are found, replace both cap and rotor as a set.
Regular inspections not only extend component life but also prevent costly secondary damage to ignition coils, modules, or plug wires.
Material Science: Why Cap and Rotor Quality Matters
Not all distributor caps and rotors are created equal. The choice of materials—both plastics and metals—directly impacts durability, electrical performance, and safety.
- Cap Housing: High-quality caps use glass-filled polyester or similar engineered plastics for superior heat and crack resistance. Cheaper caps may warp or crack prematurely.
- Terminals: Brass or copper terminals offer better conductivity and corrosion resistance than aluminum or steel. Brass is preferred for high-performance and classic applications.
- Rotor Arm: The best rotors use high-melting-point plastics and robust metal tips to withstand arcing and thermal cycling.
Material selection is not just a matter of longevity. According to the United States Department of Energy, advances in automotive materials technology have directly improved the reliability and performance of ignition system components. Choosing OE-quality or premium aftermarket parts ensures your ignition system delivers consistent spark energy and resists the effects of heat, vibration, and chemical exposure.
Performance Impact: The Ripple Effect of Neglect
Distributor cap and rotor health is not just about starting the engine. Poor maintenance can have cascading effects throughout your vehicle:
- Reduced Spark Energy: Increased resistance at the cap or rotor reduces the energy available at the spark plug, leading to incomplete combustion.
- Fuel Economy Loss: Weak or erratic spark forces the engine to burn more fuel for the same power output. The Department of Energy notes that ignition system health is a key factor in maintaining peak fuel efficiency.
- Increased Emissions: Misfires and incomplete combustion result in higher hydrocarbon and carbon monoxide emissions, potentially causing your vehicle to fail emissions checks.
- Ignition System Overload: A failing cap or rotor can overstress ignition coils, modules, and plug wires, leading to further failures and higher repair bills.
For classic vehicles, proper cap and rotor care is doubly important, as these systems were never designed for today’s high-ethanol fuels or underhood temperatures.
Safety and Reliability: More Than Just Performance
The National Highway Traffic Safety Administration (NHTSA) emphasizes that all ignition system components, including distributor caps and rotors, are critical to vehicle safety. Unexpected misfires or stalling can create hazardous situations, especially in traffic or during overtaking maneuvers.
Advertisement
A neglected cap or rotor can also leave you stranded—a particular concern for classic car owners, long-distance commuters, or anyone who values reliability.
Diagnosing Ignition Issues: When Is the Cap or Rotor to Blame?
Distributor cap and rotor faults can mimic many other ignition or fuel system problems. Here’s how to distinguish them:
- Symptom Onset: Cap and rotor issues often worsen with moisture, after a car wash, or during humid weather.
- Cylinders Affected: If multiple, non-adjacent cylinders misfire, or if misfires occur randomly, suspect the distributor.
- Visual Inspection: Any visible tracking, corrosion, or cracking is cause for replacement.
- Age and Mileage: If the cap and rotor are over 30,000 miles old, replacement is often the most cost-effective diagnostic step.
For a more comprehensive approach to troubleshooting, consult our guide: Diagnosing Ignition System Failures.
Sourcing the Right Cap and Rotor: Fitment and Quality Guidelines
Selecting the correct distributor cap and rotor set is crucial. Here’s what to consider:
- Vehicle-Specific Fitment: Always match part numbers to your vehicle’s year, make, model, and engine code. Even similar engines can use different distributor designs.
- Material Quality: Opt for OE or reputable aftermarket brands using brass/copper terminals and high-grade plastics.
- Design Features: Some high-performance caps offer improved venting or insulation for enhanced reliability.
- Bundle Replacement: Replace the cap and rotor as a set. Mixing old and new parts can lead to uneven wear and unpredictable performance.
If you’re restoring a classic AMC, Acura, or Alfa, refer to Restoring Classic AMC, Acura, and Alfa Ignition Systems for detailed fitment and upgrade tips.
Installation Tips: Ensuring a Trouble-Free Ignition Refresh
Proper installation is as important as selecting the right parts. Follow these best practices:
- Label Spark Plug Wires: Before removing the old cap, mark each wire to ensure correct firing order on reassembly.
- Clean Mating Surfaces: Remove any oil, dirt, or corrosion from the distributor base and mounting surfaces.
- Check Cap Venting: Some caps feature vents; ensure they are clear and not blocked by debris.
- Torque Fasteners Properly: Over-tightening can crack the cap; under-tightening can cause poor sealing.
- Apply Dielectric Grease: A thin film on the inside terminals and plug boots can prevent corrosion and moisture intrusion.
A careful installation ensures maximum lifespan and minimizes the risk of future ignition troubles.
Preventive Maintenance: Extending Cap and Rotor Life
While distributor caps and rotors are wear items, you can maximize their service life with these preventive steps:
- Keep Engine Bay Clean: Oil vapors, dirt, and coolant leaks accelerate cap and rotor wear.
- Address Oil Leaks Promptly: Oil from a leaking distributor shaft seal can contaminate the cap interior.
- Avoid High-Pressure Washing: Direct water spray can force moisture into the cap, accelerating tracking and corrosion.
- Use Quality Spark Plug Wires: Old or poor-quality wires can increase resistance and spark voltage, hastening cap and rotor breakdown.
- Periodic Inspections: Regularly inspect the cap and rotor at oil change intervals, especially in classics or high-mileage vehicles.
The AutoPartEx Advantage: Trusted Guidance and Quality Parts
At AutoPartEx, we know that distributor system reliability is the foundation of classic and modern ignition performance. Our curated selection of distributor caps and rotors meets or exceeds OE standards for fit, material quality, and electrical performance. We back every recommendation with technical expertise and up-to-date fitment data.
Whether you’re refreshing a daily driver or restoring a classic, our Distributor Systems: The Heartbeat of Classic Ignition collection connects you with the right parts and know-how for your project. For those considering upgrades, see Electronic Ignition Conversion: Is It Worth It? for a technical comparison of distributor-based and electronic systems.
Take Expert Action: Don’t Let Ignition Myths Sideline Your Vehicle
Distributor caps and rotors are simple, affordable components—but neglecting them can lead to complex, costly repairs. Don’t fall for the myth of “lifetime” service or assume that a running engine means all is well. Make distributor cap and rotor inspection and replacement a routine part of your maintenance strategy.
- Inspect every 15,000–20,000 miles (or sooner in severe conditions)
- Replace with high-quality, vehicle-specific parts
- Bundle cap and rotor replacement for best results
- Trust AutoPartEx for technical guidance and premium components
Protect your investment, maximize performance, and drive with confidence—starting with the heartbeat of your ignition system.
References
Advertisement