Advertisement
Rear door rattles and water leaks are among the most common—and frustrating—interior problems for vehicle owners. These issues can lead to annoying noises, water-damaged upholstery, and even costly electrical problems if left unaddressed. The good news: most rear door noise and leak complaints trace back to specific, identifiable causes, especially those related to the installation or condition of the interior trim panel and door sealing components. This guide will show you how to pinpoint the source of these problems and how a properly installed or replaced Interior Trim Panel, Door (Back) can restore comfort and function to your vehicle.
Why Rear Door Rattles and Water Leaks Demand Immediate Attention
While a rattle or occasional drip might seem minor at first, these symptoms are often the tip of a deeper iceberg. Water intrusion in the rear doors can lead to corrosion, mold, and damaged electrical systems or speaker components. Persistent rattles not only degrade the driving experience but may signal loose structural elements, missing fasteners, or compromised safety features inside the door. According to the National Highway Traffic Safety Administration (NHTSA), proper fitment and condition of interior panels are critical to occupant protection and overall vehicle safety [NHTSA Vehicle Safety and Equipment].
The Hidden Challenge: What Makes Rear Doors Especially Vulnerable?
Rear doors present unique challenges compared to their front counterparts. They often see less frequent use, causing seals and fasteners to dry out or loosen unnoticed. Rear doors also incorporate complex window mechanisms, child safety locks, and sometimes integrated speakers—all elements that can become rattle sources or water entry points if trim panels are not precisely aligned or if sealing surfaces are compromised. In SUVs, minivans, and crossovers, rear doors may be subjected to additional flexing and vibration due to their position over the rear axle, amplifying the likelihood of trim panel noise and seal failure.
Understanding the Anatomy of the Rear Door: Key Components at Risk
Before diagnosing, it’s crucial to know what’s inside a typical rear door:
- Interior Trim Panel: The visible, often upholstered panel that covers the door’s inner workings.
- Moisture Barrier: A plastic or foam sheet that prevents water from reaching the trim or entering the cabin.
- Weatherstripping and Seals: Rubber or foam gaskets along the door perimeter and window frame.
- Fasteners and Clips: Plastic or metal hardware securing the trim panel in place.
- Window Regulator and Motor: Mechanisms moving the window up and down.
- Wiring Harness and Speakers: Electrical components vulnerable to water intrusion.
Failure or misalignment in any of these areas can lead to the symptoms you hear or see.
Common Causes of Rear Door Rattles
Let’s break down the top sources of rattles in rear doors:
1. Loose or Broken Trim Panel Clips
Trim panels are secured with a variety of clips, many of which are plastic and prone to breakage during removal or over time due to vibration and heat cycles. When these clips fail, the panel can move against the metal door frame, creating a persistent rattle.
2. Missing or Misplaced Fasteners
If screws or bolts securing the trim panel, armrest, or handle are missing or not properly torqued, the panel will shift during vehicle movement, especially over rough roads.
3. Detached Moisture Barrier
A moisture barrier that has peeled away from the door can flap or vibrate, producing a “buzzing” or “tapping” noise, particularly when windows are operated or doors are closed forcefully.
4. Window Regulator or Lock Mechanism Play
Worn or improperly installed window regulators and lock rods can knock against the door’s interior metalwork, especially if their retaining clips are missing or loose.
5. Speaker or Wiring Harness Movement
Speakers not tightly mounted or unsecured wiring can vibrate against the door structure, generating intermittent or constant rattling noises.
Water Leaks: Where Are They Most Likely to Start?
Water intrusion into rear doors can be subtle or dramatic. The most frequent sources are:
1. Failed Door Weatherstripping
The primary seal between the door and the body, weatherstripping can crack, compress, or pull away, especially in older vehicles or those exposed to harsh climates.
Advertisement
2. Compromised Moisture Barrier
If the barrier behind the trim panel is missing, torn, or improperly glued, water that enters through the window channel can seep into the cabin or saturate the trim panel and carpet.
3. Poorly Sealed Window Channel
A misaligned or worn window channel can allow rainwater to bypass the intended drainage path, leading to leaks inside the door or onto the seat and floor.
4. Blocked Door Drain Holes
Every door is designed with drain holes at the bottom to let water escape. If these become clogged with debris, water will pool inside the door and eventually leak into the cabin.
5. Faulty Door Handle or Lock Gasket
Gaskets around external door handles and locks can fail, letting water travel along the rods and into the trim panel area.
The Diagnostic Checklist: Isolating the Rattle or Leak
Use this systematic checklist to pinpoint the source of your rear door noise or leak:
Rattle Diagnosis:
- Listen for the rattle while driving on different surfaces.
- Tap the door panel gently with your hand—does it buzz or move?
- Operate the window—does the rattle change or intensify?
- Check for loose trim by gently pulling at corners and along the bottom edge.
- Inspect speaker grills and armrests for movement or play.
- Open the door and shake the panel—listen for internal movement.
Water Leak Diagnosis:
- Examine the weatherstripping for visible gaps, tears, or compression.
- Look for water stains on the trim panel, carpet, or seat.
- Pour water over the closed window and door—observe for drips inside.
- Remove the trim panel (if safe) and inspect the moisture barrier.
- Check for blocked drain holes at the door bottom.
- Inspect the area around the door handle and lock for water trails.
Tools and Materials You’ll Need for Inspection and Repair
A successful diagnosis and repair job requires the right tools:
- Trim panel removal tool (plastic pry bar)
- Phillips and flathead screwdrivers
- Torx drivers (if applicable)
- Socket set
- Replacement trim clips and fasteners
- Butyl tape or automotive-grade adhesive for moisture barrier repair
- Replacement door weatherstripping (if needed)
- Clean rags and mild cleaner
- Flashlight or inspection mirror
Having these on hand will allow you to inspect, remove, and reinstall components without causing additional damage.
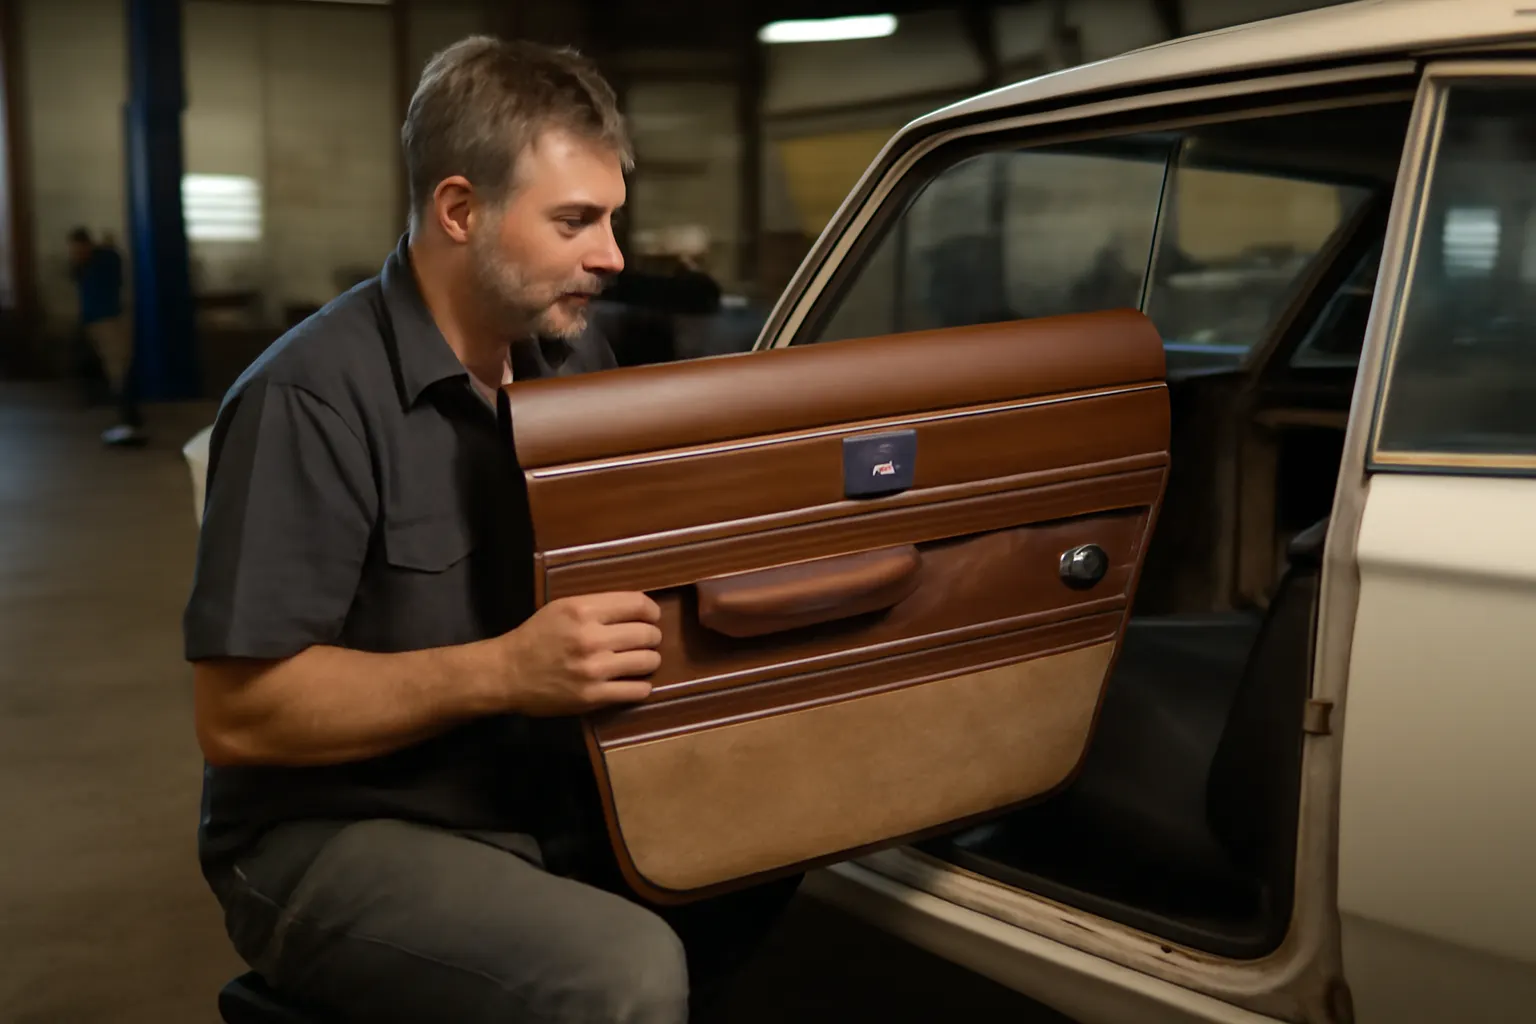
Step-by-Step: Removing and Inspecting the Rear Door Trim Panel
- Disconnect the Battery (if your door has airbags or electrical components).
- Locate and Remove Fasteners: Screws are often hidden behind handle covers, armrest pads, or in the door pull area.
- Release Trim Clips: Use a plastic pry tool to gently pop the panel away from the door frame, starting at the bottom edge.
- Disconnect Electrical Connectors: Carefully unplug any wiring for window switches or speakers.
- Lift Off the Panel: Once all clips and connectors are free, lift the panel upward to disengage it from the window channel.
- Inspect the Moisture Barrier: Look for tears, gaps, or missing adhesive.
- Check Internal Components: Wiggle the window regulator, lock rods, and speakers for signs of looseness or contact with the door shell.
Reinstallation is the reverse of removal, but ensure all clips are properly seated and fasteners are tightened to the manufacturer’s specification.
Repairing or Replacing the Moisture Barrier
A compromised moisture barrier is a leading cause of water leaks and secondary rattles. Here’s how to address it:
- Clean the Door Metal: Remove old adhesive and debris.
- Fit a New or Repaired Barrier: Use automotive butyl tape or OEM adhesive to seal the barrier completely around the perimeter—avoid gaps.
- Cut Access Holes Carefully: Only open holes for fasteners or wiring as needed, and reseal with tape if possible.
This step is often overlooked during DIY repairs, but it’s essential for long-term leak prevention.
Addressing Fasteners, Clips, and Seals
Trim Clips and Fasteners
- Always replace broken or missing clips with OEM or high-quality aftermarket equivalents.
- Don’t reuse clips that show signs of fatigue or deformation.
- Torque screws and bolts to specification to avoid overtightening, which can crack plastic panels.
Advertisement
Weatherstripping
- Inspect for even compression along the entire length.
- Replace sections that are brittle, torn, or permanently compressed.
- Use weatherstrip adhesive to secure loose areas and ensure a continuous seal.
Door Drain Holes
- Use a flexible wire or compressed air to clear blocked drains.
- Check for rust or debris buildup, which can indicate chronic water retention.
Advanced Diagnostics: When the Problem Persists
If rattles or leaks remain after addressing the obvious issues, consider these advanced checks:
- Check for Door Shell Damage: Minor collisions or door slams can bend the metal, preventing trim panels or weatherstripping from sealing correctly.
- Inspect Window Alignment: Windows that don’t seat fully in their channels can allow water and wind noise.
- Test for Speaker Mounting Issues: Aftermarket or poorly installed speakers may not fit flush, creating air gaps or vibration points.
- Look for Electrical Harness Chafing: Water following harnesses can enter the cabin if grommets are missing or misaligned.
At this stage, consulting a professional or referencing a vehicle-specific service manual may be necessary for accurate diagnosis.
Choosing the Right Replacement Parts
When replacement is required, selecting the correct parts ensures a lasting repair:
- Trim Panels: Match color, material, and fitment to your vehicle’s year, make, and model. Consider reading OEM vs Aftermarket: Choosing the Right Door Trim Panel for a deep dive into your options.
- Clips and Fasteners: Always use manufacturer-specified hardware for best fit and retention.
- Weatherstripping: Choose seals that match the original profile and durometer (firmness).
- Moisture Barriers: Use OEM replacements or cut-to-fit barriers made of polyethylene or foam with automotive adhesive.
If restoring a classic or rare vehicle, see Restoring Classic Interiors: Sourcing Rare Rear Door Panels for guidance on sourcing hard-to-find parts.
Preventive Maintenance: Keeping Rattles and Leaks at Bay
A little attention can prevent future problems:
- Inspect door seals and trim clips annually, especially before and after winter or wet seasons.
- Clean drain holes every oil change.
- Avoid slamming doors, which can loosen fasteners and deform seals.
- When servicing windows or locks, always reinstall the moisture barrier with fresh adhesive.
- Listen for new noises after repairs—address them early to prevent worsening.
The Role of Modern Materials and Engineering Standards
Advances in materials technology have improved the durability of trim panels, seals, and adhesives. Modern vehicles use lightweight composites and engineered plastics designed to meet strict safety and performance standards, as outlined by organizations like SAE International and the U.S. Department of Energy [SAE Standards], [DOE Materials Technologies]. Still, even the best materials degrade over time due to UV exposure, humidity, and mechanical stress. Following manufacturer recommendations and using high-quality replacement parts is essential for a repair that lasts.
Professional vs. DIY: When to Call in an Expert
While many rattle and leak repairs can be tackled by a skilled DIYer, certain situations call for professional intervention:
- Airbag-equipped doors or those with complex wiring should be serviced by a certified technician to avoid accidental deployment or electrical damage.
- Persistent leaks or noises after thorough repair attempts may indicate structural or alignment issues best handled by a body shop.
- If your vehicle is under warranty or subject to a safety recall, have repairs performed by an authorized dealer to ensure compliance with NHTSA guidelines [NHTSA Recalls].
AutoPartEx: Your Trusted Source for Rear Door Trim Panels and Solutions
AutoPartEx specializes in high-quality Interior Trim Panel, Door (Back) components, fasteners, and weatherstripping for a wide range of makes and models. Our extensive catalog, technical guides, and fitment support ensure you get the right part the first time—whether you’re restoring a classic or maintaining your daily driver. For step-by-step installation, see our How to Replace Rear Door Trim Panels: Step-by-Step Guide.
Conclusion: Silence the Noise, Stop the Drips, Restore Your Ride
Rattles and water leaks in rear doors are more than a nuisance—they can signal deeper issues that, if ignored, lead to costly repairs and compromised safety. By understanding the anatomy of your rear door, using a systematic diagnostic approach, and choosing quality parts, you can restore both quiet and comfort to your vehicle’s interior. AutoPartEx is here to help you every step of the way, from diagnosis to sourcing the exact trim panel or seal you need.
References
Advertisement