Advertisement
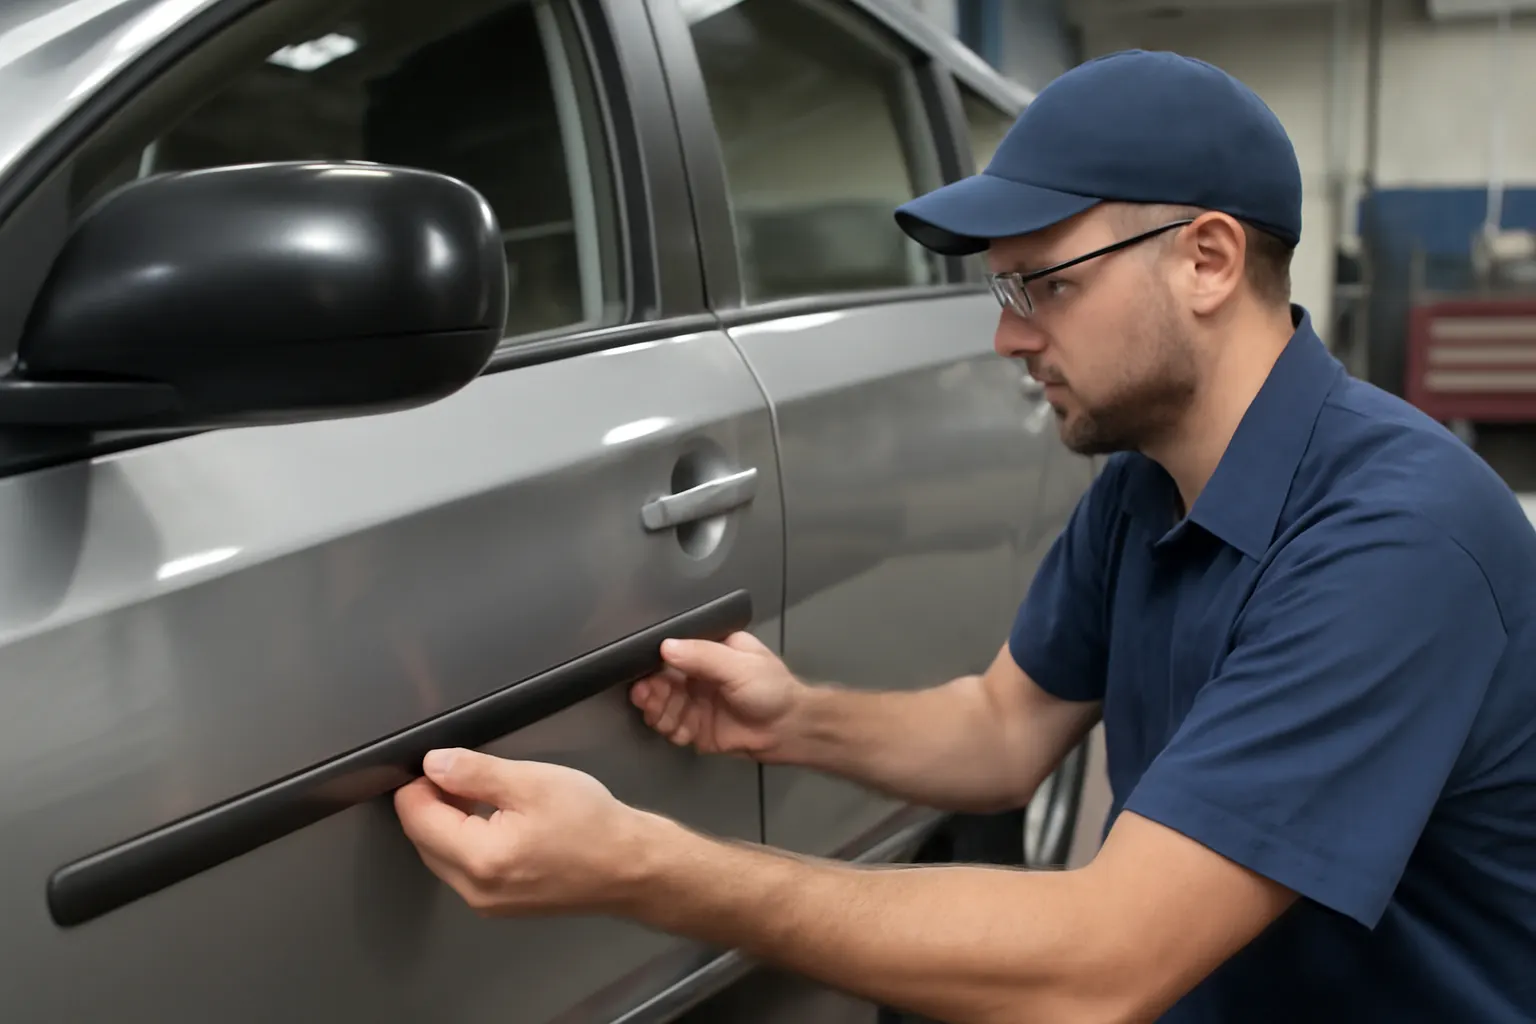
Front door mouldings are essential for protecting your vehicle’s doors from dings, weather, and road debris, while also contributing to its overall appearance and aerodynamics. Yet, even seasoned DIYers and professional installers can fall prey to common mistakes during front door moulding replacement. Avoiding these pitfalls is crucial not only for aesthetics but also for maintaining a secure, weatherproof, and safe vehicle. This guide breaks down the most frequent installation errors, why they matter, and how you can ensure a flawless result every time.
Visit our Front Door Moulding: Protection, Style, and Precision Fitment category page to explore top-quality mouldings, fitment tools, and further resources to help you get the job done right.
Why Proper Door Moulding Installation Matters
At first glance, door mouldings may seem like a minor trim detail. In reality, they play a critical role in:
- Shielding door panels from impact, scratches, and corrosion.
- Maintaining a tight seal against water, wind, and dust.
- Preserving the vehicle’s structural integrity and resale value.
- Enhancing fuel efficiency by improving aerodynamics, as highlighted by the U.S. Department of Energy.
- Meeting safety and equipment standards set by the National Highway Traffic Safety Administration (NHTSA).
A misaligned, poorly attached, or improperly sealed moulding can compromise all these factors—leading to water leaks, wind noise, rust, and even safety issues.
Hidden Problems: What Goes Wrong with Door Moulding Installations
Many installation mistakes are not immediately visible. A moulding may appear secure but fail to provide adequate protection or sealing. Hidden issues often include:
- Gaps that allow water and debris inside, causing corrosion or electrical problems.
- Weak adhesion that leads to moulding detachment at highway speeds.
- Interference with door operation, window mechanisms, or side airbags.
- Premature wear of both the moulding and underlying paintwork.
These hidden faults can result in costly repairs, failed inspections, and safety risks. Understanding where most installers go wrong is the first step to a lasting fix.
The Most Common Door Moulding Installation Mistakes
Below is a breakdown of the errors most frequently encountered during front door moulding replacement, whether you’re working on an Acura, AMC, or any other make:
1. Incorrect Moulding Selection
Problem: Using the wrong moulding for your specific vehicle model or door style.
- OEM vs. Aftermarket: Not all mouldings are created equal. Differences in length, curvature, and attachment method can result in poor fitment.
- Model-Year Variations: Even within a single model, trim and door design can change year to year.
Consequence: Ill-fitting mouldings lead to gaps, poor appearance, and inadequate protection.
Solution: Always verify part numbers and consult fitment guides. For a detailed comparison, see Choosing the Right Moulding for Your Vehicle: OEM vs. Aftermarket.
2. Skipping Surface Preparation
Problem: Installing mouldings on dirty, oily, or wet surfaces.
- Adhesive Failure: Modern mouldings often rely on high-strength tapes or adhesives. Any contamination reduces bond strength.
- Hidden Debris: Even invisible residues can interfere with adhesion.
Consequence: Mouldings may peel, shift, or fall off—sometimes within days.
Solution: Clean the surface thoroughly with isopropyl alcohol and ensure it is completely dry before installation.
3. Ignoring Temperature and Humidity Conditions
Problem: Installing mouldings in cold, damp, or excessively hot conditions.
- Adhesive tapes and glues require specific temperature ranges (usually 60°F–80°F/16°C–27°C) to cure properly.
- Moisture can become trapped, causing bubbling or corrosion.
Consequence: Poor adhesion, water leaks, and early failure.
Solution: Plan installations for mild, dry days and follow manufacturer temperature guidelines.
4. Incorrect Alignment and Placement
Problem: Failing to line up mouldings with body contours, door seams, or alignment marks.
- Visual Mismatch: Crooked or uneven mouldings detract from appearance.
- Functional Gaps: Misalignment can leave gaps for water or wind intrusion.
Consequence: Compromised sealing, increased wind noise, and a “DIY gone wrong” look.
Solution: Dry-fit the moulding first, use masking tape as a guide, and double-check alignment before final attachment.
5. Rushing Adhesive Curing Times
Problem: Closing doors, washing the car, or driving too soon after installation.
Advertisement
- Most adhesives require 24–48 hours to reach full strength.
- Disturbing the moulding during this period can break the bond.
Consequence: Mouldings may detach or shift, especially at highway speeds.
Solution: Follow all curing instructions and avoid unnecessary contact until fully set.
6. Overlooking Fasteners, Clips, and Retainers
Problem: Reusing worn clips or omitting fasteners entirely.
- Some mouldings use mechanical clips in addition to adhesive.
- Worn or missing clips lead to loose, rattling mouldings.
Consequence: Unsecured mouldings can detach, damage paint, or interfere with door operation.
Solution: Replace all hardware with new, vehicle-specific components.
7. Neglecting Weatherproofing and Seals
Problem: Failing to check or replace door seals and weatherstripping during moulding installation.
- New mouldings may not seat properly against old, compressed seals.
- Gaps can allow water intrusion, leading to rust or electrical faults.
Consequence: Water leaks, foggy windows, and interior damage.
Solution: Inspect and, if necessary, replace seals along with the moulding. For more, read Weatherproofing Your Doors: The Role of Mouldings and Seals.
8. Damaging Paint or Bodywork During Removal
Problem: Using metal tools or excessive force when removing old mouldings.
- Scratches, gouges, or chipped paint can expose bare metal.
- Rust can develop quickly at damaged spots.
Consequence: Compromised corrosion protection and costly bodywork repairs.
Solution: Use plastic trim tools and gentle techniques; repair any paint damage before installing new moulding.
9. Not Checking Door Operation After Installation
Problem: Forgetting to test doors, windows, and locks after fitting mouldings.
- New mouldings may interfere with window travel or door closure.
- Power window jams, leaks, or squeaks can result.
Consequence: Annoying noises, window malfunctions, or even safety hazards.
Solution: Test all door functions before finalizing the installation.
10. Failing to Inspect for Hidden Damage
Problem: Overlooking rust, dents, or prior repairs beneath the old moulding.
- Rust or filler can prevent new mouldings from seating correctly.
- Unseen damage may worsen over time, undermining the repair.
Consequence: Poor adhesion, recurring issues, and potential safety concerns.
Solution: Inspect the door surface closely and address any underlying problems before installing new mouldings.
Diagnostic Checklist: Avoiding the Top 10 Door Moulding Installation Mistakes
Use this checklist before, during, and after installation to ensure a professional, long-lasting result:
| Step | What to Check | Why It Matters |
|---|---|---|
| 1 | Confirm moulding is correct for vehicle make, model, and year | Prevents fitment and sealing issues |
| 2 | Thoroughly clean and dry door surface | Ensures maximum adhesive bond |
| 3 | Check weather conditions (temperature/humidity) | Prevents adhesive failure |
| 4 | Dry-fit moulding and mark alignment points | Guarantees straight, flush installation |
| 5 | Use new clips, retainers, and fasteners | Secures moulding, prevents rattles |
| 6 | Inspect and replace door seals if needed | Maintains weatherproofing |
| 7 | Remove old moulding gently with plastic tools | Avoids paint and body damage |
| 8 | Address any rust, dents, or filler before installation | Ensures proper seating and longevity |
| 9 | Allow adhesives to fully cure (24–48 hours) | Prevents premature detachment |
| 10 | Test all door, window, and lock functions | Confirms nothing is obstructed or malfunctioning |
Expansion: The Technical Impact of Poor Moulding Installation
While cosmetic flaws are easy to spot, the deeper technical consequences of improper moulding installation are often underestimated. According to the NHTSA, improperly installed equipment can contribute to safety hazards—such as unsecured panels that may detach during a crash or high-speed driving. In addition, the U.S. Department of Energy notes that modern vehicle exteriors are engineered for optimal aerodynamics and structural efficiency; even small disruptions in trim alignment can increase drag, reduce fuel efficiency, and amplify wind noise.
Poorly sealed or misaligned mouldings also allow water and dust to penetrate the door structure, leading to:
- Electrical system failures (due to corroded wiring or connectors).
- Accelerated rust in door seams and sills.
- Window regulator or lock actuator malfunctions.
These issues can be expensive to diagnose and repair, often requiring more labor than the original installation. Proper technique and attention to detail are critical for both immediate appearance and long-term vehicle health.
Advertisement
Solution Path: Step-by-Step for a Flawless Door Moulding Installation
To prevent costly errors and ensure optimal performance, follow this expert-level installation process:
1. Gather All Required Parts and Tools
- Vehicle-specific moulding (OEM or high-quality aftermarket)
- New clips, fasteners, and weatherstripping (as required)
- Isopropyl alcohol and lint-free cloths
- Plastic trim removal tools
- Masking tape and alignment markers
- Touch-up paint (for minor scratches)
- Adhesive promoter (if specified by manufacturer)
- Torque wrench or trim tool (for mechanical fasteners)
2. Remove Old Mouldings Carefully
- Use plastic trim tools to gently pry off old mouldings.
- Remove any remaining adhesive residue with safe solvents.
- Inspect for and repair any paint or bodywork damage.
3. Prepare the Surface Thoroughly
- Clean the installation area with isopropyl alcohol.
- Dry completely—avoid any moisture or dust.
4. Test Fit and Align
- Dry-fit the new moulding to check for fit and alignment.
- Use masking tape to mark reference points along the door.
5. Attach with Care
- Apply adhesive promoter if required.
- Remove adhesive backing (if applicable) and position the moulding precisely.
- Press firmly along the entire length to ensure full contact.
6. Secure with Clips or Fasteners
- Install all new clips, retainers, or screws as specified.
- Check for any loose sections or uneven gaps.
7. Allow Adhesive to Cure
- Follow manufacturer cure times—typically 24–48 hours.
- Avoid washing the car or exposing it to heavy rain during this period.
8. Final Inspection and Testing
- Check for perfect alignment and flush fit.
- Test all door, window, and lock operations.
- Inspect weatherseals for complete contact.
Sourcing Quality Parts: OEM vs. Aftermarket Mouldings
Not all door mouldings are created equal. Choosing the right part is the foundation of a successful installation:
- OEM Mouldings: Guaranteed fit, finish, and material quality. Meet all manufacturer standards for safety and durability.
- Aftermarket Mouldings: Can offer cost savings and unique styles, but quality varies. Look for trusted brands and confirm compatibility with your exact make, model, and year.
For a deeper dive into the pros and cons, see Choosing the Right Moulding for Your Vehicle: OEM vs. Aftermarket.
Maintenance Tips to Extend Moulding Lifespan
Properly installed mouldings should last for years, but ongoing care is essential:
- Regular Cleaning: Use mild soap and water; avoid harsh chemicals that degrade rubber or plastics.
- Inspect for Damage: Check for loose sections, cracks, or fading every few months.
- Protect from UV: Park in the shade or use protectant sprays to prevent sun damage.
- Address Issues Promptly: Fix any loose or damaged mouldings before water intrusion or further deterioration occurs.
When to Seek Professional Help
While many DIYers can handle moulding replacement, certain situations call for an expert:
- Complex Door Designs: Some vehicles have integrated sensors or unique attachment systems.
- Severe Rust or Body Damage: Professional bodywork may be needed before moulding installation.
- Repeated Failures: If mouldings continually detach or leak, there may be underlying alignment or structural issues.
Professional installers have access to manufacturer service manuals, specialty tools, and OEM hardware—ensuring a factory-quality result.
AutoPartEx: Your Partner in Precision Door Moulding Solutions
AutoPartEx specializes in providing vehicle-specific front door mouldings, hardware kits, and installation guides to help you avoid the most common pitfalls. Our curated selection ensures that every part meets or exceeds OEM specifications for fitment, materials, and durability. Explore our Front Door Moulding: Protection, Style, and Precision Fitment category for trusted brands, expert advice, and the right tools for the job.
If you're ready to tackle a moulding replacement or want to learn more, check out our How to Replace Front Door Mouldings: Step-by-Step Guide for detailed instructions and pro tips.
Final Expert Action: Ensure Lasting Results
A flawless door moulding installation protects your vehicle, enhances its appearance, and upholds safety standards. By understanding and avoiding the most common mistakes—selecting the right part, preparing the surface, aligning with precision, and allowing adhesives to cure—you’ll achieve a result that looks and performs like new. Take the time to inspect, maintain, and, when in doubt, consult the pros or trusted resources like AutoPartEx.
References
Advertisement