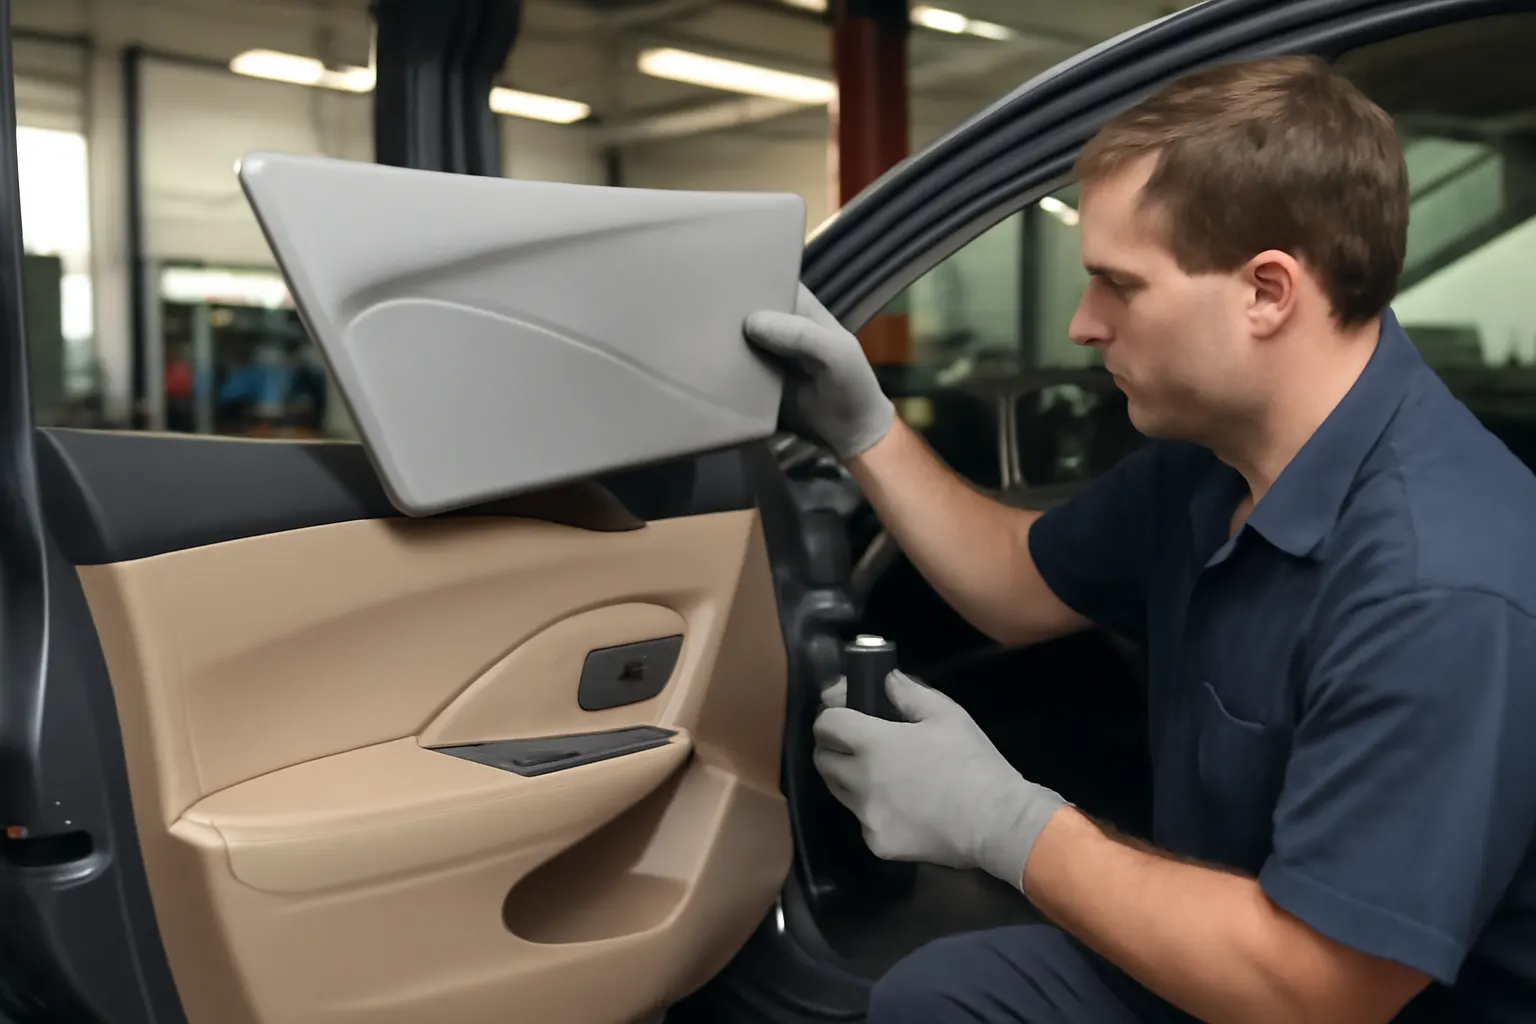
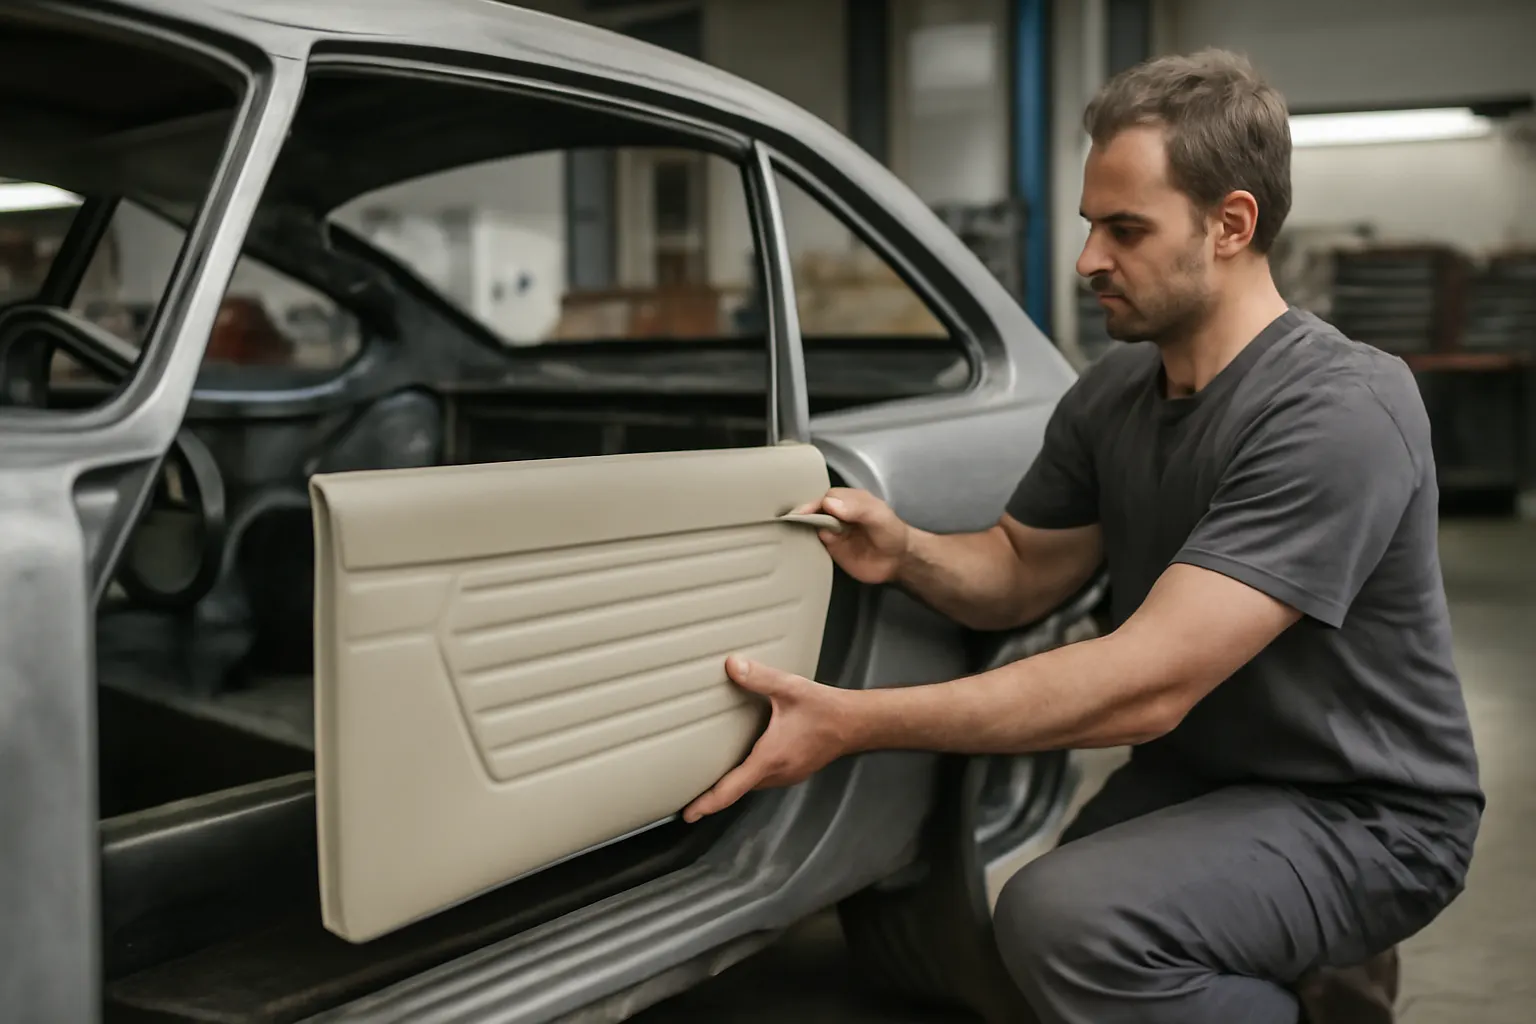
Color Matching Interior Panels: Tips for a Seamless Look
Matching replacement or new interior trim panels to your existing vehicle interior is a crucial step in achieving a professional, seamless look—whether you’re restoring a classic, updating a daily driver, or repairing accidental damage. The right approach to color matching, including expert use of dyes, attention to textures, and knowing when to seek professional refinishing, can make the difference between a patchwork appearance and a factory-fresh finish. This guide delivers practical, technical, and actionable advice for achieving perfect interior panel color matching—drawing on industry standards, proven materials science, and restoration best practices.
If you’re considering a replacement or restoration project, be sure to review our comprehensive Interior Trim Panel (Quarter): Technical Guide, Fitment, and Restoration Insights for foundational knowledge on panel types, fitment, and sourcing.
Why Color Matching Matters: The Immediate Value
Color matching isn’t just about aesthetics—it’s about protecting your vehicle’s value, ensuring visual harmony, and maintaining resale appeal. A mismatched panel, even if perfectly installed, stands out immediately to drivers, passengers, and potential buyers. More importantly, certain mismatches can signal poor repair work, which may raise questions about the quality of maintenance throughout the vehicle. For classic or collector cars, color authenticity can be a decisive factor in show judging or valuation.
From a technical perspective, the materials used in interior trim panels (such as ABS, polycarbonate, and vinyl) are engineered to meet specific automotive standards for durability, UV resistance, and safety (DOE Materials Technologies). Proper color matching preserves the OEM look and avoids drawing attention to replaced or restored sections.
The Hidden Challenge: Why Matching Is Harder Than It Seems
At first glance, matching an interior panel might seem as simple as ordering the correct color code. In practice, the process is complicated by several factors:
- Material Aging: Sunlight, heat, and use cause plastics, leathers, and fabrics to fade or yellow over time. Even panels from the same production run can look different after years in service.
- Batch Variations: Automakers often source panels from multiple suppliers. Slight differences in dye lots, plastic formulations, or texture molds can result in subtle but visible mismatches.
- Texture and Sheen: Color is only one aspect. The gloss level (matte, satin, gloss), surface grain, and tactile feel all contribute to the perceived match.
- Obsolete or Rare Colors: For older or limited-production vehicles, factory-original colors may no longer be available, requiring custom mixing or creative solutions.
These challenges mean that simply ordering a “black” or “tan” panel may leave you with an obvious mismatch, especially in well-lit or high-touch areas like door panels and quarter trims.
Deeper Dive: The Science of Automotive Interior Color
Automotive manufacturers use color science to ensure interior components match across a range of lighting conditions and material types. The process involves:
- Color Codes: Most OEMs assign specific codes to interior colors, often listed on the vehicle’s build sticker or trim tag. These codes reference not only the color but also the intended gloss and sometimes the material type.
- Spectrophotometry: At the factory, color matching is verified using spectrophotometers—devices that measure color under standardized lighting. This ensures consistency across batches.
- Material-Specific Formulations: The same color code may require different dye or pigment formulations for plastics, vinyls, and fabrics to account for how each material reflects and absorbs light.
When replacing panels, it’s important to understand that a perfect color match on one material may not translate directly to another—requiring careful selection or custom tinting.
Sourcing Replacement Interior Panels: OEM vs Aftermarket vs Custom
When sourcing a replacement panel, you’ll encounter three main options:
- OEM (Original Equipment Manufacturer): These panels are made to factory specifications, using the original materials and color codes. Best for direct replacement, but availability can be limited for older models.
- Aftermarket: Third-party suppliers may offer panels in popular colors, but variations in material, dye, or texture are common. Aftermarket parts may require additional finishing for a true match.
- Custom or Restoration Shops: For rare colors or classic vehicles, specialty shops can fabricate or refinish panels to match your interior. This option offers the highest potential for a seamless look, but at a higher cost and lead time.
When evaluating replacement sources, always confirm the color code, material, and finish. If possible, request a sample swatch to compare in your vehicle’s lighting before committing.
Assessing Your Existing Interior: Color, Texture, and Condition
Before ordering or refinishing a panel, perform a thorough assessment of your existing interior:
- Color Fading: Compare high-traffic or sun-exposed areas to less-used sections (such as under seats or in the trunk) to gauge the degree of fading.
- Texture Consistency: Run your hand across adjacent panels. OEM interiors often use specific grain patterns or embossing that should be matched.
- Sheen and Gloss: Use a flashlight or direct sunlight to observe differences in gloss. Even a perfect color match will look off if the sheen is inconsistent.
- Staining or Discoloration: Identify any stains, yellowing, or chemical damage that might impact color-matching efforts.
Document your findings with photos and notes. This will help when discussing options with suppliers or professional refinishers.
Color Matching Techniques: Dyes, Paints, and Professional Refinishing
DIY Color Matching: Dyes and Paints
For minor mismatches or when replacing panels in a relatively new vehicle, you may be able to achieve a seamless look with specialized interior dyes or paints:
- Aerosol Vinyl/Plastic Dyes: Designed for flexible or rigid interior components, these dyes penetrate and bond to the substrate, offering a durable finish.
- Custom-Mixed Paints: Some suppliers offer color-matched paints based on your OEM code or a provided sample. These are applied with a spray gun for best results.
- Prep and Priming: Proper surface cleaning and use of adhesion promoters are essential for longevity and color fidelity.
Professional Refinishing
For high-value vehicles or challenging matches, professional refinishers use advanced techniques:
- Spectrophotometric Matching: A technician uses a handheld spectrophotometer to scan your existing panel, generating a custom color formula.
- Custom Blending: Professional shops can blend dyes and paints to account for fading or batch variation, ensuring a true match under all lighting conditions.
- Texture Replication: Some shops can replicate OEM grain patterns using molds or embossing tools if the replacement panel’s texture is off.
Professional refinishing is recommended for panels in high-visibility locations, classic cars, or when ultimate authenticity is required.
Checklist: Steps for Seamless Interior Panel Color Matching
Use this checklist to guide your color matching project:
1. Identify Your Interior Color Code
- Locate the OEM color code on your build sticker, trim tag, or owner’s manual.
- Confirm material type (plastic, vinyl, fabric).
2. Assess the Existing Interior
- Evaluate fading, texture, and sheen.
- Document any significant wear or discoloration.
3. Source Replacement Panel(s)
- Compare OEM, aftermarket, and custom options.
- Request swatches if possible.
4. Test Fit and Compare
- Temporarily fit the new panel without final installation.
- Check under different lighting conditions.
5. Prep for Refinishing (if needed)
- Clean the panel thoroughly.
- Apply adhesion promoter or primer as required.
6. Apply Dye or Paint
- Use light, even coats.
- Allow adequate drying time between layers.
7. Texture Matching
- If needed, use texture sprays or professional embossing for grain replication.
8. Inspect and Install
- Ensure a seamless match before final installation.
- Secure all fasteners and check for fitment issues.
Diagnosing Common Color Matching Problems
Even with careful preparation, you may encounter issues:
- Color Shift Under Different Lighting: A panel that matches in your garage may look off in sunlight. Always check color in multiple lighting conditions.
- Uneven Absorption: Some plastics absorb dyes unevenly, resulting in blotchy appearance. Sanding and priming can help.
- Texture Mismatch: A smooth panel next to a grained one will always look out of place. Texture sprays can help, but may not fully replicate OEM grain.
- Peeling or Flaking Finish: Improper prep or use of incompatible products can cause adhesion failure. Always follow manufacturer instructions for prep and application.
If you encounter these problems, consult a professional refinisher or revisit your prep and application steps.
Advanced Solutions: Custom Mixing and Texture Replication
For rare or discontinued colors, or for classic car restorations, advanced solutions may be necessary:
- Custom Color Mixing: Specialty shops can match your faded interior using digital color analysis, then mix a custom dye or paint to compensate for aging.
- Texture Replication: If the replacement panel is the wrong texture, professional shops can use texture pads, grain rollers, or embossing techniques to mimic the OEM finish.
- Panel Restoration: In some cases, a skilled restorer can repair cracks or damage, then refinish the panel to look like new, preserving originality.
These advanced techniques are especially valuable for show cars, high-end restorations, or vehicles where authenticity is critical.
Fitment Considerations: Ensuring a Factory-Fresh Finish
Even a perfectly color-matched panel will look out of place if it doesn’t fit properly. When installing replacement panels:
- Check Mounting Points: Ensure all clips, tabs, and screws align with the vehicle’s structure.
- Align Seams and Gaps: Panels should sit flush with adjacent trim, with even gaps and no bulging or warping.
- Test Functional Features: If the panel includes switches, vents, or armrests, confirm they operate smoothly after installation.
Refer to our How to Replace Interior Trim Panels: Step-by-Step Guide for detailed fitment instructions and troubleshooting tips.
Maintaining Your Interior: Preventing Future Mismatches
After achieving a seamless color match, ongoing care is essential to maintain the look:
- UV Protection: Use sunshades or window tint to reduce fading from sunlight.
- Regular Cleaning: Choose cleaners formulated for automotive interiors to avoid chemical damage or discoloration.
- Conditioning: For leather or vinyl, regular conditioning prevents drying and cracking, which can alter color over time.
- Spot Repair: Address small scuffs or scratches promptly with touch-up dye or paint to prevent larger mismatches from developing.
A proactive maintenance routine extends the life of your interior and preserves your investment in color matching.
Sourcing and Buying Guidance: What to Ask Suppliers
When contacting suppliers for replacement panels or refinishing products, ask these key questions:
- Is this an OEM or aftermarket panel?
- What color code or sample does this match?
- Can I get a swatch or sample?
- Does the panel match the original texture and sheen?
- What prep or finishing is required for a seamless match?
- Is professional installation or refinishing recommended?
Reputable suppliers should provide detailed product information and support your efforts to achieve a professional result.
The Role of Materials Technology in Modern Interiors
Advances in automotive materials science have improved the durability, colorfastness, and realism of interior trim panels. Modern vehicles use engineered plastics and composite materials designed for:
- UV Resistance: Reduces fading and yellowing even after years of sun exposure.
- Color Stability: Improved pigments and dyes maintain color accuracy across batches and materials.
- Eco-Friendly Manufacturing: Many new panels use recycled materials or low-VOC coatings, supporting sustainability (DOE Materials Technologies).
Understanding these advancements can help you choose panels and finishes that not only match today but will continue to look great for years to come.
When to Seek Professional Help
Not every color matching job is a DIY project. Consider professional refinishing or restoration if:
- The panel is in a high-visibility area (dash, door, quarter).
- The original color is rare or has faded unevenly.
- The replacement panel’s texture or material is substantially different.
- You are restoring a classic, collector, or show car where authenticity is paramount.
Professional refinishers have access to industrial-grade products, color-matching equipment, and texture replication tools that surpass typical consumer supplies.
AutoPartEx: Your Partner in Interior Trim Panel Solutions
At AutoPartEx, we understand that achieving a seamless interior look is about more than just fitment—it’s about color accuracy, texture authenticity, and long-term quality. Our curated selection of Interior Trim Panel (Quarter): Technical Guide, Fitment, and Restoration Insights and expert resources support you at every step, from sourcing the right panel to perfecting the final finish.
Whether you’re a DIY enthusiast or a professional restorer, AutoPartEx is your trusted resource for technical guidance, premium parts, and restoration success. For more in-depth restoration strategies, see our editorial on Restoring Classic Car Interiors: Sourcing Rare Trim Panels.