Color Matching Interior Panels: Tips for a Seamless Look
When you’re replacing or restoring an interior trim panel—especially the critical quarter panels—achieving a seamless color match is essential for both aesthetics and resale value. The fastest route to a professional finish is to combine careful color identification, material-specific refinishing, and the right products, whether you’re working on a modern daily driver or a classic restoration. In this guide, AutoPartEx experts break down proven techniques for matching new or replacement trim panels to your existing interior. You’ll learn how to decode OEM color codes, assess material textures, select and apply dyes or paints, and when to call in a professional refinisher.
For more detailed information on the technical aspects of quarter trim panels—including fitment, restoration, and sourcing—visit our Interior Trim Panel (Quarter): Technical Guide, Fitment, and Restoration Insights category page.
Why Perfect Color Matching Matters
An interior’s visual harmony depends on how well new or replacement trim panels blend with the surrounding surfaces. Poor color matching draws the eye, signaling amateur repairs and potentially reducing resale value. In some cases, mismatched panels can even affect driver perception and comfort, especially in high-end or collector vehicles.
Beyond aesthetics, proper color matching can also impact the longevity and durability of interior components. Using the correct dye or paint ensures that the finish resists fading, peeling, and wear, maintaining both the look and the structural integrity of the panel over time. This is especially important for panels exposed to sunlight, repeated handling, or temperature fluctuations.
The Hidden Challenges in Interior Panel Color Matching
While it may seem straightforward, interior color matching is often more complex than exterior paint matching. This is due to several factors:
- Material Variability: Interior panels are made from diverse materials—ABS plastic, vinyl, leather, and composites—each absorbing and reflecting color differently.
- Aging and Fading: Original colors change over time due to UV exposure, cleaning chemicals, and wear, making it difficult to match new parts to aged interiors.
- Texture and Gloss: Even with a perfect color match, differences in surface texture or gloss level can make a replacement panel stand out.
- OEM Color Code Limitations: Factory codes may not reflect the current appearance of your interior, especially in older vehicles.
These factors mean that even if you source a “correct” replacement part by code, it may not blend seamlessly without further customization.
Understanding Interior Panel Materials and Their Impact on Color
The substrate material of your trim panel plays a significant role in both color and texture matching. Here’s what you need to know:
- Plastics (ABS, Polypropylene, Polycarbonate): Common in modern vehicles, plastics are often textured and require flexible dyes or paints designed for plastic surfaces.
- Vinyl: Used for soft-touch surfaces; vinyl dyes penetrate and bond differently than paints.
- Leather: Found in premium models; requires specialized leather dyes and conditioners.
- Fabric: Less common in quarter panels, but occasionally used in inserts; requires fabric-specific dyes.
Each material type reacts differently to colorants, so identifying your panel’s substrate is the first technical step before attempting any refinishing.
Decoding OEM Color Codes and Identifying Existing Colors
Most manufacturers assign unique color codes to interior trim. These codes are typically found on the vehicle’s build sheet, door jamb, glovebox, or trunk label. However, due to aging, the actual color may have shifted.
Steps to Identify Your Interior Color:
- Locate the OEM color code (consult your owner’s manual or manufacturer database).
- Compare the code to current appearance—use a clean, unscratched area as a reference.
- If the code is missing or faded, use a color matching swatch book or digital colorimeter to find the closest match.
For classic or rare vehicles, you may need to consult restoration forums or specialty suppliers to decode legacy color systems.
Assessing Fading, Wear, and Sun Damage
Even with the correct color code, your interior may have faded or yellowed over time. Fading is especially pronounced on panels exposed to direct sunlight, such as those near rear quarter windows.
How to Assess Aging:
- Inspect hidden areas (under trim, behind seat belts) for the original color.
- Compare exposed and protected areas to gauge the degree of fading.
- Take photos in natural light for accurate color assessment.
If your interior has significant discoloration, you may need to refinish adjacent panels for a uniform look, not just the replacement piece.
Matching Textures and Gloss Levels
A perfect color match can still look wrong if the texture or gloss doesn’t align. Manufacturers use a variety of surface finishes, from matte to semi-gloss to high-gloss, as well as different grain patterns.
Checklist: Matching Texture and Gloss
- Identify the original texture (smooth, pebbled, grained, brushed, etc.).
- Select dyes or paints that offer compatible finishes (matte, satin, gloss).
- Consider using texture sprays or grain pads to recreate factory patterns.
- Test gloss levels under direct and indirect lighting.
For high-end restoration, some professionals use custom masking and multi-step spraying to replicate complex OEM textures.
Sourcing the Right Replacement Panels
When sourcing a replacement quarter trim panel, you have three main options:
- OEM New Old Stock (NOS): The best fit and color match, but often expensive or unavailable for older models.
- Aftermarket Panels: Widely available but may differ in color, texture, or fit. Always verify compatibility with your exact model and trim code.
- Used Panels: Salvaged from donor vehicles; may better match aged interiors but can have their own wear issues.
For classic cars, specialist suppliers often offer reproduction panels in factory colors, but minor adjustments may still be necessary.
Tip: Always compare replacement panels to your interior in daylight before installation.
Colorant Selection: Dyes vs. Paints
Selecting the right colorant is crucial for durability and appearance:
- Dyes: Penetrate the substrate and offer long-lasting, flexible color. Ideal for vinyl and leather.
- Paints: Form a surface layer; best for hard plastics. Use flexible formulations for areas subject to bending or impact.
- Hybrid Products: Some modern interior colorants blend dye and paint properties for broader compatibility.
Key Considerations:
- Use automotive-grade products designed for interior use.
- Avoid general-purpose spray paints, which can crack or peel.
- Always follow manufacturer instructions for prep and application.
Step-by-Step Guide: Refinishing and Color Matching Interior Panels
Achieving a seamless look requires careful preparation and methodical execution. Here’s a proven process:
Preparation
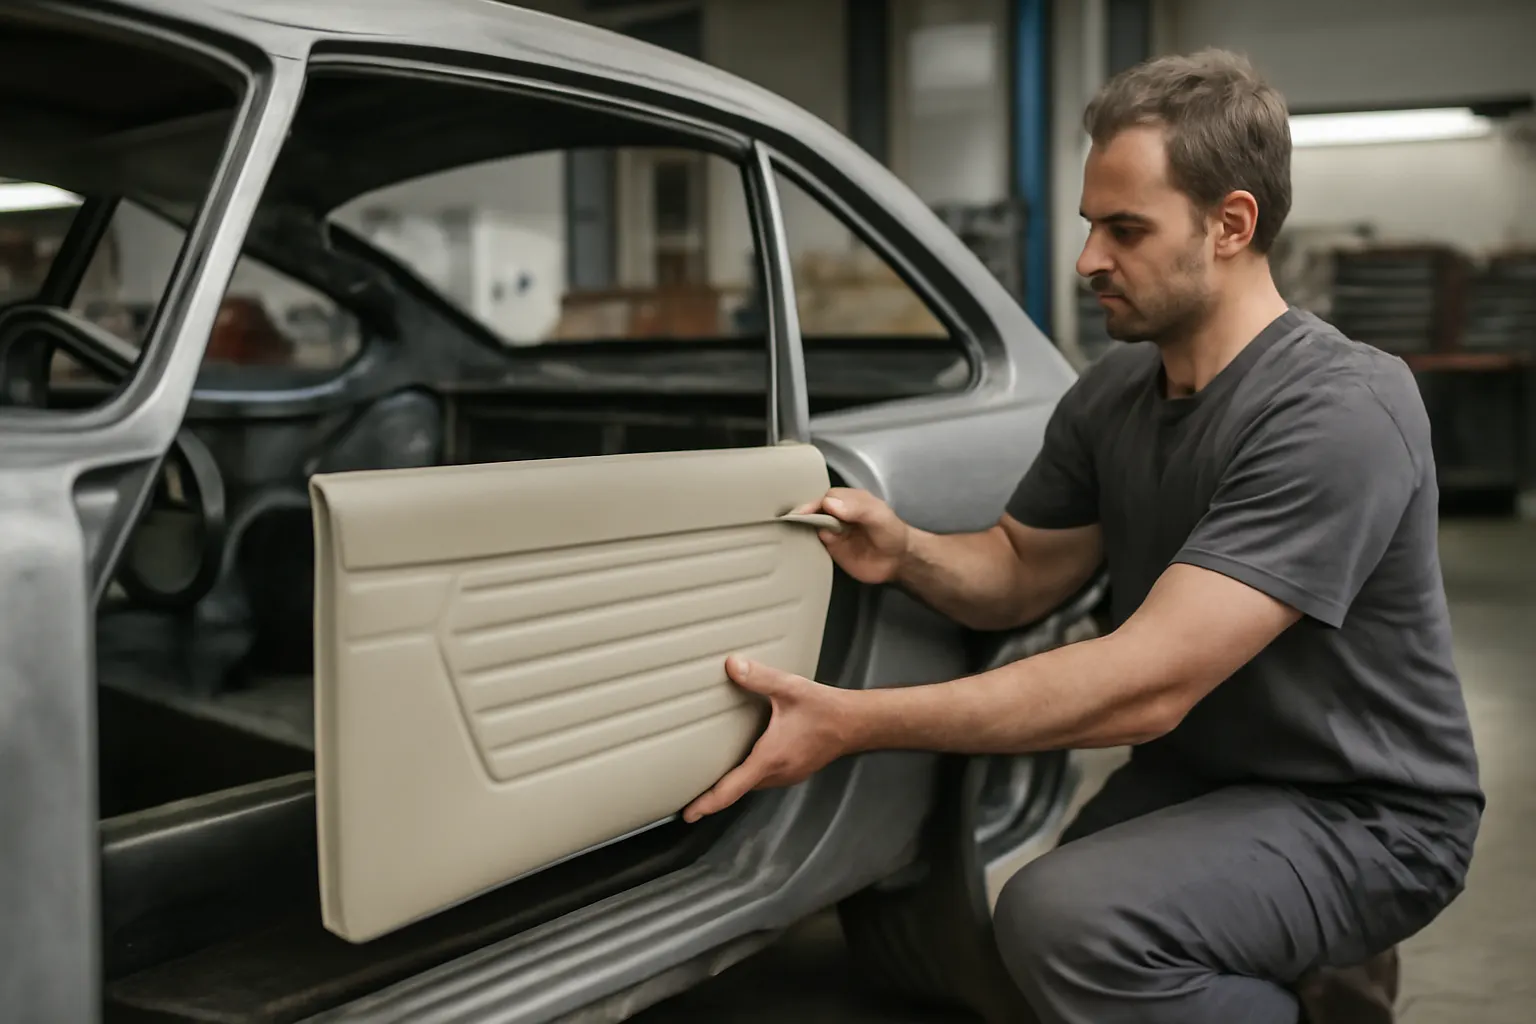
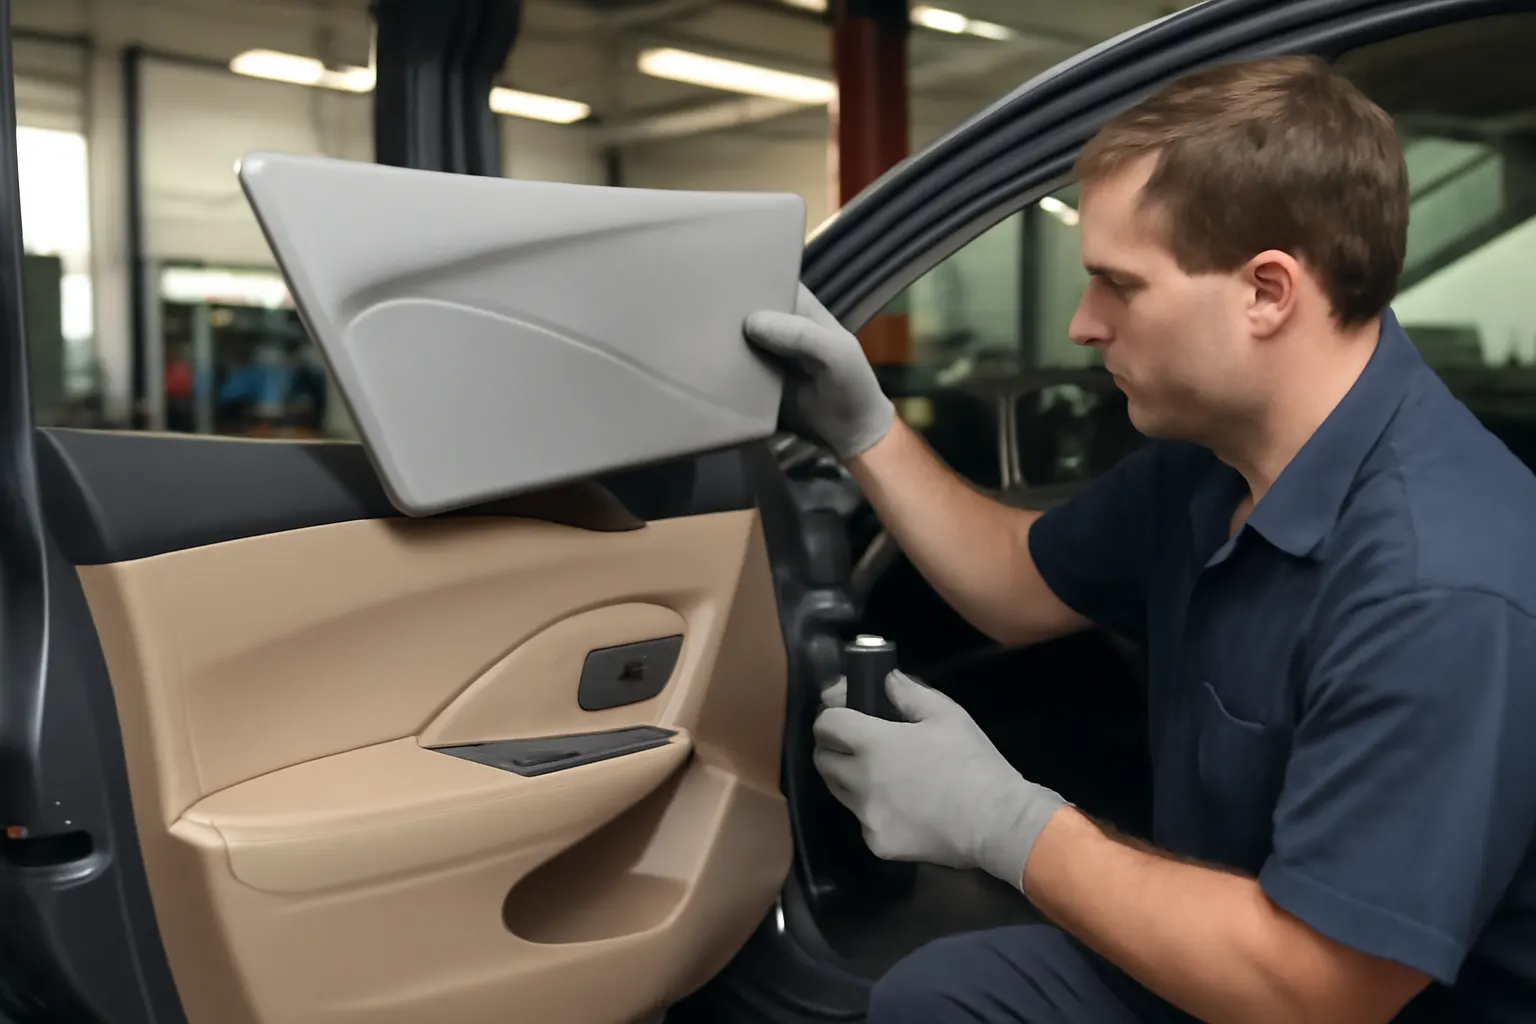
- Remove the panel from the vehicle for best access.
- Clean thoroughly with an appropriate cleaner to remove oils, silicones, and residues.
- Repair any damage (scratches, gouges, cracks) using plastic or vinyl repair kits.
- Lightly scuff the surface with a fine abrasive pad to promote adhesion.
Color Matching
- Test colorants on a hidden area or a sample piece.
- Adjust dye/paint as needed—some suppliers offer custom mixing services for precise matches.
- Apply in light coats, allowing adequate drying time between layers.
- Blend edges into adjacent panels to avoid hard demarcation lines.
Finishing
- Apply clear topcoat (matte, satin, or gloss) for added durability and to match OEM sheen.
- Allow full cure time as specified by the product.
- Reinstall the panel and inspect under various lighting conditions.
For more detailed instructions on panel removal and installation, see our How to Replace Interior Trim Panels: Step-by-Step Guide.
Professional Refinishing vs. DIY: When to Call an Expert
While many enthusiasts achieve excellent results with DIY methods, certain situations warrant professional help:
- Color Complexity: Multi-tone interiors or metallic finishes.
- Texture Replication: When exact factory grain or gloss is essential.
- High-Value Vehicles: Classic or collector cars where originality is paramount.
- Extensive Fading: When multiple panels need to be blended for uniformity.
Professional refinishers use advanced color-matching technology, spray booths, and proprietary products to deliver OEM-level results. If you’re aiming for concours-quality restoration, a professional is often the best investment.
Maintenance Tips for Preserving Interior Panel Color
Once you’ve achieved a seamless color match, preventative maintenance will extend the life and appearance of your panels:
- Regular Cleaning: Use non-abrasive, pH-neutral cleaners designed for automotive interiors.
- UV Protection: Apply UV-blocking protectants, especially on panels exposed to sunlight.
- Avoid Harsh Chemicals: Solvents, ammonia, and alcohol can degrade dyes and finishes.
- Prompt Repairs: Address scratches or chips early to prevent further damage.
For vehicles stored outdoors or in hot climates, consider window tinting or sunshades to minimize UV exposure.
Troubleshooting Common Color Matching Issues
Even with careful planning, issues can arise during or after refinishing. Here’s how to diagnose and solve the most common problems:
| Issue | Likely Cause | Solution |
|---|---|---|
| Color mismatch (too light/dark) | Incorrect colorant or fading mismatch | Adjust colorant mix; blend adjacent panels |
| Peeling or flaking | Poor surface prep or wrong product | Strip, re-prep, and reapply correct product |
| Uneven gloss | Inconsistent topcoat application | Reapply topcoat, ensuring even coverage |
| Visible texture difference | Incorrect or missing texture replication | Use texture sprays or grain pads as needed |
| Rapid fading | Inadequate UV protection | Apply UV protectant; use automotive-grade products |
If problems persist, consult a professional refinisher or reach out to the product manufacturer for technical support.
Interior Panel Color Matching Checklist
Use this checklist to ensure you cover all critical steps in your color-matching project:
- Identify panel material (plastic, vinyl, leather, etc.)
- Locate or determine OEM color code
- Assess current color and degree of fading
- Source replacement panel (OEM, aftermarket, used)
- Select appropriate dye or paint (material-specific)
- Match texture and gloss with OEM finish
- Prepare surface: clean, repair, scuff
- Test colorant on hidden area
- Apply colorant in thin, even coats
- Apply matching topcoat (matte/satin/gloss)
- Allow full cure before reinstalling
- Perform final inspection under various lighting
Advanced Tips: Matching for Classic and Rare Vehicles
Classic car restorers face unique challenges, as original materials and colors may no longer be available. Here’s how experts approach these projects:
- Consult Specialist Suppliers: Many offer reproduction dyes and panels matched to factory samples.
- Color Scanning: Use digital colorimeters to scan original panels for custom color mixing.
- Custom Grain Replication: Some restoration shops can emboss or spray custom grain patterns to match 1960s–1980s interiors.
- Documentation: Keep records of color formulas and processes for future maintenance or resale.
For more classic restoration insight, see Restoring Classic Car Interiors: Sourcing Rare Trim Panels.
The Role of Materials Technology in Modern Trim Panels
Advances in materials technology have introduced new plastics, coatings, and manufacturing processes for interior panels. Modern vehicles often use lightweight composites and engineered polymers for improved fuel efficiency and durability Materials Technologies.
These innovations can affect how dyes, paints, and adhesives interact with the surface. Always confirm compatibility between your refinishing products and the specific material of your panel. For further reading on materials used in automotive interiors, visit the U.S. Department of Energy’s overview of Materials Technologies.
Fitment and Integration: Ensuring a Factory-Fresh Appearance
Color is only one aspect of a seamless repair; fitment is equally crucial. Misaligned or poorly installed panels can create shadows and highlight color mismatches. Always:
- Test-fit panels before refinishing.
- Check for proper alignment with adjacent trim and fasteners.
- Replace any worn clips or attachment hardware.
- Confirm that panel contours and edges match the original precisely.
For a comprehensive look at installation and fitment, explore our Interior Trim Panel (Quarter): Technical Guide, Fitment, and Restoration Insights.
AutoPartEx: Your Resource for Interior Panel Restoration
At AutoPartEx, we specialize in technical guidance and premium sourcing for interior trim components. Whether you’re a DIY enthusiast or a professional restorer, our curated inventory and expert content make it easier to achieve a factory-quality finish.
Our platform connects you with OEM, aftermarket, and specialist suppliers, and our editorial team is committed to providing in-depth, actionable advice. For more on diagnosing interior rattles, see Diagnosing Interior Rattles: The Role of Trim Panels.
Explore our Interior Trim Panel (Quarter) category for technical guides, fitment data, and restoration insights tailored to your make and model.