Advertisement
Classic cars have an enduring appeal, but their electrical systems often pose persistent challenges for owners and restorers. If your vintage ride is plagued by flickering headlights, hard starts, or mysterious electrical gremlins, you’re not alone. This in-depth guide reveals the top five electrical issues in classic cars—and, crucially, how experienced enthusiasts and professionals address them for safe, reliable performance.
If you’re seeking expert advice on electrical components, troubleshooting, and replacement parts, make sure to explore our Comprehensive Guide to Miscellaneous Electrical Parts in Vehicles for detailed technical background and sourcing options.
Immediate Answer: The Top 5 Electrical Problems in Classic Cars
Classic car electrical issues are most frequently caused by:
- Corroded or Faulty Ground Connections
- Aging or Brittle Wiring Harnesses
- Worn Out or Undersized Alternators and Voltage Regulators
- Failing Ignition Switches and Relays
- Malfunctioning Fuses, Bulbs, and Small Electrical Parts
Each of these common problems can cause a cascade of symptoms, including no-start conditions, dim or flickering lights, unreliable gauges, or intermittent accessory operation. The good news? With the right diagnostic process and quality replacement parts, most vintage electrical issues are fully repairable—restoring both safety and driving enjoyment.
The Hidden Problem: Why Classic Car Electrical Issues Persist
While mechanical parts like engines and suspensions are often rebuilt or upgraded in classic cars, electrical systems are frequently neglected or misunderstood. This leads to several hidden problems:
- Age-Related Degradation: Insulation, terminals, and connectors break down over decades, even if the car is rarely driven.
- Non-Standard Modifications: Prior owners may have performed “quick fixes” or amateur wiring jobs, introducing further complexity.
- Lack of Documentation: Wiring diagrams and original parts lists may be missing or incomplete, making troubleshooting harder.
- Obsolete Components: Many original parts—especially relays, switches, and connectors—are no longer manufactured, increasing reliance on aftermarket or universal replacements.
These underlying issues mean that even after an obvious fault is fixed, new symptoms can emerge until the entire system is carefully evaluated and restored.
Deep Dive: Technical Causes of Classic Car Electrical Failures
Understanding the technical roots of electrical failures in classic cars is essential for effective troubleshooting:
- Corrosion and Oxidation: Moisture, road salts, and age cause terminals and grounds to corrode, increasing resistance and causing voltage drops.
- Heat and Vibration: Years of engine heat and chassis vibration can cause wire insulation to crack, exposing conductors and risking shorts.
- Undersized Charging Systems: Many classics were designed with minimal electrical loads; modern upgrades (like halogen headlights or audio systems) can overload original alternators and regulators.
- Component Fatigue: Switches, relays, and fuses have finite service lives. Contact wear, spring fatigue, and thermal cycling eventually lead to failure.
- Material Advances: Modern materials and manufacturing standards (see Materials Technologies) have improved reliability, but classic vehicles are stuck with legacy designs unless upgraded.
1. Corroded or Faulty Ground Connections
Symptoms: Dim or flickering lights, erratic gauges, intermittent electrical failures, no-start conditions.
Technical Insight: Classic cars rely on a network of ground straps and connections, often using the vehicle’s body or frame as a return path for current. Over time, these connections corrode or loosen, introducing high resistance and unreliable operation.
Checklist: Diagnosing and Repairing Ground Issues
- Inspect battery ground cable for corrosion or loose connections.
- Check engine-to-chassis ground straps for fraying or missing hardware.
- Clean ground points with a wire brush and apply dielectric grease.
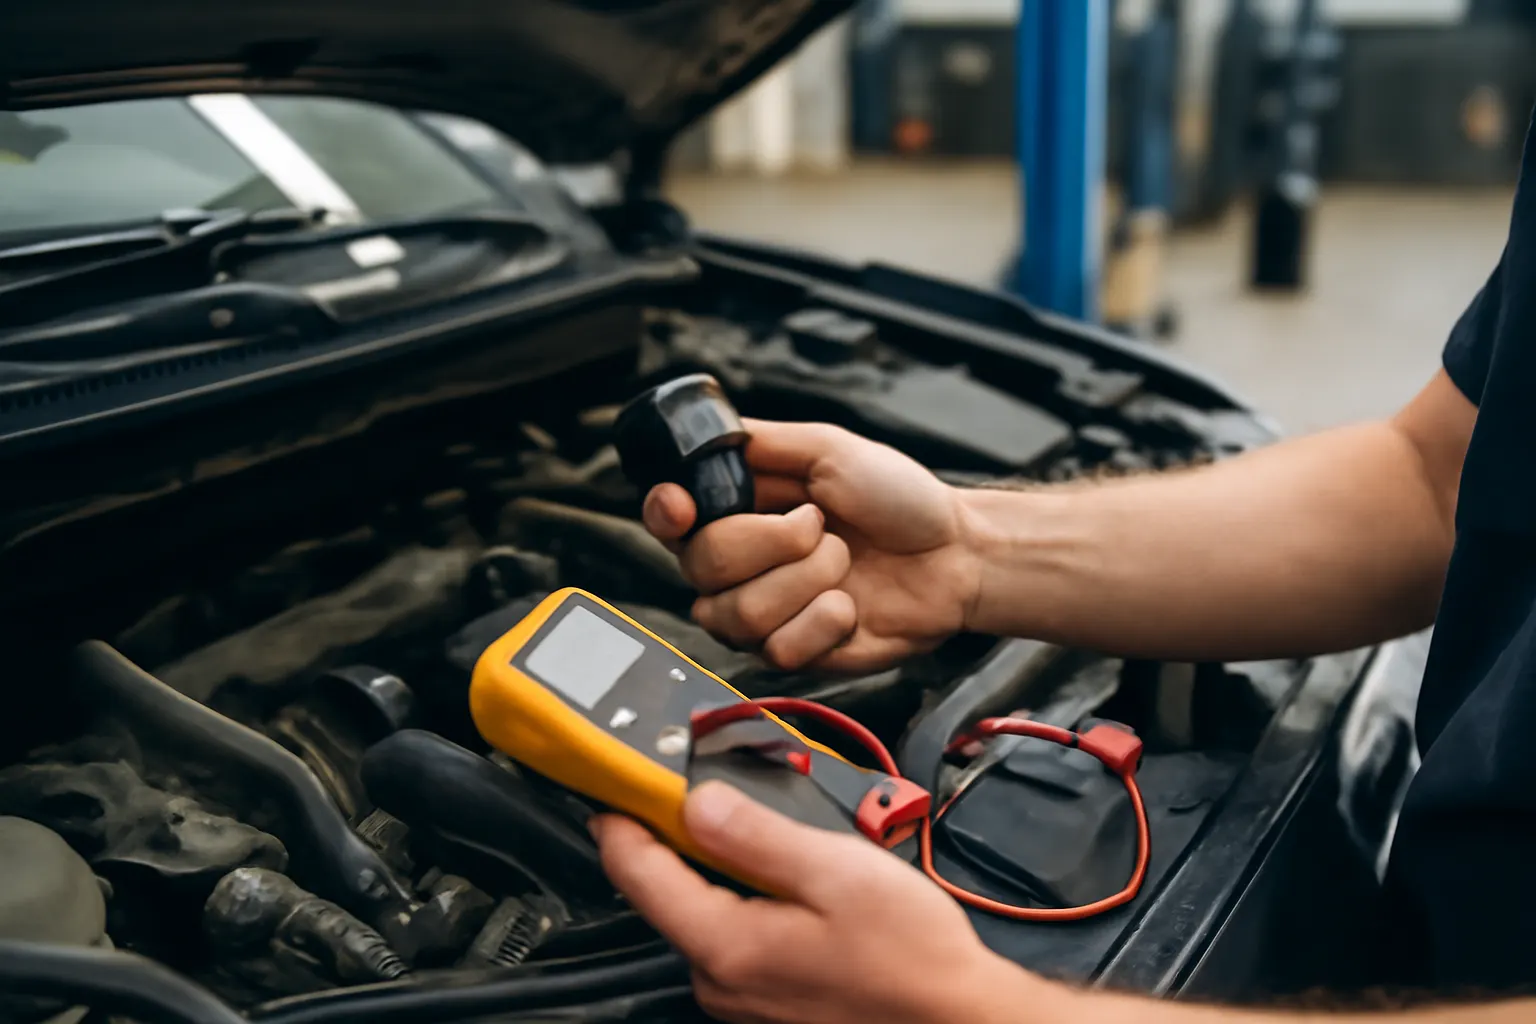
- Use a multimeter to measure resistance between main ground points; the reading should be less than 0.1 ohm.
- Add supplemental ground straps if necessary, especially after major restoration work.
Pro Tip: Always disconnect the battery before working on electrical grounds to prevent accidental shorts.
Advertisement
2. Aging or Brittle Wiring Harnesses
Symptoms: Intermittent shorts, blown fuses, non-functional accessories, burning smells.
Technical Insight: Original wiring harnesses in vintage vehicles were made with materials that degrade over time. Insulation becomes brittle, cracks, or flakes off, exposing wires to shorting or arcing—often hidden deep within the dash or under carpets.
Restoration and Replacement Steps
- Visually inspect accessible harnesses for cracks, discoloration, or exposed copper.
- Use wiring diagrams (factory or reproduction) to trace circuits and verify continuity.
- Replace brittle or damaged sections with high-quality, appropriately gauged wire.
- When possible, consider a full harness replacement with a modern reproduction kit built to SAE standards (SAE Standards).
Expert Tip: Label all connections and take photos before disassembly to aid in accurate reassembly.
3. Worn Out or Undersized Alternators and Voltage Regulators
Symptoms: Battery not charging, dimming headlights at idle, engine stalling at low RPM, warning lights illuminated.
Technical Insight: Many classic cars were equipped with low-output generators or alternators, often with external mechanical voltage regulators. These systems struggle to keep up with even original loads, let alone modern upgrades such as electric fans, audio amplifiers, or brighter lighting.
Upgrade and Diagnosis Checklist
- Test alternator output with a voltmeter (should produce 13.8–14.4V at idle with accessories on).
- Inspect drive belts for slippage or glazing.
- Replace old mechanical regulators with modern solid-state units for reliability.
- Consider upgrading to a higher-output alternator if adding electrical accessories.
Note: Always match alternator output to the vehicle’s wiring capacity to avoid overheating harnesses.
4. Failing Ignition Switches and Relays
Symptoms: No crank, intermittent starting, accessories not powering up, random stalling.
Technical Insight: Ignition switches and relays are subject to mechanical and electrical wear. Contacts can pit or burn, springs may weaken, and internal lubrication can dry out, especially after decades of use.
Testing and Replacement Steps
- Check for voltage at the ignition switch output terminals with the key in the “start” and “run” positions.
- Inspect relays for clicking sound when energized; test continuity with a multimeter.
- Replace faulty switches or relays with OEM or high-quality aftermarket units (see OEM vs Aftermarket Electrical Parts: What Matters Most?).
- Ensure all connectors are clean and firmly seated.
Expert Advice: Avoid “universal” ignition switches unless a direct replacement is unavailable, as wiring differences can introduce new problems.
5. Malfunctioning Fuses, Bulbs, and Small Electrical Parts
Symptoms: Single circuit failures (e.g., a specific light or accessory), repeated fuse blowing, non-functional dash indicators.
Technical Insight: Small electrical parts—fuses, bulbs, sockets, connectors—are often overlooked but critical for system function. Classic cars may use glass tube fuses or obsolete bulb types, and sockets can corrode or lose tension.
Diagnostic Checklist for Small Electrical Parts
- Identify and test all fuses with a continuity tester; replace with correct amperage.
- Inspect bulb sockets for corrosion or weak spring contacts.
- Replace bulbs with correct type and wattage; avoid “over-watt” bulbs that can overheat wiring.
- Clean and tighten all small connectors, applying dielectric grease to prevent future corrosion.
Further Reading: For a deeper look at how minor parts can cause major headaches, see Why Small Electrical Parts Cause Big Problems.
Diagnosing Classic Car Electrical Problems: A Step-by-Step Approach
Due to the interconnected nature of automotive electrical systems, a systematic diagnostic process is essential:
Step 1: Visual Inspection
- Look for obvious damage: melted wires, corroded terminals, disconnected plugs.
- Check battery terminals and ground straps.
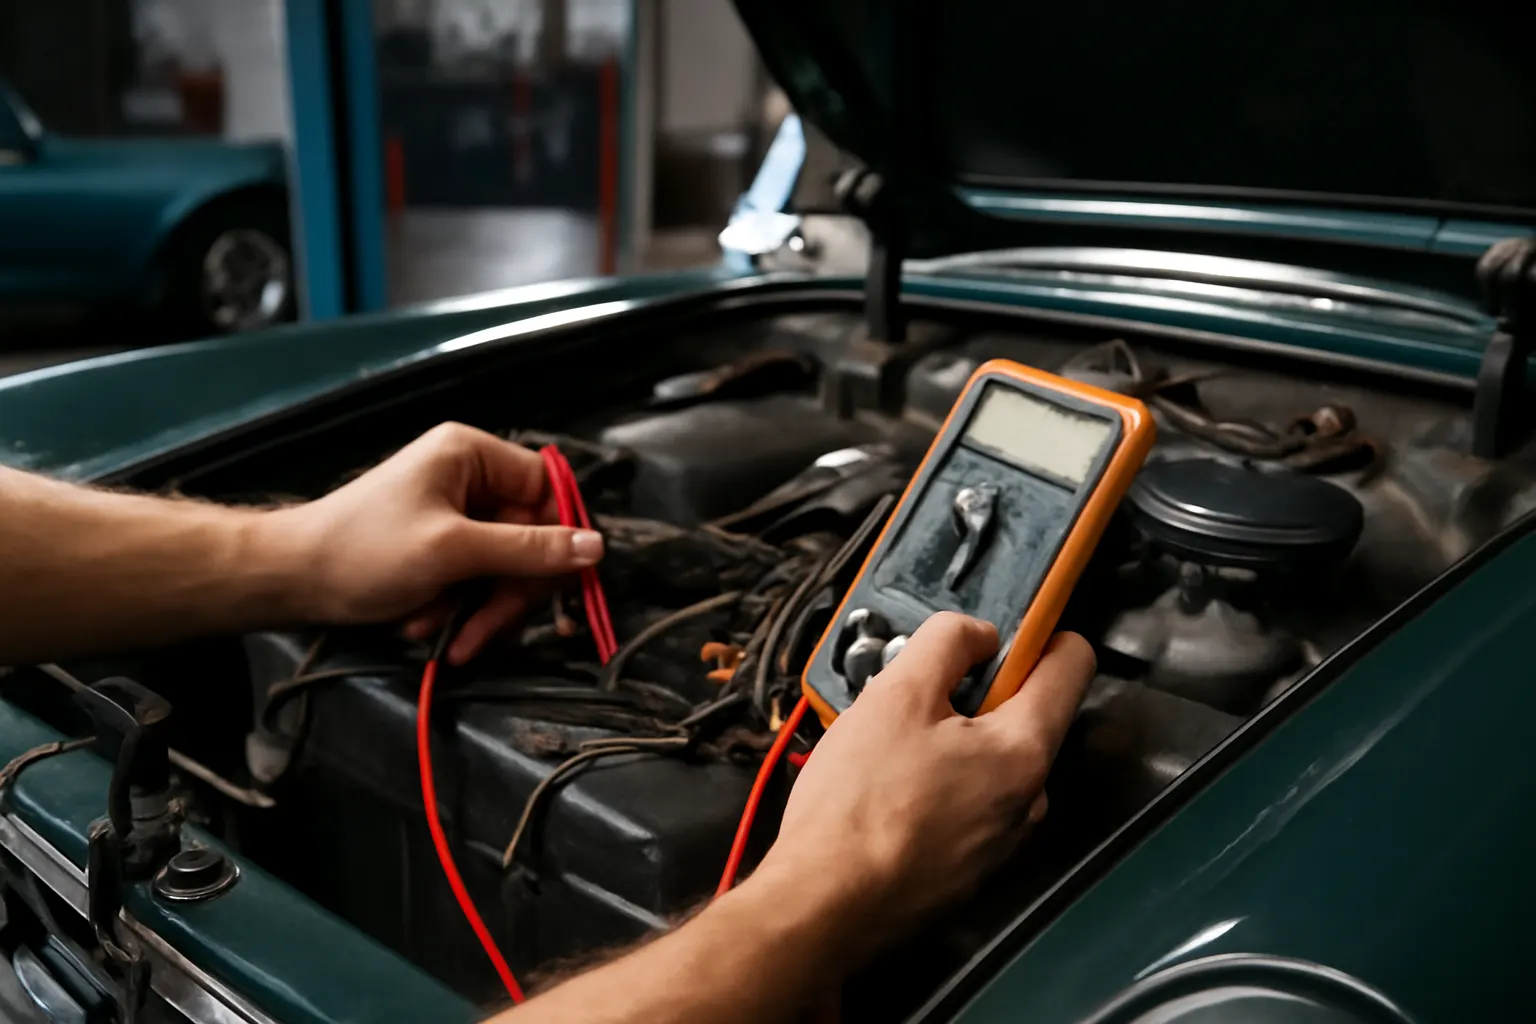
Step 2: Use a Multimeter
- Measure battery voltage (should be 12.6V+ at rest, 13.8–14.4V running).
- Test continuity on suspect circuits.
- Check voltage drop across grounds and power feeds.
Step 3: Isolate Circuits
- Disconnect accessories one at a time to identify the fault source.
- Pull fuses to see if symptoms change.
Advertisement
Step 4: Reference Diagrams
- Use original or reproduction wiring diagrams to trace circuits accurately.
Step 5: Replace or Repair
- Only replace one component at a time, retesting after each change.
For further diagnostic strategies, refer to our Diagnosing Automotive Electrical Issues: Step-by-Step guide.
Sourcing Quality Replacement Parts for Vintage Vehicles
Finding reliable electrical replacement parts for classic cars can be challenging. Here’s how to ensure fit, function, and safety:
- OEM vs Aftermarket: Whenever possible, use OEM or reputable reproduction parts. Aftermarket suppliers specializing in classic vehicles often provide upgraded materials and modern reliability.
- Compatibility: Always verify part numbers, connector types, and amperage ratings. Classic cars may have year-to-year or mid-production changes.
- Supplier Reputation: Use trusted parts distributors with technical support and clear return policies.
- Modern Upgrades: Where original parts are unavailable, consider modern equivalents (e.g., solid-state voltage regulators, blade-style fuse blocks) that improve reliability without sacrificing originality.
Explore our Comprehensive Guide to Miscellaneous Electrical Parts in Vehicles for sourcing tips and fitment information specific to your make and model.
Preventive Maintenance: Keeping Classic Car Electrical Systems Healthy
Preventive care is crucial for classic car reliability:
- Annual Inspections: Check all accessible wiring, grounds, and terminals for wear or corrosion.
- Battery Maintenance: Keep battery terminals clean and use a maintainer for infrequently driven vehicles.
- Fuse Check: Replace old glass fuses with new ones of correct rating; inspect for signs of overheating.
- Moisture Control: Store vehicles in a dry environment and use dielectric grease on exposed terminals.
- Accessory Loads: Avoid overloading circuits with modern accessories unless the system is upgraded.
Upgrading for Modern Reliability Without Compromising Authenticity
Classic car owners often face the dilemma of preserving originality versus improving reliability. Here’s how to strike the right balance:
- Hidden Upgrades: Use modern wire and connectors but retain original routing and appearance.
- Reversible Modifications: Install upgrades (e.g., fuse blocks, relays) in a way that can be reversed for concours restoration.
- Documentation: Keep detailed records of all modifications for future owners or repairs.
Safety Considerations: Electrical Issues and Vehicle Safety
Electrical failures can compromise not just reliability, but safety. According to the National Highway Traffic Safety Administration, electrical malfunctions can affect lighting, signaling, and even fire risk. Always prioritize:
- Proper Fuse Protection: Never bypass fuses or use higher amperage than specified.
- Secure Wiring: Prevent chafing or pinching that could cause shorts.
- Professional Help: If unsure, consult a qualified automotive electrician or restoration specialist.
Common Mistakes to Avoid When Fixing Classic Car Electrical Systems
Even experienced enthusiasts can fall into these traps:
- Using Incorrect Wire Gauge: Undersized wires can overheat and fail.
- Ignoring Ground Paths: Assuming the body or frame is always a sufficient ground can lead to intermittent faults.
- Mixing Old and New Parts Unsystematically: Combining old switches with new relays or vice versa can create compatibility issues.
- Neglecting Documentation: Failing to document changes can confuse future repairs.
The AutoPartEx Advantage: Your Partner in Classic Car Electrical Restoration
At AutoPartEx, we understand the unique challenges of restoring and maintaining classic vehicle electrical systems. Our technical experts source only the highest-quality OEM and aftermarket components, rigorously tested for fit and reliability. Whether you’re searching for a rare relay, a full wiring harness, or expert diagnostic support, our resources and customer service help you keep your classic running safely and smoothly.
Browse our Comprehensive Guide to Miscellaneous Electrical Parts in Vehicles for in-depth technical resources, or consult our parts specialists for personalized recommendations tailored to your make and model.
Conclusion: Restore Confidence in Your Classic’s Electrical System
Electrical issues are among the most common and frustrating challenges faced by classic car owners, but with systematic diagnostics, quality parts, and preventive care, even the oldest systems can deliver reliable, safe performance. By understanding the root causes and following the expert strategies outlined above, you can restore your vintage vehicle’s electrical integrity—and enjoy the open road with peace of mind.
References
Advertisement