
Amc Ambassador Rear Bumper Face Bar Parts
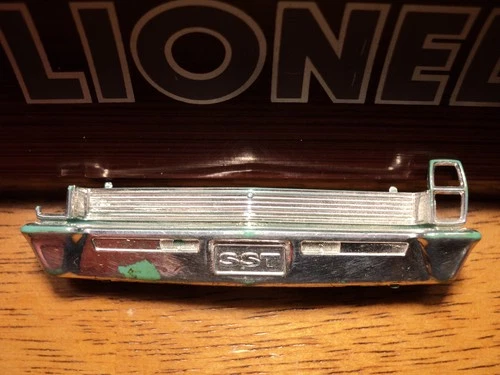
AMC Ambassador Rear Bumper Face Bar – Genuine Fitment, Diagnostics, and Replacement Guide
The rear bumper face bar for the AMC Ambassador is a vital exterior component, engineered for both impact absorption and period-correct styling. Whether you're restoring a classic AMC Ambassador or maintaining daily functionality, sourcing the correct rear bumper face bar is essential for both safety and authenticity. AMC Ambassadors, produced from the mid-1950s through the mid-1970s, saw numerous design, trim, and hardware changes that directly affect bumper compatibility. This page delivers authoritative guidance on identifying, sourcing, and installing the right rear bumper face bar for your specific Ambassador model and year.
Owners and restorers of AMC Ambassadors often overlook the subtle but critical fitment details associated with rear bumper face bars. Not all years or trims use the same mounting patterns, reinforcement brackets, or end cap styles. For example, late-1960s Ambassadors (1967–1970) introduced new rear body contours and mounting brackets that are not compatible with earlier or later face bars. Some trim levels, like the DPL and SST, used additional brightwork or unique bumper guards, which must be accounted for. Engine choices, such as V8 versus inline-six, can affect bumper reinforcement due to weight differences, altering the hardware requirements. Scarcity compounds these fitment risks, as many original bars were produced in low volumes and have become rare due to rust, collision damage, or previous modifications. Installation risks are elevated by aged hardware, potential misalignment from previous repairs, and the need for precise torque settings to ensure both safety and aesthetics.
The AMC Ambassador is notorious among classic car enthusiasts for a range of rear bumper face bar issues. Chrome plating on original bars is prone to pitting and corrosion, especially in rust belt regions, while the underlying steel may be weakened by decades of exposure. Mounting holes often become ovalized or stripped, making secure installation difficult. Many Ambassadors have undergone undocumented collision repairs, leading to frame rail or mounting bracket misalignment that complicates fitment of new or reproduction bars. Diagnostic confusion can arise when aftermarket bars lack the correct contour or mounting tab configuration for a given year or trim, resulting in poor fitment or unsafe attachment. Compatibility constraints are significant: for example, a 1972 Ambassador bar will not interchange directly with a 1968 due to changes in body design and bumper legislation. Even within a single model year, variations in bumper guards, license plate illumination, and rear valance integration require careful part matching.
To ensure correct fitment and restore both function and appearance, start with precise model-year and trim verification for your AMC Ambassador. Use the VIN and original build sheets when available to confirm production details. Cross-reference part numbers and mounting diagrams with trusted sources, and inspect your existing bumper and hardware for evidence of previous modification. For rare or unique trims, consult dedicated AMC restoration guides (see AMC Ambassador Restoration Guide) and online parts catalogs (see AMC Ambassador Parts Catalog) for visual confirmation. OEM-sourced or high-quality reproduction bars are recommended, as lower-tier aftermarket options may lack precise hole patterns or correct curvature. During installation, use new Grade 8 hardware and anti-corrosion treatments, and torque all fasteners to factory specifications. For a step-by-step approach, see our AMC Ambassador Rear Bumper Installation Guide, which covers critical alignment checks and tool recommendations. If encountering alignment or structural issues, refer to Classic Bumper Diagnostics Article for troubleshooting strategies. When in doubt, consult a restoration specialist or reputable shop familiar with AMC chassis geometry.
Advertisement
1 AMC Ambassador Rear Bumper Face Bar Parts
Advertisement
More Rear Bumper Face Bar options for AMC Ambassador
Filtering for AMC Ambassador • Rear Bumper Face BarBrowse nearby inventory for this model and category without leaving the page.
No Data Available
Please check back soon when more inventory is available for this part.
Advertisement
Expert Specs, Field Data, and AutoPartEx Fitment Confidence
For enthusiasts and restorers, AutoPartEx provides a unique advantage in sourcing rare and correct AMC Ambassador rear bumper face bars. Our curated catalog, technical guides, and compatibility checks eliminate guesswork by offering VIN-based fitment verification, cross-referenced part numbers, and field-tested installation advice. Refer to our AMC Ambassador Rear Bumper Installation Guide for a step-by-step walkthrough, and see the Classic Bumper Diagnostics Article for evidence-based troubleshooting. If your restoration involves unique trim or hardware, consult the AMC Ambassador Restoration Guide and reach out to AutoPartEx for direct support. Use AutoPartEx to compare OEM, reproduction, and NOS options, and verify fitment before purchase—especially for hard-to-find 1967–1970 or 1971–1974 bars. With the right part and expert guidance, you can restore your AMC Ambassador’s rear bumper to factory standards and ensure lasting durability.
When sourcing a replacement, prioritize OEM or high-quality reproductions, as lower-tier aftermarket options often feature inaccurate hole patterns or inconsistent chrome quality. Inspect your vehicle’s rear frame rails and bracketry before purchase—prior collisions or rust repairs can alter the mounting geometry, requiring shimming or minor fabrication. The installation process should always involve a second set of hands for safe handling and alignment. Use Grade 8 or equivalent hardware, and torque according to factory service manual specifications (typically 45–65 ft-lb). Penetrating oil and impact tools are often necessary for removing original bolts that have seized over decades. In cases where mounting holes are ovalized or stripped, use repair washers or weld-in reinforcement as appropriate.
Annual inspection of the rear bumper is recommended, especially in climates prone to rust. Watch for chrome bubbling, surface pitting, or movement at the mounting points, all of which signal the need for repair or replacement. If your Ambassador sees regular road use, consider rust inhibitors or undercoating at the time of installation to extend service life. For further step-by-step installation guidance, internal fitment diagrams, and a troubleshooting checklist, refer to our curated guides and technical articles linked below.
Hands-On AMC Ambassador Rear Bumper Face Bar Details
Model-Year Variation
Fitment changes every few years: 1958–1963, 1964–1966, 1967–1970, and 1971–1974 each require unique rear bumper face bars and mounting brackets. Always confirm year, trim, and engine before purchasing.
Trim & Engine Compatibility
Higher trim levels (SST, DPL) and V8 engines may use reinforced brackets or thicker gauge steel. Wagons and sedans can have different bumper hardware. Consult VIN and part diagrams for accuracy.
Installation Difficulty
Moderate to advanced. Requires full SAE tool set, torque wrench (45–65 ft-lb), body shims, and often two people for alignment. Allow 1–2 hours for a clean install; more if frame or bracket repairs are needed.
Failure Patterns & Service
Corrosion at mounting points, chrome pitting, and impact damage are most common. Annual inspection is advised; replace if chrome is flaking or if mounting holes show more than 0.5 mm of slop.
References
- Vehicle Safety and Equipment - National Highway Traffic Safety Administration, accessed 2024-06-30Provides federal equipment standards and safety context for replacement bumpers.
- Vehicle, Car Seat, Tire, and Equipment Recalls - National Highway Traffic Safety Administration, accessed 2024-06-30Supports identification of model-year and part-specific recall history.
- Fuel Efficiency - United States Department of Energy, accessed 2024-06-30Background on vehicle weight, structure, and materials affecting bumper design.
Related Guides & Articles

Amc Ambassador Rear Bumper Installation
Rear bumper face bars on vehicles like the AMC Ambassador serve as both cosmetic trim and as a first line of defense in low-speed impacts. They are engineered to distribute collision forces, protect critical components (fuel tank, trunk floor, lighting), and maintain the vehicle’s structural integrity. The mounting system—comprising brackets, bolts, and spacers—must be precisely aligned to ensure the bumper absorbs and transfers energy as designed.
View Guide
Classic Bumper Diagnostics
Classic AMC Ambassador bumpers, especially rear bumper face bars, are iconic but require thorough diagnostics to maintain safety, fitment, and appearance. This guide delivers immediate, practical answers to the most common bumper diagnostic issues—fitment mismatches, corrosion, and bracket alignment—so AMC enthusiasts and restoration professionals can quickly assess and resolve problems. For a broad overview of AMC Ambassador rear bumper face bar fitment, diagnostics, and replacement, see the AMC Ambassador Rear Bumper Face Bar – Genuine Fitment, Diagnostics, and Replacement Guide.
Read More
Amc Ambassador Restoration
Restoring your AMC Ambassador is a rewarding project that blends classic automotive engineering with the satisfaction of hands-on craftsmanship. Whether you’re bringing a barn-find back to life or upgrading a well-loved example, this guide delivers a practical, step-by-step approach to AMC Ambassador restoration. We’ll cover detailed part diagrams, trim breakdowns, sourcing and fitment of key components—including the AMC Ambassador Rear Bumper Face Bar – Genuine Fitment, Diagnostics, and Replacement Guide—and share real-world case studies to help you avoid costly mistakes and achieve a factory-accurate finish.
View Guide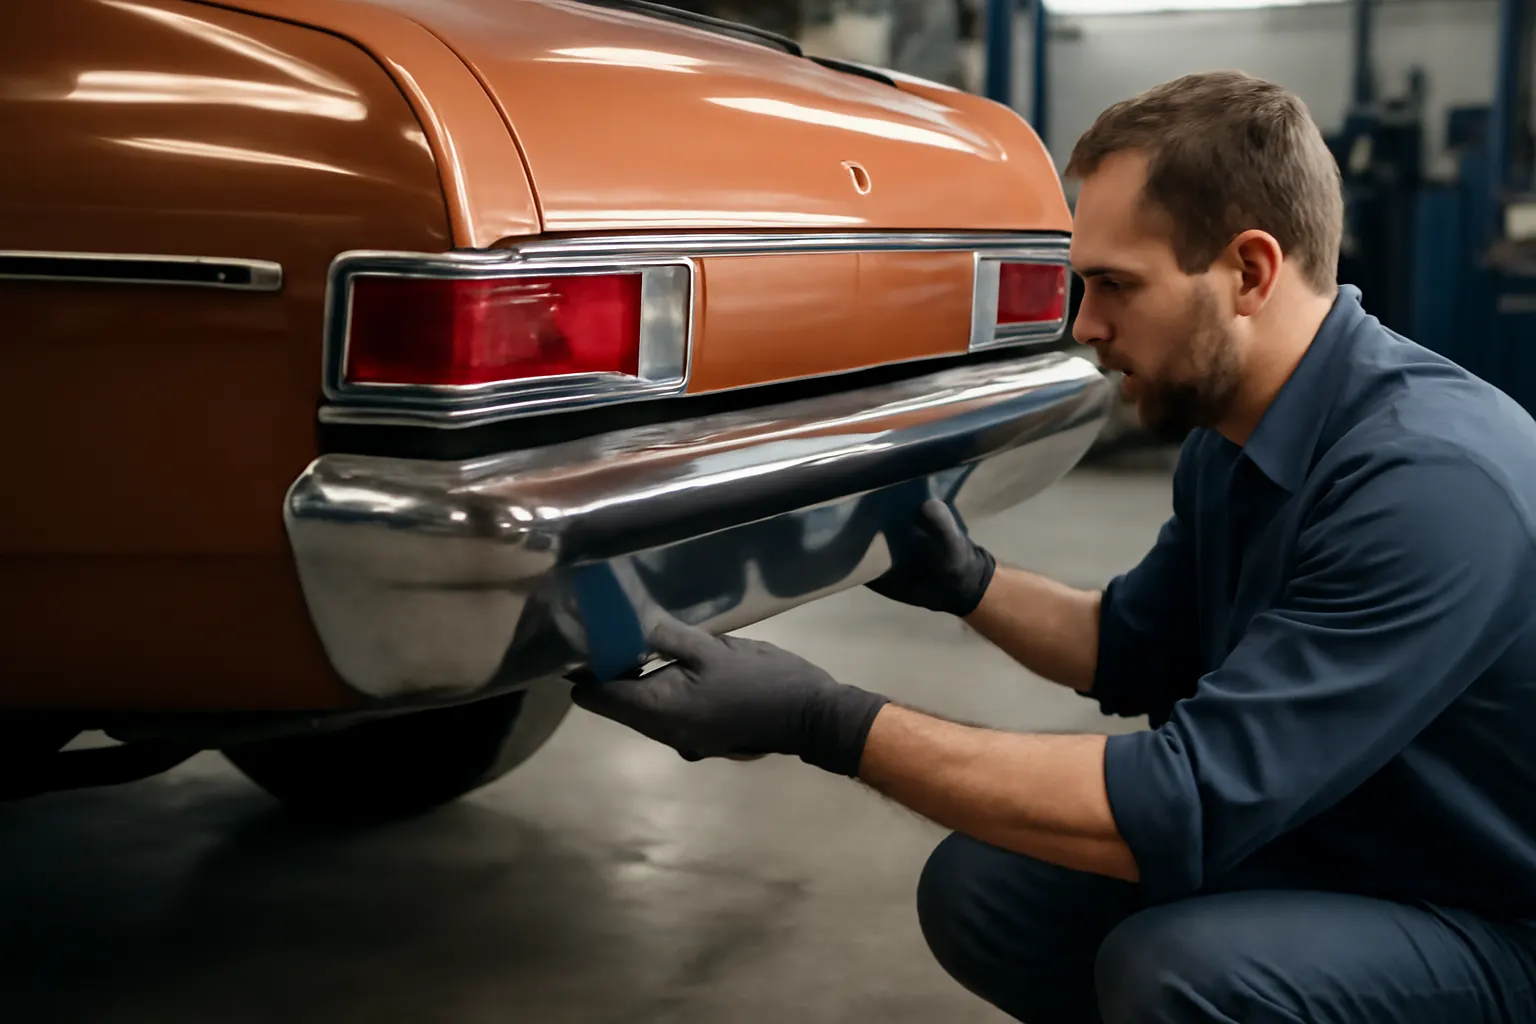
Amc Ambassador Bumper Evolution
The most significant catalyst for bumper evolution was the introduction of federal safety regulations. In 1971, the NHTSA began requiring that passenger car bumpers withstand low-speed impacts (initially 5 mph front, then 2.5 mph rear) without damage to safety-related components such as lights, fuel systems, and exhaust. AMC, like all manufacturers, had to re-engineer bumper systems to comply.
Read More