
Advertisement
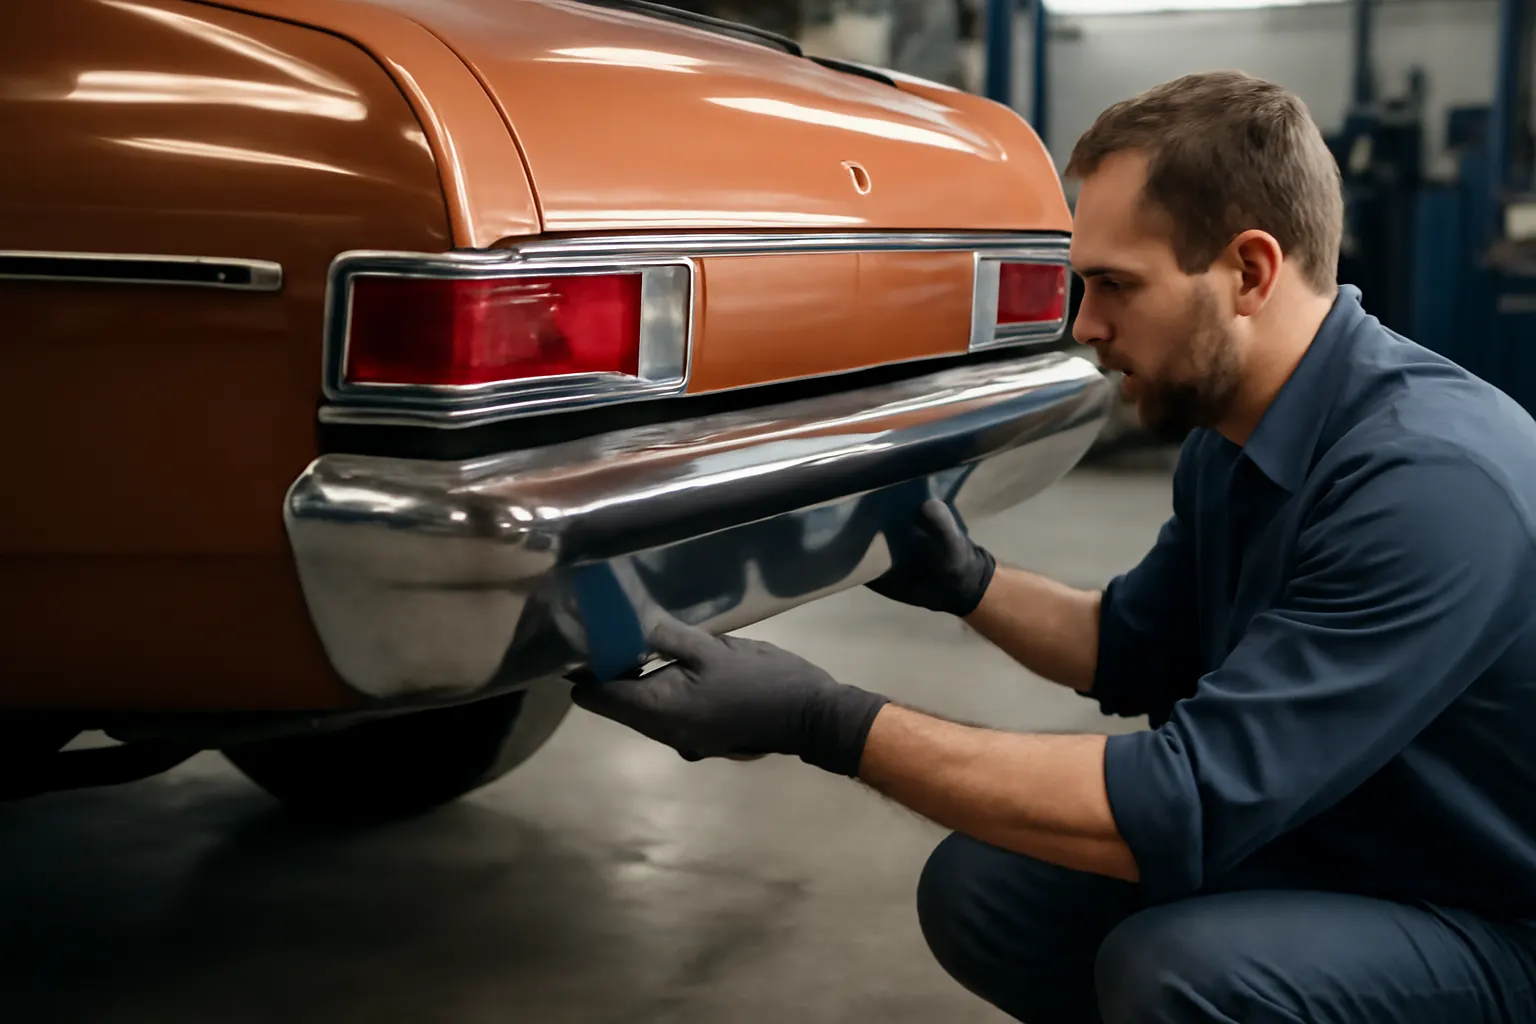
The AMC Ambassador’s bumpers evolved dramatically over its production lifespan, transforming from simple chrome face bars to advanced safety components that reflected both regulatory demands and changing automotive aesthetics. Understanding this evolution is crucial for any enthusiast, restorer, or technician seeking genuine fitment, improved safety, or classic style. Whether you’re tackling a restoration or sourcing replacement parts, knowing the differences in bumper design and construction will ensure both safety and authenticity. For a comprehensive look at rear bumper face bar fitment and replacement, visit our AMC Ambassador Rear Bumper Face Bar – Genuine Fitment, Diagnostics, and Replacement Guide.
The Immediate Answer: AMC Ambassador Bumper Evolution at a Glance
The AMC Ambassador’s bumpers changed from decorative chrome bars in the 1950s and 1960s to robust, energy-absorbing structures by the late 1970s. This progression was driven by evolving federal safety standards and advances in materials technology. Early bumpers were designed primarily for appearance, while later designs prioritized impact absorption, pedestrian safety, and compliance with National Highway Traffic Safety Administration (NHTSA) regulations. For owners and restorers, understanding these generational differences is essential for correct part selection, installation, and vehicle authenticity.
The Hidden Problem: Why Bumper Evolution Matters More Than You Think
Many AMC Ambassador owners and restorers underestimate the complexity and significance of bumper evolution. Swapping or restoring bumpers without considering era-specific design, mounting systems, and material composition can lead to poor fitment, compromised safety, and diminished vehicle value. The hidden issue isn’t just about aesthetics—it’s about meeting safety requirements and ensuring parts compatibility across production years. Overlooking these factors can result in failed inspections, ineffective crash protection, or costly rework.
Technical Deep Dive: How Safety Standards and Materials Drove Change
Federal Safety Standards Reshape Automotive Bumpers
The most significant catalyst for bumper evolution was the introduction of federal safety regulations. In 1971, the NHTSA began requiring that passenger car bumpers withstand low-speed impacts (initially 5 mph front, then 2.5 mph rear) without damage to safety-related components such as lights, fuel systems, and exhaust. AMC, like all manufacturers, had to re-engineer bumper systems to comply. This led to the adoption of heavier gauge steel, reinforced mounting brackets, and, eventually, the integration of energy-absorbing materials such as urethane and shock-absorbing struts [Vehicle Safety and Equipment].
Materials Technology: From Chrome to Composites
The early Ambassador bumpers were crafted from thick, chrome-plated steel—offering style but limited impact protection. As material science progressed (with research supported by the U.S. Department of Energy), manufacturers began experimenting with lighter alloys, polymer fillers, and composite structures to improve both safety and fuel economy [Materials Technologies]. By the late 1970s, bumpers featured internal reinforcement, plastic end caps, and, in some models, aluminum or thermoplastic face bars, all designed to absorb and dissipate energy during a collision.
The Style Factor: Bumper Design and AMC Ambassador Identity
Early Chrome Era: 1958–1966
The first-generation AMC Ambassador models (late 1950s through mid-1960s) sported prominent, highly polished chrome bumpers. These were designed to echo the jet-age styling cues of the era, with wraparound corners, integrated bumper guards, and minimal consideration for impact absorption. The bumpers were bolted directly to the frame rails, making them easy to replace but offering little in the way of crash protection.
Transitional Designs: 1967–1972
With the muscle car boom and growing awareness of vehicle safety, AMC began to integrate more substantial bumper structures. The face bars became deeper, with increased use of vertical guards and rubber strips for minor impact protection. Mounting systems started to incorporate collapsible brackets and thicker backing plates, laying the groundwork for compliance with upcoming federal standards.
Safety-Driven Modernization: 1973–1978
The most dramatic changes appeared in the final generations of the Ambassador. Bumpers grew larger and heavier, protruding further from the body to accommodate energy-absorbing systems. The chrome finish was often combined with rubber-faced impact strips and plastic end caps. These designs met or exceeded NHTSA regulations, but also altered the Ambassador’s visual proportions—trading some of the earlier models’ elegance for robust, safety-oriented styling.
Advertisement
A Checklist for Identifying AMC Ambassador Bumper Generations
Correct bumper identification is essential for sourcing the right parts, ensuring safe installation, and maintaining authenticity. Use the following checklist to determine which generation your AMC Ambassador bumper belongs to:
| Feature | 1958–1966 | 1967–1972 | 1973–1978 |
|---|---|---|---|
| Material | Chrome-plated steel | Thicker steel, some rubber | Steel, plastic, rubber |
| Mounting Style | Direct frame bolt-on | Collapsible brackets | Energy-absorbing struts |
| Bumper Guards | Prominent, decorative | Functional, vertical | Integrated, rubber-faced |
| Impact Strips | None | Optional | Standard |
| Compliance with NHTSA | Pre-regulation | Partial | Full |
| Visual Profile | Slim, wraparound | Deeper, squared | Large, protruding |
Diagnosing Bumper Fitment and Compatibility Issues
Common Pitfalls When Sourcing AMC Ambassador Bumpers
- Mismatched Mounting Brackets: Bumper mounting points, bracket angles, and reinforcement locations changed between generations. Attempting to fit a later-model bumper to an early Ambassador (or vice versa) without modification will result in poor alignment and structural weakness.
- Material Incompatibility: Later bumpers may use composite or rubberized sections that are not present on earlier cars, complicating restoration efforts.
- Non-Compliance with Safety Standards: Installing an early-style bumper on a later vehicle can jeopardize compliance with NHTSA safety regulations, potentially affecting insurance and roadworthiness.
Diagnostic Steps
- Inspect Mounting Points: Compare the number, location, and spacing of bumper bolts or strut mounts.
- Measure Bumper Depth and Width: Later bumpers are generally deeper and protrude further from the body.
- Check for Energy-Absorbing Components: Look for integrated shock mounts, foam fillers, or plastic end caps.
- Verify Part Numbers: Cross-reference OEM part numbers to ensure generational compatibility.
For more detailed diagnostic procedures, visit our Classic Bumper Diagnostics guide.
The Impact of Bumper Evolution on Safety
From Decoration to Protection
The shift from decorative chrome to engineered safety bumpers was not merely cosmetic. According to the NHTSA, compliant bumpers significantly reduce vehicle damage, occupant injury, and repair costs in low-speed collisions [Vehicle Safety and Equipment]. The AMC Ambassador’s late-model bumpers, with their energy-absorbing features, provided a measurable improvement in both pedestrian and occupant safety.
Recalls and Safety Campaigns
Throughout the 1970s, the NHTSA issued recalls and technical bulletins targeting defective or non-compliant bumper systems. AMC responded by reinforcing mounting brackets, improving weld quality, and, in some cases, offering retrofit kits to bring earlier models up to standard [Vehicle, Car Seat, Tire, and Equipment Recalls]. Owners should verify whether their vehicle is subject to any outstanding recall campaigns, especially when restoring or modifying bumpers.
Materials Science: How Advanced Materials Improved Performance
The Move to Lightweight Alloys and Composites
As fuel efficiency became a priority in the 1970s, the U.S. Department of Energy encouraged manufacturers to reduce vehicle weight without sacrificing safety [Materials Technologies]. AMC responded by experimenting with aluminum face bars, high-strength steel, and, in some cases, thermoplastic components. These materials offered superior corrosion resistance and energy absorption compared to traditional chrome-plated steel.
Corrosion and Longevity Considerations
While chrome bumpers are visually appealing, they are prone to rust and pitting—especially in regions where road salt is used. Later bumpers, with their composite and rubberized elements, resist corrosion but may suffer from UV degradation or cracking over time. Restoration projects should prioritize material compatibility and consider modern rust prevention techniques.
Installation Guidance: Achieving Proper Fit and Safety
Tools and Techniques for Safe Bumper Installation
- Use OEM or Quality Aftermarket Hardware: Always use mounting bolts and brackets rated for your specific AMC Ambassador generation.
- Torque Specifications: Follow manufacturer torque specs to avoid over-tightening or under-securing bumper assemblies.
- Energy Absorber Alignment: If your model uses shock-absorbing struts or foam fillers, ensure correct alignment and secure fitment.
- Electrical Integration: Later bumpers may include wiring for marker lights or impact sensors; verify connections during installation.
For a step-by-step guide, reference our Amc Ambassador Rear Bumper Installation article.
Advertisement
Installation Checklist
- Verify bumper generation and part number
- Inspect and replace mounting hardware as needed
- Align bumper face bar with body lines
- Install energy-absorbing components (if applicable)
- Torque all fasteners to spec
- Test-fit for clearance and secure attachment
- Check electrical connections (if present)
Maintenance and Preservation: Extending Bumper Life
Regular Inspection Protocol
- Visual Inspection: Check for rust, dents, cracks, or loose mounting points every 6 months.
- Corrosion Prevention: Apply rust-inhibiting coatings to steel components and use UV protectant on plastic/rubber sections.
- Fastener Tightness: Retorque bumper bolts annually or after any significant impact.
- Replacement of Damaged Components: Replace any deformed or compromised energy absorbers immediately to maintain safety.
Restoration Tips
For chrome bumpers, use non-abrasive polish and avoid harsh chemicals. For later composite bumpers, repair minor cracks with compatible fillers and refinish with automotive-grade paints as needed. For a complete restoration workflow, consult our Amc Ambassador Restoration guide.
Sourcing Genuine and Aftermarket AMC Ambassador Bumpers
Where to Find Authentic Parts
- OEM Suppliers: Seek out New Old Stock (NOS) or reputable re-manufacturers for authentic fit and finish.
- Aftermarket Upgrades: Quality aftermarket bumpers can offer improved materials and corrosion resistance, but always verify compatibility with your vehicle’s production year and trim.
- Salvage and Specialty Dealers: Classic car salvage yards and specialty AMC parts dealers often stock hard-to-find bumper assemblies and mounting hardware.
Buying Checklist
- Confirm part compatibility by year, body style, and trim
- Inspect for hidden damage or previous repairs
- Request detailed photos and measurements
- Ask about return policy and warranty (if available)
- Ensure inclusion of mounting brackets and hardware
The Role of Bumper Evolution in AMC Ambassador Value
Collector and Resale Considerations
Bumper originality and condition are major factors in AMC Ambassador valuation. Collectors and concours judges scrutinize bumper fit, finish, and mounting accuracy. Incorrect or poorly restored bumpers can detract from a vehicle’s authenticity and market value. Conversely, a properly restored or upgraded bumper system can enhance both safety and appeal, making the vehicle more desirable to enthusiasts and daily drivers alike.
Authenticity vs. Modernization
Owners must balance the desire for period-correct appearance with the practical benefits of modern materials and safety features. While some restorers insist on OEM chrome and original mounting hardware, others opt for discreet reinforcement or upgraded materials to improve daily usability.
Advanced Diagnostics: Assessing Bumper Structural Integrity
Tools and Methods
- Ultrasonic Thickness Gauges: Assess remaining metal thickness, especially in rust-prone areas.
- Magnetic Particle Inspection: Detect hidden cracks or weld failures in steel bumpers and brackets.
- Deflection Testing: Apply controlled force to measure bumper flex and energy absorption, ensuring compliance with safety expectations.
When to Replace vs. Repair
Replace bumpers that show signs of severe corrosion, deformation, or compromised energy absorbers. Minor dents and chrome imperfections can often be repaired, but structural failures demand complete replacement for safety.
The AutoPartEx Approach: Expertise in AMC Ambassador Bumper Solutions
AutoPartEx specializes in providing technical guidance, authentic parts sourcing, and expert diagnostics for classic vehicles like the AMC Ambassador. Our resources are engineered to help both professional restorers and passionate owners achieve the right blend of safety, style, and originality—whether you’re seeking a concours-correct chrome face bar or a discreetly upgraded energy-absorbing bumper.
Start your parts search or dive deeper into fitment, installation, and diagnostics with our AMC Ambassador Rear Bumper Face Bar – Genuine Fitment, Diagnostics, and Replacement Guide.
Expert Action: Your Next Steps for AMC Ambassador Bumper Projects
- Identify Your Model Year: Use VIN decoding and visual inspection to confirm your AMC Ambassador’s production year and trim.
- Diagnose Existing Bumper Condition: Perform a detailed inspection, referencing our diagnostic checklist.
- Source the Correct Bumper: Choose authentic or high-quality aftermarket parts based on your restoration goals.
- Plan for Installation: Gather the right tools, hardware, and technical documentation before beginning work.
- Maintain for Longevity: Establish a regular maintenance routine to preserve both safety and appearance.
For detailed installation and restoration support, explore our editorial guides, including Amc Ambassador Rear Bumper Installation and Amc Ambassador Restoration.
References
Advertisement