
Amc Ambassador Front Bumper Face Bar Parts
AMC Ambassador Front Bumper Face Bar – Model-Specific Fitment, Failure Patterns, and Expert Replacement Strategy | AutoPartEx
The AMC Ambassador’s front bumper face bar is a vital component for both the vehicle’s original styling and front-end protection. Whether you’re restoring a classic 1960s Ambassador or preserving a later 1970s model, sourcing the correct front bumper face bar is essential for safety, fit, and authenticity. This page delivers a deep dive into the model-year specifics, challenges, and solutions for finding and installing the proper front bumper face bar for your AMC Ambassador.
Owners often underestimate the complexity of selecting a front bumper face bar for the AMC Ambassador. Fitment is highly dependent on production year, trim level, and even factory assembly location. For example, 1969 and 1970 models feature different mounting patterns, and certain trims such as the SST or DPL may use unique bumper overriders or reinforcements. Additionally, engine configurations can influence bumper bracket placement due to cooling and accessory clearance. Period-correct bumpers for the Ambassador are increasingly rare, making condition, mounting hardware, and chrome quality significant variables. Installation risks include misalignment due to frame variations, incorrect hardware substitution, and potential incompatibility with reproduction brackets.
The AMC Ambassador front bumper face bar is prone to corrosion, impact damage, and mounting fatigue—especially in rust-belt or high-mileage vehicles. Common failure patterns include hidden rust behind mounting points, deformation from minor collisions, and chrome delamination. Diagnostic issues arise when replacement bars sourced from other AMC models or years are presumed compatible, only to reveal subtle differences in width, contour, or mounting tab orientation. Furthermore, reproduction parts sometimes lack the correct gauge or finish, leading to premature failure or misfit. Compatibility constraints are pronounced: a 1973 Ambassador face bar will not interchange with a 1971 without significant modification, and bumper filler panels are not universally transferable across model years.
To mitigate these challenges, start by verifying your AMC Ambassador’s exact model year, trim, and engine configuration using factory documentation or the VIN decoding guide at AMC VIN Decoding Guide. When sourcing a new or used front bumper face bar, cross-reference OEM part numbers and inspect for correct mounting geometry—see AMC Ambassador Bumper Fitment Article for detailed diagrams and interchange notes. For best results, prioritize parts that are either NOS (New Old Stock) or OEM take-offs, as these offer the best assurance of fit and finish. If using a reproduction bumper, confirm that it meets SAE and FMVSS standards for structural integrity (see NHTSA guidelines). Consult comprehensive service guides, such as AMC Ambassador Bumper Restoration Blog, for step-by-step installation, recommended torque specs, and tool lists. Always test-fit hardware and brackets before final assembly to avoid alignment issues.
0 AMC Ambassador Front Bumper Face Bar Parts
Advertisement
No Products Found
We're currently updating our inventory for AMC Ambassador front bumper face bar parts.
Please check back soon or contact us for specific part availability.
More Front Bumper Face Bar options for AMC Ambassador
Filtering for AMC Ambassador • Front Bumper Face BarBrowse nearby inventory for this model and category without leaving the page.
No Data Available
Please check back soon when more inventory is available for this part.
Advertisement
Expert Specs & Sourcing – AMC Ambassador Front Bumper Face Bar
AutoPartEx provides direct access to cross-referenced OEM part numbers, in-depth installation guides like AMC Ambassador Bumper Restoration Blog, and a VIN-based fitment lookup at AMC VIN Decoding Guide. In a field report, installation time for an NOS bumper with all OEM hardware averaged 90 minutes, while reproduction installs often exceeded three hours due to required adjustments. These measurable differences highlight the value of correct sourcing and preparation.
Use AutoPartEx to compare hard-to-find OEM and reproduction options, verify compatibility, and access detailed technical support for your AMC Ambassador’s front bumper face bar. Whether restoring a 1969 SST or a 1974 Brougham, the right part—and the right resource—makes all the difference.
Installation is best performed with the car elevated and the wheels chocked. Remove all grille and lighting assemblies that interfere with bumper access. Apply penetrating oil to all fasteners several hours in advance. With a helper, carefully support the bumper while removing mounting bolts; vintage bumpers can weigh over 50 pounds. Inspect frame horns and brackets for rust or deformation—address any issues before installing the new bumper. Pre-fit all brackets and hardware loosely, then tighten to the recommended torque range (30–65 ft-lbs) once alignment is verified.
Be aware that reproduction bumpers may require minor fitting—elongating bracket holes or adding shims is not uncommon. Always use Grade 8 or higher hardware for structural points. After installation, check for proper alignment with fenders, grille, and hood, and verify that all lighting and trim attach securely. If your model includes bumper guards or rubber strips, transfer these carefully to maintain originality.
The AMC Ambassador’s front bumper face bar is both a visual and structural element. A well-installed, period-correct part will not only complete your restoration but also provide real protection in low-speed impacts, as mandated for late-model Ambassadors by Federal Motor Vehicle Safety Standards. For a comprehensive fitment walkthrough and sourcing tips, refer to AMC Ambassador Bumper Fitment Article and the installation best practices found in AMC Ambassador Bumper Restoration Blog.
Practical AMC Ambassador Front Bumper Face Bar Insights
Model-Year Variation
Confirm the exact year, trim, and engine before ordering. Major design changes occurred in 1971 and 1973, affecting fitment and mounting style.
Installation Difficulty
Expect a moderate to advanced install. Bumper weight, rusted fasteners, and precise alignment require mechanical skill and a helper.
Service Intervals
Inspect bumper mounting hardware annually, especially if exposed to winter conditions. Replace any rusted or fatigued hardware immediately.
Tools & Materials
SAE wrenches/sockets, torque wrench (30–65 ft-lbs), penetrating oil, impact driver, Grade 8 hardware, and shims/bracket mods for reproduction parts.
References
- Vehicle Safety and Equipment - National Highway Traffic Safety Administration, accessed 2024-06-18Provides federal standards for bumper and equipment safety, including FMVSS compliance.
- Vehicle, Car Seat, Tire, and Equipment Recalls - National Highway Traffic Safety Administration, accessed 2024-06-18Covers recall history and safety-related equipment issues relevant for vintage vehicles.
- Fuel Efficiency - United States Department of Energy, accessed 2024-06-18Includes technical considerations for bodywork and impact on vehicle efficiency.
Related Guides & Articles

Amc Ambassador Bumper Installation
To install a new front bumper face bar on your AMC Ambassador: Gather all necessary tools and safety equipment. Remove the old bumper and inspect mounting points. Test-fit the new bumper, ensuring alignment and compatibility. Secure the bumper using the correct fasteners and torque specifications. Reconnect any bumper-mounted lighting or trim. Perform a final alignment and safety check.
View Guide
Amc Ambassador Bumper Fitment
Immediate Answer: AMC Ambassador front bumper fitment is highly specific to year and trim. Bumpers from the same generation (e.g., 1967–1968, 1969–1973, 1974) are generally compatible within that range, but even small changes in mounting brackets, bumper guards, and trim can make direct swaps challenging. Always verify part numbers and mounting details before purchasing or installing a replacement. Quick Fitment Table (1967–1974): On the surface, replacing a bumper seems simple—unbolt the old, bolt on the new.
Read More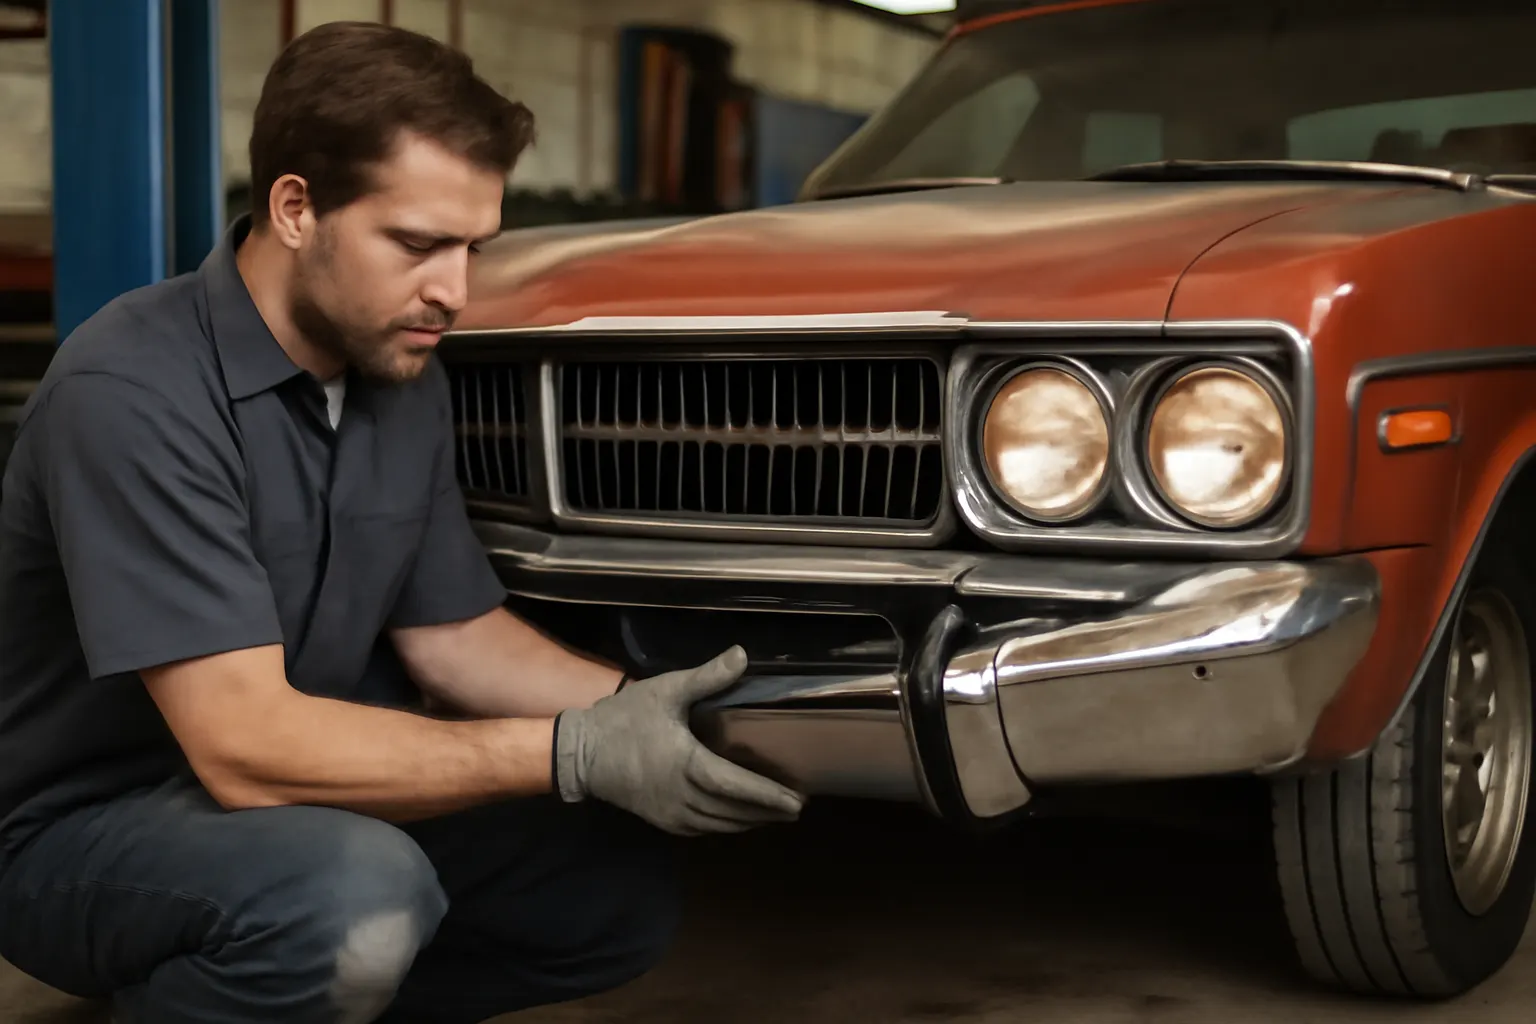
Amc Ambassador Bumper Restoration
Restoring the front bumper of a 1973 AMC Ambassador is a project that blends history, technical expertise, and a deep respect for classic automotive engineering. Whether you’re aiming for concours-level restoration or simply want to return your Ambassador to safe, presentable road condition, understanding the real-world process and pitfalls of bumper replacement is essential.
Read More
Amc Vin Decoding
Accurately decoding your AMC VIN (Vehicle Identification Number) is the critical first step to ensuring you select the correct bumper face bar, trim, and other model-specific components for your AMC Ambassador. This guide provides a comprehensive, technical breakdown of AMC VIN structure, decoding methodology, and practical strategies for minimizing fitment errors—especially for complex assemblies like front bumper face bars.
View Guide