
Amc Ambassador Bumper End Cap Parts
AMC Ambassador Bumper End Cap – Fitment, Risk, and Sourcing Guide
The AMC Ambassador’s bumper end caps are critical exterior trim elements that both complete the vehicle’s classic lines and shield the bumper assembly from road debris and minor impacts. Whether you drive a 1967 two-door hardtop, a 1974 sedan, or any trim in between, properly specified bumper end caps are essential for restoring your Ambassador’s original aesthetics and maintaining structural edge integrity. This page delivers a detailed, model-specific overview of AMC Ambassador bumper end cap fitment, compatibility factors, risks, and expert sourcing strategies.
AMC Ambassador bumper end caps are not simple cosmetic pieces—they’re engineered components that vary between years, bumper types, and even factory trim levels. For example, 1967–1968 models feature different mounting tabs and contour profiles compared to 1971–1974 units. Owners frequently underestimate the risk of mismatched end caps, which can result in poor fitment, visible seams, or even incompatibility with bumper overriders. Year-breaks are especially problematic: mid-generation updates often altered bumper lengths or fastener positions. Scarcity is another hidden challenge; NOS (New Old Stock) and high-quality reproductions are limited, and not all aftermarket options meet original AMC spec. Installation risks include incorrect fastener torque, misaligned mounting holes, and damage to underlying chrome or paint.
With the AMC Ambassador’s extended production run and numerous trim levels (DPL, SST, base, and police/taxi packages), bumper end cap failures display clear patterns. Cracking, UV degradation, and mounting tab fatigue are common on original 1970s thermoplastic units, while metal-capped variants may corrode from the inside out due to trapped moisture. Field reports note that 1972–1974 models are especially prone to lower tab breakage during removal. Diagnostic challenges include distinguishing between original and replacement caps—aftermarket molds sometimes lack AMC part numbers or have incorrect grain textures. Compatibility constraints extend to engine variants: front end cap profiles may differ subtly to accommodate alternate grille and trim designs tied to V8 or six-cylinder engine packages. It’s not uncommon to encounter ill-fitting parts purportedly “universal” for all Ambassador years, leading to installation delays or wasted expense.
The best way to ensure correct AMC Ambassador bumper end cap fitment is by cross-referencing AMC part numbers, measuring bumper width and mounting tab positions, and consulting detailed service diagrams. AutoPartEx offers an in-depth Ambassador Bumper End Cap Fitment Guide as well as a Ambassador Bumper End Cap Blog analyzing sourcing pitfalls and visual ID tips. Our catalog includes both OEM and high-fidelity reproduction end caps, with every product listing featuring verified year, trim, and bumper compatibility. We recommend sourcing in pairs to avoid finish mismatch and always test-fit components prior to final installation. For rare or late-production variants, AutoPartEx’s sourcing team can assist in locating hard-to-find parts through our network of trusted suppliers and enthusiast partners.
0 AMC Ambassador Bumper End Cap Parts
Advertisement
No Products Found
We're currently updating our inventory for AMC Ambassador bumper end cap parts.
Please check back soon or contact us for specific part availability.
More Bumper End Cap options for AMC Ambassador
Filtering for AMC Ambassador • Bumper End CapBrowse nearby inventory for this model and category without leaving the page.
No Data Available
Please check back soon when more inventory is available for this part.
Advertisement
Expert Specs, Field Reports, and Sourcing with AutoPartEx
Installation is rarely plug-and-play. Owners should anticipate the need for specialty tools, including flexible plastic trim removers, precision torque wrenches (capable of 7–9 ft-lb), and anti-seize lubricant. Corroded fasteners and underlying bumper rust are especially common on vehicles exposed to moisture or road salt—use penetrating oil and wire brushes as needed. Dry-fit every cap and check for 0.5 mm or less gap along all edges; misaligned caps can cause water ingress that accelerates both cap and bumper corrosion.
Service intervals for bumper end caps are driven by visual inspection rather than mileage, but a 12-month check is prudent—especially on Ambassadors used in show, cruise, or daily-driver duty. Failure to maintain or replace worn caps can lead to more extensive bumper damage, requiring costly restoration. Sourcing high-quality reproductions or NOS parts is a persistent challenge: many listings are for “universal” caps that do not fit all years or trims. AutoPartEx’s catalog is curated to avoid these pitfalls, with detailed application charts and photo verification. For rare or obscure variants, AutoPartEx can leverage its network to locate correct parts, minimizing installation risk and ensuring your Ambassador retains its authentic appearance.
For AMC Ambassador Bumper End Cap, long-term reliability depends on verified fitment, periodic inspection of wear components, and disciplined preventive maintenance. Confirm part numbers by VIN, check supersession notes, and compare mounting points before installation. Review service bulletins and historical failure patterns to prioritize high-risk systems, especially electrical connectors, seals, cooling components, and drivetrain interfaces.
Practical Info: AMC Ambassador Bumper End Cap Service
Essential Tools
Plastic trim removal tool, torque wrench (7–9 ft-lb), anti-seize lubricant, wire brush, and penetrating oil.
Service Interval
Inspect bumper end caps every 12 months or during any bumper restoration. Replace at first sign of cracking, loose fitment, or severe UV damage.
Fitment Checklist
Confirm model year, trim code, bumper part number, and cap profile. Always cross-reference with AMC documentation and measure mounting tab spacing.
Installation Tips
Dry-fit every cap before final installation. Torque fasteners to 7–9 ft-lb. Apply anti-seize to bolts and avoid over-tightening to prevent plastic cracking.
References
- Vehicle Safety and Equipment - National Highway Traffic Safety Administration, accessed 2024-06-01Provides part and equipment standards, including fastener and bumper specs relevant to restoration.
- Vehicle, Car Seat, Tire, and Equipment Recalls - National Highway Traffic Safety Administration, accessed 2024-06-01Covers recall history and safety-related updates for vintage and classic models, including AMC.
- Fuel Efficiency - United States Department of Energy, accessed 2024-06-01Cites materials and component longevity factors relevant to exterior trim and bumper assemblies.
Related Guides & Articles

Amc Ambassador Bumper End Cap Fitment
Mastering AMC Ambassador bumper end cap fitment is essential for any restorer, enthusiast, or repair technician aiming to maintain the vehicle’s iconic appearance and structural integrity. This comprehensive guide delivers step-by-step visual and measurement-based instructions so you can identify, source, and install the correct bumper end cap with confidence. Whether you’re dealing with a classic daily driver or a concours-level restoration, proper fitment ensures both safety and authenticity.
View Guide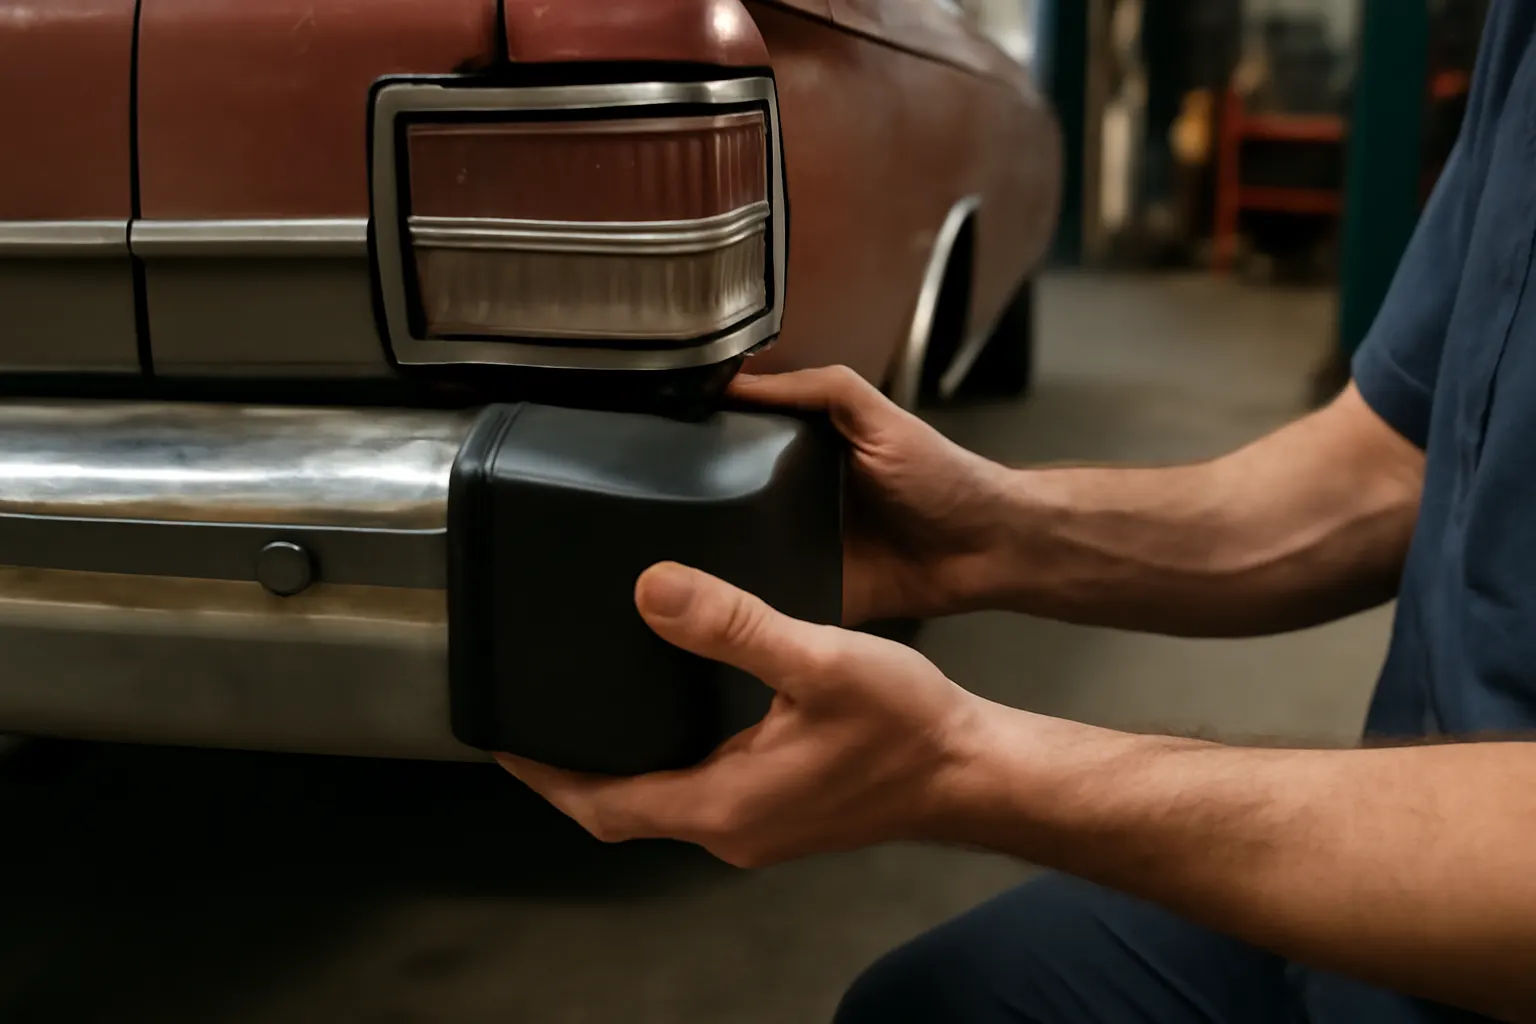
Amc Ambassador Bumper End Cap Blog
Bumper end caps on the AMC Ambassador are not just finishing touches—they play a vital role in both vehicle safety and appearance. These molded sections cap off the ends of your car’s front and rear bumpers, providing a seamless look while protecting the underlying metal from corrosion, minor impacts, and road debris.
Read More
Amc Ambassador Bumper History
The AMC Ambassador’s bumper system underwent a series of significant changes from 1967 through 1974, directly impacting the fitment and compatibility of bumper end caps for restoration, maintenance, and safety upgrades. Understanding this evolution is crucial for any owner, restorer, or parts buyer seeking to source the correct bumper end cap for their specific AMC Ambassador model year.
Read More
Amc Ambassador Bumper End Cap Installation
To install an AMC Ambassador bumper end cap: Gather tools: Socket set, trim removal tools, torque wrench, and protective gloves. Prepare the vehicle: Park on a level surface, engage the parking brake, and disconnect the battery. Remove the old end cap: Unbolt and gently pry away the existing end cap, preserving fasteners if reusable. Inspect mounting points: Check for rust, damage, or misalignment on the bumper and bracket areas.
View Guide