
Amc Ambassador Bumper Bracket Parts
AMC Ambassador Bumper Bracket – Model-Specific Fitment, Replacement, and Technical Guidance
The AMC Ambassador, a mainstay of American automotive history, is known for its robust construction and classic styling. The bumper bracket—an integral component anchoring the bumper to the vehicle’s frame—is critical for both aesthetics and structural safety. Whether you’re restoring a 1968 SST or maintaining a late-model Ambassador wagon, correct bumper bracket fitment ensures your vehicle retains its OEM appearance, absorbs minor impacts as designed, and complies with safety requirements.
Owners and restorers of the AMC Ambassador often underestimate the complexity of bumper bracket selection. Unlike generic brackets, each model year, trim, and engine configuration of the Ambassador (from 1958’s early models to the 1974 Matador-based variants) can present unique fitment profiles. Year breaks, running design changes, and differences in front vs. rear brackets—and even wagon versus sedan applications—mean that brackets are not always interchangeable. The scarcity of NOS (New Old Stock) and high-quality reproduction brackets further raises the risk of sourcing mismatched or subpar components, potentially leading to mounting issues or poor bumper alignment.
AMC Ambassadors, especially those from high-production years (1969–1973), exhibit distinctive bumper bracket failure patterns. Corrosion from road salt, stress cracks near mounting holes, and warpage from minor collisions are common. For vehicles with factory towing packages or aftermarket modifications, bracket deformation or misalignment can be more severe. Diagnosing a compromised bracket often requires both visual inspection for rust and precise measurement to check for frame spread or twist. Compatibility constraints are significant: mixing front and rear brackets, or using brackets from non-Ambassador AMC models, can result in incorrect bumper height, improper crumple characteristics, or even incompatibility with factory bumper guards.
To ensure proper fitment and durability, always verify your AMC Ambassador’s year, trim, and engine configuration before purchasing a bumper bracket. Cross-reference OEM part numbers and consult detailed fitment charts, as even adjacent model years may differ in mounting geometry. Sourcing from reputable vendors with expertise in vintage AMC parts is critical—see AMC Ambassador Bumper Bracket Buying Guide for a comprehensive guide to bracket identification and sourcing strategies. For installation, refer to AMC Ambassador Bumper Installation Steps, which outlines step-by-step removal, torque specifications (typically 40–60 ft-lbs for mounting bolts), and required tools such as breaker bars and anti-seize compound. Inspect service bulletins and NHTSA equipment documentation to rule out recall-related bracket updates or reinforcements.
0 AMC Ambassador Bumper Bracket Parts
Advertisement
No Products Found
We're currently updating our inventory for AMC Ambassador bumper bracket parts.
Please check back soon or contact us for specific part availability.
More Bumper Bracket options for AMC Ambassador
Filtering for AMC Ambassador • Bumper BracketBrowse nearby inventory for this model and category without leaving the page.
No Data Available
Please check back soon when more inventory is available for this part.
Advertisement
Expert AMC Ambassador Bumper Bracket Specification, Service Evidence, and AutoPartEx Sourcing
For sourcing, compare OEM part numbers and verify against detailed fitment charts available through trusted vendors. Consult resources like AMC Ambassador Bumper Bracket Buying Guide for authentication tips, and use installation walkthroughs such as AMC Ambassador Bumper Installation Steps to ensure bolt torque and alignment meet original AMC specifications. When in doubt, cross-check with NHTSA equipment guidelines for period-correct safety compliance, as later-year Ambassador brackets were designed to align with evolving federal standards.
AutoPartEx empowers you to confidently identify, compare, and source hard-to-find AMC Ambassador bumper brackets. Whether you're after show-quality restoration or reliable daily-driver repairs, use AutoPartEx to verify fitment, access expert guides, and connect with top-tier vendors for OEM and reproduction parts.
For AMC Ambassador Bumper Bracket, long-term reliability depends on verified fitment, periodic inspection of wear components, and disciplined preventive maintenance. Confirm part numbers by VIN, check supersession notes, and compare mounting points before installation. Review service bulletins and historical failure patterns to prioritize high-risk systems, especially electrical connectors, seals, cooling components, and drivetrain interfaces.
For AMC Ambassador Bumper Bracket, long-term reliability depends on verified fitment, periodic inspection of wear components, and disciplined preventive maintenance. Confirm part numbers by VIN, check supersession notes, and compare mounting points before installation. Review service bulletins and historical failure patterns to prioritize high-risk systems, especially electrical connectors, seals, cooling components, and drivetrain interfaces.
AMC Ambassador Bumper Bracket: Practical Service & Installation Info
Required Tools
Breaker bar, torque wrench (40–60 ft-lbs), socket set, digital calipers, magnetic angle gauge, anti-seize compound, and replacement hardware.
Service Interval
Inspect brackets annually or every 12,000 miles; replacement recommended after any collision, heavy corrosion, or visible deformation.
Fitment Checklist
Verify vehicle year, trim, and body style; cross-check OEM part numbers; compare physical measurements before installation.
Installation Tips
Clean all mating surfaces, apply anti-seize to bolts, torque to spec, and confirm bumper alignment using a straight edge and angle gauge.
References
- Vehicle Safety and Equipment - National Highway Traffic Safety Administration, accessed 2024-06-01Provides background on bumper equipment standards and safety considerations.
- Vehicle, Car Seat, Tire, and Equipment Recalls - National Highway Traffic Safety Administration, accessed 2024-06-01Reference for recall and equipment update information relevant to AMC models.
- Fuel Efficiency - United States Department of Energy, accessed 2024-06-01Provides context on vehicle structure and efficiency, relevant to bracket materials and engineering.
Related Guides & Articles

Amc Ambassador Bumper Installation
To install a new front bumper face bar on your AMC Ambassador: Gather all necessary tools and safety equipment. Remove the old bumper and inspect mounting points. Test-fit the new bumper, ensuring alignment and compatibility. Secure the bumper using the correct fasteners and torque specifications. Reconnect any bumper-mounted lighting or trim. Perform a final alignment and safety check.
View Guide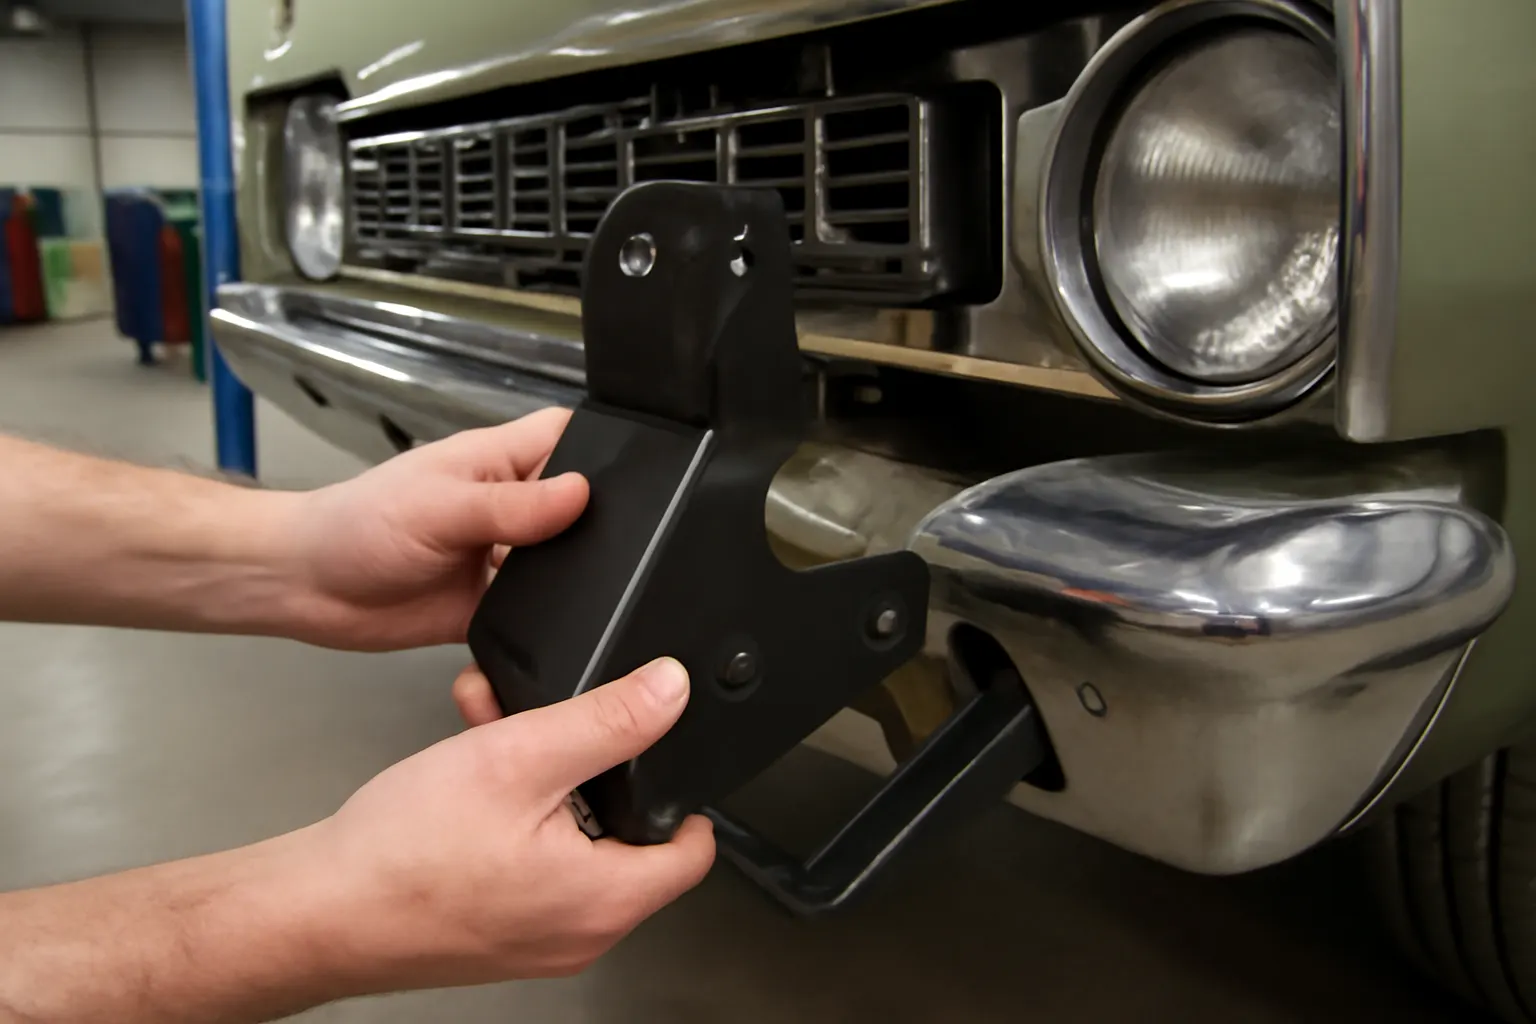
Amc Ambassador Bumper Bracket Buying Guide
Sourcing the correct bumper bracket for your AMC Ambassador is essential for a safe, show-quality restoration. This guide delivers the essentials: how to identify authentic AMC Ambassador bumper brackets, avoid common reproduction pitfalls, and ensure your installation meets both safety and aesthetic standards. Whether you’re restoring a 1967 Ambassador SST or maintaining a later Matador-based model, the right bracket is the foundation of a durable, factory-correct bumper assembly. Bumper brackets are not just cosmetic hardware—they are structural safety components.
Read More
Amc Ambassador Bumper Bracket Failure Patterns
Bumper brackets on the AMC Ambassador are typically composed of stamped or formed steel, engineered to absorb and distribute impact forces from minor collisions. The bracket design varies by model year and trim but generally includes mounting flanges, frame attachment points, and bumper interface arms. Key stress points include: Mounting flanges: Subject to rust and fatigue from water intrusion and road debris. Bolt holes: Prone to ovalization and cracking from repeated stress or improper torque.
Read More
Amc Ambassador Trim Bumper Fitment
AMC Ambassador owners and restorers frequently face questions about bumper and trim compatibility across sedan, wagon, DPL, and SST variants. This guide delivers an immediate, authoritative answer: AMC Ambassador bumpers and trim are not universally interchangeable across all years, body styles, and trim levels. Instead, fitment is determined by model year, body type, and specific trim package—making precise reference to detailed fitment charts and technical specifications essential for any replacement or restoration project.
View Guide