
Amc Ambassador Body Wiring Harness Parts
AMC Ambassador Body Wiring Harness: Fitment, Failures, and Expert Replacement Guidance
The body wiring harness in the AMC Ambassador is the central nervous system for all interior and exterior electrical components. Whether you’re restoring a classic Ambassador or resolving electrical gremlins, understanding the unique requirements and challenges of sourcing and installing a replacement body wiring harness is essential. For model years spanning 1966–1974, variations in connectors, wire routing, and terminal specifications mean that selecting the correct harness is critical for reliable function and safety compliance.
AMC Ambassador owners and restorers often underestimate the complexity of body wiring harness fitment. Harness specifications changed frequently between model years and even among trims and engines within the same year. For example, the 1968 Ambassador with factory air conditioning uses a different main harness than the non-A/C variant. Even minor differences—such as body style (sedan, coupe, wagon), optional equipment (power windows, tilt steering), and original alternator output—can alter connector types, wire gauge, and fuse block layouts. Furthermore, scarcity is a real concern: NOS and reproduction harnesses for AMC models are far less common than for mainstream brands, leading to long lead times or the necessity for custom builds. Installation risks include misrouted wires, incorrect terminal mating, and compatibility gaps with modern upgrades or safety equipment.
AMC Ambassador body wiring harnesses are prone to specific age-related failure patterns. Common issues include embrittled insulation due to heat cycling, corrosion at bulkhead and ground connections, and chafed wires behind the dash from decades of vibration. Diagnostic challenges often arise from intermittent faults—such as non-functional lighting circuits, unresponsive gauges, or accessory malfunctions—that can be traced to failing splices or oxidized terminals unique to AMC harnesses of this era. Compatibility constraints include changes in color coding, terminal style, and fuse design between 1967 and 1974, complicating direct swaps and partial repairs. Owners must carefully verify that replacement harnesses match the exact model year, trim, and factory options to avoid costly rework or electrical hazards.
To ensure a successful replacement, start by decoding your AMC Ambassador’s VIN and option codes for precise harness identification. Use AutoPartEx’s fitment verification tools to cross-reference part numbers and connector layouts. When OEM harnesses are unavailable, consider quality-tested reproduction harnesses built to original AMC schematics. For in-depth installation advice, reference our AMC Ambassador Wiring Harness Installation Guide for detailed walkthroughs, and see AMC Ambassador Electrical Troubleshooting for diagnostic best practices. Always use factory-correct routing clips, grommets, and grounding points to preserve safety and originality. For upgrades such as modern audio or lighting, consult specialized guides to ensure compatibility and avoid overloading original circuits.
Advertisement
0 AMC Ambassador Body Wiring Harness Parts
No Products Found
We're currently updating our inventory for AMC Ambassador body wiring harness parts.
Please check back soon or contact us for specific part availability.
More Body Wiring Harness options for AMC Ambassador
Filtering for AMC Ambassador • Body Wiring HarnessBrowse nearby inventory for this model and category without leaving the page.
No Data Available
Please check back soon when more inventory is available for this part.
Advertisement
Expert Specs, Real-World Evidence, and Source-Backed Fitment: Take Action with AutoPartEx
For AMC Ambassador Body Wiring Harness, long-term reliability depends on verified fitment, periodic inspection of wear components, and disciplined preventive maintenance. Confirm part numbers by VIN, check supersession notes, and compare mounting points before installation. Review service bulletins and historical failure patterns to prioritize high-risk systems, especially electrical connectors, seals, cooling components, and drivetrain interfaces.
AMC Ambassador Body Wiring Harness: Practical Fitment and Service Tips
Essential Tools
Wire stripper/crimper, multimeter, test light, non-marring trim tools, panel pullers, factory wiring diagram, and dielectric grease.
Installation Difficulty
Moderate to advanced. Expect 8–16 hours of labor, dashboard and interior panel removal, and meticulous labeling.
Service Intervals
Replace every 30–40 years, or sooner if insulation is brittle, connectors are corroded, or persistent electrical faults occur.
Trim/Option Compatibility
Harness must match model year, engine, body style, and factory options (e.g., A/C, power accessories). Cross-check part numbers and diagrams before purchase.
References
- Materials Technologies - United States Department of Energy, accessed 2024-06-21Used for wiring insulation material standards and temperature ratings.
- Vehicle Safety and Equipment - National Highway Traffic Safety Administration, accessed 2024-06-21References on safety equipment, diagnostic best practices, and replacement protocols.
- Vehicle, Car Seat, Tire, and Equipment Recalls - National Highway Traffic Safety Administration, accessed 2024-06-21Historical recall data and model-specific equipment coverage.
Related Guides & Articles

Amc Ambassador Wiring Harness Install
If your AMC Ambassador exhibits electrical failures—such as flickering lights, non-functioning gauges, or intermittent power loss—a degraded or damaged wiring harness is often the culprit. Immediate replacement is the safest and most effective solution. Here’s a high-level overview of the process: Disconnect the battery to prevent accidental shorts. Remove interior and trim panels to access harness routing. Label and photograph all harness connections for accurate reinstallation. Disconnect and remove the old harness section by section.
View Guide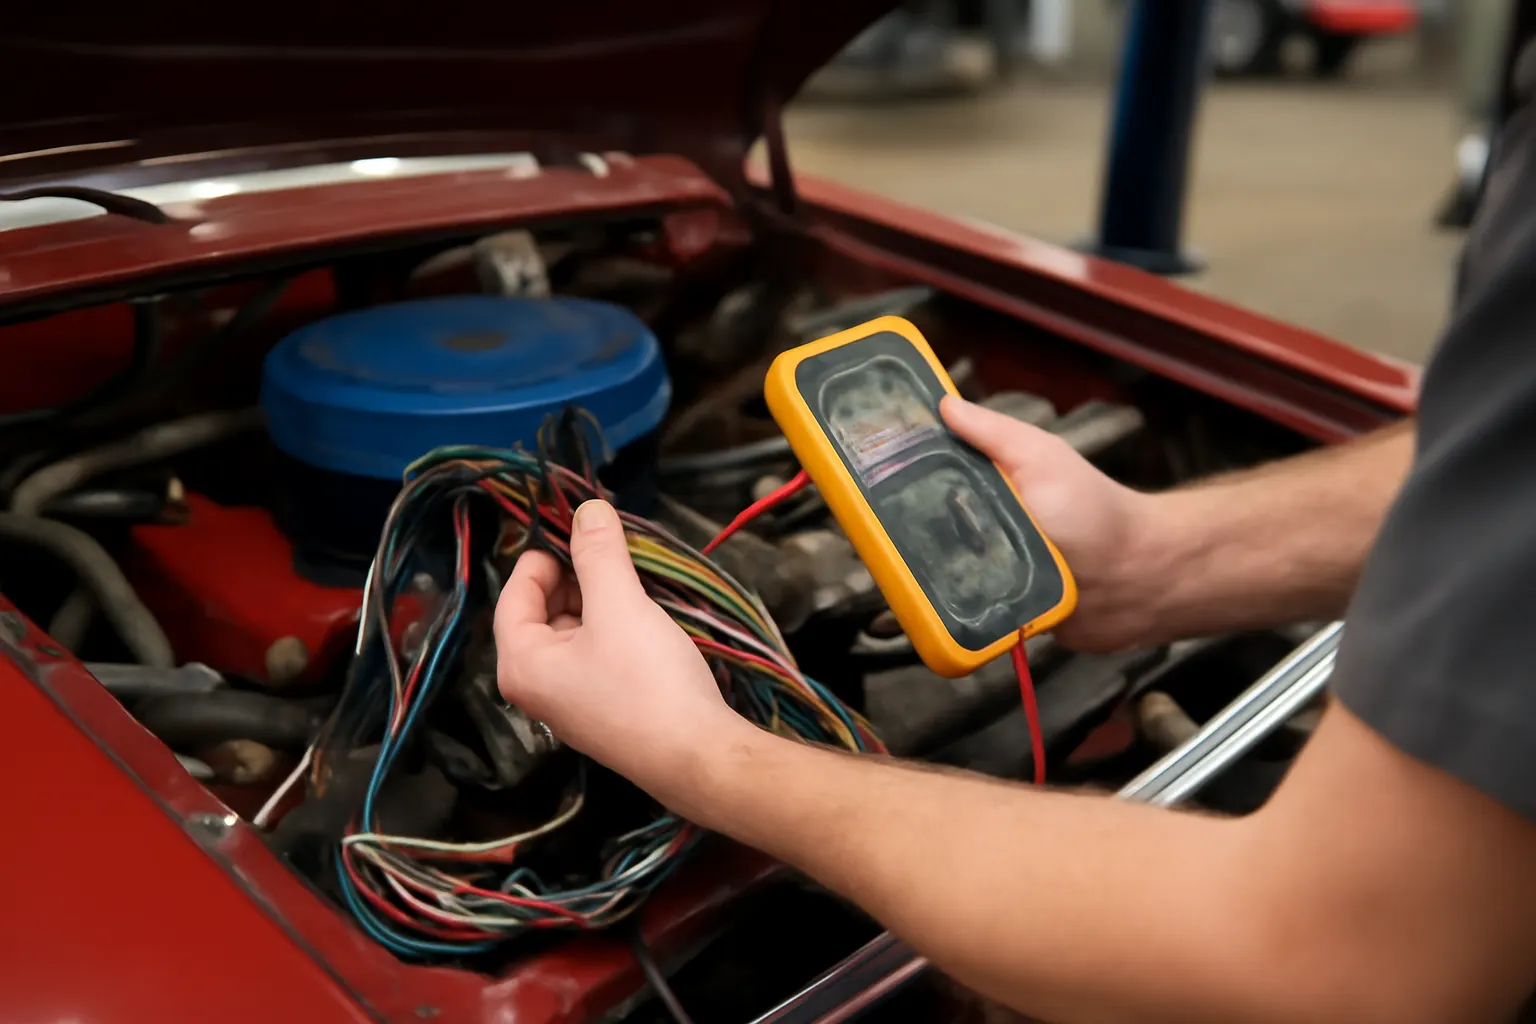
Amc Ambassador Electrical Troubleshooting
The majority of electrical faults in classic AMC Ambassadors stem from aging wiring harnesses, corroded connections, and failing relays. The most effective first step is a systematic inspection of all grounds, fuses, and critical connectors. Test continuity, voltage drops, and resistance at key points using a multimeter. Replace any corroded or frayed wires, clean all grounds to bare metal, and verify relay function before moving to more complex diagnostics.
Read More
Amc Ambassador Harness Sourcing
Vintage AMC Ambassador owners know: finding the right body wiring harness is critical to safety, reliability, and authentic restoration. Whether you’re chasing electrical gremlins, planning a concours-level rebuild, or simply keeping your classic on the road, understanding your harness sourcing options—OEM, reproduction, and custom—is essential. This guide delivers everything you need to confidently source the correct harness for any AMC Ambassador, with practical advice, expert checklists, and direct links to further technical resources like the AMC Ambassador Body Wiring Harness: Fitment, Failures, and Expert Replacement Guidance category page.
Read More
Amc Ambassador Wiring Diagrams
When working on your AMC Ambassador’s backup lights, taillights, or any other electrical system, accurate wiring diagrams are a must. This guide delivers a comprehensive, model-specific resource for AMC Ambassador wiring diagrams—essential for repairs, diagnostics, upgrades, and restoration. Whether you’re troubleshooting a backup light that won’t illuminate or retrofitting LED taillights, you’ll find step-by-step technical direction and expert insight here. Wiring diagrams are the backbone of any successful electrical repair or upgrade on classic vehicles like the AMC Ambassador.
View Guide