
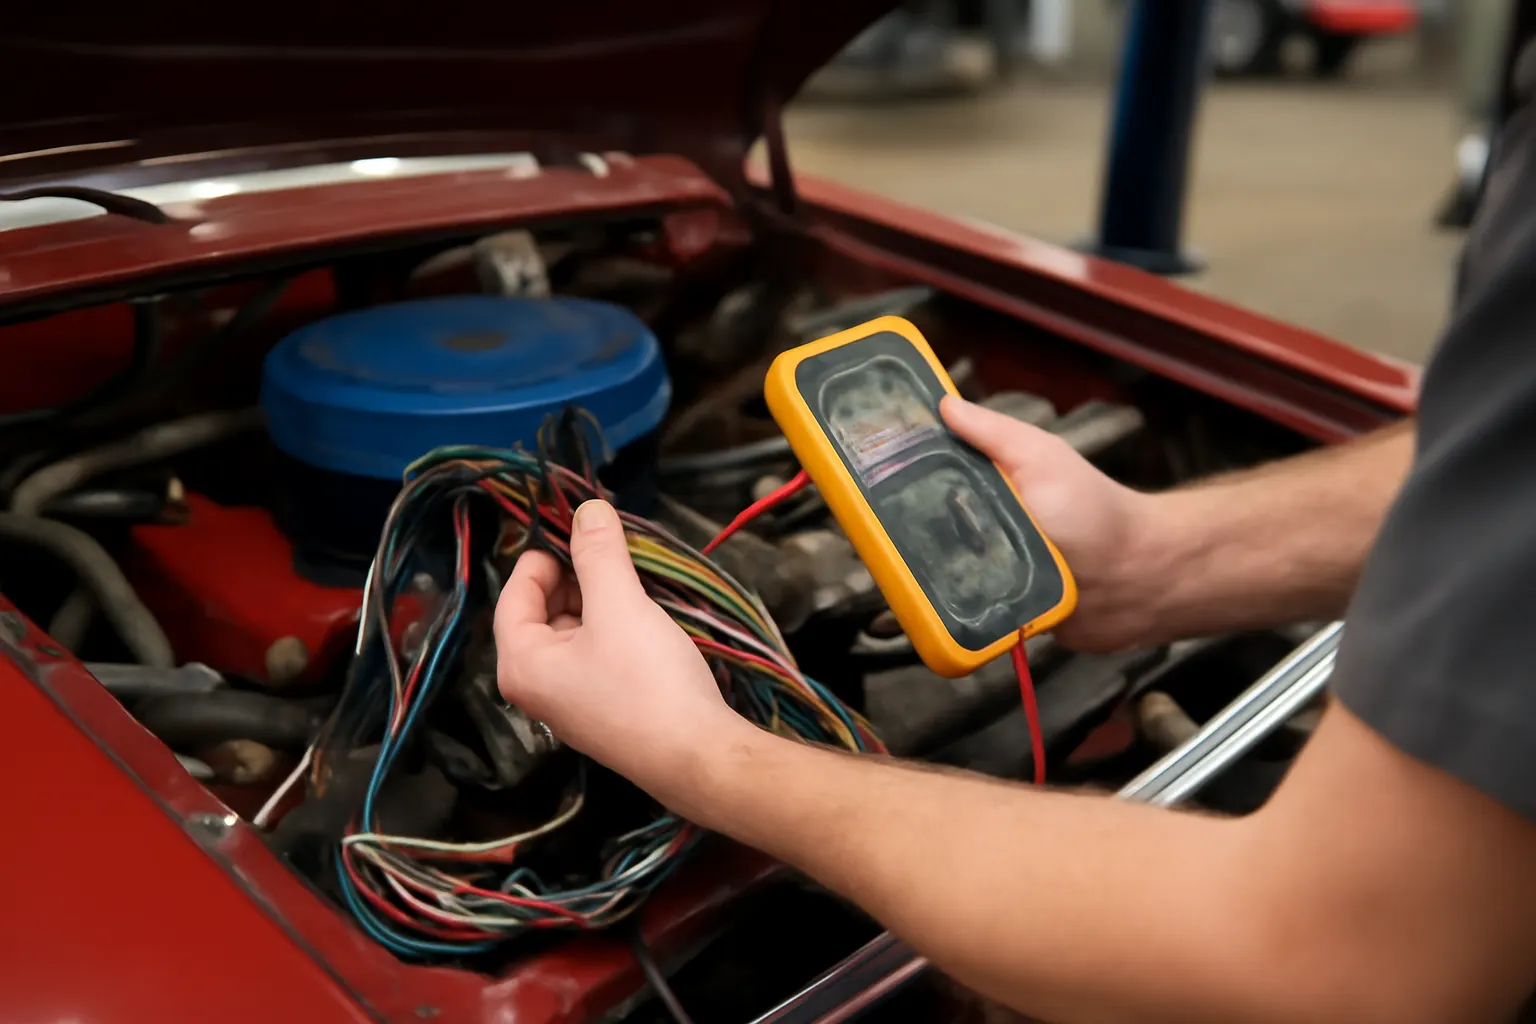
Amc Ambassador Electrical Troubleshooting
Electrical issues in classic AMC Ambassador vehicles can be frustrating and persistent, but with the right approach and understanding, most faults—such as ground failures, intermittent shorts, and relay malfunctions—can be reliably diagnosed and resolved. This comprehensive guide delivers practical troubleshooting steps, expert insights, and actionable solutions for owners and restorers. For a broader view on wiring harness fitment and failure modes, see the AMC Ambassador Body Wiring Harness: Fitment, Failures, and Expert Replacement Guidance category page.
The Immediate Answer: How to Tackle AMC Ambassador Electrical Faults
The majority of electrical faults in classic AMC Ambassadors stem from aging wiring harnesses, corroded connections, and failing relays. The most effective first step is a systematic inspection of all grounds, fuses, and critical connectors. Test continuity, voltage drops, and resistance at key points using a multimeter. Replace any corroded or frayed wires, clean all grounds to bare metal, and verify relay function before moving to more complex diagnostics.
Quick Checklist for Fast AMC Ambassador Electrical Troubleshooting:
- Inspect battery terminals and ground straps for corrosion.
- Check all fuses for continuity.
- Test for voltage at fuse block and key relays.
- Clean and retighten all ground points.
- Inspect harness for visible damage, burns, or rodent activity.
- Replace any suspect relays with known-good units for testing.
- Verify function of switches and lamps at end of circuits.
The Hidden Problem: Why AMC Ambassador Electrical Issues Escalate
While the above steps resolve many surface-level issues, classic AMC Ambassadors are notorious for intermittent electrical faults that defy simple diagnosis. The root cause often lies in the original harness design and materials, which degrade with age. Hidden corrosion inside connectors, oxidized wires under insulation, and relay contacts pitted by years of arcing can produce elusive problems that only appear under certain conditions—such as vibration, temperature changes, or specific load combinations.
The original harnesses were built to 1960s and 1970s standards, using materials and connection techniques that are now well past their intended lifespan. As insulation hardens and copper oxidizes, even circuits that appear intact visually may suffer from high resistance or intermittent opens. This is compounded by the lack of modern diagnostic connectors or standardized relay/fuse layouts, making troubleshooting more labor-intensive.
Understanding Common Faults: Ground Failures, Shorts, and Relays
Ground Failures
Grounding is the foundation of all automotive electrical systems. In AMC Ambassadors, body grounds often corrode at mounting points, especially where steel meets painted or rusted surfaces. A single weak ground can cause multiple circuits—such as lighting, gauges, and ignition—to malfunction unpredictably.
Symptoms of Ground Issues:
- Dim or flickering lights
- Multiple circuits failing simultaneously
- Instruments reading erratically or pegged
- Unexplained relay chatter
Intermittent Shorts
Short circuits in classic Ambassadors usually result from worn insulation, pinched wires, or aftermarket modifications. Shorts can be direct (wire to ground) or cross-circuit (one circuit feeding another unintentionally). These are especially common in areas where the harness flexes, such as under the dash or near door jambs.
Symptoms of Shorts:
- Blown fuses (often repeatedly)
- Burning smell or visible smoke
- Components activating unexpectedly
- Battery draining rapidly
Relay Issues
Relays in vintage AMCs may develop internal corrosion or worn contacts, leading to unreliable switching. Because relays control high-current loads (headlights, horn, starter), their failure often mimics wiring or switch problems.
Symptoms of Relay Problems:
- Clicks but no function (e.g., horn relay clicks, horn silent)
- Function works intermittently
- Overheating relay housing
- Function only works when relay is tapped
Diagnostic Tools and Techniques for AMC Ambassador Electrical Systems
A systematic approach and the right diagnostic tools are essential for effective troubleshooting:
- Digital Multimeter: For measuring voltage, resistance, and continuity.
- Test Light: Quickly checks for power and ground presence.
- Jumper Wires: For bypassing suspect sections or relays.
- Wiring Diagrams: Essential for tracing circuits—see Amc Ambassador Wiring Diagrams.
- Contact Cleaner: Removes oxidation from terminals and connectors.
Pro Tip: Always disconnect the battery before probing or cleaning major harness connections to prevent accidental shorts.
Step-by-Step Diagnostic Process
1. Visual Inspection
Start with a thorough visual check. Look for:
- Frayed, cracked, or brittle insulation
- Burn marks or melted connectors
- Signs of moisture or corrosion
- Aftermarket splices or non-factory wiring
2. Battery and Charging System
- Confirm battery voltage (12.6V+ at rest).
- Inspect cable ends and ground straps.
- Check alternator output and voltage regulator function.
3. Fuse Box and Relays
- Test all fuses for continuity with a multimeter.
- Remove and inspect relays for corrosion or overheating.
- Swap relays with known-good units to isolate faults.
4. Grounds and Power Feeds
- Use a test light to verify ground continuity at all major ground points.
- Check for voltage drops between battery negative and chassis ground during cranking.
5. Circuit Tracing
- With wiring diagrams, trace suspect circuits from source to load.
- Wiggle-test harness sections while monitoring for circuit interruption.
AMC Ambassador Electrical Troubleshooting Checklist
| Step | Action | Tools Needed | Pass/Fail Indicator |
|---|---|---|---|
| Battery & Grounds | Inspect, clean, and tighten all terminals and straps | Wrench, brush | <0.2V drop from batt neg to chassis |
| Fuse Check | Test all fuses for continuity | Multimeter | All fuses show <1Ω resistance |
| Relay Function | Swap relays, listen for clicks, check output | Jumper, test light | Function restored with swap |
| Harness Inspection | Look for damage, corrosion, splices | Visual, light | No visible faults |
| Circuit Continuity | Test end-to-end resistance of suspect circuits | Multimeter | <1Ω on good circuits |
| Switch Operation | Test all switches for consistent function | Multimeter | Switch closes/open as intended |
| Load Test | Apply load, monitor voltage drop at load and source | Load, multimeter | <0.5V drop under load |
Delving Deeper: The Role of Materials and Harness Age
The AMC Ambassador’s original wiring harnesses were manufactured with copper conductors and PVC insulation, typical of the era. Over decades, exposure to heat, vibration, and moisture accelerates insulation breakdown and copper oxidation. According to the U.S. Department of Energy’s Materials Technologies, modern materials offer superior longevity, but classic vehicles remain vulnerable to age-related failures.
Key Aging Factors:
- Heat Cycling: Under-hood temperatures degrade insulation, especially near exhaust and firewall.
- Moisture Intrusion: Water ingress at cowl, windshield, or door seals leads to hidden corrosion.
- Rodent Damage: Classic cars stored for long periods are susceptible to wire-chewing pests.
Understanding these factors helps owners decide when inspection, repair, or full harness replacement is warranted.
Harness Replacement vs. Repair: Making the Right Call
When to Repair
Minor faults—such as a single corroded connector or damaged wire—can often be repaired with proper splicing, soldering, and heat-shrink insulation. Use only automotive-grade wire and connectors, and avoid “twist-and-tape” fixes.
When to Replace
If multiple circuits are affected, or if the harness is brittle and cracked throughout, replacement is the safest and most reliable solution. New harnesses are built to higher standards, using modern materials for improved safety and reliability.
For detailed guidance on installation, see Amc Ambassador Wiring Harness Install. For sourcing tips, refer to Amc Ambassador Harness Sourcing.
Relay and Fuse Block Modernization
Many AMC Ambassador owners choose to upgrade to modern relays and blade fuse blocks. This not only improves reliability but also simplifies diagnostics:
- Modern relays have sealed housings and gold-plated contacts, reducing corrosion.
- Blade fuse blocks are less prone to poor contact than glass fuses and are easier to source.
Upgrade Steps:
- Document original wiring with photos and diagrams.
- Use labeled, automotive-grade relay and fuse blocks.
- Solder and heat-shrink all connections.
- Mount all new components securely away from heat and moisture.
Preventive Maintenance for Electrical Reliability
After repairs or upgrades, regular preventive maintenance is key:
- Annual Inspection: Check all grounds, connectors, and harness runs for signs of wear.
- Moisture Control: Ensure grommets and seals are intact to keep water out.
- Battery Care: Clean terminals and test battery health every season.
- Load Test: Periodically test circuits under load to catch high-resistance faults early.
Safety and Compliance: Meeting Modern Standards
While AMC Ambassadors are exempt from many modern safety regulations, applying current best practices improves both reliability and safety. The National Highway Traffic Safety Administration recommends using parts and practices that meet or exceed original equipment standards. When replacing wiring or relays, choose components rated for automotive use and verify all repairs with functional and load testing.
Common Pitfalls and How to Avoid Them
1. Overlooking Hidden Grounds: Many dash and lighting problems trace back to rusted dash or body grounds. Always check behind panels.
2. Using Household Wire or Connectors: Only use automotive-grade materials for repairs. Household wire lacks necessary heat and abrasion resistance.
3. Skipping the Diagram: Never guess at circuit routing. Use a correct wiring diagram for your year and model.
4. Neglecting the Fuse Block: Old glass fuse holders often lose contact tension, causing random failures. Consider replacement if faults persist.
Advanced Diagnostic Tips for Stubborn Faults
- Thermal Imaging: Use an infrared thermometer or camera to spot hot spots in wiring after running systems for several minutes.
- Voltage Drop Testing: With the circuit under full load, measure voltage from source to load. A drop over 0.5V indicates excessive resistance.
- Isolate with Jumpers: Temporarily bypass harness sections with jumper wires to localize faults.
- Oscilloscope Use: For advanced users, an automotive oscilloscope can reveal noise, dropouts, or relay chatter on suspect circuits.
When to Call in an Expert
If after following these steps you still encounter persistent or intermittent faults, it may be time to consult a professional with classic car electrical experience. Shops specializing in vintage AMC vehicles have access to specialty tools, NOS (new old stock) parts, and deep knowledge of common model-specific quirks.
AutoPartEx: Your Partner in AMC Ambassador Electrical Solutions
AutoPartEx is dedicated to supporting AMC Ambassador owners and restorers with accurate technical information, premium-quality harnesses, and expert installation guidance. Whether you’re troubleshooting a single circuit or planning a full harness upgrade, our resources and curated parts selection ensure you have everything needed for a reliable, safe, and period-correct restoration.
For in-depth harness selection, troubleshooting, and installation resources, visit our AMC Ambassador Body Wiring Harness: Fitment, Failures, and Expert Replacement Guidance category page.