Advertisement
Restoring a White Truck: Real-World Case Study
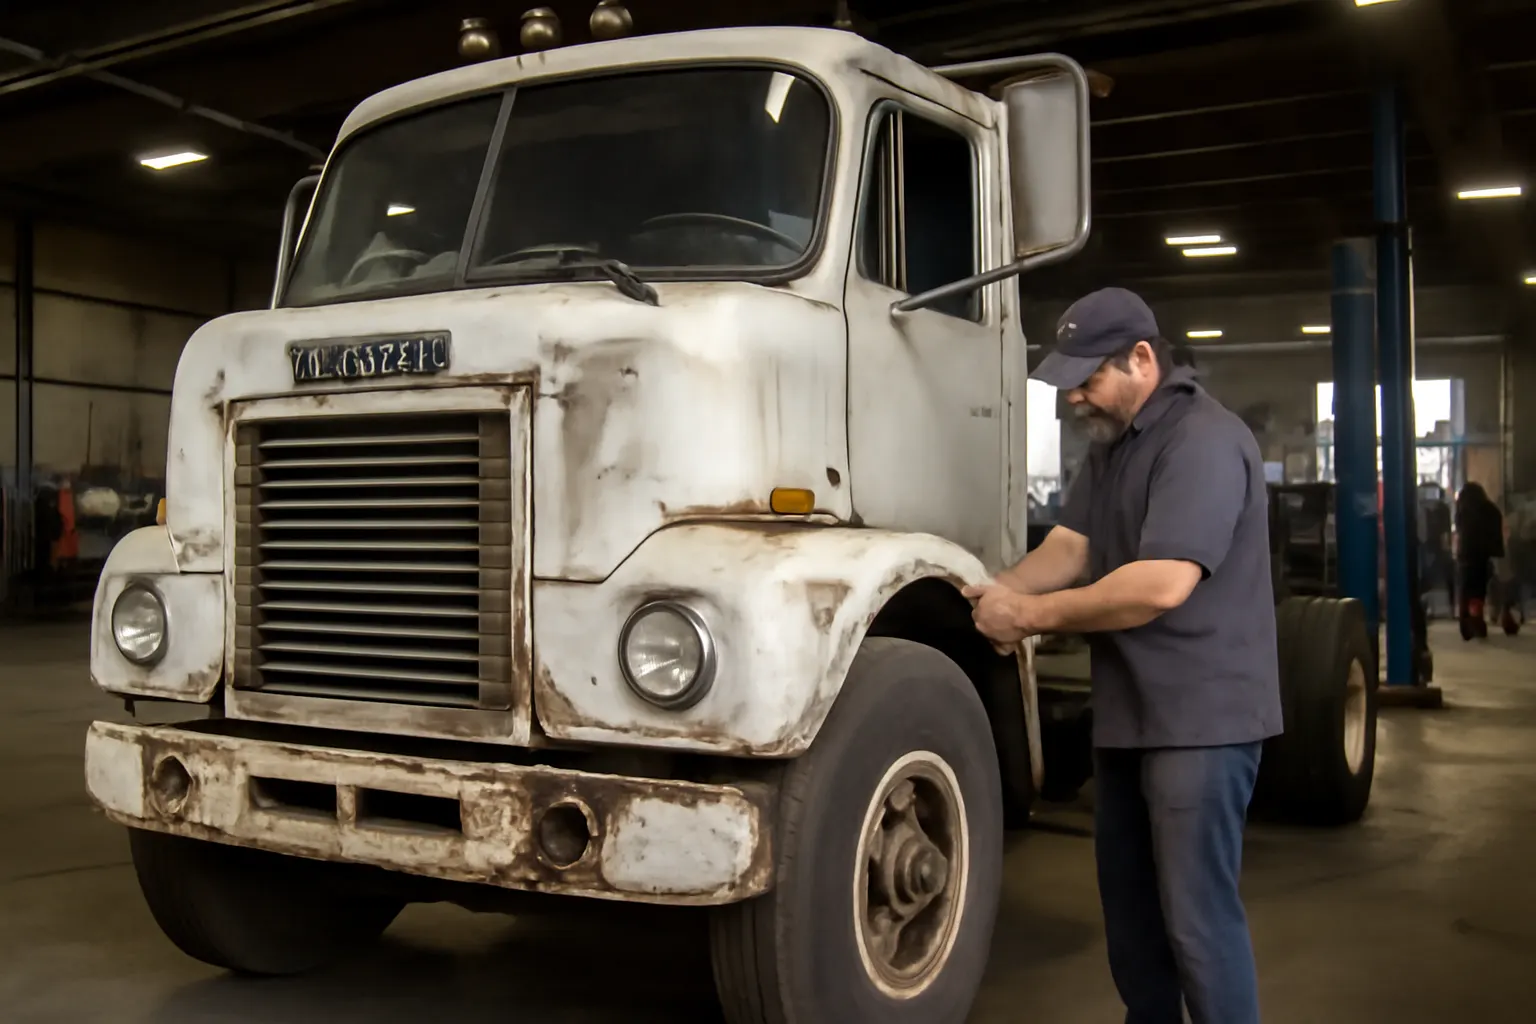
Restoring a classic White truck is a journey through automotive heritage, technical precision, and parts-sourcing ingenuity. In this case study, we follow the real-world restoration of a 1974 White Road Commander, uncovering the practical steps, diagnostic challenges, and solutions required to bring an iconic heavy-duty vehicle back to operational and show-ready condition. Whether you’re a restoration shop, fleet technician, or a dedicated enthusiast, this guide delivers actionable insights into sourcing authentic White parts, addressing compatibility hurdles, and ensuring the truck meets modern safety and performance expectations.
For more on the legacy and sourcing of White components, see the White Auto Parts: Heritage, Quality, and Technical Sourcing | AutoPartEx page, which provides a comprehensive overview of the White brand’s influence and current parts availability.
Immediate Answer: What It Takes to Restore a White Truck
Restoring a classic White truck demands a methodical approach: precise diagnostics, sourcing of authentic and compatible OEM or high-quality aftermarket parts, and careful attention to legacy engineering standards. The process involves:
- Thorough assessment of the truck’s condition, including frame, drivetrain, suspension, cab, and electrical systems.
- Sourcing hard-to-find White parts—often requiring deep research, networking, and verification of authenticity.
- Resolving compatibility issues due to design changes, discontinued components, and evolving safety and material standards.
- Adhering to modern safety and performance expectations while respecting the vehicle’s original engineering and heritage.
- Documenting and validating every stage for safety, compliance, and future maintenance.
This journey is not only about restoring metal and machinery but also about preserving a significant piece of trucking history.
Hidden Problem: The Challenge of Sourcing and Compatibility
The most significant hurdle in restoring a White truck is neither mechanical skill nor restoration craftsmanship—it’s the availability and compatibility of parts. White Motor Company’s discontinuation, subsequent mergers, and the evolution of heavy truck standards mean that many original parts are no longer in production, and substitutes must be carefully vetted for fitment and safety.
- Obsolete OEM parts may be scarce or only available as used, NOS (new old stock), or remanufactured items.
- Aftermarket options may not always meet the original specifications or may require modification.
- Documentation gaps (missing manuals, incomplete fitment charts) can lead to costly mistakes or unsafe repairs.
- Modern safety standards may conflict with legacy designs, requiring a balance between authenticity and compliance.
These challenges require a blend of historical research, technical expertise, and strategic sourcing.
Expanding the Problem: Technical and Regulatory Complexities
Legacy Engineering Meets Modern Standards
White trucks were engineered for the demands of their era—robust, serviceable, and optimized for mid-20th-century road and fleet conditions. However, restoring one today means navigating:
- Changes in safety regulations (see Vehicle Safety and Equipment) that affect lighting, braking, and occupant protection.
- Advances in materials technology—modern replacements for structural components may differ in strength, weight, or corrosion resistance (Materials Technologies).
- Fuel efficiency expectations—original engine and drivetrain configurations may not align with contemporary standards (Fuel Efficiency).
- Fitment discrepancies due to design revisions over the decades, requiring careful cross-referencing with resources like the White Model Families: Compatibility and Fitment Chart.
Documentation and Verification
A recurring theme is documentation: missing records, incomplete diagrams, and ambiguous part numbers. The restoration team must reconstruct the truck’s configuration using:
- Surviving build sheets or VIN data.
- Cross-referencing with period-correct service manuals and catalogs.
- Consulting the White parts catalog for available replacements.
Advertisement
Step 1: Initial Assessment and Diagnostic Checklist
A successful restoration starts with a comprehensive inspection. For the 1974 White Road Commander, the shop’s diagnostic process included:
Frame and Chassis:
- Inspecting for rust, cracks, previous repairs, and alignment issues.
- Measuring key points for frame straightness using SAE standards (SAE Standards).
Drivetrain:
- Verifying engine model and serial numbers.
- Assessing transmission and differential wear.
- Checking for leaks, unusual noises, and operational smoothness.
Suspension and Steering:
- Inspecting leaf springs, bushings, and shock absorbers.
- Evaluating steering gear, tie rods, and kingpins for play or damage.
Brakes:
- Inspecting air brake system components for leaks, corrosion, and compliance with current safety standards (Vehicle Safety and Equipment).
- Checking drums, shoes, and lines for serviceability.
Electrical:
- Testing wiring harnesses, lighting, and starting/charging systems.
- Verifying that all safety-critical circuits are intact.
Cab and Interior:
- Assessing structural integrity, floor pans, and mounting points.
- Inspecting dash instruments and HVAC components.
Diagnostic Checklist:
- Frame straight and free of major rust
- Drivetrain verified and operational
- Suspension and steering components within tolerance
- Braking system safe and compliant
- Electrical system functional and safe
- Cab structure sound
Step 2: Sourcing Authentic White Parts
Locating Genuine and Compatible Components
The White Road Commander’s restoration required the following sourcing strategies:
- OEM Part Numbers: Using original White part numbers, cross-referenced with the White parts catalog and period manuals.
- NOS and Used Parts: Networking with vintage truck clubs, salvage yards, and specialized dealers for new old stock or quality used items.
- Aftermarket Suppliers: Identifying reputable aftermarket manufacturers that produce parts to OEM specifications.
- Remanufacturing: For unavailable components, commissioning remanufacture using original blueprints or reverse engineering.
Authenticity Verification
To avoid counterfeit or incompatible parts, the shop utilized:
- The How to Identify Authentic White Parts resource.
- Visual checks for original casting marks, labels, and finish.
- Physical measurements and test fitting before final installation.
Step 3: Resolving Compatibility and Fitment Issues
Cross-Referencing and Customization
Compatibility challenges arose in several areas:
- Engine and Transmission: Later-model replacement engines required custom mounts and adapter plates, guided by data from the White Model Families: Compatibility and Fitment Chart.
- Brakes: Upgrading to modern air brake chambers required careful matching of pushrod lengths and mounting patterns.
- Electrical: Adapting new wiring harnesses to the original dash and switchgear.
Best Practices for Fitment
- Always test-fit critical components before painting or final assembly.
- Use SAE and OEM documentation for torque specs and installation procedures.
- Maintain a build log for future serviceability.
Step 4: Adhering to Modern Safety and Performance Standards
Safety Upgrades
While authenticity is important, the shop prioritized safety:
- Lighting: Upgraded to LED sealed-beam headlights and modern marker lights, ensuring compliance with NHTSA equipment standards.
- Braking: Replaced flexible brake hoses with DOT-approved lines.
- Seatbelts: Installed three-point belts using reinforced anchor points.
Performance Enhancements
- Cooling System: Upgraded to a modern aluminum radiator for better heat rejection.
- Fuel System: Replaced original lines with ethanol-safe materials.
- Materials: Used corrosion-resistant fasteners and coatings, referencing Materials Technologies.
Step 5: Installation and Assembly Guidance
Engine and Drivetrain
- Mounting: Align engine and transmission using dowel pins and torque fasteners to factory specifications.
- Driveshaft: Balance and phase the driveshaft, checking for proper spline engagement and U-joint orientation.
Suspension and Brakes
- Torque Specs: Tighten all suspension and brake fasteners per SAE guidelines.
- Bleeding: Bleed air brake system using manufacturer-recommended sequence.
Electrical and Lighting
- Harness Routing: Route wiring away from heat sources and moving parts.
- Grounding: Ensure all grounds are clean, tight, and corrosion-free.
Advertisement
Cab and Interior
- Seals and Insulation: Replace all weatherstripping and install modern sound/heat insulation.
- Instrument Calibration: Test and calibrate all gauges.
Step 6: Testing and Quality Assurance
Roadworthiness Testing
- Initial Shakedown: Perform a low-speed test drive, monitoring for leaks, noises, and abnormal behavior.
- Braking: Test brakes for stopping distance and stability.
- Steering: Check for free play and accurate tracking.
Compliance Validation
- Lighting and Safety: Verify all lights, signals, and safety features function per current standards (Vehicle Safety and Equipment).
- Documentation: Maintain a restoration log with part numbers, sources, and installation notes.
Step 7: Maintenance Planning and Long-Term Care
Preventive Maintenance Checklist
- Fluids: Regularly inspect and replace engine oil, coolant, transmission, and brake fluids.
- Suspension: Check bushings, shock absorbers, and leaf springs for wear.
- Brakes: Inspect air system for leaks, monitor shoe/drum condition.
- Electrical: Clean terminals and check for wiring chafing or corrosion.
- Body: Wash and inspect paint for chips or rust.
Service Intervals
- Set service intervals based on a combination of original White recommendations and modern best practices.
- Keep a maintenance log for future reference.
For common legacy maintenance pitfalls, review Legacy White Vehicles: Maintenance and Common Pitfalls.
Step 8: Documentation, Records, and Future Sourcing
- Restoration Portfolio: Assemble a portfolio with photos, part receipts, and technical notes.
- Parts Database: Maintain a digital inventory of part numbers, sources, and compatibility notes for future reference.
- Community Engagement: Join vintage truck forums and clubs to stay updated on sourcing opportunities and technical tips.
Step 9: Expert Tips for Sourcing and Verification
Checklist: Authentic White Parts Sourcing
- Identify Part Number: Start with the original White number from service manuals.
- Cross-Reference: Use the White parts catalog to check current availability.
- Verify Authenticity: Consult How to Identify Authentic White Parts.
- Inspect Quality: Examine for casting marks, finish, and dimensions.
- Confirm Fitment: Reference the White Model Families: Compatibility and Fitment Chart.
- Source from Reputable Vendors: Prefer established vintage truck specialists and well-reviewed sellers.
- Document Everything: Record source, price, and installation details.
Step 10: Common Pitfalls and How to Avoid Them
- Assuming All Parts Are Interchangeable: Many White models share components, but subtle differences in mounting or dimensions can cause major issues.
- Skipping Test Fitting: Always test-fit major assemblies before final installation.
- Neglecting Documentation: Gaps in records can delay future repairs or reduce resale value.
- Ignoring Modern Safety: Failing to upgrade critical systems (brakes, lighting, seatbelts) risks both safety and legal compliance.
For further guidance, use the White Model Families: Compatibility and Fitment Chart.
Step 11: AutoPartEx as Your Restoration Partner
AutoPartEx specializes in legacy vehicle restoration and technical sourcing. Our curated White parts catalog offers one of the most comprehensive selections of authentic White components, backed by technical support and fitment guidance. Whether you need help verifying a casting number or sourcing a rare bracket, our team combines historical knowledge with modern parts logistics.
Explore our White Auto Parts: Heritage, Quality, and Technical Sourcing | AutoPartEx hub for brand history and up-to-date inventory.
Step 12: Final Thoughts—Preserving White Truck Heritage
Restoring a White truck is a demanding yet rewarding endeavor that preserves a vital chapter in American trucking history. By combining technical rigor, authentic parts sourcing, and a commitment to safety and quality, you ensure that these legendary vehicles remain operational and appreciated for generations to come.
Whether you’re tackling your first restoration or are a seasoned shop owner, leveraging authoritative resources, meticulous documentation, and expert support is key to a successful project. With the right approach, even the most challenging White restoration is within reach.
References
Advertisement