Advertisement
Toyota SUVs, especially high-mileage models from the late 1980s through early 2000s, are renowned for their durability. However, even the most robust examples eventually experience fuel delivery issues—often rooted in the fuel distributor and related injection hardware. In this in-depth AutoPartEx guide, we present real-world shop case studies, practical diagnostics, and advanced service insights for Toyota fuel distributor systems. If you're troubleshooting hard starts, rough idle, or poor fuel economy, this resource will help you understand what goes wrong, why, and how to restore optimal performance. For a broader overview of compatible parts and sourcing, see our Toyota Fuel Distributor (& Misc. Injection) Parts: OEM Fitment, Diagnostics & Advanced Sourcing category page.
Rapid Answer: The Most Common Toyota Fuel Distributor Issues
The fuel distributor is the heart of Toyota’s mechanical and early electronic fuel injection systems. On high-mileage Toyota SUVs—Land Cruiser, 4Runner, and early Lexus SUVs—common problems include:
- Internal varnish and debris buildup leading to uneven fuel delivery.
- Worn or leaking diaphragm and seals causing loss of fuel pressure.
- Sticking metering plunger resulting in hard starting, rough idle, and poor throttle response.
- Corrosion inside the unit from water-contaminated fuel or long-term storage.
- Cracked or brittle external vacuum and fuel hoses leading to vacuum leaks and misfires.
These failures result in classic drivability complaints: extended cranking, erratic idle, hesitation, decreased fuel efficiency, and failed emissions tests. Immediate action—diagnosis, cleaning, or replacement—can restore performance and fuel economy, and prevent further engine damage.
The Hidden Problem: Why Fuel Distributor Issues Are Misdiagnosed
Many Toyota owners and even some shops misattribute fuel distributor problems to more common components: injectors, fuel pumps, or ignition parts. This misdiagnosis is fueled by:
- Lack of accessible diagnostic data: Early Toyota systems lack OBD-II codes for distributor-specific faults.
- Symptom overlap: Fuel distributor faults mimic injector or ignition failures.
- Complexity of disassembly: The distributor is buried under intake plumbing and, in some models, requires special tools.
As a result, time and money are often wasted on unnecessary injector cleaning, fuel pump swaps, or sensor replacement. The real culprit—an aging, contaminated, or malfunctioning fuel distributor—remains unresolved.
Deeper Dive: How Toyota Fuel Distributors Work (and Fail)
Mechanical and Early Electronic Fuel Injection
Toyota’s fuel distributors, especially those in the K-Jetronic and early EFI systems, function as a precise metering valve. They allocate fuel to each injector based on airflow and throttle position, using a finely balanced plunger and diaphragm assembly. Unlike modern returnless systems, these units are sensitive to:
- Microscopic debris
- Fuel varnish from stale gasoline
- Ethanol-induced corrosion
- Diaphragm fatigue from heat cycles
As the system ages, these factors degrade metering accuracy. The result: uneven fuel delivery, misfires, and poor combustion.
Case Example: 1992 Toyota Land Cruiser FJ80
A high-mileage FJ80 arrives with poor fuel economy, surging idle, and a sulfur smell from the exhaust. Initially, the shop suspects a failed oxygen sensor or catalytic converter. But a fuel pressure test reveals inconsistent delivery. Removal and bench testing of the fuel distributor shows the metering plunger sticking due to varnish and minor corrosion. After ultrasonic cleaning and replacing the diaphragm and seals, the vehicle returns to smooth operation and improved mileage.
Comprehensive Diagnostic Process for Toyota Fuel Distributors
To accurately diagnose a failing Toyota fuel distributor, follow this step-by-step process:
1. Symptom Checklist
- Extended cranking or hard starts
- Irregular or surging idle
- Hesitation under acceleration
- Noticeable drop in fuel economy
- Black smoke or fuel smell from exhaust
- Failed emissions or high CO/HC readings
Advertisement
2. Visual and Physical Inspection
- Check for fuel leaks around distributor body and lines
- Inspect vacuum and fuel hoses for cracks or softness
- Look for signs of corrosion or moisture ingress
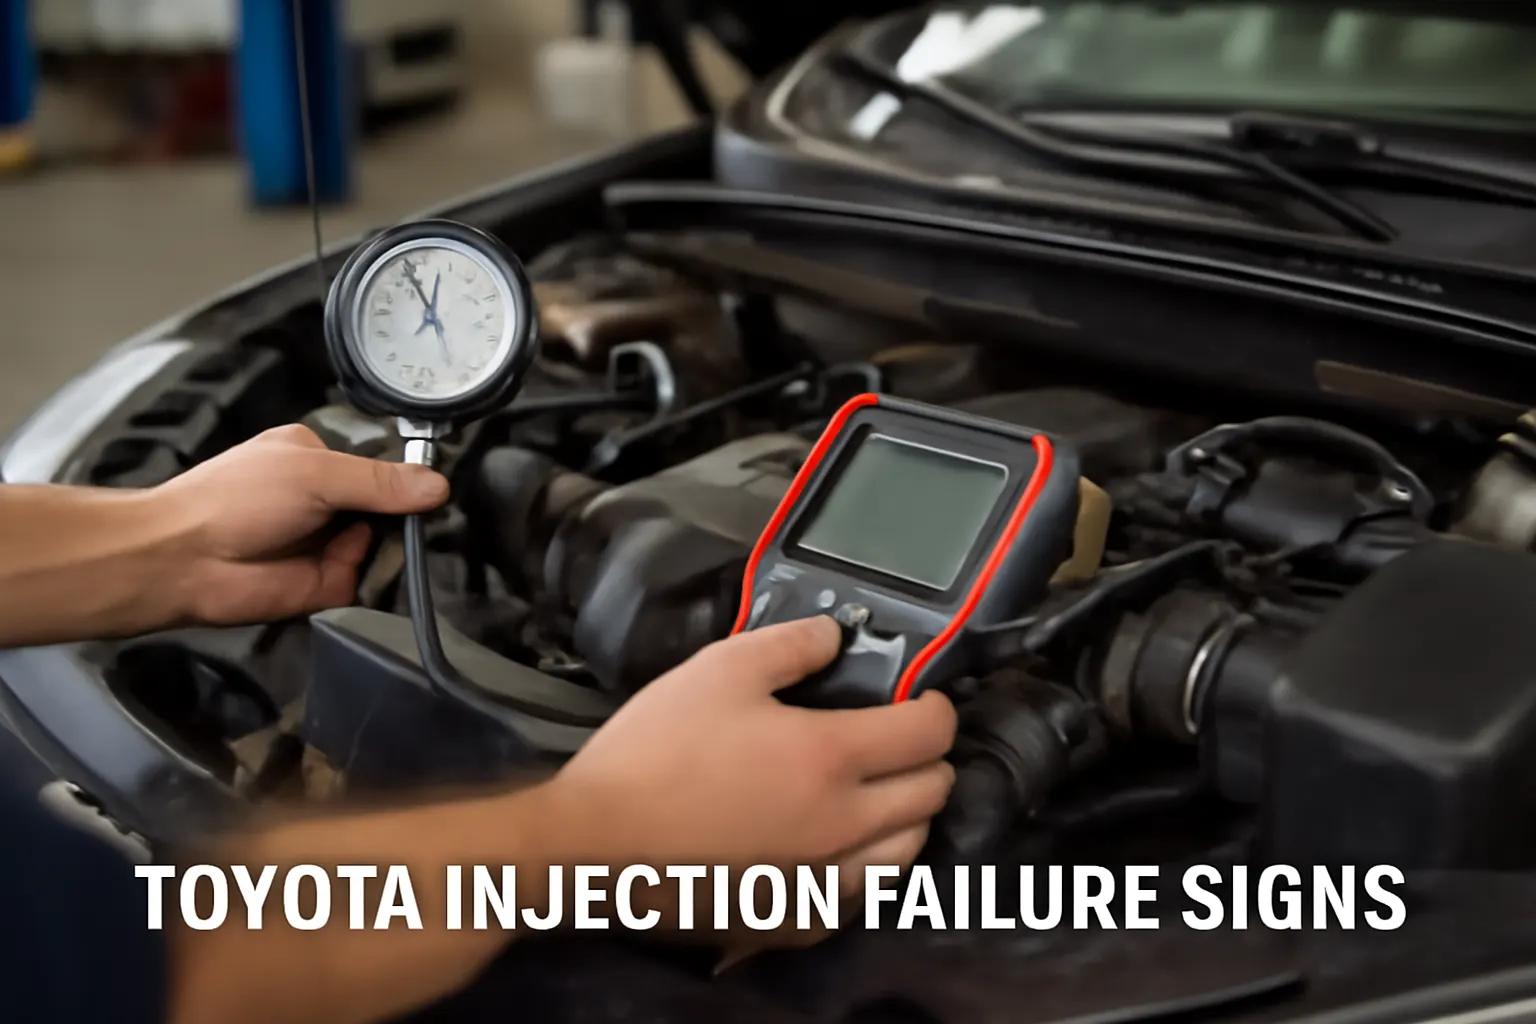
3. Fuel Pressure Testing
- Use a Toyota-specific fuel pressure gauge kit
- Test both system and control pressure; compare to factory specs
- Note any pressure drop after shut-off (indicating internal leakage)
4. Injector Pattern and Flow Test
- Remove injectors (if accessible) and check for even spray pattern
- Uneven delivery across cylinders points to distributor metering issues
5. Bench Testing
- Remove distributor and check plunger movement manually
- Inspect diaphragm for flexibility and absence of tears
- Ultrasonic cleaning may reveal internal debris
Checklist: Toyota Fuel Distributor Diagnosis
| Step | Task | Expected Findings | Notes |
|---|---|---|---|
| 1 | Visual Inspection | No leaks, intact hoses | Replace any brittle/soft hoses |
| 2 | Fuel Pressure Test | Consistent, within spec | Drop = internal leak |
| 3 | Injector Flow Test | Even mist, equal flow | Uneven = distributor issue |
| 4 | Plunger Movement | Smooth, no sticking | Sticking = varnish/debris |
| 5 | Diaphragm Check | Flexible, no cracks | Hard/brittle = replace |
Real-World Service Case #1: 1996 Toyota 4Runner 3.4L
Symptoms: Hard starting, rough idle, and a significant drop in fuel efficiency.
Diagnosis: Standard troubleshooting (spark, compression, fuel pump) revealed no faults. Fuel pressure was erratic, and injector flow was uneven. Distributor removal showed a stiff metering plunger and brittle diaphragm.
Solution: Disassembled and cleaned the distributor using ultrasonic cleaning. Replaced the diaphragm and seals with an OEM kit. Reassembled with new fuel hoses.
Result: Immediate improvement in idle quality and fuel economy. Emissions test passed on the first try.
Lesson: Don’t overlook the distributor on high-mileage 3.4L engines—internal wear is common after 200,000 miles.
Real-World Service Case #2: 1991 Toyota Land Cruiser FJ80
Symptoms: Surging idle, strong fuel odor, and failed emissions.
Diagnosis: Visual inspection found fuel seepage around the distributor body. Fuel pressure test showed rapid pressure loss after shut-off.
Solution: Removed distributor, replaced all internal seals, and cleaned the housing. Installed a new plunger and diaphragm assembly.
Result: Restored stable idle and eliminated fuel odor. Passed emissions with CO and HC well below limits.
Lesson: Even minor fuel leaks at the distributor can cause emissions failures and safety hazards. Periodic inspection is critical.
Real-World Service Case #3: 1998 Lexus LX450
Symptoms: Hesitation on acceleration, intermittent misfire, and check engine light.
Diagnosis: OBD-I code pointed to a lean condition. Fuel pressure at idle was below spec. Injector test revealed uneven flow.
Solution: Distributor removed and sent to a specialist for complete rebuild, including new seals, plunger, and calibration.
Result: Smooth acceleration, no misfires, and restored power.
Lesson: For persistent lean conditions with no obvious sensor or injector faults, suspect the distributor—especially on vehicles with over 150,000 miles.
Technical Expansion: Why High-Mileage Toyota SUVs Are Vulnerable
Materials Aging and Fuel Quality
According to the United States Department of Energy’s materials research, elastomeric materials (like diaphragms and seals) degrade after years of exposure to heat, fuel additives, and ethanol. High-mileage vehicles accumulate varnish and corrosion inside the distributor, especially if fuel is left to sit or the SUV is stored for long periods.
Ethanol and Moisture
Modern fuels, especially those with ethanol, attract water. This water can corrode internal metal surfaces, leading to sticking or rusted plungers. Ethanol can also accelerate the breakdown of original rubber seals—leading to leaks and loss of fuel pressure.
Lack of Modern Diagnostics
Older Toyota SUVs lack advanced OBD-II fault codes for distributor-specific issues. This increases the risk of misdiagnosis and improper repair.
Solution Path: How to Correct Toyota Fuel Distributor Issues
Step 1: Confirm the Diagnosis
- Follow the checklist above.
- Rule out ignition, fuel pump, and injector issues before removing the distributor.
Advertisement
Step 2: Source Quality Parts
- Use only OEM or high-quality aftermarket rebuild kits.
- Avoid generic seals and diaphragms; material compatibility is crucial for longevity.
Step 3: Cleaning and Rebuilding
- Disassemble the distributor on a clean bench.
- Use ultrasonic cleaning for all metal parts.
- Replace all internal seals, diaphragm, and (if worn) the metering plunger.
- Lubricate moving parts with fuel-compatible grease.
Step 4: Reinstallation and Calibration
- Reinstall with new fuel and vacuum hoses.
- Calibrate fuel pressures to factory specs using a Toyota-compatible gauge.
- Test drive and verify idle, throttle response, and emissions.
Step 5: Preventative Maintenance
- Use fuel system cleaners periodically.
- Replace hoses and inspect for leaks at every major service interval.
- Avoid prolonged storage with ethanol-blended fuels in the tank.
Preventative Maintenance for Extended Life
Preventative maintenance is key for preventing repeat failures. Recommendations include:
- Annual inspection of fuel hoses, clamps, and distributor body for leaks.
- Fuel system cleaner every 10,000 miles to reduce varnish and deposit buildup.
- Regular fuel filter replacement per Toyota schedule.
- Use of non-ethanol fuel where possible, or keep tanks full during storage to minimize water absorption.
Advanced Sourcing: Finding the Right Toyota Fuel Distributor Parts
Sourcing genuine or high-quality replacement parts is crucial for long-term reliability. Consider:
- OEM vs. Aftermarket: OEM parts ensure material compatibility and fitment, but reputable aftermarket kits can offer improved materials (e.g., Viton seals).
- Vehicle-Specific Kits: Always match part numbers to your Toyota’s VIN to avoid fitment issues.
- Supplier Reputation: Use established suppliers with a track record in Toyota fuel injection systems.
- Documentation: Look for kits with clear instructions and all necessary seals, gaskets, and hardware.
See our Toyota Fuel Distributor (& Misc. Injection) Parts: OEM Fitment, Diagnostics & Advanced Sourcing page for a curated selection of compatible parts and advanced sourcing tips.
Installation Tips: Ensuring OEM Fitment and Performance
Proper installation is as important as part quality. Follow these best practices:
- Cleanliness: Contaminants can ruin a rebuilt distributor. Use lint-free gloves and clean tools.
- Torque Specs: Use manufacturer torque specs for all fasteners—over-tightening can crack housings.
- Hose Routing: Ensure all hoses are routed per factory diagrams to prevent vacuum leaks.
- Calibration: Double-check fuel pressures and idle speed after installation.
Diagnostics Checklist: What to Do If Problems Persist
If issues continue after service, check:
- All fuel and vacuum hose connections for leaks or misrouting.
- Fuel pressure at cold and hot idle.
- Injector spray patterns.
- Engine control sensors (airflow, coolant temp) for proper operation.
- ECU grounds and power supplies.
Safety and Regulatory Considerations
Fuel leaks and misfires are not just performance issues—they are safety hazards. The National Highway Traffic Safety Administration emphasizes that faulty fuel system components can result in fire risk and emissions non-compliance. Always address leaks and drips immediately and verify repairs with a post-service inspection.
AutoPartEx Perspective: Why Our Approach Matters
At AutoPartEx, we specialize in providing not only the right parts but also deep technical expertise and practical shop-tested solutions. Our editorial team curates guides and case studies so you can avoid common pitfalls, source the correct components, and achieve professional-level results in your own garage or shop. For additional technical resources, see our Toyota Fuel Injection Guide and Toyota Fuel System Evolution.
Conclusion: Restoring Reliability to High-Mileage Toyota SUVs
Fuel distributor issues are an inevitable part of high-mileage Toyota SUV ownership, but with the right diagnostic approach and quality parts, these vehicles can easily surpass 300,000 miles. Accurate diagnosis, professional cleaning or rebuilding, and preventative maintenance are the keys to restoring factory performance, fuel efficiency, and safety. Trust AutoPartEx to guide you through every stage—from sourcing to installation—for your Toyota fuel distributor and related injection needs.
References
Advertisement