Advertisement
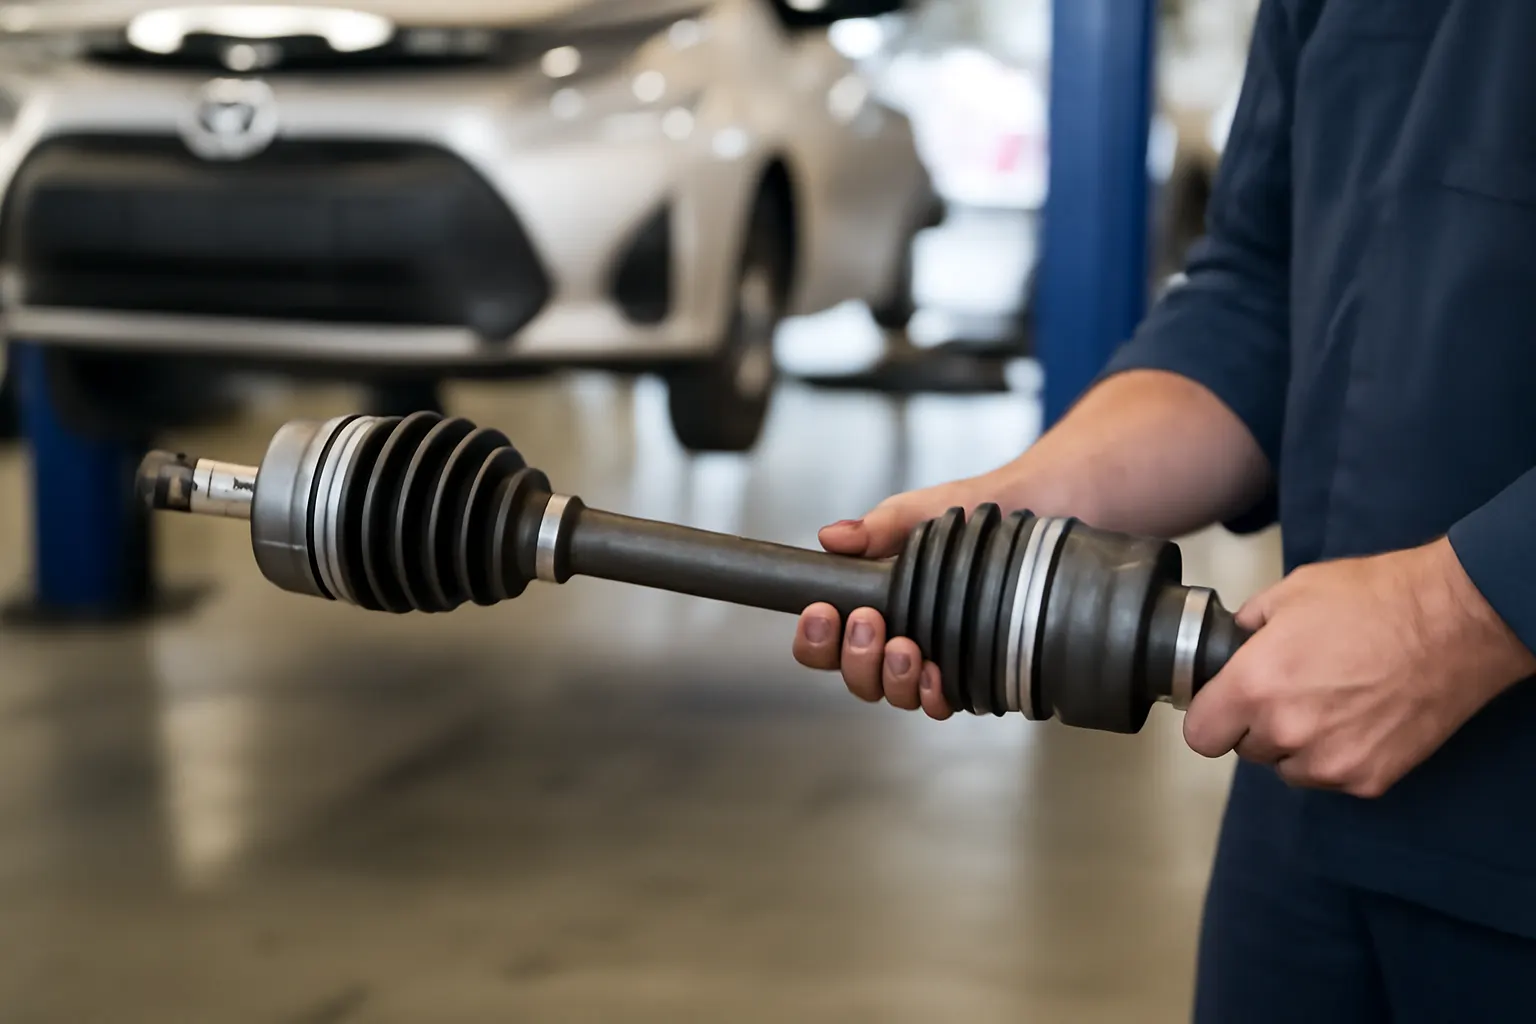
Replacing the front drive shaft on your Toyota is a critical task that, when done right, helps restore drivetrain integrity, ride quality, and safety. Whether you’re a professional technician or a skilled DIYer, understanding the correct installation procedures—such as torque specs, ABS ring alignment, and essential safety protocols—will ensure a successful outcome and prevent premature component failure. This guide delivers a comprehensive, step-by-step walkthrough for Toyota front drive shaft replacement, addressing crucial technical considerations and highlighting common pitfalls. For broader context on Toyota front drive shaft fitment, sourcing, and failure patterns, see our main Toyota Front Drive Shaft: OEM Fitment, Common Failures, and Advanced Sourcing category page.
The Immediate Answer: Essential Steps for Toyota Front Drive Shaft Installation
If you need to replace your Toyota’s front drive shaft, follow these condensed best-practice steps:
- Secure the vehicle on a level surface, using wheel chocks and jack stands.
- Remove the wheel and necessary suspension components to access the shaft.
- Detach the old drive shaft from the transmission and wheel hub, noting the orientation and position of the ABS ring.
- Install the new drive shaft, ensuring correct ABS ring alignment and proper seating in both the transmission and hub.
- Use OEM torque specs when tightening axle nuts and suspension fasteners.
- Double-check ABS sensor clearance and routing before reassembly.
- Test drive to confirm no vibrations, noises, or warning lights.
While these steps cover the basics, several hidden technical details can make or break a successful Toyota front drive shaft installation.
The Hidden Problem: Overlooked Details That Lead to Early Failure
Many front drive shaft replacements fail prematurely not because of part quality, but due to overlooked installation details. Common issues include:
- Incorrect torque application, leading to bearing or spline wear.
- Improper ABS ring alignment, triggering ABS or traction control faults.
- Contaminated mating surfaces, resulting in vibration or oil leaks.
- Neglected safety protocols, risking personal injury or vehicle damage.
These problems are often masked until after installation—sometimes only surfacing after several hundred miles of driving. A rushed or incomplete installation can undermine even the best-quality OEM or aftermarket drive shaft, leading to repeat repairs and unnecessary expense.
Technical Expansion: Why Precision Matters in Toyota Front Drive Shaft Replacement
Toyota’s front drive shafts (also called CV axles) are precision-engineered to handle high torque loads while maintaining smooth wheel articulation. Modern designs integrate ABS tone rings and, in some models, electronic sensors. The following technical factors are critical during installation:
- Torque Specifications: Over- or under-tightening axle nuts can destroy wheel bearings or cause spline play. Always use a calibrated torque wrench and Toyota’s published specs.
- ABS Ring Positioning: Even a 1mm misalignment can cause erratic ABS readings or system shutdowns. ABS rings must be perfectly concentric to the sensor.
- Seal and Boot Integrity: Damaged or misaligned CV boots allow contaminants in, rapidly degrading joint grease and causing premature failure. Always inspect and, if needed, replace boots during installation.
- Hub and Spline Cleanliness: Any dirt or corrosion on splines or mating surfaces can prevent proper seating, causing noise, vibration, or leaks.
- Proper Fastener Reuse: Some Toyota models require single-use axle nuts or hub bolts. Reusing these can compromise clamp force and safety.
Understanding these technical nuances is crucial for a lasting, trouble-free installation.
Pre-Installation Checklist: Tools, Parts, and Safety Equipment
Before you begin, gather the following:
Tools:
- High-quality jack and jack stands (rated for your Toyota’s weight)
- Lug wrench or impact gun
- Socket set (including axle nut socket, often 30–36mm)
- Breaker bar
- Torque wrench (capable of 30–220 Nm)
- Pry bar
- Hammer and punch
- Snap ring pliers (for some models)
- Needle-nose pliers
- Flathead screwdriver
- Clean rags
- Grease and anti-seize compound
Parts:
Advertisement
- Correct front drive shaft (OEM or equivalent, matched to VIN)
- New axle nut (recommended)
- Cotter pin (if applicable)
- Replacement hub bolt(s) (if required)
- New CV boot clamps (if boots are replaced)
- Hub seal (if required)
Safety:
- Safety glasses
- Mechanic gloves
- Wheel chocks
Reference Materials:
- Toyota factory service manual (FSM) or trusted torque spec chart
- National Highway Traffic Safety Administration (NHTSA) equipment safety guidelines
Step-by-Step Toyota Front Drive Shaft Removal
-
Preparation:
Park the vehicle on a flat surface. Engage the parking brake and place wheel chocks behind the rear wheels. Loosen the front lug nuts slightly. -
Lift and Secure:
Use a jack to lift the front of the vehicle and secure it with jack stands under the frame or pinch welds. Remove the wheel. -
Remove Axle Nut:
With the vehicle in gear (manual) or park (automatic), use a breaker bar and the correct-size socket to remove the axle nut. Some models use a staked nut—unstake it with a punch first. -
Detach Suspension Components:
Depending on the model, remove the brake caliper, rotor, and disconnect the lower ball joint or sway bar link for access. Support the knuckle to avoid straining brake lines. -
Free the Shaft from the Hub:
Tap the end of the axle with a soft-faced hammer if needed. Avoid damaging the threads. If the shaft is seized, use a puller tool. -
Remove Shaft from Transmission:
Place a drain pan under the transmission. Use a pry bar to gently pop the inner CV joint from the transaxle. Be ready for minor fluid loss. -
Inspect and Clean Surfaces:
Check the hub, splines, and transmission seal for damage. Clean all mating surfaces thoroughly.
Installing the New Toyota Front Drive Shaft: Best Practices
-
Compare Old and New Shafts:
Match length, spline count, and ABS ring placement. Any mismatch can cause fit or sensor issues. -
Insert Inner CV Joint:
Carefully slide the new shaft into the transmission. Ensure the snap ring (if present) clicks into place. Gently tug to confirm engagement. -
Seat Outer CV in Hub:
Line up the splines and slide the shaft through the hub. Avoid forcing—splines must mesh smoothly. -
Reattach Suspension Components:
Reinstall the lower ball joint, sway bar link, and any other removed parts. Torque to factory specs. -
Install New Axle Nut:
Thread by hand to avoid cross-threading. Torque to spec using a torque wrench. Stake or install cotter pin as required. -
Double-Check ABS Ring & Sensor:
Make sure the ABS ring is clean and aligned. Sensor gap should match FSM specification (typically 0.5–1.5mm). -
Reinstall Wheel and Lower Vehicle:
Torque lug nuts in a star pattern. -
Top Up Transmission Fluid:
Add fluid if necessary after checking the level.
Key Torque Specifications for Toyota Front Drive Shaft Installation
Always consult the factory service manual or a reliable database for vehicle-specific torque specs. As a reference:
| Component | Typical Torque Spec |
|---|---|
| Axle Nut | 180–220 Nm (133–162 ft-lb) |
| Lower Ball Joint Nut | 80–110 Nm (59–81 ft-lb) |
| Sway Bar Link Nut | 55–70 Nm (41–52 ft-lb) |
| Brake Caliper Bracket | 90–120 Nm (66–89 ft-lb) |
Note: These are generalized specs. Always verify for your exact Toyota model and year.
ABS Ring and Sensor Alignment: Critical for Modern Toyota Models
Modern Toyota front drive shafts often include a press-fit or integrated ABS tone ring. Improper installation can cause:
- ABS or traction control warning lights
- Loss of speedometer function (in some models)
- Erratic brake modulation
Best Practices:
- Clean the ABS ring and sensor before assembly.
- Ensure the ring is fully seated and concentric.
- Check the sensor gap with a feeler gauge; adjust as needed.
- Route sensor wires away from moving parts.
If your replacement shaft does not include an ABS ring, transfer it from the old shaft if possible, or source a compatible part.
Common Installation Pitfalls and How to Avoid Them
Even experienced technicians can fall into these traps:
Advertisement
- Reusing old axle nuts: Always use a new nut, as torque retention is critical for safety.
- Forgetting to torque in stages: Tighten the axle nut in stages to prevent bearing preload damage.
- Contaminating CV boots: Keep all boots and grease clean during installation. Any debris can cause rapid joint failure.
- Neglecting fluid levels: After removing the old shaft, always check and top up transmission fluid.
- Skipping test drives: A brief, careful test drive can reveal vibrations, noises, or warning lights before finalizing the job.
Post-Installation Checklist: Verifying a Successful Toyota Front Drive Shaft Replacement
After installing the new shaft, perform this checklist before returning the vehicle to service:
- All fasteners torqued to spec
- New axle nut installed and staked/cotter pinned
- ABS sensor connected and wires routed safely
- No CV boot tears or grease leaks
- Transmission fluid level checked and topped up
- Wheel lug nuts torqued correctly
- No warning lights on dash after startup
- Test drive confirms no abnormal noises or vibrations
Advanced Tips for Toyota Front Drive Shaft Longevity
To maximize the life of your new drive shaft:
- Inspect CV boots regularly for cracks or leaks, especially after off-road or winter driving.
- Avoid aggressive acceleration for the first 100 miles, allowing the shaft and splines to seat fully.
- Monitor for new noises or vibrations—catching issues early can prevent further damage.
- Use only high-quality, OEM-equivalent parts to ensure correct fit and performance. For help identifying genuine Toyota drive shafts, see our Guide To Identifying Oem Toyota Drive Shafts.
- Stay informed on recalls: Check your VIN against Toyota Front Drive Shaft Recall Analysis for any relevant service campaigns.
Sourcing the Right Toyota Front Drive Shaft: OEM vs Aftermarket
Choosing the right replacement shaft is as important as the installation itself. Consider:
- OEM (Original Equipment Manufacturer): Guarantees perfect fitment, correct ABS ring placement, and material quality. Usually higher cost.
- Aftermarket: Wide range of quality. Look for reputable brands that meet or exceed SAE Standards. Cheaper options may lack proper ABS integration or use inferior materials.
Always match part numbers, spline count, length, and sensor compatibility to your vehicle’s VIN. For advanced sourcing and fitment guidance, explore our main Toyota Front Drive Shaft: OEM Fitment, Common Failures, and Advanced Sourcing resource.
Maintenance and Inspection: Keeping Your Toyota’s Drivetrain Reliable
Routine inspection is the best way to prevent drive shaft failure:
- Check CV boots for tears, splits, or grease leaks at every oil change.
- Listen for clicking or clunking noises during turns—early signs of CV joint wear.
- Watch for vibration under acceleration, which can indicate shaft imbalance or worn joints.
- Inspect for rust or corrosion on exposed shaft surfaces, especially in salt-prone regions.
- Address leaks at the transmission seal promptly to prevent fluid loss and shaft damage.
If you notice any of these symptoms, address them immediately to avoid collateral damage to other drivetrain components.
Safety Standards and Regulatory Considerations
Proper installation of front drive shafts is not just a matter of mechanical reliability—it’s a safety-critical task. According to the National Highway Traffic Safety Administration (NHTSA), improperly installed or defective drive shafts can lead to loss of control, drivetrain failure, or compromised braking performance. Always:
- Use parts certified to meet or exceed OEM and SAE standards.
- Follow established safety protocols, including proper lifting, PPE use, and torque application.
- Keep abreast of recall information via the NHTSA recall database.
AutoPartEx Positioning: Your Partner in Toyota Drivetrain Excellence
At AutoPartEx, we’re committed to delivering technical accuracy, practical guidance, and the most up-to-date information for Toyota front drive shaft selection, installation, and maintenance. Our editorial team sources data from recognized industry authorities and regulatory agencies to ensure your repair is safe, efficient, and reliable. For additional insights on Toyota CV boots and related drivetrain components, visit our Category Toyota Cv Boots editorial page.
Whether you’re a seasoned technician or an advanced DIY enthusiast, AutoPartEx is your go-to resource for sourcing, diagnostics, and step-by-step repair procedures. Bookmark our Toyota front drive shaft pages for future reference and stay informed on the latest technical updates.
References
Advertisement