
Advertisement
Toyota Frame Repair Basics
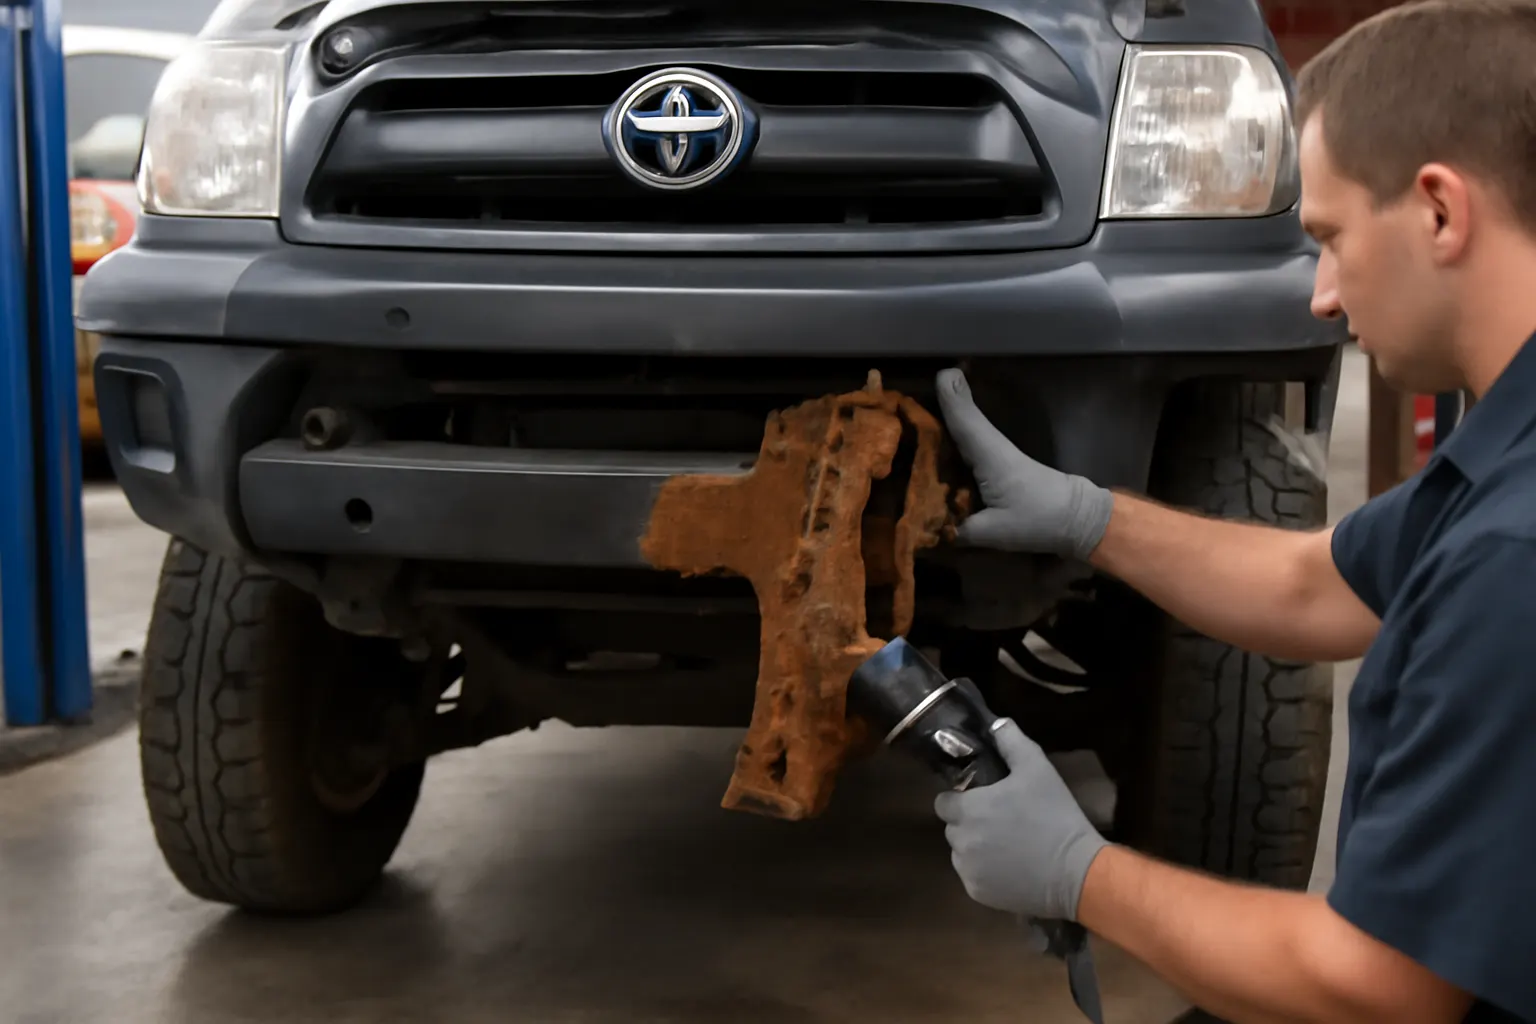
When Toyota truck or SUV frames show rust-through or collision damage, a precise and safe repair is critical. Whether you’re a shop technician or an experienced DIY owner, understanding the basics of Toyota frame repair—especially in the front section—can mean the difference between a reliable, roadworthy vehicle and one that’s unsafe or destined for costly repeat repairs. This field report covers the most common rust and impact issues, offers real-world shop tips for diagnosing and repairing Toyota frames, and guides you to the right parts and procedures for a strong, lasting fix.
Looking for fitment guidance, part numbers, or more detailed technical resources? Start with the Toyota Frame Front Section Only | Genuine Fitment, Diagnostics & Service Guidance category for a comprehensive overview of Toyota frame sections, VIN fitment, and service documentation.
Immediate Answer: What Every Toyota Frame Repair Must Address
Toyota trucks and SUVs—especially models from the late 1990s through the 2010s—are prone to frame rust and collision damage in the front section. The most effective repairs involve cutting out damaged or rusted metal, welding in a properly matched frame section, and ensuring alignment to manufacturer tolerances. Critical steps include:
- Thorough rust and damage assessment (inside and outside the frame rails)
- Use of OE-spec or high-quality replacement frame sections
- Welding and structural reinforcement per safety standards
- Verification of suspension, steering, and drivetrain alignment
Skipping any of these steps can compromise safety, performance, and fuel efficiency. Frame repairs are not just cosmetic—they are essential for the structural integrity of the vehicle, occupant protection, and compliance with safety regulations [1].
The Hidden Problem: Why Toyota Frame Repairs Are Challenging
While Toyota frames are robust, several hidden challenges often complicate repairs:
- Internal Rust: Rust often starts inside boxed frame rails, where moisture and debris accumulate out of sight. By the time external bubbling appears, internal rust can be severe.
- Complex Geometry: The front section of the frame supports suspension, steering, and engine components. Even small misalignments can cause handling issues, uneven tire wear, and drivetrain stress.
- Material and Coating Advances: Toyota has evolved frame materials over the years, introducing high-strength steels and specialized coatings. Using mismatched or substandard materials can compromise repair longevity [3].
- VIN-Specific Fitment: Not all Toyota frames or sections are interchangeable—even within the same model year. VIN-specific fitment is critical for a safe, legal, and functional repair.
Understanding Toyota Frame Construction and Materials
Toyota uses a variety of frame designs depending on the model and year. Most Toyota trucks and body-on-frame SUVs (like Tacoma, Tundra, 4Runner, Sequoia, and Land Cruiser) utilize fully boxed or C-channel steel frames. Over time, Toyota has:
- Increased the use of high-strength, low-alloy (HSLA) steels for better crash performance and reduced weight [3].
- Applied advanced anti-corrosion coatings (such as e-coat and wax-based inner rail coatings) to slow rust, though these are not always effective in harsh climates.
- Engineered complex front frame sections with integral mounts for suspension, steering rack, and engine cradle.
Understanding these construction details is essential for selecting the right materials and repair techniques.
Diagnosing Rust and Collision Damage: Shop-Proven Techniques
Visual and Physical Inspection
- Lift the vehicle and inspect both outside and inside of the frame rails, especially behind front wheel wells and at crossmember attachment points.
- Probe with a pick or screwdriver—if the tool penetrates the metal, the frame is compromised.
- Check for swelling, bubbling paint, or flaking undercoating—these are classic signs of rust beneath the surface.
Advertisement
Advanced Diagnostic Tools
- Ultrasonic thickness gauges measure remaining metal thickness, revealing internal rust.
- Borescopes allow inspection inside boxed rails.
- Frame alignment machines (or tram gauges) check for bends or twists after a collision.
Hidden Areas to Inspect
- Front crossmember joints
- Steering rack and lower control arm mounts
- Radiator support and engine cradle attachment points
A thorough diagnostic ensures you don’t miss compromised sections that could lead to future failure.
Common Rust Hotspots and Impact Zones on Toyota Frames
Toyota frames are vulnerable in several predictable locations:
- Front frame horns: Prone to collision damage and rust from road debris.
- Lower control arm mounts: Collect road salt and moisture, leading to accelerated corrosion.
- Crossmember attachment points: Weld seams can trap moisture.
- Inside boxed rails: Especially in climates with heavy road salt use.
Collision damage often distorts the same areas, and a minor front-end impact can ripple stress through the frame, causing subtle but critical misalignments.
Frame Section Replacement vs. Full Frame Swap
When to Replace a Section
- Damage is localized (e.g., front 2–3 feet of the frame)
- No severe corrosion elsewhere
- Suspension and drivetrain mounts are undamaged beyond the affected area
Section replacement is less invasive, preserves more original material, and is often more cost-effective.
When to Replace the Entire Frame
- Multiple rust-through areas
- Severe collision damage affecting multiple sections
- VIN-matching or legal compliance issues
A full frame swap is more labor-intensive but may be necessary for extensive damage.
Sourcing the Right Toyota Frame Front Section
Fitment is everything. Toyota frames are engineered with model-year, cab/bed configuration, drivetrain, and even engine-specific differences. Always:
- Use the full VIN to verify part compatibility.
- Prefer OE or OE-spec replacement sections—aftermarket parts must meet or exceed original material and corrosion-resistance standards.
- Check for supersession or updated part numbers—Toyota frequently issues improved frame sections for known rust issues (see Toyota Frame Supersession).
For detailed fitment and sourcing guidance, refer to the Toyota Frame Front Section Only | Genuine Fitment, Diagnostics & Service Guidance page.
Step-by-Step: Field-Tested Toyota Frame Front Section Repair Process
1. Preparation
- Disconnect battery and remove front suspension, steering, and drivetrain components as needed.
- Support the vehicle securely on frame stands.
2. Mark and Measure
- Measure all reference points (crossmember, control arm, and steering mounts).
- Mark cut lines well beyond the visible rust or damage.
3. Cut Out Damaged Section
- Use a reciprocating saw or plasma cutter for clean cuts.
- Remove all rusted or bent metal—do not leave any compromised material.
4. Prepare Replacement Section
- Deburr and clean all mating surfaces.
- Test-fit the new section to ensure perfect alignment.
5. Weld-In New Section
- Use plug welds and perimeter welds as per Toyota and SAE standards [5].
- Maintain alignment with jigs or clamps.
6. Corrosion Protection
- Apply weld-through primer before welding.
- After welding, seal internal seams with cavity wax or equivalent.
- Paint and undercoat all exposed areas.
7. Reassemble and Align
- Reinstall suspension and steering.
- Perform a full alignment and road test.
Essential Frame Repair Checklist
Here’s a quick checklist to ensure your Toyota frame repair is thorough and safe:
Advertisement
| Step | Details | Checked |
|---|---|---|
| VIN Fitment Verified | Confirmed exact match for frame section and vehicle | |
| Full Diagnostic Performed | Inspected all rust and collision-prone areas | |
| Reference Points Measured | Documented before cutting/removal | |
| Damaged Metal Removed | Cut well beyond visible rust/damage | |
| Weld Prep Completed | Cleaned, deburred, and prepped all mating surfaces | |
| Alignment Maintained | Used jigs/clamps during welding | |
| Corrosion Protection Applied | Weld-through primer, cavity wax, and undercoating applied | |
| Suspension/Steering Checked | All mounts, bushings, and fasteners inspected/replaced as needed | |
| Alignment Verified | Full 4-wheel alignment performed post-repair | |
| Road Test Completed | Checked for abnormal noises, handling, or alignment issues |
Safety, Fuel Efficiency, and Structural Integrity
A properly repaired Toyota frame restores not only vehicle safety, but also fuel efficiency and ride quality. Damaged or misaligned frames can lead to:
- Reduced crash protection (compromising safety systems and crumple zones) [1]
- Increased rolling resistance and drivetrain wear (hurting fuel economy) [2]
- Premature tire and suspension wear
Always follow safety standards and use materials that match or exceed Toyota’s original frame specifications [3].
Welding and Material Selection: Technical Deep Dive
Welding Standards
- SAE J2551 and related standards define automotive frame repair welding methods [5].
- Plug/rosette welds are used for joining overlapping frame sections.
- Continuous perimeter welds provide maximum strength at cut joints.
Material Considerations
- High-strength steel requires specific welding wire and shielding gas.
- Heat management is crucial to prevent warping or weakening the frame.
- Post-weld treatments (primer, paint, wax) are mandatory for corrosion resistance.
Quality Control
- Non-destructive testing (magnetic particle or dye penetrant inspection) can verify weld integrity in critical areas.
Post-Repair Inspection and Maintenance
Proper inspection after frame repair is essential:
- Torque all fasteners to manufacturer specs.
- Inspect welds for cracks, porosity, or incomplete fusion.
- Check for proper alignment of suspension and steering components.
- Apply corrosion inhibitors annually, especially in snowbelt regions.
Regular maintenance can double the lifespan of a repaired frame section.
Legal and Safety Compliance: What You Must Know
Frame repairs must comply with federal and state safety standards. The National Highway Traffic Safety Administration (NHTSA) provides guidelines for vehicle equipment and structural repairs [1]. Key requirements:
- No visible cracks, holes, or excessive rust in load-bearing frame areas.
- Repairs must restore original structural integrity and alignment.
- All safety systems (airbags, crush zones) must function as designed.
Shops and DIYers should document all frame repairs and retain receipts for replacement parts.
Sourcing OE and Aftermarket Toyota Frame Sections
OE (Original Equipment) Frame Sections
- Guaranteed fit and material quality
- May be available through Toyota dealers or certified suppliers
- Often superseded with improved anti-corrosion coatings (see Toyota Frame Supersession)
Aftermarket Frame Sections
- Quality varies by manufacturer
- Look for SAE-compliant materials and documented corrosion resistance
- Avoid generic or universal fit sections—always verify VIN compatibility
Where to Find
- Authorized Toyota parts distributors
- Specialist frame suppliers
- AutoPartEx fitment guides (see Toyota Frame VIN Fitment Frame)
When to Seek Professional Help
While many experienced technicians can perform a Toyota frame front section repair, certain situations demand professional expertise:
- Severe collision damage with potential hidden frame distortion
- Compromised suspension or steering mounts
- Lack of access to proper welding equipment or frame jigs
- Uncertainty about VIN-specific fitment
A professional frame shop can provide computerized alignment, certified welding, and documentation for insurance or resale purposes.
AutoPartEx: Your Partner for Precision Toyota Frame Repairs
At AutoPartEx, we provide not just parts, but the expertise and fitment data to ensure every Toyota frame repair is safe, reliable, and compliant with the latest standards. Our guides, like this one, are built on real-world shop experience and verified technical sources. For more detailed repair walkthroughs, fitment charts, and sourcing help, visit the Toyota Frame Front Section Only | Genuine Fitment, Diagnostics & Service Guidance category or explore advanced repair topics like Toyota Frame Front Section Repair.
References
- Vehicle Safety and Equipment – National Highway Traffic Safety Administration
- Fuel Efficiency – United States Department of Energy
- Materials Technologies – United States Department of Energy
- Vehicle, Car Seat, Tire, and Equipment Recalls – National Highway Traffic Safety Administration
- SAE Standards – SAE International
Advertisement
