Advertisement
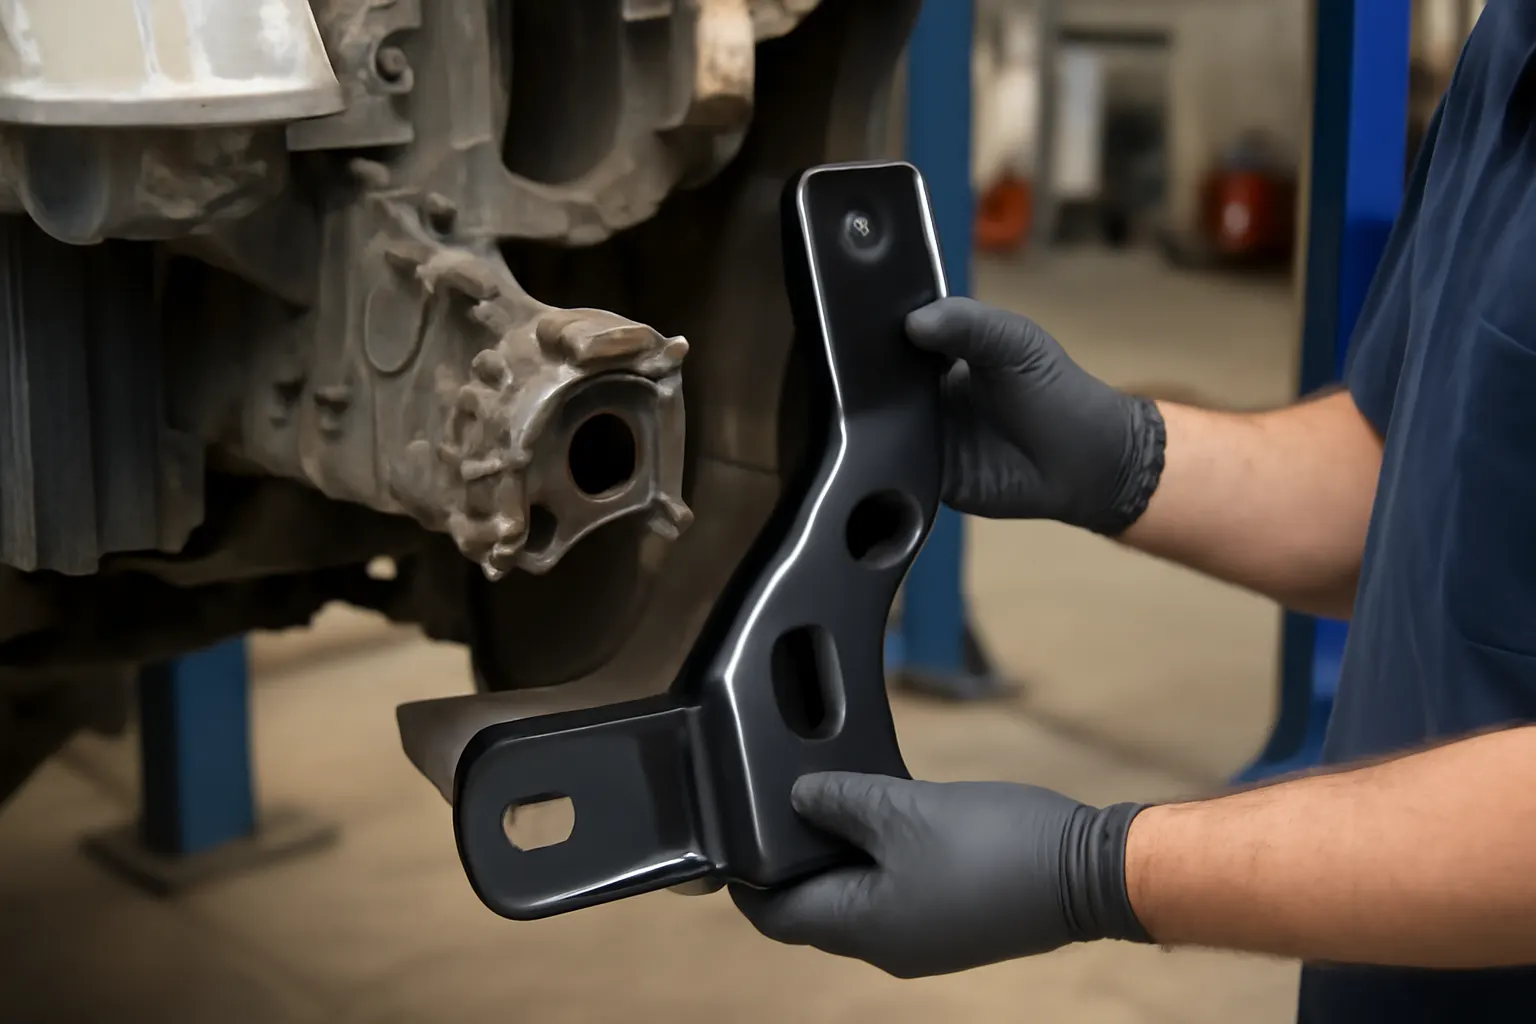
Collision repair on Toyota vehicles demands precision, especially when it comes to the frame horn—a critical structural component that directly impacts crash safety and proper alignment. In this comprehensive guide, you’ll learn how to avoid the most common Toyota frame horn installation mistakes, recognize hidden pitfalls, and ensure your repair meets the highest standards for safety and fitment. Whether you’re a professional collision technician or a serious DIYer, this article will walk you through diagnostics, sourcing, installation, and final checks, helping you avoid costly errors and ensure your Toyota’s structural integrity is fully restored.
If you’re looking for a broader technical overview or need to compare frame horn fitment across Toyota models, visit the Toyota Frame Horn Replacement, Fitment & Technical Guide for in-depth resources.
The Immediate Answer: Avoiding Frame Horn Installation Pitfalls
To prevent common Toyota frame horn installation mistakes and ensure structural safety, always follow these essential steps:
- Accurately diagnose all frame and subframe damage before ordering parts.
- Source certified, model-specific frame horn components—never substitute or modify incompatible parts.
- Follow OEM-approved welding and fastening procedures, using precise measurements and alignment tools.
- Perform a thorough post-installation inspection, including structural integrity and crash sensor system checks.
Cutting corners at any stage risks compromised crashworthiness, misalignment, and future recall or safety issues. The rest of this guide dives deep into each stage, highlighting hidden dangers and practical solutions.
Hidden Problem: The Unseen Dangers of Poor Frame Horn Installation
While a frame horn swap may seem straightforward, many repair shops and DIYers fall into traps that aren’t apparent until it’s too late. The most critical hidden problems include:
- Subtle Misalignment: Even a few millimeters of misalignment can throw off crash energy distribution, leading to unpredictable airbag deployment or increased injury risk.
- Welding and Heat Damage: Incorrect welding procedures can weaken adjacent frame sections or alter metal properties, reducing the frame’s ability to absorb impact.
- Sensor and System Errors: Modern Toyotas integrate crash sensors and wiring through the frame horn area. Improper routing or damaged connectors can trigger false codes or disable safety systems.
- Unverified Parts: Aftermarket or salvaged frame horns may not meet Toyota’s specific material or dimensional standards, even if they appear similar.
These pitfalls often go undetected until the vehicle is involved in another collision or fails a rigorous inspection—by which point the consequences can be severe.
Understanding the Toyota Frame Horn: Structure, Function, and Safety
The frame horn is the forward-most extension of your Toyota’s frame or unibody structure. Its primary roles:
- Crash Energy Management: During a frontal collision, the frame horn absorbs and dissipates impact forces, protecting the passenger compartment.
- Component Mounting: It provides mounting points for bumpers, radiators, crash sensors, and other critical systems.
- Alignment Reference: The frame horn’s geometry is a reference point for the entire front-end alignment, including suspension and steering.
Toyota engineers design each frame horn to precise material specs, thickness, and crush zones. Any deviation—such as from improper installation—compromises the vehicle’s ability to meet NHTSA safety standards.
Common Toyota Frame Horn Installation Mistakes
Let’s break down the most frequent errors seen in both professional and DIY Toyota collision repairs:
1. Inaccurate Damage Assessment
- Failing to identify hidden kinks, twists, or cracks in the surrounding frame.
- Overlooking related damage to mounting brackets, sensor mounts, or adjacent subframe sections.
2. Incorrect Part Sourcing
- Using frame horns from the wrong Toyota model year or trim.
- Installing unverified aftermarket components lacking proper certifications.
- Attempting to “straighten” or repair severely deformed frame horns instead of replacing them.
3. Poor Fitment and Alignment
- Neglecting to use a frame rack or proper measuring system.
- Relying on visual alignment instead of precise measurements.
- Not checking cross-measurements and diagonal distances.
4. Improper Welding and Fastening
- Overheating or under-penetrating welds, leading to weak joints.
- Using non-OEM fasteners or skipping reinforcement plates.
- Failing to protect adjacent components from heat or weld spatter.
5. Neglecting Sensor and System Integration
- Damaging or misrouting airbag and collision sensor wiring.
- Failing to recalibrate or test crash sensors post-installation.
Advertisement
6. Skipping Post-Repair Inspections
- Not performing a post-repair structural integrity check.
- Skipping road tests or alignment checks.
Each of these mistakes can result in substandard repairs that may only become apparent during a future collision or safety inspection.
Diagnosing Frame and Subframe Damage: The Foundation of Safe Repair
Before a single bolt is turned or a weld is made, thorough diagnostics are essential. Here’s how to ensure you’re working with a complete picture:
Visual and Mechanical Inspection
- Look for Visible Deformation: Inspect for bends, kinks, or cracks in the frame horn and adjacent rails.
- Check for Paint Cracks or Rust: These can indicate hidden stress points.
- Assess Mounting Points: Ensure bumper, radiator, and suspension mounts are undamaged.
Advanced Measurement
- Use a Frame Measuring System: Laser or tram gauge systems can detect misalignment invisible to the naked eye.
- Compare to OEM Specs: Reference Toyota factory measurements for your specific model and year.
Sensor and Wiring Inspection
- Check Crash Sensor Mounts: Ensure sensors are undamaged and securely attached.
- Inspect Wiring Harnesses: Look for pinched, cut, or melted wiring around the frame horn.
Failing to diagnose all damage before repair can lead to incomplete fixes and unsafe vehicles.
Sourcing the Correct Toyota Frame Horn: OEM vs. Aftermarket vs. Salvage
Frame horns are not generic parts. Here’s what you need to know when sourcing replacements:
OEM (Original Equipment Manufacturer)
- Guaranteed Fitment: Matches Toyota’s specifications for material and geometry.
- Safety Compliance: Meets all NHTSA equipment standards.
- Warranty Support: Often covered by Toyota’s parts warranty.
Aftermarket
- Variable Quality: Some aftermarket frame horns meet or exceed OEM specs, but many do not.
- Certification: Only use components certified to meet or exceed OEM and SAE standards.
- Fitment Risks: Cheap, uncertified parts may require modification—a major safety red flag.
Salvage/Used Parts
- Hidden Damage: Even if undamaged visually, prior crash stress can weaken the metal.
- Model-Specific Variations: Minor differences in mounting points or geometry can cause fitment and safety issues.
Best Practice: Always use OEM or certified aftermarket frame horns, matched precisely to your Toyota’s model, year, and trim. Cross-check part numbers with Toyota’s official documentation.
Installation Process: Step-by-Step Technical Guide
Proper frame horn installation is a multi-stage process requiring attention to detail at every step.
1. Preparation
- Disconnect Battery: Prevent accidental airbag deployment and protect electronics.
- Remove Damaged Components: Cut or unbolt the old frame horn, minimizing collateral damage.
- Clean Mounting Surfaces: Remove rust, paint, and debris to ensure strong welds or fastener engagement.
2. Test Fit and Measurement
- Dry Fit the New Frame Horn: Confirm alignment with existing frame rails and mounting points.
- Check All Measurements: Use a tram gauge or laser system to verify position in three dimensions.
3. Welding and Fastening
- Follow OEM Procedures: Use the weld type, length, and pattern specified by Toyota or SAE standards (see SAE International).
- Control Heat Input: Use heat sinks or shields to protect adjacent components.
- Use Correct Fasteners: Only use approved bolts, nuts, and reinforcement plates.
4. System Integration
- Restore Sensor Mounts and Wiring: Route all harnesses and connectors as per Toyota diagrams.
- Protect Wiring from Heat and Abrasion: Use OEM clips and grommets.
5. Final Alignment and Inspection
- Recheck All Measurements: Confirm final placement matches factory specs.
- Inspect Welds and Fasteners: Look for full penetration, proper bead profile, and torque on all bolts.
6. Post-Repair System Check
- Reconnect Battery and Run Diagnostics: Scan for crash sensor or airbag system codes.
- Test All Related Systems: Ensure headlights, horn, and radiator mounts function properly.
Post-Installation Checklist: Ensuring Structural Safety
Before releasing a repaired Toyota back to the road, use this comprehensive checklist:
| Step | Pass/Fail | Notes |
|---|---|---|
| Frame horn alignment matches OEM spec | Measure with tram gauge/laser | |
| Welds meet OEM/SAE standards | Inspect for penetration and bead quality | |
| All fasteners torqued to spec | Use torque wrench, reference Toyota manual | |
| Crash sensor mounts restored | Visually inspect and test | |
| Wiring harnesses properly routed | Check for pinching, abrasion, heat exposure | |
| No diagnostic codes present | Scan with OBD-II tool | |
| Suspension and steering aligned | Road test and alignment check | |
| Bumper/radiator mounts secure | Physical check and shake test | |
| Paint and corrosion protection applied | Inspect for bare metal spots |
Advertisement
Tip: Document every step with photos and measurement records. This protects you in the event of insurance audits or future safety inspections.
The Role of Frame Horns in Crash Safety and Recalls
Toyota frame horns are engineered as part of the vehicle’s overall crash management system. Poor installation can:
- Compromise Airbag Timing: Misalignment or improper sensor mounting may delay or prevent airbag deployment.
- Increase Injury Risk: Incorrect energy absorption routes more force to the passenger compartment.
- Trigger Recalls: Faulty repairs are a common cause of recall actions, as tracked by the NHTSA recall database.
Always verify your repair meets all manufacturer and regulatory standards. If in doubt, consult with a certified collision repair specialist.
Advanced Tips: Welding, Materials, and Modern Toyota Structures
Today’s Toyotas often use advanced high-strength steels and engineered crush zones in their frame horn design. Special considerations include:
- Material Compatibility: Only weld or fasten using materials compatible with the OEM frame horn. Mixing metals can cause galvanic corrosion or weak joints.
- Heat Management: Excessive heat can alter the temper of high-strength steel, reducing its crash performance.
- Welding Techniques: Use MIG or spot welding as specified. Never use stick welding or non-approved techniques.
- Corrosion Protection: Always apply OEM-approved coatings or primers to all bare metal after welding.
For more on materials and structural repair, see the Department of Energy’s materials technologies guide.
Diagnostic Tools and Equipment: What You Need for Professional Results
Proper frame horn installation requires more than basic hand tools. Ensure you have access to:
- Frame Rack or Bench: For securing and measuring the vehicle during repair.
- Laser/Tram Gauge Measurement System: For precise dimensional checks.
- Welding Equipment: With adjustable heat control and suitable for automotive high-strength steel.
- OBD-II Diagnostic Scanner: For post-repair system checks.
- Torque Wrenches: For all critical fasteners.
- OEM Repair Manuals: For model-specific specs and procedures.
Advertisement
Investing in the right equipment pays off in repair quality, safety, and long-term customer trust.
Maintenance and Inspection After Frame Horn Replacement
A properly installed frame horn should require no special maintenance. However, periodic inspections are wise, especially if the vehicle is exposed to harsh conditions or minor impacts:
- Inspect Welds and Fasteners: Look for signs of corrosion, cracking, or loosening.
- Check Alignment: Unusual tire wear or steering pull may indicate post-repair alignment drift.
- Monitor for Warning Lights: Any airbag or crash sensor warning should be diagnosed immediately.
- Protect Against Corrosion: Touch up any paint chips or exposed metal promptly.
Annual inspections are recommended, especially for vehicles in rust-prone regions or those used in commercial/fleet service.
Selecting the Right Shop or Technician
If you’re not equipped to perform frame horn repairs yourself, choose a repair shop with:
- OEM Certification: Toyota Certified Collision Centers are trained in model-specific repair.
- Modern Equipment: Frame racks, measuring systems, and diagnostic tools.
- Transparent Documentation: Shops should provide before-and-after measurements and photos.
- Reputation and Reviews: Look for positive feedback on structural repair quality.
Don’t be afraid to ask about parts sourcing, technician training, and warranty on structural repairs.
AutoPartEx: Your Technical Partner in Toyota Frame Horn Repairs
At AutoPartEx, we understand that structural repairs are among the most critical—and scrutinized—jobs in the collision industry. Our technical guides, part sourcing tools, and fitment databases are built to help you get every detail right. For a broader look at Toyota frame horn fitment, replacement options, and technical standards, see our Toyota Frame Horn Replacement, Fitment & Technical Guide.
Looking for more in-depth editorial content? Explore related topics in Toyota Frame Horn Related 1 and Toyota Frame Horn Related 3 for further insights into Toyota structural repair.
Final Thoughts: Expert Action Steps
- Never rush frame horn diagnostics—hidden damage can undermine your entire repair.
- Insist on OEM or certified parts, and always match them to your Toyota’s exact model and year.
- Use proper alignment tools and techniques; visual checks are never enough.
- Follow official welding and fastening guidelines, and protect all sensors and wiring.
- Document every step, and perform thorough post-repair inspections.
- When in doubt, consult with certified Toyota repair professionals or reference NHTSA equipment standards for compliance.
By taking these expert steps, you’ll ensure that your Toyota frame horn repair not only restores the vehicle’s appearance, but also its original crash safety and structural performance.
References
Advertisement