
Advertisement
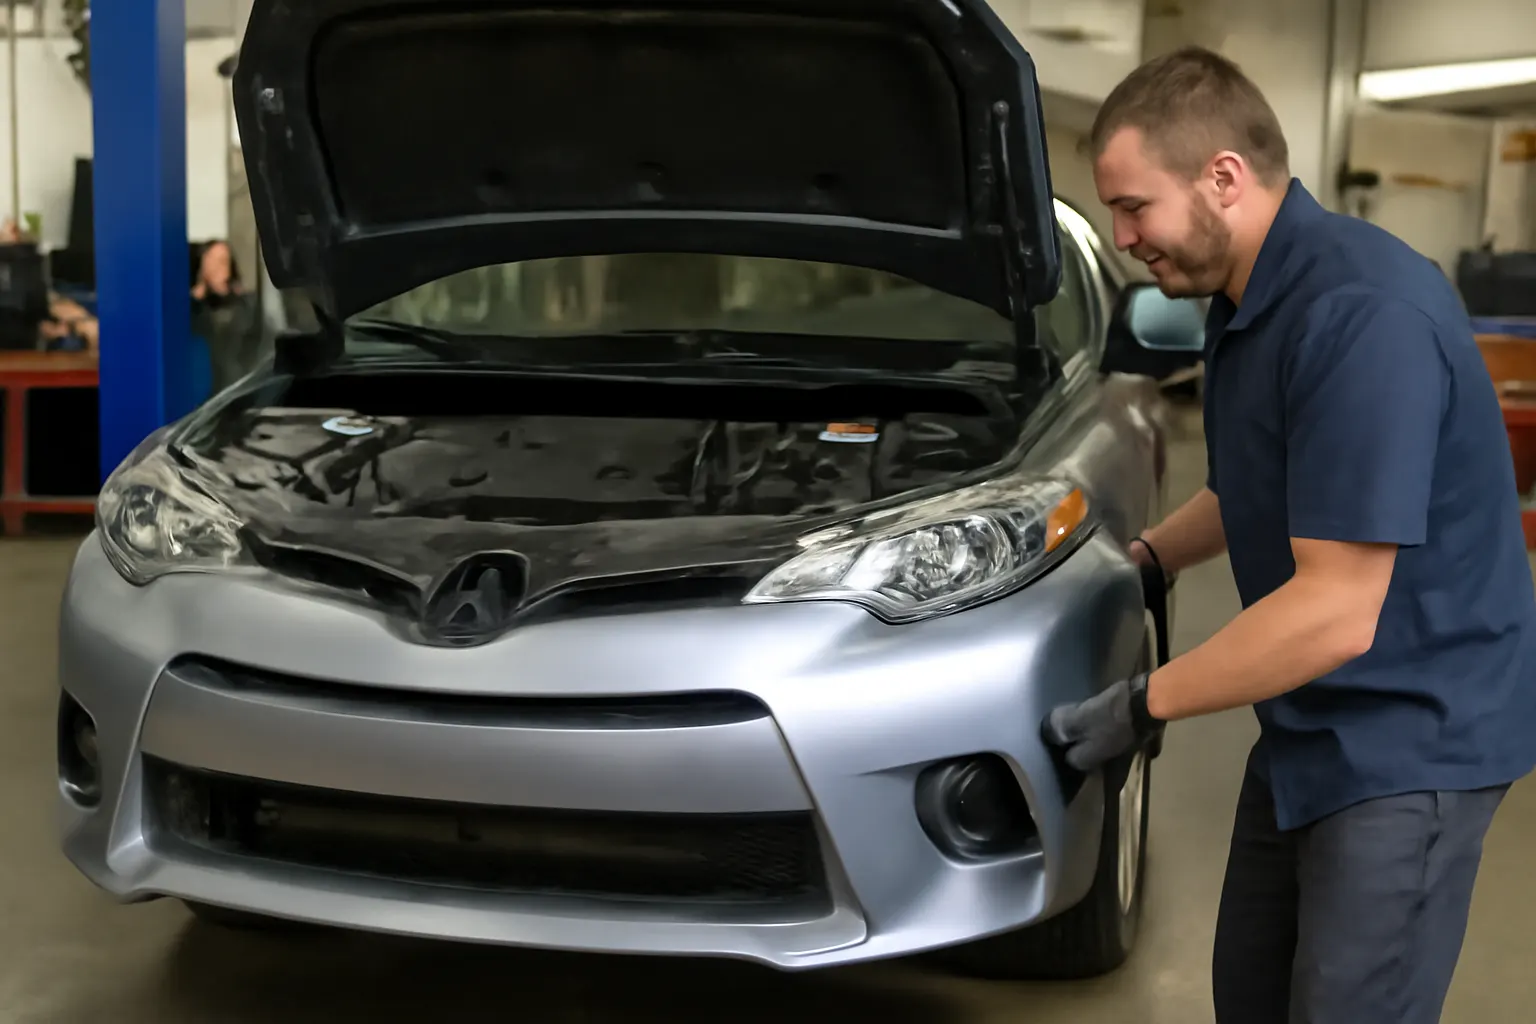
Toyota front bumper installations are deceptively complex—success depends on more than just bolting on a new cover. In this comprehensive guide, we present real-world shop case studies that reveal the most common pitfalls, effective diagnostic and fitment strategies, and proven solutions for Toyota bumper assembly jobs. Whether you’re an experienced technician, a shop manager, or a Toyota owner seeking insight, these stories deliver actionable expertise to ensure your next bumper installation is safe, efficient, and built to last.
If you’re looking for a broader overview of Toyota bumper assemblies, including sourcing and fitment expertise, start with our Toyota Front Bumper Assembly (Includes Cover): Fitment, Sourcing, and Service Expertise category guide. Below, dive deep into the realities of bumper installation—where theory meets shop-floor practice.
Immediate Answer: What Makes Toyota Bumper Installations Unique?
Toyota bumper assemblies are engineered for a precise fit, safety integration, and optimal aerodynamics. Installing or replacing these assemblies is not a one-size-fits-all operation—each generation, trim, and model year may introduce subtle but critical changes in attachment points, material composition, or sensor integration. Inadequate fitment or improper installation can compromise vehicle safety, fuel efficiency, and crash performance.
Key Takeaway: Every Toyota bumper installation demands model-specific knowledge, careful assessment of underlying structures, and strict adherence to manufacturer and safety standards.
Hidden Problem: Why Do Even Skilled Technicians Struggle With Toyota Bumper Installs?
Despite abundant technical documentation, many professional shops report recurring issues with Toyota bumper installations:
- Fitment errors—Misalignment with fenders, headlights, or grille.
- Material mismatches—Incorrect bumper cover material or reinforcement bar selection.
- Sensor and equipment integration—Failure to properly reconnect or calibrate parking sensors, radar, or adaptive cruise components.
- Overlooked damage—Underlying impact bar or mounting tabs bent or cracked, leading to insecure mounting.
These problems often remain hidden until after the installation—when gaps, rattles, warning lights, or even safety system failures emerge.
Case Study 1: 2018 Toyota Camry—Sensor Malfunction After Bumper Replacement
Shop Scenario
A collision repair shop replaced a front bumper assembly on a 2018 Toyota Camry SE after a low-speed accident. The new assembly appeared to fit visually, but the customer returned with complaints of a persistent collision avoidance warning and malfunctioning adaptive cruise control.
Diagnosis and Resolution
- Hidden Issue: The shop had used an aftermarket bumper cover lacking the correct radar sensor mounting bracket geometry. The radar sensor was slightly misaligned, leading to system errors.
- Solution: The shop sourced an OE-spec bumper cover with the correct bracket, recalibrated the radar sensor per Toyota’s procedure, and verified system operation.
Lesson: Even minor deviations in bumper cover design can disrupt advanced safety systems. Always verify sensor mounting compatibility and perform required calibrations.
Case Study 2: 2016 Toyota RAV4—Fitment Gaps and Paint Mismatch
Shop Scenario
A body shop installed a new front bumper assembly on a 2016 RAV4 after a parking lot scrape. Post-installation, the customer noticed uneven panel gaps and a mismatch between the new bumper’s paint and the factory fenders.
Diagnosis and Resolution
- Hidden Issue: The replacement bumper, though listed as compatible, was manufactured from a different polymer blend than the factory original. This led to slight dimensional differences and poor paint adherence.
- Solution: The shop switched to a Toyota OE bumper, used manufacturer-recommended paint prep procedures, and performed a dry-fit test before final painting.
Lesson: Material technology matters. Consult Toyota’s material specs and use OE or OE-equivalent parts for best fit and finish. For more on bumper materials, see our Toyota Bumper Material Technology guide.
Case Study 3: 2021 Toyota Highlander—Missed Impact Bar Damage
Shop Scenario
After a minor front-end collision, a shop replaced the front bumper cover of a 2021 Highlander. Weeks later, the customer returned with rattling noises and a loose bumper.
Advertisement
Diagnosis and Resolution
- Hidden Issue: The technician had not inspected the underlying impact bar and mounting brackets, which were slightly bent. The new bumper could not seat securely.
- Solution: The impact bar and brackets were replaced, and the bumper assembly properly torqued and aligned.
Lesson: Always inspect and, if needed, replace structural components beneath the bumper cover. Overlooking hidden damage compromises safety and durability.
Problem Expansion: The Real Costs of Improper Toyota Bumper Installations
Safety and Regulatory Risks
Improper installation can compromise vehicle safety systems, including airbag sensors and pedestrian protection features. According to the National Highway Traffic Safety Administration, all replacement parts and their installation must maintain the original crashworthiness and equipment function.
Efficiency and Performance
The U.S. Department of Energy highlights that vehicle aerodynamics and material choices directly affect fuel efficiency (Fuel Efficiency). Poor bumper fitment can increase drag, reduce efficiency, and affect emissions.
Customer Satisfaction and Shop Reputation
Repeat visits for rattles, warning lights, or mismatched paint erode trust and increase shop costs. Reputation damage and rework expenses often exceed the price of using OE or OE-equivalent parts and following best practices the first time.
Technical Deep Dive: Toyota Bumper Materials and Attachment
Material Technologies
Toyota employs advanced plastics, energy-absorbing foams, and high-strength steel in bumper assemblies. Each material is chosen for its impact absorption, weight, and paint compatibility (Materials Technologies). Substituting materials can alter crash performance and visual appearance.
Attachment and Alignment
Toyota bumpers use a combination of bolts, snap-in clips, and tabs to secure the cover to the body and reinforcement structures. Precise alignment is critical—misplaced tabs or over-tightened bolts can cause warping, stress cracks, or panel gaps.
Sensor and Electronics Integration
Modern Toyota bumpers often house radar sensors, parking sensors, and wiring harnesses. These must be properly transferred, secured, and, in many cases, recalibrated after installation. Failing to do so can disable safety systems or trigger error codes.
Solution Path: Best Practices for Toyota Bumper Installation
Pre-Installation Checklist
Before installing a new Toyota bumper assembly, follow this comprehensive checklist:
Toyota Bumper Installation Pre-Check
| Step | Action | Notes |
|---|---|---|
| 1 | Confirm VIN and model year | Double-check for mid-year changes or supersessions |
| 2 | Inspect underlying structure | Check for damage to impact bar, brackets, and mounting points |
| 3 | Match material specs | Use OE or OE-equivalent materials for cover and reinforcement |
| 4 | Dry-fit new bumper | Test alignment and gap consistency before painting or final install |
| 5 | Transfer sensors and harnesses | Verify correct mounting and secure all wiring |
| 6 | Calibrate electronics | Follow Toyota procedures for radar, camera, or parking sensors |
| 7 | Torque fasteners to spec | Use manufacturer torque values, avoid overtightening |
| 8 | Perform final inspection | Check all gaps, paint match, and system warning indicators |
Installation Tips
- Use trim removal tools to avoid damaging clips and mounting tabs.
- Always replace damaged fasteners and clips with Toyota-approved hardware.
- For painted bumpers, allow sufficient cure time and avoid installation in extreme temperatures.
- Document all sensor and electronic reinstallation steps for warranty and diagnostic purposes.
Common Pitfalls: What Shops and DIYers Overlook
1. Ignoring Supersession and Part Number Changes
Toyota frequently updates bumper part numbers for improved fit, compatibility, or material upgrades. Using an outdated or superseded part can result in poor fitment or incompatibility with sensors. Review our Toyota Bumper Supersession Explained article before ordering.
2. Overlooking Structural Damage
Even minor impacts can bend mounting brackets or the impact bar, which are not visible until the old cover is removed. Always inspect and measure for straightness.
3. Skipping Electronic Calibration
Modern Toyota safety systems require calibration after bumper replacement. Shops often overlook this step, leading to persistent warning lights or system malfunctions.
Advertisement
4. Improper Paint Prep and Material Handling
Different bumper materials require specific primers, adhesion promoters, and paint processes. Failing to follow Toyota’s paint recommendations can cause flaking, peeling, or color mismatch.
Diagnostic Strategies for Toyota Bumper Installations
Visual and Physical Inspections
- Panel Gaps: Measure gaps at multiple points—fender, hood, grille—to confirm uniformity.
- Attachment Points: Check all clips, tabs, and bolts for engagement and tightness.
- Paint Quality: Inspect for runs, orange peel, or mismatched gloss.
Electronic and System Checks
- Sensor Functionality: Use a scan tool to check for DTCs (Diagnostic Trouble Codes) related to radar, parking sensors, or adaptive cruise.
- Warning Indicators: Confirm all dashboard warning lights are off after installation.
Test Drive Validation
- Noise and Vibration: Listen for rattling or wind noise at highway speeds.
- System Operation: Test all safety and parking assist features before returning the vehicle to the customer.
Sourcing the Right Toyota Bumper Assembly
OE vs. Aftermarket
- OE (Original Equipment): Guarantees material, fit, and sensor compatibility. Recommended for safety-critical and late-model vehicles.
- Aftermarket: May offer cost savings but can vary in material, fit, and sensor bracket design. Only use reputable brands with proven Toyota compatibility.
Supersession and Compatibility
- Always check for superseded part numbers and ensure the new bumper matches the VIN, trim, and equipment level.
- Consult Toyota’s electronic parts catalog or a trusted supplier for the latest information.
When to Replace vs. Repair
- Replace: Cracks, tears, or missing mounting tabs.
- Repair: Minor scrapes or scratches, provided the underlying structure is intact and material can be restored per Toyota guidelines.
Maintenance and Post-Installation Care
Inspection Schedule
- Initial Check: Inspect all fasteners and gaps after the first week of driving.
- Ongoing: Include bumper inspection during routine oil changes or annual service.
Cleaning and Protection
- Use only Toyota-approved cleaners to avoid damaging plastic or painted surfaces.
- Apply protective coatings as recommended to resist UV and road debris.
Monitoring Safety Systems
- If new warning lights or system errors appear, return to the installer for diagnostic evaluation and recalibration.
When to Seek Professional Help
While some experienced DIYers can handle bumper replacement on older Toyotas, most late-model vehicles require professional expertise due to sensor integration, material technology, and calibration requirements. Seek a shop with:
- Toyota experience and certifications
- Access to OE parts and calibration equipment
- Positive reviews for fit and finish quality
Toyota Bumper Installation: Expert Recommendations
For Technicians and Shop Managers
- Invest in ongoing training for Toyota-specific bumper systems and electronic calibrations.
- Use digital documentation (photos, scan tool records) to support quality assurance.
- Communicate clearly with customers about the importance of OE parts and proper calibration.
For Toyota Owners
- Ask your shop about the type of bumper being installed (OE vs. aftermarket).
- Request documentation of sensor calibration and system checks.
- Inspect the vehicle with the technician before accepting delivery.
AutoPartEx Positioning: Your Toyota Bumper Installation Resource
AutoPartEx delivers in-depth technical guidance, OE and OE-equivalent part sourcing, and up-to-date fitment data for Toyota bumper assemblies. Our expertise, built on real-world shop experience and manufacturer standards, ensures your Toyota remains safe, efficient, and visually flawless. For model-specific fitment and sourcing, visit our Toyota Front Bumper Assembly (Includes Cover): Fitment, Sourcing, and Service Expertise page or consult our Toyota Front Bumper Fitment Guide for detailed compatibility information.
Final Thoughts: Building Shop Success With Toyota Bumper Installations
Toyota bumper installation is more than a cosmetic repair—it’s a critical safety and performance task that demands precision, technical knowledge, and attention to detail. By learning from real-world case studies, following proven diagnostic and installation protocols, and leveraging trusted resources like AutoPartEx, both shops and Toyota owners can achieve lasting, trouble-free results.
References
- Fuel Efficiency — United States Department of Energy
- Materials Technologies — United States Department of Energy
- Vehicle Safety and Equipment — National Highway Traffic Safety Administration
Advertisement
