Advertisement
Rear window visibility is a vital safety factor, especially in adverse weather. The rear washer motor is a small but essential part of your vehicle’s wiper and washer system parts. If it fails, your ability to clear the rear glass is compromised, putting you and others at risk. Recognizing the early warning signs of rear washer motor failure can prevent dangerous visibility hazards and avoid unexpected repair costs. This guide details the top five symptoms of a failing rear washer motor, the technical reasons behind them, and step-by-step advice for diagnosis, sourcing, and replacement—empowering you to keep your vehicle safe and compliant with automotive safety standards.
Immediate Answer: The 5 Warning Signs of Rear Washer Motor Failure
If you notice any of these symptoms, your rear window washer motor may be on its last legs:
- Washer Fluid Not Spraying: When you activate the rear washer, no fluid is ejected onto the glass.
- Weak or Intermittent Spray: The washer fluid sprays weakly, sporadically, or not at full pressure.
- Unusual Noises: You hear grinding, whining, or clicking sounds from the rear hatch area when activating the washer.
- Washer Motor Not Engaging: There’s no sound or movement when the washer is switched on—no response at all.
- Blown Fuse or Electrical Issues: The washer circuit fuse repeatedly blows, or you see electrical warning lights related to the wiper/washer system.
Identifying these signs early can save you from sudden visibility loss and help you avoid more costly repairs to the wiper and washer system.
The Hidden Problem: Why Rear Washer Motor Failure is a Safety Hazard
It’s easy to overlook the rear washer motor—until you need it most. A non-functioning rear washer motor isn’t just an inconvenience; it’s a critical safety issue. The National Highway Traffic Safety Administration (NHTSA) emphasizes that all vehicle safety equipment must be operational to ensure safe driving conditions [1]. Rear visibility is essential for reversing, lane changes, and overall situational awareness. If the rear glass is obscured by dirt, snow, or road grime and you can’t clear it, your risk of collision rises significantly.
Many drivers don’t realize their rear washer motor is failing until a critical moment—like merging onto a highway in the rain or backing out of a crowded parking lot. By the time the problem is obvious, your visibility (and safety) may already be compromised.
Understanding the Rear Washer Motor’s Role in Vehicle Safety
The rear washer motor is responsible for pumping washer fluid from the reservoir to the rear window nozzle. It’s a compact electric motor, typically mounted inside the rear hatch or near the washer fluid reservoir. When you activate the rear washer switch, the motor spins an impeller that pressurizes and propels fluid through the washer hose to the nozzle.
If the motor fails, the entire rear washer system is rendered useless—no matter how full the fluid reservoir is or how new the wiper blade may be. According to NHTSA guidelines, non-functional safety equipment (including wipers and washers) can be grounds for vehicle inspection failure or even recall [1]. In short, a healthy rear washer motor is not optional; it’s required for safe vehicle operation.
Technical Causes of Rear Washer Motor Failure
Rear washer motors are subject to harsh conditions: temperature extremes, moisture, road salt, and vibration. Over time, these stresses can cause several types of failure:
- Electrical Failures: Corroded connectors, frayed wires, or internal motor shorts can prevent the motor from receiving power or operating correctly.
- Mechanical Wear: The motor’s bearings, brushes, or impeller can wear out, leading to noise, reduced output, or complete failure.
- Fluid Contamination: Cracked seals or leaks may allow washer fluid to enter the motor housing, causing corrosion or electrical shorts.
- Obstructions: Blocked washer nozzles or kinked hoses can overload the motor, leading to premature burnout.
Understanding these failure modes can help you spot subtle warning signs and take preventive action before the motor fails completely.
In-Depth: The Top 5 Signs Explained
1. Washer Fluid Not Spraying
When you press the rear washer switch and nothing happens—no fluid, no sound—the motor may have failed. First, check the washer fluid level and confirm the nozzle isn’t clogged. If both are fine, the likely culprit is the motor or its electrical supply.
Advertisement
Technical Note: Many rear washer motors share a fuse or relay with other wiper or washer circuits. A blown fuse may indicate a shorted motor or wiring issue.
2. Weak or Intermittent Spray
If the washer fluid sprays only weakly, or the spray pattern is inconsistent, the motor may be losing power or failing internally. This can be caused by worn brushes, a failing commutator, or partial electrical connection.
Diagnostic Tip: If the spray is strong at first but weakens quickly, the motor could be overheating or the impeller may be slipping.
3. Unusual Noises from the Rear Hatch
Grinding, whining, or clicking noises when activating the washer often point to internal motor wear or a jammed impeller. These sounds indicate the motor is struggling or parts are failing.
Listen Carefully: Sounds may be faint, especially in well-insulated vehicles. Try activating the washer with the engine off (but ignition on) and listen from the rear.
4. Washer Motor Not Engaging at All
If you hear no sound and see no fluid, the motor might not be receiving power, or it may have failed completely. This symptom can also be caused by a failed switch, fuse, or relay.
Troubleshooting: Use a test light or multimeter to check for voltage at the motor connector when the switch is pressed.
5. Blown Fuse or Electrical Issues
Repeatedly blown fuses, tripped relays, or warning lights related to the wiper/washer system often indicate a short circuit or overloaded motor. This is a sign of internal failure, such as a seized motor or shorted windings.
Safety Note: Never replace a blown fuse with one of higher amperage. This can cause wiring damage or even fire.
Step-by-Step Diagnostic Checklist
Before replacing your rear washer motor, follow this systematic diagnostic process to confirm the issue:
Rear Washer Motor Failure Diagnostic Checklist
| Step | Action | What to Look For |
|---|---|---|
| 1 | Check washer fluid level | Low or empty reservoir? Refill if needed. |
| 2 | Inspect washer nozzle | Clogged or blocked? Clean with a pin or needle. |
| 3 | Listen for motor operation | Quiet? Proceed to electrical checks. |
| 4 | Test rear washer switch | No response? Test for voltage at the switch. |
| 5 | Check fuse and relay | Blown fuse or bad relay? Replace and retest. |
| 6 | Inspect motor wiring | Corrosion, fraying, or disconnection? Repair. |
| 7 | Test voltage at motor connector | No voltage? Trace wiring back to switch/relay. |
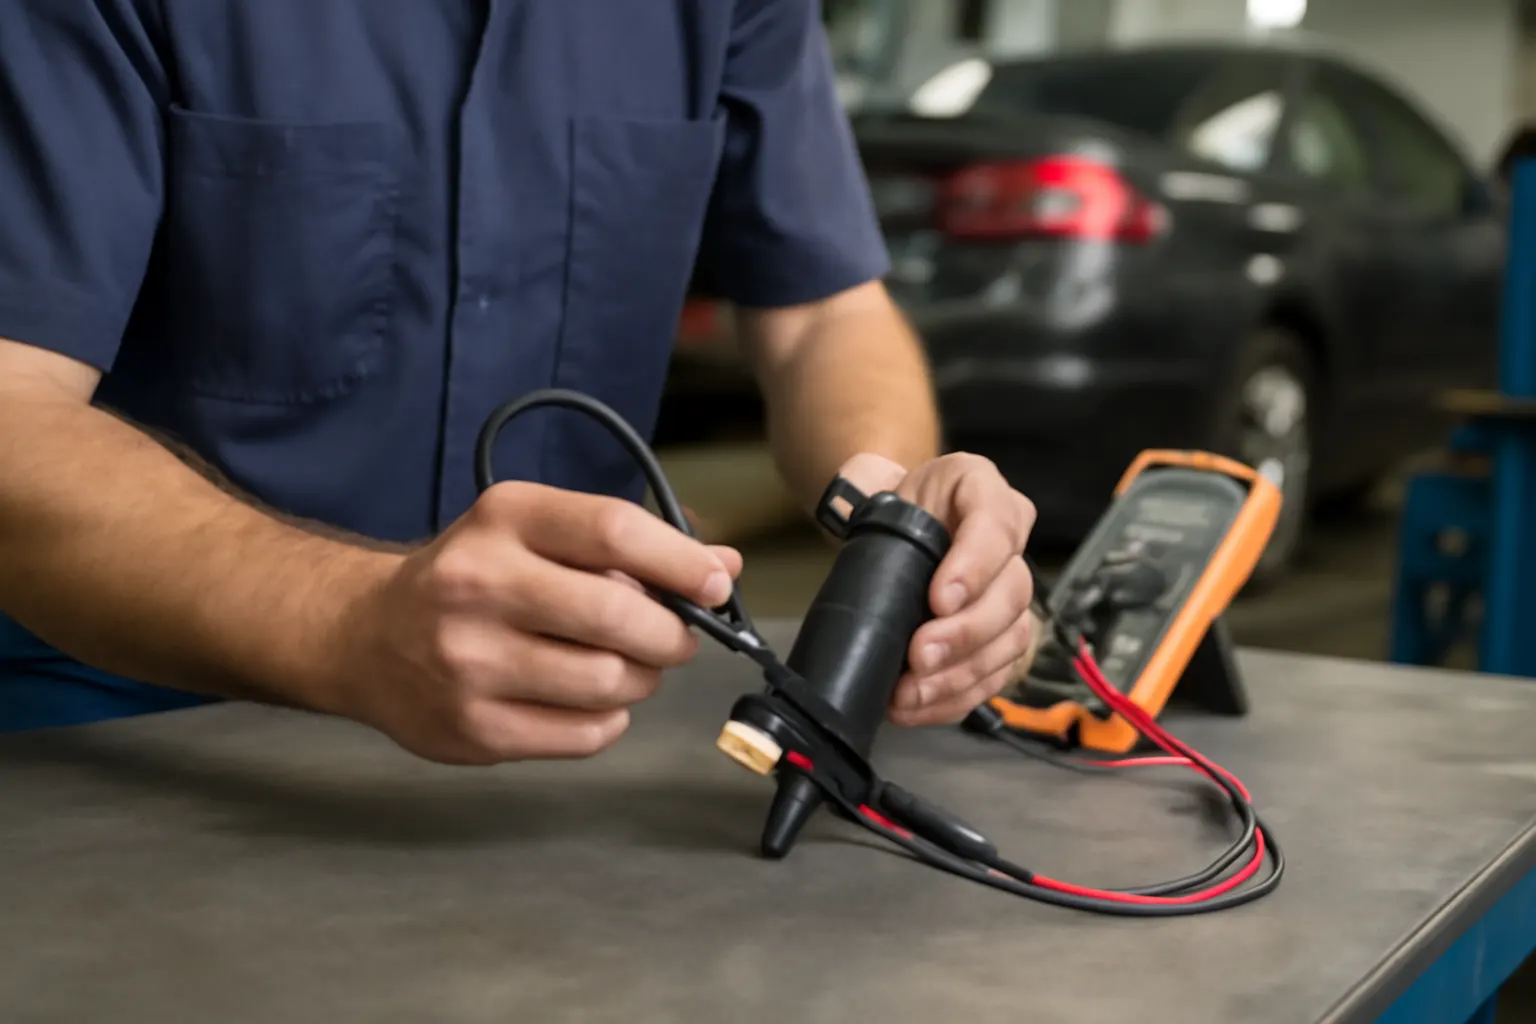
| 8 | Bench test washer motor | Motor spins when powered directly? If not, replace. |
If the motor fails the bench test or does not receive power despite everything else checking out, replacement is necessary.
The Solution Path: Sourcing and Replacing Your Rear Washer Motor
Choosing the Right Replacement Motor
Not all washer motors are interchangeable. Consult your vehicle’s service manual or a reputable parts supplier to select a compatible motor. The Rear Window Washer Motor Replacement & Technical Guide provides detailed fitment information by make and model.
Key Sourcing Tips:
- Match the motor’s connector type and mounting style.
- Confirm voltage (most are 12V, but check for your specific application).
- Consider OE (original equipment) or quality aftermarket units for best reliability.
Tools and Materials Needed
- Replacement rear washer motor
- Basic hand tools (screwdrivers, ratchet, sockets)
- Multimeter or test light
- Pin or needle (for nozzle cleaning)
- Dielectric grease (for electrical connectors)
Rear Washer Motor Replacement Steps
- Disconnect the Battery: Prevent accidental shorts.
- Access the Rear Hatch Panel: Remove trim panels to expose the motor.
- Disconnect Wiring and Hoses: Note the routing for reinstallation.
- Remove the Old Motor: Unbolt and carefully extract.
- Install the New Motor: Mount securely and reconnect wiring/hoses.
- Test the System: Before reassembling trim, activate the washer to confirm operation.
- Reinstall Hatch Panel: Replace trim and secure all fasteners.
For a detailed walkthrough, refer to How to Diagnose and Replace a Rear Window Washer Motor.
Preventive Maintenance: Extending Washer Motor Life
Proper care can dramatically extend the life of your rear washer motor:
- Regular Fluid Checks: Keep the reservoir filled with appropriate washer fluid. Running the motor dry can cause overheating.
- Clean Nozzles and Hoses: Prevent clogs that stress the motor.
- Inspect Wiring: Check for corrosion or damage, especially after winter.
- Operate Periodically: Use the rear washer occasionally, even in dry weather, to keep seals lubricated and prevent sticking.
Advertisement
For comprehensive system upkeep, see Complete Rear Wiper and Washer System Maintenance.
Avoiding Common Pitfalls in Rear Washer Motor Replacement
Many DIYers run into avoidable problems when replacing a rear washer motor:
- Forgetting to Disconnect the Battery: This can cause shorts or accidental airbag deployment in some vehicles.
- Damaging Trim Panels: Use plastic trim tools and work gently to avoid breaking clips.
- Mixing Up Connectors: Take photos before disassembly to ensure correct reassembly.
- Ignoring Gasket Seals: Reuse or replace any rubber gaskets to prevent water leaks into the hatch.
Taking your time and following the correct sequence can save hours of frustration and prevent costly mistakes.
When to Seek Professional Help
While rear washer motor replacement is a manageable DIY task for many, there are situations where professional service is recommended:
- Complex Electrical Issues: If the motor has power but won’t run, or if fuses keep blowing, underlying wiring faults may require advanced diagnostics.
- Integrated Systems: Some vehicles integrate the washer motor with other electronic modules, requiring specialized tools for calibration or programming.
- Difficult Access: On certain SUVs and hatchbacks, the motor may be buried behind extensive trim or glass, increasing the risk of damage during removal.
If in doubt, consult a certified technician or visit a trusted repair facility.
The Impact of Rear Washer Motor Failure on Vehicle Safety and Compliance
According to the NHTSA, all safety equipment—including wiper and washer systems—must function correctly for a vehicle to be considered roadworthy [1]. A failed rear washer motor can result in:
- Failed Vehicle Inspections: Many states require functional washers for inspection passes.
- Reduced Rear Visibility: Increases risk of accidents, particularly in rain, snow, or dusty conditions.
- Potential Recalls: Chronic failures in certain models may trigger manufacturer recalls [4].
Addressing washer motor issues promptly not only protects your visibility but also ensures your vehicle remains compliant with safety regulations.
Advertisement
Selecting Quality Parts: OE vs. Aftermarket Washer Motors
When sourcing a replacement, you’ll face a choice between original equipment (OE) and aftermarket parts. Here’s how they compare:
| Feature | OE Washer Motor | Aftermarket Washer Motor |
|---|---|---|
| Fitment | Guaranteed for make/model | May require adaptation |
| Quality | Meets strict manufacturer specs | Varies by brand |
| Price | Generally higher | Often more affordable |
| Warranty | Typically 1-2 years | Ranges from 6 months to lifetime |
For most drivers, a reputable aftermarket washer motor offers a good balance of price and reliability. However, for newer vehicles or those under warranty, OE parts may be the safer choice.
Advanced Troubleshooting: Electrical and System-Level Diagnostics
If standard checks don’t resolve your washer motor issue, consider these advanced diagnostic steps:
- Check for Ground Faults: Use a multimeter to ensure the motor’s ground connection is solid.
- Test Switch Continuity: Remove the washer switch and check for continuity when pressed.
- Scan for Fault Codes: Some modern vehicles log washer system faults in the body control module (BCM). Use a scan tool for diagnosis.
- Inspect for Water Intrusion: Look for signs of water damage in the hatch wiring harness, especially after heavy rain.
These steps can uncover hidden issues that might otherwise go undiagnosed.
AutoPartEx: Your Partner in Rear Washer Motor Replacement
At AutoPartEx, we understand the importance of reliable rear visibility and the role washer motors play in vehicle safety. Our Rear Window Washer Motor Replacement & Technical Guide offers in-depth technical resources, fitment charts, and expert advice to help you select, install, and maintain your washer motor with confidence.
Our commitment to quality, safety, and technical accuracy ensures you’re equipped with the knowledge and parts to keep your vehicle performing at its best. Whether you’re a DIY enthusiast or a professional technician, AutoPartEx delivers the expertise and support you need.
Expert Action: What to Do Next
If you’ve identified any of the five warning signs outlined above, don’t delay:
- Confirm the Diagnosis: Use the checklist provided to systematically isolate the cause.
- Source the Correct Part: Consult your vehicle manual or the Rear Window Washer Motor Replacement & Technical Guide to ensure proper fitment.
- Perform the Replacement: Follow best practices for safe, effective repair, or seek professional help if needed.
- Maintain Your System: Regularly check fluid levels, clean nozzles, and inspect wiring to prevent future failures.
By acting early, you’ll safeguard your visibility, comply with safety standards, and extend the life of your wiper and washer system.
References
- Vehicle Safety and Equipment – National Highway Traffic Safety Administration
- Fuel Efficiency – United States Department of Energy
- Materials Technologies – United States Department of Energy
- Vehicle, Car Seat, Tire, and Equipment Recalls – National Highway Traffic Safety Administration
- SAE Standards – SAE International
Advertisement