
Advertisement
Restoring an AMC classic is a journey marked by both pride and challenge—especially when it comes to sourcing and fitting rear bumper face bars. Whether you’re reviving a Javelin, AMX, Rebel, or any other AMC icon, the rear bumper face bar is a critical component for both safety and period-correct appearance. This Restoration Parts Blog delivers immediate, actionable answers for enthusiasts and professionals, highlights the hidden pitfalls of AMC bumper restoration, and provides deep technical insight, shop-tested solutions, and expert guidance. If you’re looking for comprehensive fitment tips, diagnostic checklists, or reliable sourcing, you’re in the right place. For full technical details, reference our AMC Rear Bumper Face Bar – Fitment, Diagnostics, and Sourcing Guide as your authoritative resource.
Why AMC Rear Bumper Restoration Is a Unique Challenge
AMC rear bumper face bars are more than just cosmetic trim—they are engineered safety devices that must meet federal standards and vehicle-specific fitment requirements. Unlike more ubiquitous brands, AMC’s limited production runs and model-year changes mean that finding, restoring, and installing the correct bumper face bar is often a complex, multi-step process. Many restoration projects stall at this stage due to sourcing obstacles, hidden structural issues, or compatibility surprises.
The Immediate Solution: Shop-Tested Sourcing and Fitment
The fastest route to a successful AMC rear bumper restoration is a structured, expert-driven approach:
- Source Only Verified Parts: Use reputable suppliers or restoration specialists with proven AMC expertise.
- Conduct a Complete Diagnostic: Assess both the visible and hidden condition of the bumper and mounting points.
- Reference Technical Guides: Consult fitment and materials guides to avoid costly mistakes.
- Follow a Proven Installation Process: Use step-by-step instructions and manufacturer torque specs to ensure safety and authenticity.
The Hidden Problems in AMC Bumper Restoration
Why "Universal" Doesn't Work for AMC
Many generic or “universal” bumper face bars claim broad compatibility but rarely fit AMC models correctly. AMC’s unique chassis dimensions, bumper mounting bracket geometry, and model-specific trim details mean that even minor deviations lead to poor alignment, unsafe mounting, or an incorrect appearance.
Rust, Fatigue, and Hidden Structural Issues
Even when a bumper looks sound, hidden rust, stress cracking, and prior accident repairs can compromise both function and safety. AMC bumpers from the 1960s–1980s are especially prone to internal corrosion and fatigue at mounting points, which may not be visible until the bumper is removed.
Compliance With Modern Safety Standards
Modern vehicle safety standards, as outlined by the National Highway Traffic Safety Administration, require that bumper components perform to specific impact and mounting criteria. While classic AMCs are often exempt from current regulations, restorers must be aware of these standards to ensure safety—especially if the vehicle will be driven regularly.
Technical Deep Dive: AMC Bumper Face Bar Design and Materials
Material Selection: Steel, Chrome, and Modern Alternatives
AMC rear bumper face bars were typically stamped from heavy-gauge steel and finished with chrome plating. Over time, environmental exposure leads to surface rust, chrome flaking, and even metal fatigue. Modern restoration may involve re-chroming, replacing with reproduction steel, or in rare cases, using lighter materials such as aluminum—though authenticity and fitment may be compromised.
The United States Department of Energy highlights the importance of material selection for both performance and longevity. For concours restorations, original-spec steel and chrome are essential; for daily drivers, lighter materials may offer fuel efficiency benefits but must be evaluated for structural integrity.
Mounting Geometry and Fitment Precision
AMC’s rear bumper face bar mounting points are model- and year-specific. Even small changes in bumper bracket angle, hole spacing, or body contour can prevent a bumper from seating flush or aligning with body panels. Restoration requires careful comparison with technical drawings or service manuals, and often test-fitting with all mounting hardware installed.
The Role of Energy Absorption and Safety Engineering
While AMC bumpers of the era were not designed to modern crumple-zone standards, they were engineered to absorb minor impacts and protect key vehicle components. Reusing a bumper with hidden structural damage or incorrect mounting can result in catastrophic failure during an accident.
Advertisement
Diagnostic Checklist: Assessing Your AMC Rear Bumper Face Bar
Before committing to restoration or replacement, use this detailed checklist to evaluate the bumper’s condition and fitment:
AMC Rear Bumper Face Bar Diagnostic Checklist
| Inspection Point | Pass/Fail | Notes/Actions |
|---|---|---|
| Surface rust and chrome loss | Re-chrome or replace if severe | |
| Mounting bracket alignment | Check for bends, cracks, or elongation | |
| Spot weld and seam integrity | Inspect for separation or fatigue | |
| Evidence of prior repairs | Look for welds, filler, or patches | |
| Mounting hardware condition | Replace corroded or missing fasteners | |
| Fitment with body panels | Test-fit to check alignment and gaps | |
| Internal corrosion (hidden) | Use borescope or remove for inspection | |
| Impact distortion | Check for warping or misalignment |
Sourcing Authentic AMC Bumper Face Bars
Where to Find Genuine AMC Bumpers
- Specialized AMC Parts Suppliers: Seek out vendors who specialize in AMC components and can verify part numbers and fitment.
- Restoration Forums and Clubs: Online communities and local clubs often have leads on NOS (New Old Stock) or high-quality used parts.
- Reproduction Parts Manufacturers: Some companies now produce accurate reproductions using original tooling or CAD scans.
- Salvage Yards and Swap Meets: Patience and persistence can yield rare finds, but always inspect thoroughly.
What to Avoid
- “Universal” or Unverified Reproductions: These often have incorrect mounting patterns or lack proper chrome finish.
- Parts With Unknown History: Previous accident damage or substandard repairs can compromise safety.
- Rust-Through or Deep Pitting: Restoration costs can quickly exceed replacement value.
Key Questions to Ask Suppliers
- Is this part an exact match for my AMC model and year?
- Has the bumper been inspected for hidden damage?
- Are mounting brackets and hardware included or available?
- Is there a return policy if fitment is incorrect?
Shop-Tested Restoration and Installation Strategies
Preparation: Cleaning, Stripping, and Surface Inspection
Begin by thoroughly cleaning the bumper to remove dirt, grease, and old wax. Strip away failed chrome and examine the raw steel for pitting, cracks, or weld separation. Use a borescope or inspection mirror to check inside seams and mounting points for hidden corrosion.
Repair vs. Replace: Making the Right Call
Minor surface rust and pitting can often be repaired with sandblasting and metal filler, followed by re-chroming. However, deep rust, severe bends, or mounting point fatigue usually require full replacement. Always compare restoration costs with the price and availability of a quality replacement.
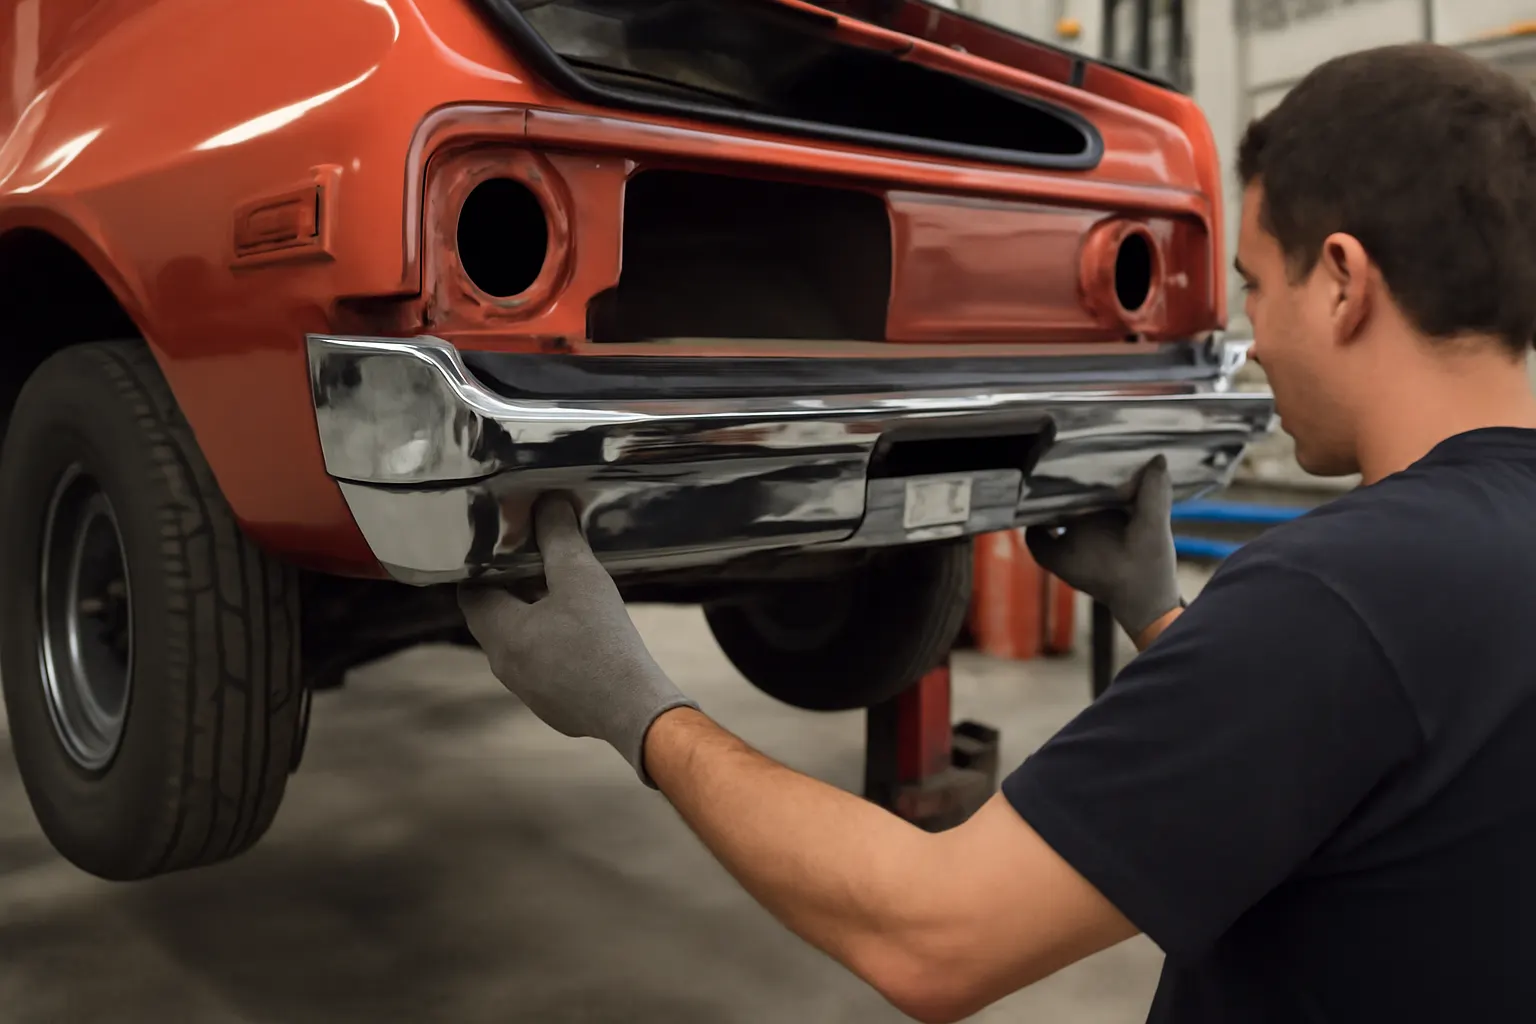
Installation: Step-by-Step Best Practices
- Test-Fit All Components: Dry-fit the bumper, brackets, and hardware to check alignment.
- Torque Specs: Use manufacturer or SAE Standards torque values for all fasteners.
- Isolate Dissimilar Metals: Use nylon washers or anti-seize to prevent galvanic corrosion if mixing old and new hardware.
- Final Adjustment: Align bumper with body lines and tighten all fasteners incrementally.
- Electrical Connections: If the bumper integrates with reverse or license plate lights, check all wiring and grounds.
For a detailed walkthrough, see our Amc Bumper Installation Guide.
Maintenance Tips to Maximize Longevity
Preventing Rust and Corrosion
- Regular Cleaning: Wash frequently, especially after exposure to road salt or moisture.
- Wax and Sealant: Use chrome polish and wax to protect the finish.
- Inspect Mounting Points: Regularly check for loose hardware or developing rust.
Addressing Minor Damage Promptly
- Touch-Up Scratches: Use chrome touch-up paint or clear epoxy to seal nicks.
- Tighten Hardware: Prevent vibration and movement which can accelerate fatigue.
Seasonal Storage Advice
If storing your AMC for the winter, remove the bumper (if practical) and store in a dry, climate-controlled area to prevent condensation-related corrosion.
Success Stories: Real-World AMC Bumper Restorations
The AMX Survivor: NOS Find and Seamless Fitment
One AMC enthusiast located a NOS (New Old Stock) rear bumper face bar for his 1970 AMX through a dedicated AMC forum. After verifying part numbers and confirming bracket compatibility, the bumper was installed with only minor adjustment needed. The result was a concours-level finish, with perfect alignment and robust mounting—proof that patience and research pay off.
The Rebel Rebuild: Repairing a Salvage Yard Discovery
A 1969 Rebel owner sourced a used bumper from a regional salvage yard. Despite surface rust and a small dent, the bumper was structurally sound. After sandblasting, metalwork, and professional re-chroming, the bumper was indistinguishable from new. The owner credits a thorough diagnostic checklist and the use of proper torque specs for the successful outcome.
Advertisement
The Javelin Challenge: Overcoming Poor Reproduction Fit
An attempted installation of a “universal” reproduction bumper on a 1972 Javelin resulted in misaligned mounting holes and excessive gaps at the body lines. After consulting technical guides and measuring the original part, the restorer sourced a model-specific reproduction from a specialist, resulting in correct fitment and improved safety.
Common Pitfalls and How to Avoid Them
Misidentification of AMC Model and Year
AMC frequently updated bumper design, bracketry, and trim details—even within a single model year. Always verify the exact model, trim package, and production date before ordering parts.
Overlooking Mounting Hardware
Restoration often stalls when original mounting bolts, spacers, or brackets are missing or corroded. Many suppliers offer hardware kits—always include these in your order to avoid delays.
Ignoring Hidden Structural Issues
Never assume a visually “good” bumper is structurally sound. Internal rust, prior weld repairs, or fatigue cracks can compromise safety. Use a borescope, tap test, or professional inspection before installation.
Fitment Mastery: How to Guarantee a Factory-Correct AMC Rear Bumper
Reference Factory Drawings and Guides
Consult factory service manuals, technical guides, and reputable online resources for precise measurements and mounting diagrams. Our Amc Rear Bumper Fitment page offers detailed specifications and troubleshooting advice.
Test-Fit With All Hardware Installed
Always test-fit the bumper, brackets, and hardware together before final installation. This allows for minor adjustments and ensures proper alignment with body lines, tail lights, and trim.
Use Correct Torque and Fastening Sequences
Over-tightening can deform mounting points, while under-tightening risks vibration and eventual failure. Follow manufacturer or SAE torque specs, tightening in a star or cross pattern for even load distribution.
The Impact of Materials and Weight on Performance
Why Original Materials Matter
Restoring with original-spec steel and chrome maintains not only authenticity but also the intended crash performance. According to the United States Department of Energy, vehicle weight and material selection influence both safety and fuel efficiency. Substituting lighter materials may improve economy but can reduce impact resistance.
Balancing Authenticity and Practicality
For show cars and concours restorations, originality is paramount. For daily drivers, some owners opt for lighter or corrosion-resistant materials, but these should be chosen with professional guidance to ensure safety and proper fitment.
Sourcing and Restoration: Step-by-Step Workflow
- Identify Your AMC Model and Year: Confirm exact specifications using VIN, service manuals, or expert advice.
- Source the Bumper: Prioritize NOS, verified used, or reputable reproduction parts.
- Inspect and Diagnose: Use the checklist above to assess condition and fitment.
- Restore or Replace: Choose the most cost-effective and safe option.
- Gather All Hardware: Include brackets, bolts, spacers, and any trim pieces.
- Prepare and Clean: Remove old finish, address rust, and prep surfaces.
- Test-Fit: Assemble all components and check alignment.
- Install: Follow step-by-step instructions and torque specs.
- Inspect: Double-check all fasteners and alignment.
- Maintain: Follow maintenance tips to preserve finish and integrity.
Expert Action: When to Call in a Professional
Complex Restoration Scenarios
If your bumper exhibits severe rust-through, hidden fatigue, or accident damage, professional restoration or replacement is recommended. Likewise, if you lack access to proper tools (such as a torque wrench, sandblaster, or welding equipment), a qualified shop will ensure safety and authenticity.
Sourcing Hard-to-Find Parts
Professional AMC restoration shops often have access to rare parts, NOS inventory, or trusted reproduction sources not available to the public.
Ensuring Compliance and Safety
If your AMC will be driven regularly, a professional can help ensure that the bumper meets both period-correct and modern safety standards, as outlined by the National Highway Traffic Safety Administration.
AutoPartEx: Your Partner in AMC Restoration
AutoPartEx is committed to supporting AMC enthusiasts and restoration professionals with the most accurate fitment data, diagnostic resources, and shop-tested solutions. Our AMC Rear Bumper Face Bar – Fitment, Diagnostics, and Sourcing Guide is the industry’s most trusted reference for AMC bumper restoration. From sourcing hard-to-find parts to providing technical support, we help you achieve a safe, authentic, and lasting restoration.
Explore our in-depth Amc Bumper Materials Guide for more on material selection, restoration techniques, and maintenance strategies.
References
Advertisement