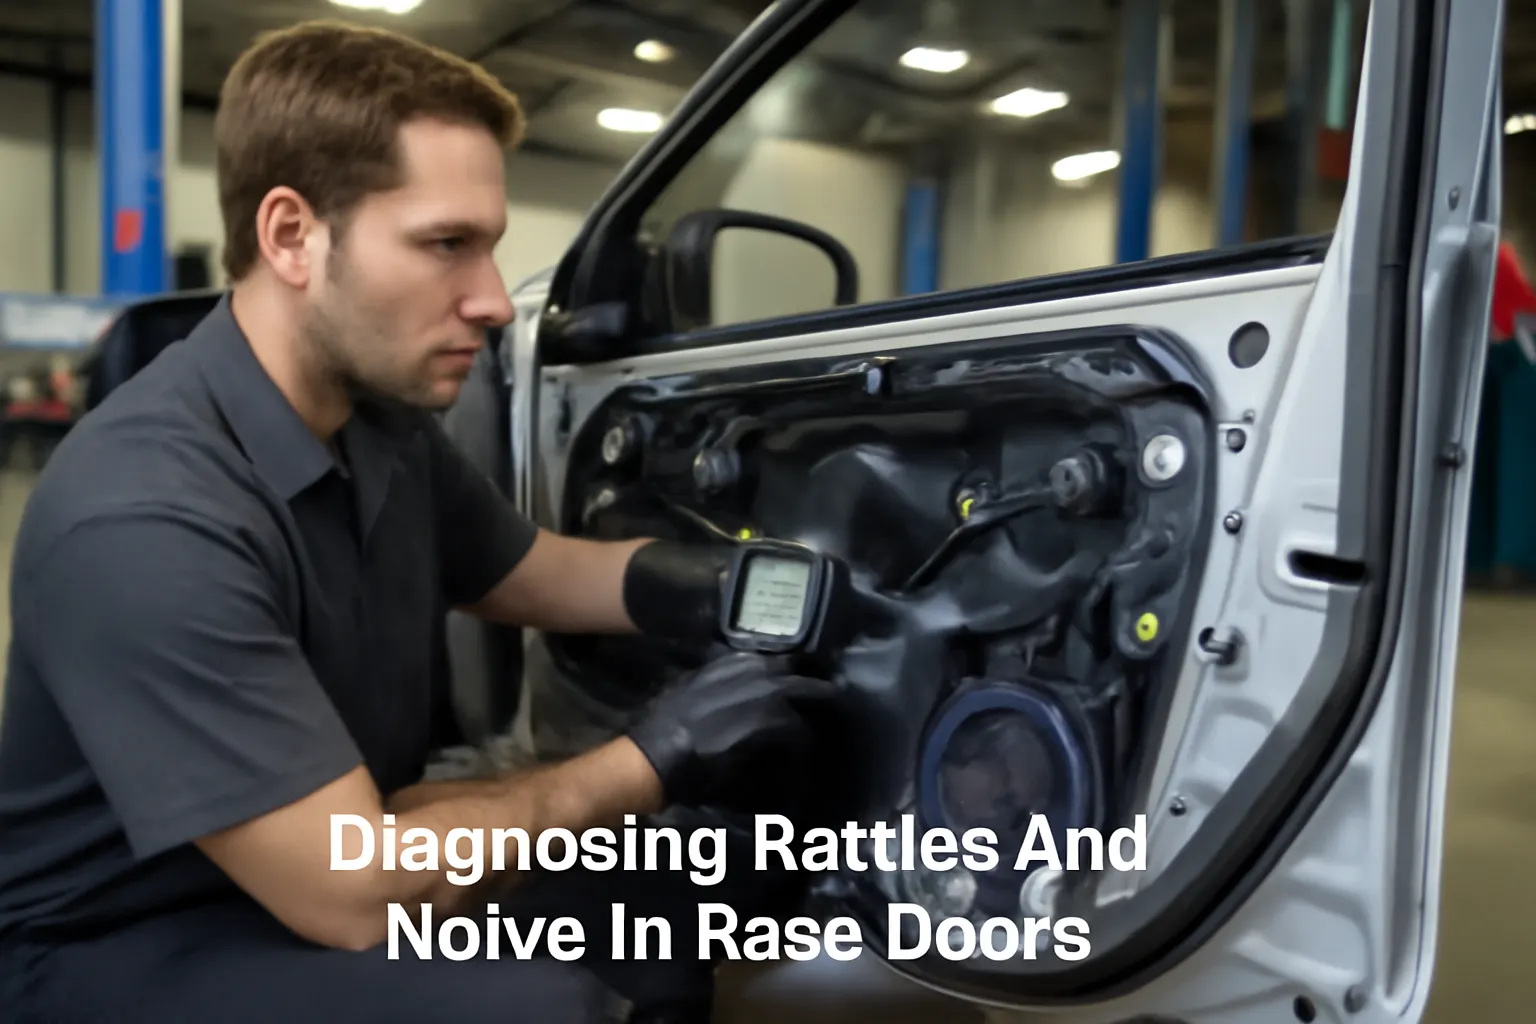
Diagnosing Rattles and Noise in Rear Doors
Rear door rattles and intrusive noises can transform even the most refined vehicle into a source of constant irritation, undermining the sense of quality, comfort, and safety. Fortunately, most rear door noises originate from issues that can be diagnosed methodically and resolved with precision. This guide delivers an expert-driven, step-by-step approach to identifying, understanding, and eliminating rattles and noises in rear door trim panels, restoring the cabin quiet that drivers and passengers expect. For a comprehensive look at rear door trim panels, including advanced engineering and service insights, see our Rear Door Interior Trim Panels: Advanced Engineering, Service, and Replacement Insights category page.
Immediate Answer: Why Rear Door Trim Panels Rattle
The most common causes of rear door rattles include loose or missing trim panel fasteners, misaligned or damaged clips, subpar installation methods, worn weatherstripping, and internal component interference (such as window regulators or wiring harnesses contacting the panel). In many cases, rattles can be traced to a recent repair, trim panel removal, or the natural aging of panel attachment points. Addressing these issues requires a systematic diagnostic process and careful reinstallation using quality components that meet OEM or SAE standards.
The Hidden Problem: Cabin Noise and Vehicle Perception
While a rattle may seem like a minor annoyance, persistent rear door noises can signal deeper issues—compromising not only comfort but also perceived vehicle quality, occupant safety, and even resale value. Cabin noise is a critical metric in automotive engineering, influencing both driver satisfaction and the effectiveness of safety equipment. A poorly secured trim panel could allow moisture intrusion, interfere with side-impact airbag deployment, or mask more serious structural or mechanical faults. That's why a thorough diagnosis is essential, not just for comfort, but for the integrity and safety of your vehicle.
Understanding Rear Door Noise: Causes and Consequences
Common Sources of Rear Door Rattles
Rear door trim panel rattles typically originate from one or more of the following:
- Loose or broken panel clips: Age, improper removal, or impact can damage plastic clips, causing the panel to vibrate against the door frame.
- Missing or incorrect fasteners: Substituted or omitted screws and push-pins lead to uneven panel mounting.
- Misaligned trim: Panels not seated flush with the door structure create gaps that allow movement and vibration.
- Internal interference: Window regulator cables, rods, or wiring harnesses may contact the inside of the trim panel if not routed or retained correctly.
- Deteriorated insulation or weatherstripping: Failing foam pads or seals allow panels to move and amplify road vibrations.
- Accessory or speaker installation errors: Aftermarket speakers or accessories can introduce new contact points and resonance issues.
Why Addressing Rattles Matters
Unresolved rattles can escalate into more significant problems:
- Moisture ingress: Gaps or misalignment may allow water into the door, risking corrosion and electrical faults.
- Safety system interference: Poorly fitted panels can impede side airbag deployment or wiring integrity, reducing occupant protection (NHTSA Equipment).
- Reduced resale value: Persistent interior noises are flagged during pre-purchase inspections, impacting trade-in and resale offers.
- Driver distraction: Continuous noise can increase fatigue and distract from the driving task, affecting safety.
Technical Deep Dive: How Trim Panels Are Engineered
OEM vs Aftermarket Panel Construction
Rear door trim panels are precision-engineered to meet strict dimensional, safety, and acoustic standards set by SAE International (SAE Standards). OEM panels use molded ABS, polypropylene, or composite substrates, layered with foam, fabric, or vinyl, and secured with factory-specified clips and fasteners. Aftermarket panels may substitute materials or attachment methods, potentially affecting fit and NVH (Noise, Vibration, Harshness) performance. For a detailed comparison, review OEM vs Aftermarket Trim Panels: What You Need to Know.
Fastening and Isolation Systems
Modern trim panels rely on:
- Snap-in plastic clips: Designed for single or limited re-use, these provide primary retention.
- Screw or bolt fasteners: Located in armrests, pull handles, or lower corners for structural security.
- Foam pads and seals: Decouple the panel from the metal door, absorbing vibration and preventing direct contact.
- Weatherstripping and vapor barriers: Maintain a moisture and air seal, crucial for both comfort and corrosion prevention.
Acoustic Engineering
Automakers tune door assemblies for minimal cabin noise by:
- Strategically placing insulation pads behind the trim panel.
- Using multi-layer construction to dampen sound transmission.
- Engineering panel contours and mounting points to avoid resonance with the door’s natural vibration frequencies.
Step-by-Step Diagnostic Process
Diagnosing rear door rattles requires a systematic approach. The following checklist outlines the process:
Rear Door Rattle Diagnostic Checklist
- Road Test and Noise Replication
- Drive on mixed surfaces to locate the rattle’s frequency and source.
- Tap or press on the door to isolate the area of concern.
- Visual Inspection
- Examine panel gaps, alignment, and visible fasteners.
- Check for missing or broken clips, screws, or push-pins.
- Panel Removal (if needed)
- Use a trim removal tool to gently release the panel, starting at the bottom.
- Inspect the back of the panel for damaged or missing clips.
- Examine insulation pads and vapor barriers for deterioration.
- Internal Component Check
- Inspect window regulator, lock rods, and wiring harnesses for secure routing and retention.
- Look for signs of contact or abrasion on the inside of the panel.
- Test Fitment
- Temporarily reinstall the panel and test for movement or noise by tapping and flexing the panel.
- Final Road Test
- After repairs, perform another drive to confirm the rattle has been eliminated.
Common Diagnostic Pitfalls and How to Avoid Them
Overlooking Clip and Fastener Quality
A frequent error is reusing old or damaged clips. Most panel clips are designed for a single use; once deformed or cracked, they lose retention force, allowing movement and noise. Always replace with OEM or SAE-compliant clips.
Ignoring Insulation Pads
Missing or deteriorated foam pads between the panel and door can turn minor vibrations into audible rattles. Inspect and replace all isolation materials during service.
Misrouting Internal Components
Window regulator cables or lock rods must be secured in their designated clips or guides. A loose rod or wire can rattle against the metal or the panel, especially on rough roads.
Rushing Panel Installation
Improperly aligned panels may seem secure but will flex and move during driving. Always align all clips and fasteners before final seating.
Tools and Materials: What You’ll Need
A successful rattle diagnosis and repair requires the right tools and materials:
- Trim panel removal tools: Non-marring plastic levers prevent damage to panels and paint.
- Replacement clips and fasteners: OEM or SAE-compliant for your specific make/model.
- Foam insulation pads: Self-adhesive pads to replace worn or missing isolation material.
- Screwdrivers and nut drivers: For removing and reinstalling screws or bolts.
- Inspection mirror and flashlight: To check hidden areas inside the door.
- Panel alignment gauge (optional): Ensures precise fitment in professional settings.
Installation Best Practices: Ensuring Rattle-Free Fitment
Preparation
- Work in a clean, well-lit area: Debris or dirt can interfere with panel seating and clip retention.
- Lay out all new clips, fasteners, and insulation pads: Confirm you have the correct quantities and types before starting.
Installation Steps
- Install new insulation pads on the rear of the panel, aligning with factory locations.
- Align the panel with the door, ensuring all clips are positioned over their respective holes.
- Press evenly around the perimeter, seating each clip with a firm push—never hammer or force.
- Install all screws and fasteners in their original positions, tightening to manufacturer torque specifications.
- Recheck panel alignment and close the door, verifying smooth operation and consistent gaps.
- Test for noise by tapping and flexing the panel; it should feel solid and silent.
Common Installation Errors
- Forgetting a fastener: Even a single missing screw can allow movement.
- Skipping insulation pads: Increases the risk of vibration and noise.
- Over-tightening screws: Can crack plastic or deform the panel, reducing retention.
For a comprehensive walkthrough, see How to Replace Rear Door Trim Panels Safely.
When to Replace vs. Repair Rear Door Trim Panels
Not all rattles can be eliminated with minor repairs. Consider full panel replacement if:
- The panel substrate is cracked, warped, or water-damaged.
- Mounting points are broken or stripped beyond repair.
- Aftermarket modifications have compromised fit or structure.
- Repeated attempts at repair fail to resolve the noise.
When replacing, always source panels that meet or exceed OEM and SAE standards for safety, fit, and finish. Consult Rear Door Interior Trim Panels: Advanced Engineering, Service, and Replacement Insights for sourcing guidance.
Sourcing Quality Parts: OEM vs Aftermarket Considerations
OEM Parts
- Guaranteed fit and finish
- Designed for optimal NVH performance
- Meets all safety and compatibility standards
Aftermarket Parts
- Cost savings possible
- Wide variety of materials and finishes
- Fit and acoustic performance can vary—choose reputable brands
Whether choosing OEM or aftermarket, always verify that clips, fasteners, and insulation materials are compatible and compliant with SAE and NHTSA guidelines (NHTSA Equipment, SAE Standards).
Preventative Maintenance: Keeping Rear Doors Quiet
Routine inspection and maintenance can prevent rattles before they start:
- Annually inspect panel fit and fastener integrity.
- Check for signs of water ingress or insulation pad deterioration.
- After any door service (window, lock, speaker), recheck all clips and fasteners.
- Lubricate weatherstripping to maintain flexibility and sealing performance.
- Address minor noises promptly to prevent escalation.
Advanced Troubleshooting: When the Rattle Persists
If standard diagnostics fail to resolve a rear door rattle:
- Use chassis ears or electronic stethoscopes to pinpoint elusive noise sources.
- Check for door structure issues: Metal fatigue, loose impact beams, or internal corrosion can transmit vibration.
- Review technical service bulletins (TSBs): Some vehicles have known issues with specific trim panels or attachment systems.
- Consult a professional: Persistent or complex rattles may require advanced diagnostic equipment or specialty knowledge.
The Role of Interior Trim in Vehicle Safety and Comfort
Rear door trim panels are not merely cosmetic—they play a vital role in vehicle safety and occupant protection. Properly engineered and installed panels:
- Enhance side-impact safety by maintaining the position of airbags and structural reinforcements.
- Prevent intrusion of debris and moisture, reducing the risk of corrosion and electrical faults.
- Contribute to cabin comfort by isolating noise and vibration.
- Support fuel efficiency by minimizing parasitic noise that can mask drivetrain and engine issues (Fuel Efficiency).
For a deeper exploration of the safety implications, see The Role of Interior Trim in Vehicle Safety.
AutoPartEx: Your Partner in Quiet, Quality Interiors
AutoPartEx is committed to providing the most advanced, technically accurate resources for diagnosing, repairing, and upgrading rear door trim panels. Our curated catalog includes OEM and premium aftermarket panels, fasteners, and insulation materials—each selected for compliance with industry standards and real-world performance. Whether you are a DIY enthusiast or a professional technician, our expertise and product selection ensure that your repairs deliver lasting quiet, safety, and satisfaction.
For more resources, technical guides, and direct part sourcing, visit our Rear Door Interior Trim Panels category page or explore our manufacturer-specific selections, such as Acura and Alfa.
Expert Action: Take Control of Rear Door Noise
Don’t let rear door rattles diminish your vehicle’s comfort, safety, or value. With a methodical diagnostic approach, high-quality replacement parts, and attention to installation detail, you can restore your cabin’s tranquility and ensure every drive is as refined as intended. Begin with a thorough inspection, source parts that meet or exceed OEM and SAE standards, and follow best practices for repair and maintenance. For advanced troubleshooting or persistent issues, trust the expertise and resources of AutoPartEx to guide your next steps.