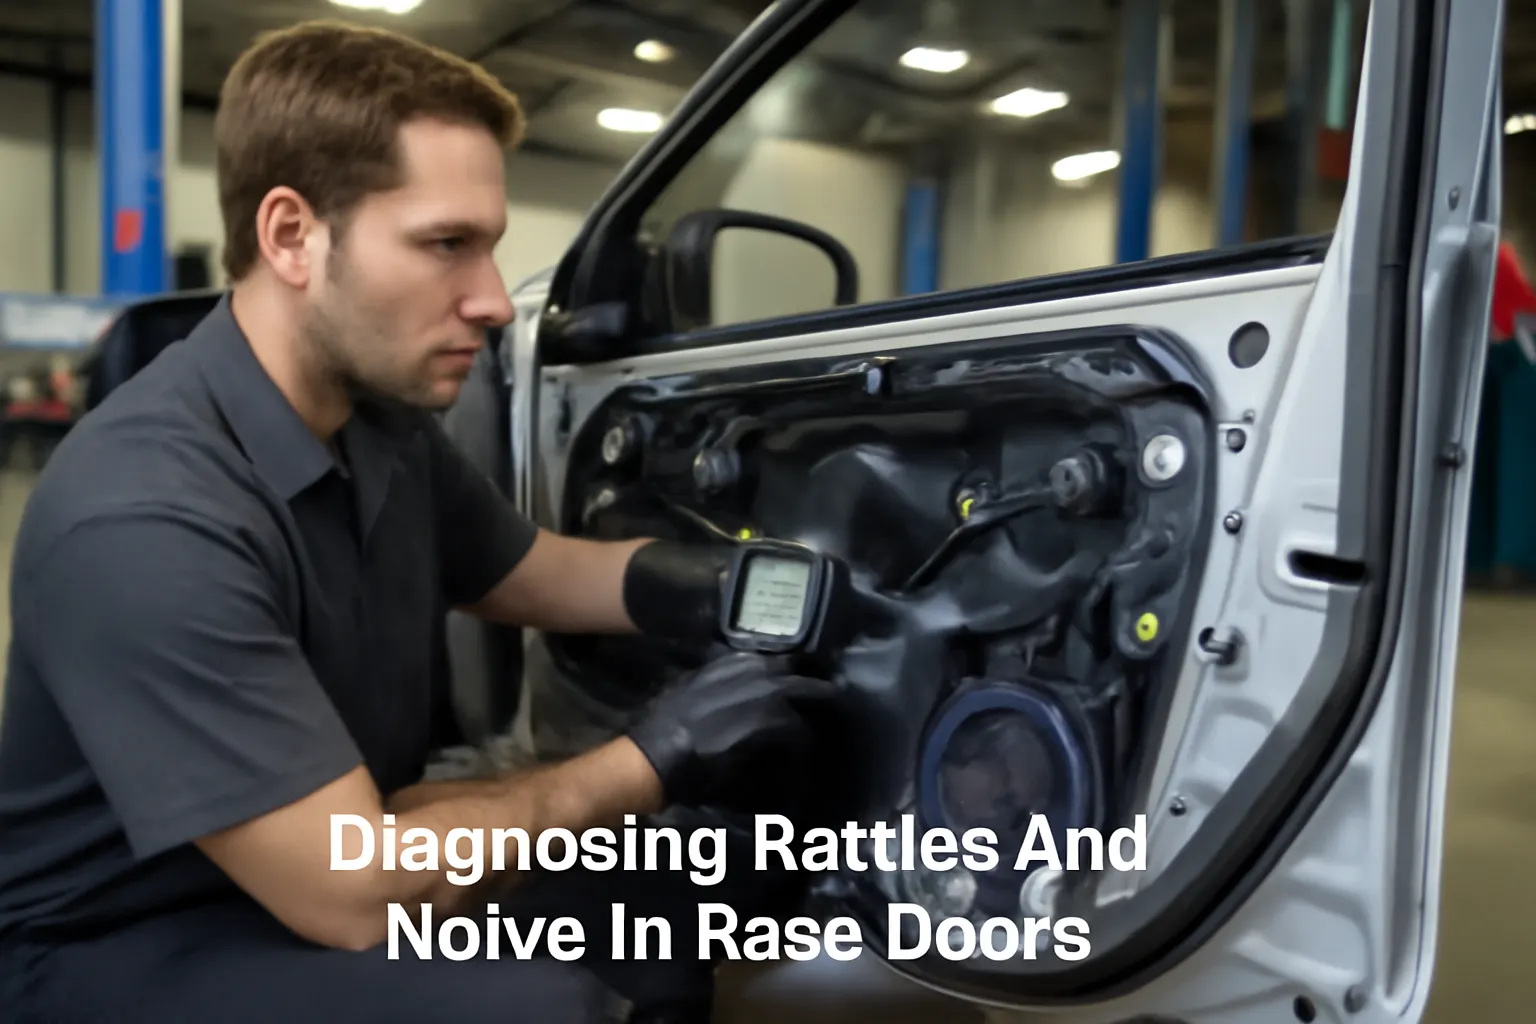
Diagnosing Rattles and Noise in Rear Doors
Rear door rattles and cabin noise are among the most persistent and frustrating issues for drivers and passengers seeking a quiet, comfortable ride. The solution often lies in the correct diagnosis and installation of rear door interior trim panels, which are critical for both noise suppression and structural integrity. If you’re experiencing rattling from your vehicle’s rear doors, understanding the root causes and knowing how to address them can restore the peace and quality you expect from your car’s interior. This guide delivers a technical, step-by-step approach to identifying, diagnosing, and resolving rear door noise, with a focus on professional standards and industry best practices.
If you're seeking a comprehensive overview of rear door trim panel design, fitment, and replacement, our Rear Door Interior Trim Panels: Technical Guide & Replacement Insights category provides foundational knowledge to complement this deep-dive diagnostic guide.
Why Rear Door Rattles Matter: Immediate Answers
Rattles and unusual noises from rear doors are not merely nuisances; they can signal underlying issues with trim panel fitment, fastener integrity, or even compromised safety equipment. Addressing these noises promptly:
- Restores cabin quiet and ride comfort.
- Prevents minor issues from escalating into larger trim or structural failures.
- Ensures that safety equipment, such as side airbags and child locks, function as intended.
Most rear door rattles originate from improper trim panel installation, missing or damaged fasteners, loose wiring harnesses, or degraded sound insulation materials. The first step toward a solution is a systematic inspection and targeted repair.
The Hidden Problem: More Than Just Annoyance
While many drivers dismiss rear door rattles as a minor inconvenience, these noises often point to deeper mechanical or material faults. Over time, vibration-induced wear can damage fasteners, wiring, and even the door structure itself. In some cases, persistent rattles may indicate that the trim panel is not securely attached, potentially affecting the deployment of side-impact airbags or the operation of rear door locks.
Additionally, as vehicles age and accumulate mileage, thermal cycling and repeated use can cause plastic clips to fatigue, sound-deadening pads to detach, and adhesive bonds to fail. These issues are exacerbated by DIY repairs that overlook original equipment manufacturer (OEM) specifications or by the use of low-quality aftermarket parts.
Understanding Rear Door Trim Panel Construction
Rear door interior trim panels are engineered to provide both aesthetic appeal and functional performance. They typically consist of:
- A substrate (often molded plastic or composite material) that forms the structural backbone.
- Surface covering (vinyl, fabric, or leather) for appearance and tactile comfort.
- Acoustic insulation (foam or fiber pads) to absorb and dampen sound.
- Mounting clips and fasteners designed to mate precisely with the door frame.
- Integrated components like armrests, switch panels, and speaker grilles.
According to the United States Department of Energy’s Materials Technologies, modern trim panels leverage advanced materials to balance weight, durability, and acoustic performance. However, these lightweight materials can be sensitive to improper handling, making correct installation critical for long-term quiet and safety.
Common Causes of Rear Door Rattles
Pinpointing the source of rear door noise requires a methodical approach. The most frequent culprits include:
- Loose or Missing Fasteners: Clips and screws that secure the trim panel may loosen over time or be omitted during previous repairs.
- Broken or Fatigued Clips: Plastic retaining clips can crack or lose tension, especially after repeated removal and reinstallation.
- Insufficient or Degraded Insulation: Sound-deadening pads may shift, compress, or peel away, allowing vibration to transmit to the cabin.
- Contact with Internal Components: Wiring harnesses, window regulator cables, or speaker assemblies may vibrate against the trim panel if not properly secured.
- Panel Warpage or Poor Fit: Exposure to heat and humidity can cause panels to deform, resulting in gaps or pressure points.
- Aftermarket Parts Mismatch: Non-OEM panels or fasteners may not align perfectly, leading to persistent rattles.
The Diagnostic Process: Step-by-Step Checklist
A thorough diagnosis minimizes guesswork and ensures that repairs directly address the noise source. Use the following checklist to guide your inspection:
Rear Door Rattle Diagnostic Checklist
| Step | Action | Details |
|---|---|---|
| 1 | Listen for Noise | Drive on varying surfaces; note when and where rattle occurs. |
| 2 | Inspect Panel Alignment | Check for gaps, uneven surfaces, or loose panel edges. |
| 3 | Test Fastener Security | Gently press around the panel perimeter; listen for movement or clicking. |
| 4 | Remove Trim Panel | Use OEM-approved tools to avoid damaging clips or panel surfaces. |
| 5 | Check Fasteners and Clips | Inspect for missing, broken, or fatigued clips and screws. Replace as needed. |
| 6 | Evaluate Insulation Pads | Ensure all pads are present and fully adhered; replace degraded material. |
| 7 | Examine Wiring and Components | Secure all loose harnesses, connectors, and mechanical linkages. |
| 8 | Inspect for Water Intrusion | Moisture can degrade adhesives and padding, causing rattles. Address leaks before reassembly. |
| 9 | Test Panel Fitment | Reinstall panel and verify secure fit before final assembly. |
| 10 | Road Test | Confirm that noise has been eliminated under real-world conditions. |
Special Attention: Fasteners, Clips, and OEM vs Aftermarket Fit
The integrity of rear door trim panels is heavily reliant on the quality and condition of fasteners and clips. OEM components are engineered to precise tolerances, ensuring consistent panel fit and acoustic performance. When replacing or reinstalling trim, always:
- Use new clips and fasteners where possible, as reused plastic components may lack the original tension.
- Avoid generic hardware from hardware stores, as these may not match the dimensions or material characteristics required.
- Reference your vehicle’s service manual or OEM vs Aftermarket Trim Panels: What You Need to Know for guidance on compatible replacement parts.
Aftermarket panels may offer cost savings but can introduce fitment issues that lead to persistent rattles. Always verify that aftermarket parts meet or exceed OEM specifications for fit, material, and acoustic insulation.
Acoustic Insulation: The Unsung Hero
Sound insulation within the rear door serves a dual purpose: it dampens road and wind noise, and it prevents vibration transfer between the door shell and the trim panel. Over time, factory-installed pads can:
- Compress and lose effectiveness.
- Detach due to adhesive failure, especially after water intrusion.
- Be omitted or improperly reinstalled during repairs.
When diagnosing rear door rattles, always inspect insulation pads and replace any that are missing, compressed, or contaminated. High-quality adhesive-backed foam or felt pads are preferred for their durability and acoustic properties.
Identifying and Addressing Secondary Sources
Not all rear door rattles originate from the trim panel itself. Secondary sources include:
- Window Regulators: Loose or worn window mechanisms can vibrate, especially when the window is partially open.
- Speakers and Grilles: Poorly mounted speakers or cracked grilles can resonate at certain frequencies.
- Child Lock Mechanisms: Worn or loose child safety locks may produce intermittent rattles.
- Door Seals: Hardened or misaligned weatherstripping can allow panels to move or vibrate.
A systematic approach—removing the panel and inspecting all internal components—ensures that these secondary sources are not overlooked.
Best Practices for Rear Door Trim Panel Reinstallation
Proper reinstallation is critical to long-term noise suppression and safety. Industry guidelines and SAE Standards recommend the following:
- Clean all mating surfaces to remove dust, debris, and old adhesive.
- Align all clips with their respective holes before applying pressure.
- Apply even force around the panel perimeter to seat all fasteners simultaneously.
- Verify all electrical connectors (e.g., window switches, courtesy lights) are fully engaged.
- Replace damaged vapor barriers to prevent moisture intrusion, which can degrade insulation and cause new rattles.
A torque-limiting driver is recommended for fastener installation to prevent overtightening, which can crack plastic substrates or strip metal threads.
Advanced Diagnostics: When Rattles Persist
If noise persists after addressing visible issues, advanced diagnostic techniques may be necessary:
- Chassis Ears: Electronic listening devices can isolate vibration sources while driving.
- Thermal Imaging: Identifies areas of panel movement under vibration.
- Oscillation Analysis: Specialist shops may use frequency analysis to match rattles with specific vehicle components.
Persistent rattles may indicate a manufacturing defect or previous accident damage. In such cases, review any relevant Vehicle, Car Seat, Tire, and Equipment Recalls for your make and model.
Sourcing High-Quality Trim Panels and Components
Selecting the right replacement parts is essential for effective, long-lasting repairs. Consider the following sourcing tips:
- Buy from trusted suppliers specializing in OEM or certified aftermarket panels.
- Request part numbers and verify compatibility with your vehicle’s year, make, and model.
- Inspect parts on arrival for shipping damage or manufacturing defects.
- Retain receipts and documentation in case of warranty or fitment issues.
For a deep dive into sourcing, installation, and technical specifications, visit our Rear Door Interior Trim Panels: Technical Guide & Replacement Insights category.
Maintenance Strategies to Prevent Future Rattles
Proactive maintenance can extend the life of your rear door trim panels and prevent noise recurrence:
- Annually inspect panel fitment and fastener tightness, especially after seasonal temperature swings.
- Address water leaks promptly to prevent insulation degradation.
- Use silicone spray on door seals to maintain flexibility and reduce panel movement.
- Avoid slamming doors, which accelerates clip fatigue and panel misalignment.
Routine checks can be incorporated into your vehicle’s regular service schedule, ensuring that minor issues are addressed before they become major annoyances.
Integrating Rear Door Noise Diagnosis with Overall Vehicle Care
Rear door rattles rarely occur in isolation. They often signal broader issues with interior trim, body structure, or even suspension components. Integrate your rear door inspection with:
- Full interior trim review: Inspect front doors, dash panels, and rear quarter trim for similar issues.
- Suspension and body integrity check: Excessive vibration from worn shocks or loose subframes can exacerbate interior rattles.
- Review of safety system function: Confirm that side airbags, child locks, and window regulators operate smoothly after trim panel service.
For a broader perspective on trim’s role in vehicle safety, see The Role of Interior Trim in Vehicle Safety.
AutoPartEx: Your Partner in Quiet, Safe, and Comfortable Rides
At AutoPartEx, we recognize that a rattle-free cabin is not just a luxury—it’s a sign of proper vehicle maintenance and safety. Our technical resources empower both DIYers and professionals to diagnose, source, and install rear door trim panels with confidence. Whether you’re seeking OEM precision or high-quality aftermarket alternatives, our curated catalog and in-depth guides ensure you get the right part, the first time.
Explore our Rear Door Interior Trim Panels: Technical Guide & Replacement Insights for model-specific advice, fitment charts, and installation walkthroughs. For hands-on guidance, our How to Replace Rear Door Trim Panels Safely editorial walks you through every critical step.
Conclusion: Silence the Rattle, Restore the Ride
Diagnosing and eliminating rear door rattles requires a blend of technical knowledge, attention to detail, and the right components. By following a structured diagnostic process, using OEM-quality parts, and adhering to best installation practices, you can restore your vehicle’s cabin quiet and ensure ongoing safety and comfort. Remember: the quality of your rear door trim panel installation is a direct reflection of your commitment to vehicle excellence.