Preserving OEM Fit and Finish in Interior Projects
Maintaining a factory-quality appearance and performance during interior repairs and upgrades is the gold standard for any restoration or customization project. Whether you're addressing wear and tear, retrofitting new technology, or restoring a classic vehicle, preserving the original equipment manufacturer (OEM) fit and finish ensures your vehicle retains its value, safety, and comfort. This guide delivers expert strategies and actionable steps to help you achieve flawless results in every interior project.
For a comprehensive overview of full cabin restoration, visit our Interior Complete: The Ultimate Guide to Full Vehicle Cabin Restoration and Upgrades page, which covers everything from material selection to advanced installation techniques.
Why OEM Fit and Finish Matters Immediately
The first impression of any vehicle interior is its seamless, uniform appearance—precisely what OEM fit and finish deliver. Matching the original design is not just about aesthetics; it also impacts comfort, ergonomics, safety, and even resale value. When interior components fit perfectly and materials match the factory specifications, you avoid rattles, misalignments, and premature wear. This attention to detail is especially critical for high-value vehicles and those intended to pass safety inspections or appraisals.
The Hidden Problem: Risks of Poor Fit and Finish
Many enthusiasts and even experienced technicians underestimate the complexity of maintaining OEM standards during repairs or upgrades. The hidden risk is that even minor deviations from OEM fit and finish can lead to:
- Increased cabin noise and vibration due to improper panel alignment
- Interference with airbag deployment and other safety features
- Premature wear on seats, trim, and control interfaces
- Reduced effectiveness of climate control and sound insulation systems
- Lowered vehicle value and diminished buyer confidence
These issues often surface after the project is complete, making them costly and difficult to correct. Recognizing these hidden pitfalls is the first step toward achieving lasting, factory-quality results.
Deeper Technical Explanation: What Constitutes OEM Fit and Finish?
OEM fit and finish refer to the precise alignment, texture, color, and material quality established by the original manufacturer. Achieving this standard means replicating:
- Panel Gaps and Seams: Consistent, tight, and uniform, with no visible misalignment.
- Material Matching: Correct grain, sheen, and color for plastics, leathers, fabrics, and metals.
- Mounting and Fastening: Proper torque, hidden fasteners, and vibration isolation as per manufacturer specifications.
- Functional Integration: Ensuring all switches, vents, and controls operate smoothly and safely.
Manufacturers achieve these results using advanced materials technologies, tight manufacturing tolerances, and rigorous quality control. The United States Department of Energy (DOE) highlights the importance of material selection and engineering in maintaining structural integrity and performance, which directly impacts interior fit and finish [^1].
Solution Path: Step-by-Step Approach to Preserving OEM Standards
To consistently achieve OEM-level results, follow a systematic approach:
- Documentation and Assessment: Begin with detailed photographs and notes of the original interior. Document panel gaps, fastener types, and material finishes.
- Sourcing OEM or Equivalent Parts: Use genuine or OE-quality replacement parts whenever possible. For discontinued items, select high-quality aftermarket components that meet or exceed OEM specifications.
- Material and Color Matching: Obtain swatches and samples to match upholstery, trim, and plastics. Test under various lighting conditions.
- Precision Installation: Use manufacturer-recommended tools and torque specs. Avoid shortcuts that can compromise alignment or damage materials.
- Quality Assurance: Inspect all work under natural and artificial light. Check for squeaks, rattles, and functional issues before final assembly.
The following sections break down each step with practical guidance, checklists, and expert tips.
Assessing the Interior: Documentation and Baseline Evaluation
Before any disassembly or repair, a thorough assessment is essential. This stage sets the benchmark for your project and helps ensure that every aspect of the original fit and finish is captured.
Key Actions:
- Photograph Everything: Take high-resolution photos from multiple angles, focusing on seams, fastener locations, and material transitions.
- Measure Panel Gaps: Use feeler gauges or calipers to record original clearances at doors, dash, and trim joints.
- Note Fastener Types and Locations: Many interiors use specialized clips, screws, and retainers. Label and store them methodically.
- Catalog Materials: Identify original materials for seats, dash, headliner, and trim. Note color codes if available.
This documentation will be invaluable during reassembly and when sourcing replacement parts or materials.
Sourcing Genuine or OE-Quality Replacement Parts
The foundation of OEM fit and finish is using the right parts. Genuine OEM components are engineered to the manufacturer’s exact standards, but high-quality OE-equivalent parts can also deliver excellent results when genuine parts are unavailable.
Checklist for Sourcing Parts:
- Check Manufacturer Part Numbers: Use VIN-specific lookup tools to identify exact part numbers.
- Research Aftermarket Alternatives: Select suppliers with a reputation for precision-molded, vehicle-specific parts.
- Avoid Generic Fitment: Universal parts rarely match OEM contours or mounting points.
- Inspect for Quality: Examine replacement parts for mold lines, surface finish, and material grain before installation.
For classic or rare vehicles, consider refurbishing original parts or using specialized restoration suppliers. Always confirm that replacement parts meet relevant safety and equipment standards, as outlined by the National Highway Traffic Safety Administration (NHTSA) [^3].
Material and Color Matching: Achieving Seamless Integration
A mismatched color or texture can ruin the effect of an otherwise perfect installation. Material and color matching are critical for seats, door panels, dash pads, and trim.
Advanced Tips:
- Order OEM Color Codes: Many manufacturers provide interior color codes; use these to order paints, dyes, or replacement materials.
- Test Swatches in Vehicle Lighting: Interior colors can appear different under natural versus artificial light. Test samples in situ.
- Use Professional Upholstery Shops: For complex materials like leather or Alcantara, professional shops can custom-match grain and stitching patterns.
- Blend Touch-Up Areas: When repairing small damage, feather the edges of dyes or paints to blend seamlessly with the original finish.
Modern materials technology, as highlighted by the DOE, allows for advanced composites and coatings that replicate original textures and durability [^1]. Take advantage of these innovations for long-lasting, authentic results.
Precision Disassembly: Preventing Damage and Misalignment
Disassembly is a critical phase where mistakes can lead to broken clips, scratched panels, or lost fasteners—all of which compromise OEM fit and finish.
Disassembly Best Practices:
- Use Trim Removal Tools: Plastic or nylon tools prevent marring and are designed to release clips without stress.
- Label and Bag Fasteners: Store each set of fasteners in labeled bags corresponding to their location.
- Work in Sequence: Follow manufacturer-recommended disassembly order to avoid forcing parts and damaging alignment features.
- Protect Surfaces: Use masking tape or blankets to shield adjacent panels from accidental scratches.
By maintaining order and care during disassembly, you set the stage for precise reassembly.
Installation Techniques: Achieving Factory-Quality Results
Reassembly is where your preparation pays off. Attention to detail and adherence to manufacturer guidelines are essential.
Installation Checklist:
- Align Panels Before Fastening: Loosely install all fasteners, align panels, then torque to spec.
- Check for Uniform Gaps: Verify that seams and gaps match your original measurements.
- Reinstall Hidden Fasteners: Use the correct clips and ensure they seat fully to prevent rattles.
- Test Moving Parts: Ensure glove boxes, seats, and switches operate smoothly without binding.
For critical components such as airbags or seatbelt anchors, always follow the manufacturer's safety and torque specifications. Refer to standards from organizations such as SAE International for additional guidance on proper installation procedures [^5].
Diagnosing and Preventing Common Fitment Issues
Even with careful work, unforeseen issues can arise. Diagnosing and correcting these early prevents long-term problems.
Common Fitment Issues:
- Panel Misalignment: Usually caused by missed mounting points or warped panels. Loosen panels and realign before retightening.
- Squeaks and Rattles: Check for missing insulation pads or loose clips. Use OEM-spec foam or felt where required.
- Color Shading: If new parts appear different, consider professional dyeing or refinishing to blend with the original.
- Electrical Malfunctions: Ensure all connectors are fully seated, and routed as per factory layout to prevent pinching or chafing.
A systematic diagnostic approach will help you catch and correct these issues before finalizing your project.
Safety Considerations: Preserving Equipment and Compliance
Modern interiors integrate critical safety equipment such as airbags, seatbelt pretensioners, and advanced sensors. Poor fitment can compromise these systems.
Safety Checklist:
- Verify Airbag Clearances: Ensure all trim panels around airbags are flush and unobstructed.
- Check Seatbelt Mounts: Tighten all hardware to manufacturer torque specs.
- Inspect Sensor Wiring: Route and secure wiring harnesses to avoid interference with moving parts.
- Review NHTSA Guidelines: Confirm that all replacement parts and modifications comply with current safety standards 1.
Safety is paramount—never substitute or omit safety-related fasteners or components.
Advanced Material Technologies and Their Role in Fitment
Automotive interiors increasingly use advanced materials for weight savings, durability, and comfort. Understanding these technologies is key to successful repairs and upgrades.
Key Material Types:
- Thermoplastics: Used in dash panels and trim for their moldability and resilience.
- Advanced Composites: Found in seat frames and structural elements for strength and weight reduction.
- Eco-Friendly Fabrics: Modern vehicles may use recycled or sustainable materials, requiring specialized adhesives and cleaners.
The DOE’s research into automotive materials underscores the importance of choosing compatible adhesives, paints, and fasteners when working with these advanced materials 2. Incompatible products can lead to warping, discoloration, or premature failure.
Maintaining Fit and Finish Over Time: Care and Preventive Measures
Even a perfect restoration will degrade without proper care. Routine maintenance preserves your hard work and ensures lasting OEM quality.
Maintenance Tips:
- Regular Cleaning: Use manufacturer-approved cleaners for plastics, leather, and fabric. Avoid harsh chemicals that can dull finishes.
- UV Protection: Apply UV-blocking protectants to dash and trim to prevent fading and cracking.
- Immediate Repairs: Address stains, tears, or loosened trim as soon as they appear to prevent further damage.
- Climate Control: Maintain proper cabin humidity and temperature to prevent warping and shrinkage of materials.
For a step-by-step guide to ongoing maintenance and restoration, see our editorial on How to Restore a Complete Vehicle Interior.
Upgrades Without Compromise: Integrating Modern Features
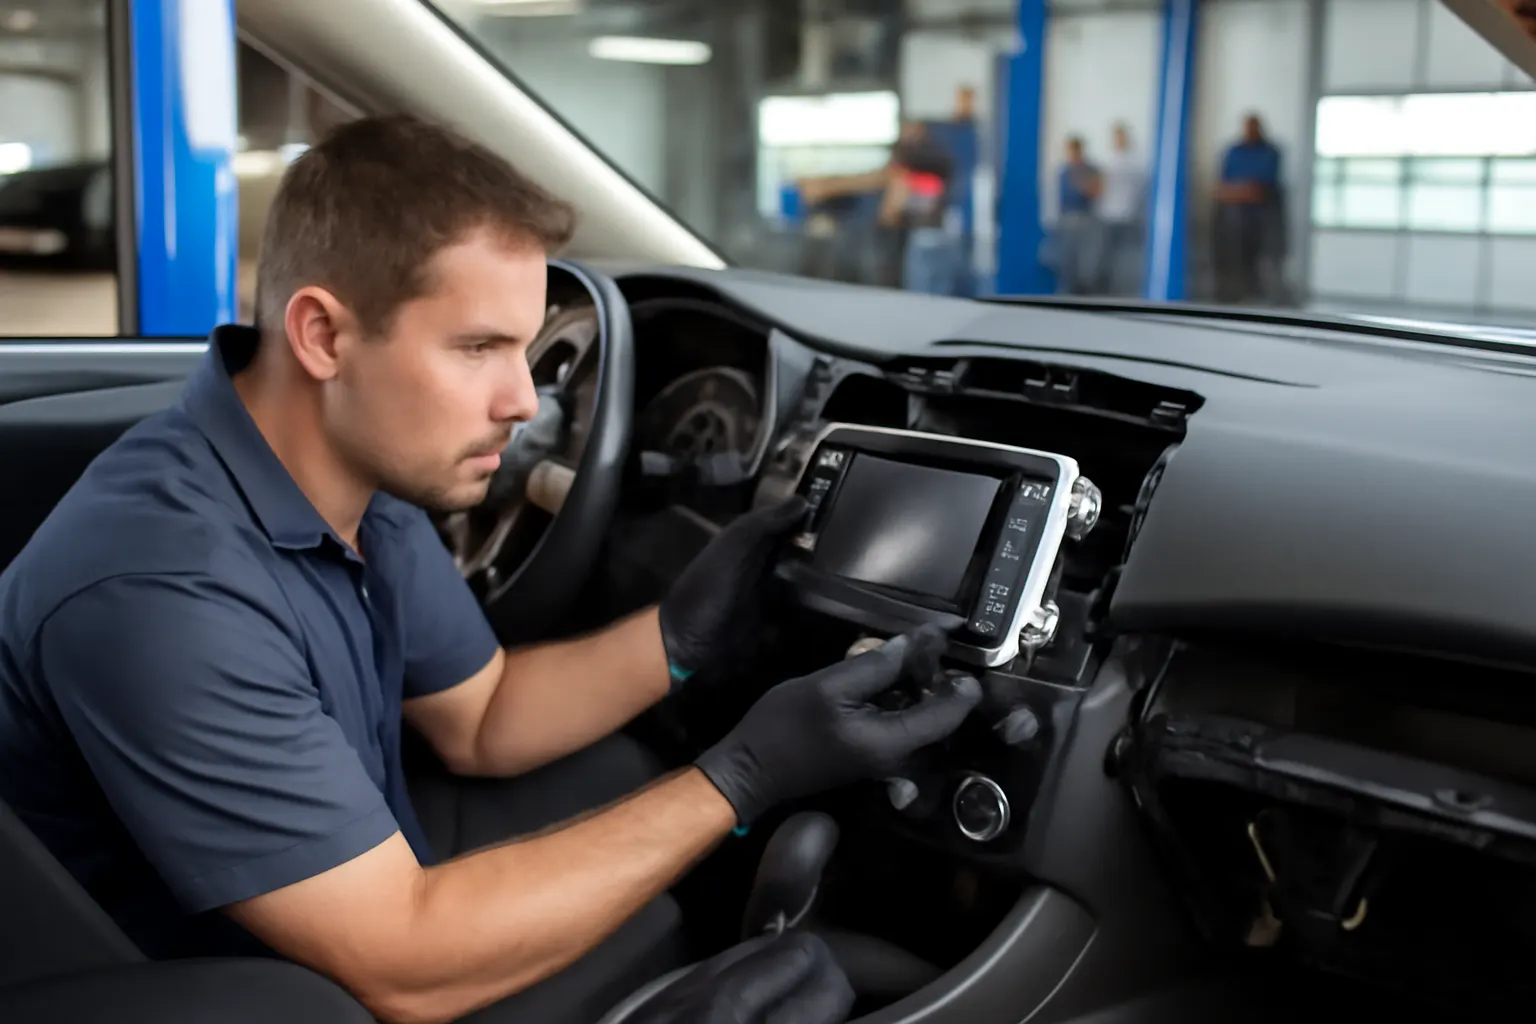
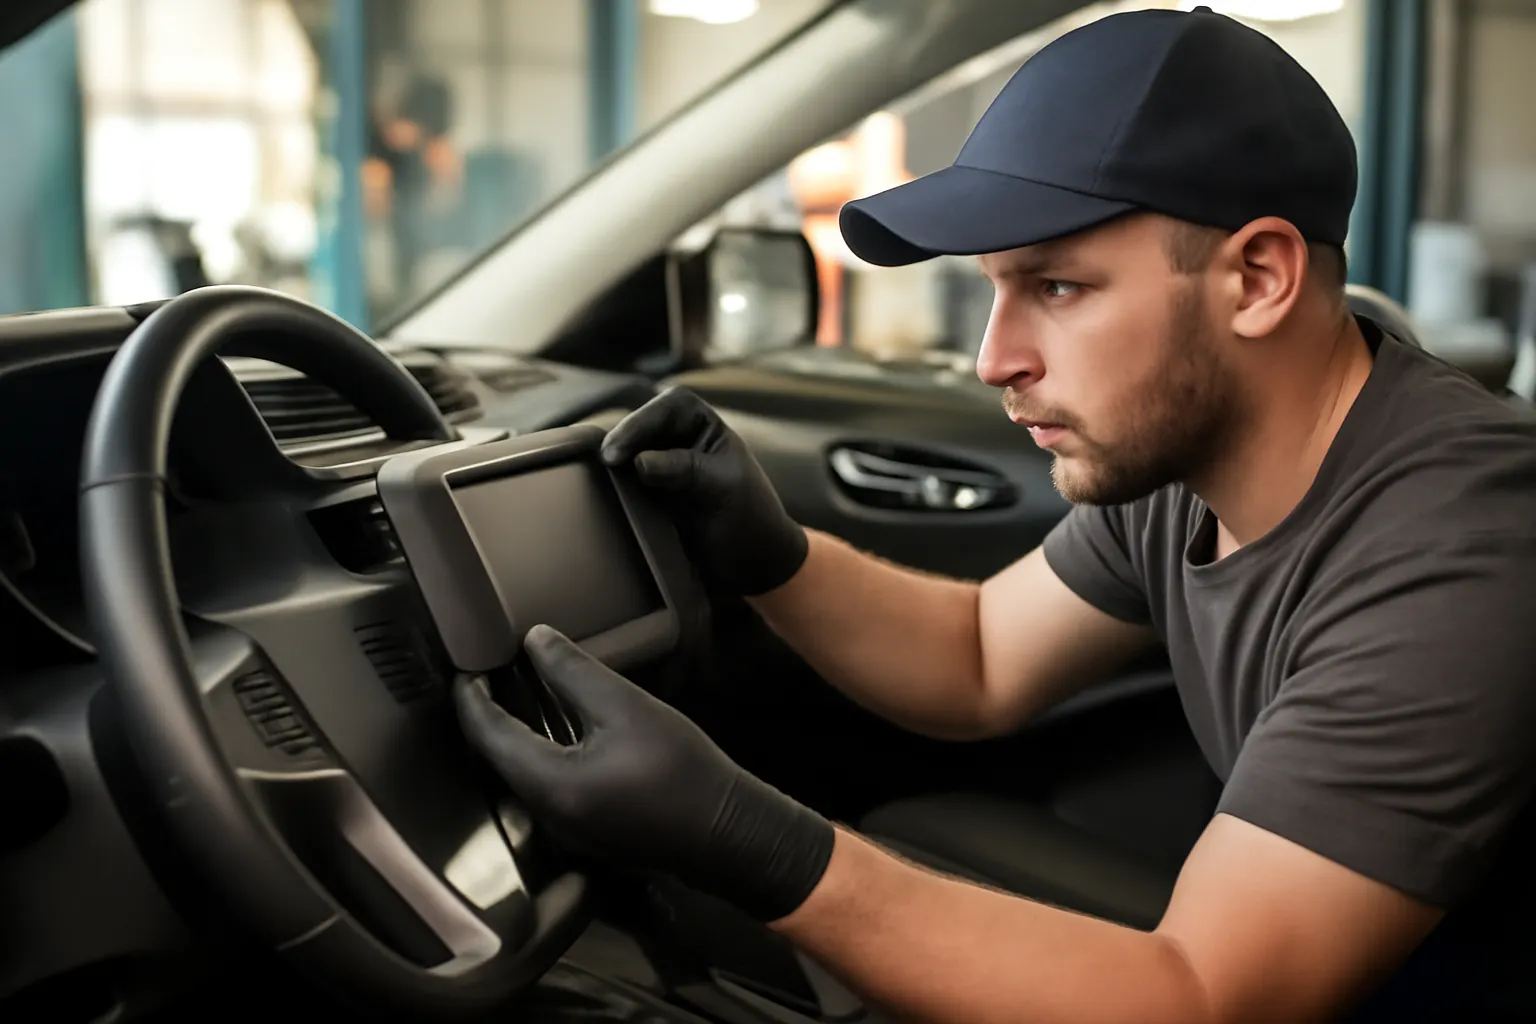
Adding modern features—such as infotainment systems, upgraded lighting, or advanced climate controls—can enhance comfort and value. However, these upgrades must be integrated without sacrificing OEM fit and finish.
Integration Strategies:
- Use OEM-Style Mounting Kits: Select upgrade kits designed for your specific make and model to ensure seamless integration.
- Retain Original Hardware: Whenever possible, use existing mounting points and fasteners.
- Hide Wiring and Controls: Route wiring behind panels and use factory-style switches for a clean look.
- Test All Functions: Confirm that new features do not interfere with original controls or safety systems.
For inspiration and practical ideas, explore our Top 10 Interior Upgrades for Comfort and Value article.
AutoPartEx: Your Partner in OEM-Quality Interior Projects
At AutoPartEx, we understand the importance of preserving OEM fit and finish in every interior project. Our curated selection of genuine and OE-quality parts, combined with expert guidance, empowers you to achieve professional results at every stage. From sourcing the right materials to providing detailed installation guides, we are committed to supporting enthusiasts and professionals alike.
Browse our Interior Complete: The Ultimate Guide to Full Vehicle Cabin Restoration and Upgrades for the latest tips, product recommendations, and technical resources.
Expert Call to Action: Start Your OEM-Quality Restoration Today
Preserving OEM fit and finish is both an art and a science. By following the structured approach outlined in this guide—documenting, sourcing, matching, installing, and maintaining with precision—you can deliver results that match or exceed factory standards. Whether you’re restoring a classic, upgrading a daily driver, or preparing a show car, attention to detail at every stage will set your project apart.
Ready to elevate your next interior project? Explore AutoPartEx’s resources and shop our extensive catalog for the parts and expertise you need to achieve flawless, OEM-quality results.
References
- Materials Technologies – United States Department of Energy
- Fuel Efficiency – United States Department of Energy
- Vehicle Safety and Equipment – National Highway Traffic Safety Administration
- Vehicle, Car Seat, Tire, and Equipment Recalls – National Highway Traffic Safety Administration
- SAE Standards – SAE International