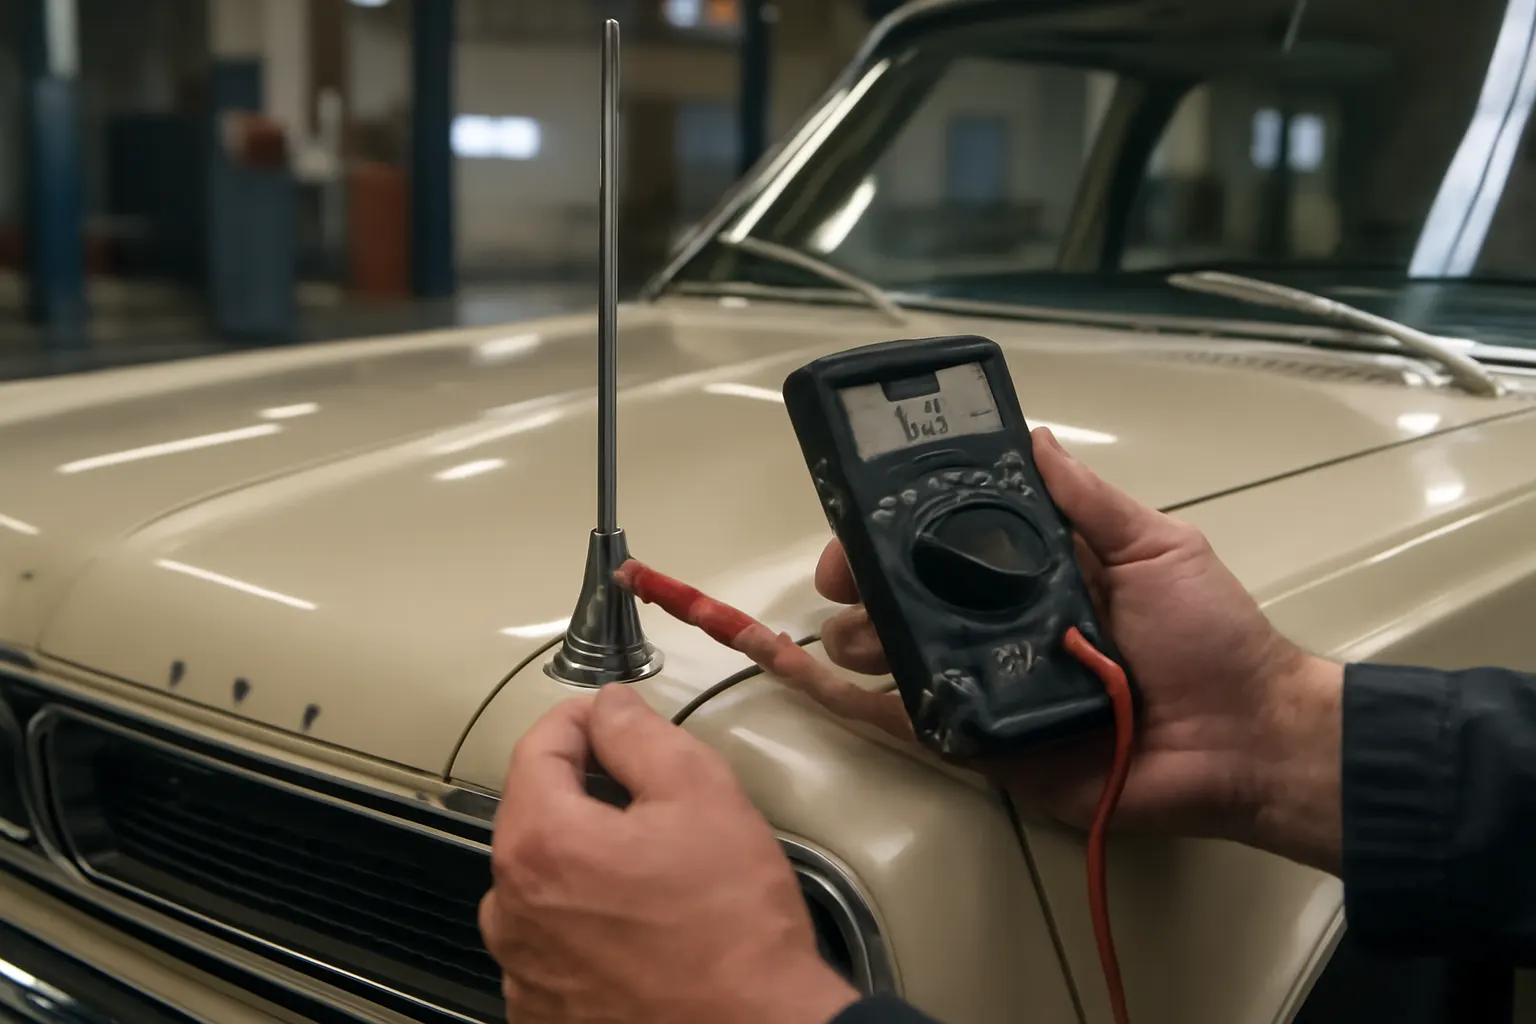
Oem Vs Aftermarket Amc Antennas
When restoring or maintaining a classic AMC Ambassador, the choice between OEM (Original Equipment Manufacturer) and aftermarket antennas is more than cosmetic—it impacts radio performance, fitment, long-term reliability, and even your investment in the vehicle. This comprehensive guide from AutoPartEx immediately clarifies the core differences between OEM and aftermarket AMC antennas, reveals often-overlooked pitfalls, and supplies a step-by-step path to making the right choice for your Ambassador. If you’re seeking a deep dive into practical fitment, diagnostic, and sourcing strategies, you’re in the right place. For a broader overview of compatible AMC Ambassador antenna parts and fitment details, see our AMC Ambassador Antenna Parts & Fitment Guide.
OEM vs Aftermarket AMC Antennas: The Immediate Answer
OEM antennas are produced by or for American Motors Corporation, designed specifically for your AMC Ambassador’s original specifications. These antennas guarantee precise fitment, period-correct style, and consistent radio performance. Aftermarket antennas, on the other hand, are manufactured by third-party companies and offer a broader range of styles, prices, and features, but may introduce fitment or compatibility challenges.
Key takeaways:
- OEM antennas ensure exact fit and original appearance, but can be expensive and harder to source.
- Aftermarket antennas offer more choices and affordability, but may require adaptation and research to ensure proper function and fit.
The Hidden Problem: More Than Just a Mast
Many AMC owners assume that any generic replacement antenna will suffice. However, antennas are not universal—each model year and body style of the AMC Ambassador may use different mounting hardware, cable routing, and mast dimensions. Installing an ill-fitting antenna can lead to:
-
Water leaks and corrosion from poor seals.
-
Signal loss or radio static.
-
Physical interference with doors, hoods, or trim.
-
Decreased vehicle value due to non-original appearance.
The real challenge is not just finding an antenna, but ensuring it integrates seamlessly with your vintage AMC’s electrical and body systems.
Deeper Technical Differences: Materials, Design, and Performance
Construction Materials and Durability
OEM antennas for the AMC Ambassador were engineered using materials and finishes to match the vehicle’s trim and withstand decades of use. Chrome-plated brass, stainless steel, and robust mounting grommets were typical. According to the United States Department of Energy’s Materials Technologies, material selection directly affects weight, durability, and corrosion resistance in automotive applications.
Aftermarket antennas may use lighter or less corrosion-resistant alloys, plastic bases, or generic mounting hardware. This can lead to premature wear, pitting, or breakage—especially if the vehicle is exposed to the elements.
Signal Reception and Electrical Integrity
The length, diameter, and grounding of an antenna mast are critical for optimal AM/FM reception. OEM antennas are tuned for the original AMC radio frequencies and grounding points. Aftermarket options may deviate from these specs, causing:
-
Reduced reception range.
-
Increased static or interference.
-
Poor integration with factory radios or restored head units.
Fitment and Mounting Geometry
The mounting angle, base diameter, and cable routing of OEM antennas are tailored to AMC Ambassador fenders and quarter panels. Aftermarket kits often use “universal” hardware that may require widening holes, trimming panels, or using unsightly adapters, risking irreversible damage to original sheet metal.
The True Cost of “Universal” Antennas: Fitment and Value Risks
While aftermarket antennas can be tempting for their price and availability, the following hidden costs should be considered:
- Labor time: Adapting a universal antenna can take hours, requiring custom brackets or cable extensions.
- Resale value: Collectors and enthusiasts often discount vehicles with non-original or poorly fitted antennas.
- Water intrusion: Incorrect grommet sizing or sealing leads to water leaks, which can cause rust in fenders and floor pans.
A poorly chosen antenna can turn a simple repair into an expensive restoration headache.
Diagnosing Your AMC Ambassador’s Antenna Needs
Before purchasing any replacement, follow this checklist to assess your current antenna’s condition and compatibility:
AMC Ambassador Antenna Diagnostic Checklist
- Visual Inspection
- Is the antenna mast bent, pitted, or missing?
- Is the base loose, corroded, or cracked?
- Are mounting grommets and seals intact?
-
Signal Test
- With the radio on, does reception cut in/out as the antenna is moved?
- Is there static or weak signal on all stations, or only certain bands (AM/FM)?
-
Cable and Ground Check
- Inspect the coaxial cable for frays, pinches, or corrosion.
- Verify the antenna ground strap or wire is securely attached to clean metal.
-
Fitment Assessment
- Measure the diameter of the mounting hole and mast length.
- Note the angle and position of the base (fender vs. quarter panel).
- Check for any previous modifications or non-original parts.
For more in-depth troubleshooting, refer to our Amc Ambassador Antenna Diagnostic guide.
Sourcing OEM Antennas: Where and What to Look For
Locating Genuine AMC Antennas
OEM AMC antennas are often available through:
-
Specialty AMC parts suppliers and restoration shops.
-
Vintage auto swap meets and online auction sites.
-
Salvage yards with classic American cars.
Tips for authenticating OEM antennas:
- Look for AMC part numbers stamped into the mast or base.
- Compare mounting hardware and cable ends to original factory diagrams.
- Seek NOS (New Old Stock) whenever possible for best fit and finish.
Understanding OEM Variations
AMC changed antenna suppliers and designs over the years. Early Ambassadors may use fixed-length masts, while later models feature retractable or power antennas. Always match the antenna to your exact model year and body style for best results.
Choosing Aftermarket Antennas: What to Demand
If an OEM antenna isn’t available or doesn’t fit your budget, an aftermarket option can still deliver good results—if chosen carefully.
What to Look For in a Quality Aftermarket Antenna
- Correct base diameter and mounting angle: Avoid “universal” kits that don’t match your fender’s curve.
- Stainless steel or chrome-plated mast: For longevity and period-correct appearance.
- Waterproof grommets: To prevent leaks and corrosion.
- Proper cable length and connector: Should reach the radio without splicing or adapters.
- SAE or OEM-style hardware: For secure, vibration-free installation.
Brands and Sourcing
Seek out aftermarket brands with a reputation for classic car fitment. Compare customer reviews and, if possible, request detailed measurements or installation instructions before purchasing.
Installation Considerations: Ensuring a Perfect Fit
Whether you choose OEM or aftermarket, careful installation is crucial for performance and preservation.
Step-by-Step Installation Best Practices
-
Preparation
- Disconnect the battery to prevent electrical shorts.
- Remove the old antenna, noting the sequence of hardware and cable routing.
-
Panel Protection
- Use painter’s tape around the mounting hole to prevent paint scratches.
- Clean any rust or debris from the mounting area.
-
Dry Fit
- Test-fit the new antenna and base before final tightening.
- Ensure the mast sits at the correct angle and does not interfere with opening doors or hoods.
-
Sealing
- Install fresh grommets and seals to ensure watertight fitment.
- Use non-acidic silicone if needed, but avoid excessive sealant that can trap moisture.
-
Cable Routing
- Route the antenna cable along original factory paths, securing with clips or ties.
- Avoid sharp bends or pinching under trim panels.
-
Final Testing
- Reconnect the battery and test radio reception on all bands.
- Confirm there are no rattles or movement in the antenna assembly.
For more detailed installation tips, see our Antenna Installation Best Practices.
Maintenance and Longevity: Keeping Your Antenna Performing
A well-chosen antenna will last decades with proper care. Here’s how to keep your AMC Ambassador’s antenna in top condition:
Routine Maintenance Checklist
- Clean the mast: Wipe with a soft cloth and mild cleaner regularly to remove dirt and prevent corrosion.
- Lubricate retractable masts: Use a silicone-based lubricant to prevent sticking (for telescoping or power antennas).
- Inspect seals annually: Replace cracked or hardened grommets to prevent water leaks.
- Check cable connections: Ensure the coaxial cable and ground strap remain tight and free of corrosion.
Neglecting these steps can lead to degraded reception, water damage, and premature failure.
Performance, Safety, and Compliance Factors
Signal Performance
OEM antennas are engineered for optimal radio frequency reception, which can be especially important if you’re restoring a functional original AMC radio or a period-correct aftermarket head unit. Aftermarket antennas may not always meet these standards, resulting in diminished sound quality or limited station access.
Safety and Equipment Standards
According to the National Highway Traffic Safety Administration (NHTSA), all vehicle replacement parts—including antennas—must meet basic safety and equipment regulations. While most reputable aftermarket antennas comply, ultra-cheap imports may not, risking not only performance but also legal compliance in some states.
Materials and Longevity
The DOE’s Materials Technologies program emphasizes the importance of corrosion resistance and structural integrity in automotive components. Cheaper aftermarket antennas may use inferior materials that degrade rapidly, especially on vehicles stored outdoors.
Price Comparison: What Should You Expect to Pay?
- OEM AMC antennas: $75–$250, depending on condition and rarity (NOS vs. used).
- Aftermarket antennas: $15–$60, with premium reproduction models reaching $90.
While OEM units command a premium, their precise fit and finish can justify the investment—especially for show-quality restorations or high-value Ambassadors.
Common Pitfalls and How to Avoid Them
Pitfall 1: Buying “Universal” Antennas Without Checking Fitment
Universal antennas rarely fit classic AMCs without modification. Always measure your mounting hole, mast length, and base angle before ordering.
Pitfall 2: Ignoring Cable Compatibility
Some aftermarket antennas use different coaxial connectors or cable lengths. Ensure your new antenna will reach the radio without splicing or using adapters that can introduce signal loss.
Pitfall 3: Neglecting Seals and Grommets
A new antenna with old, cracked seals is a recipe for water leaks. Always replace all rubber components during installation.
Pitfall 4: Over-Tightening Mounting Hardware
Tightening mounting nuts too far can distort fenders or crack plastic bases—use hand tools and stop when the base is secure but not stressed.
Ensuring a Period-Correct Restoration
For collectors and enthusiasts, the antenna is a visible detail that can make or break a restoration. An OEM or high-quality reproduction antenna will match your AMC Ambassador’s original look, while a poorly chosen aftermarket part can stand out as anachronistic.
Authenticity Checklist
- Mast style: Fixed, telescoping, or power—match your year/model.
- Base shape and finish: Should follow original contours and chrome quality.
- Cable routing: Use factory pathways and clips for a clean, original appearance.
- Hardware: Use AMC-correct nuts and washers if possible.
When Aftermarket Makes Sense
While OEM is preferred for show cars and high-value restorations, aftermarket antennas can be a smart choice for daily drivers or budget builds—provided you focus on quality and proper fitment.
- If your original mounting hole is damaged: Aftermarket kits with larger bases can cover imperfections.
- If you need modern features: Some aftermarket antennas offer power retraction, flexible masts, or amplified reception for upgraded radios.
- If cost is a primary concern: A well-chosen aftermarket antenna can restore function at a fraction of OEM prices.
The AutoPartEx Approach: Expert Guidance for AMC Owners
At AutoPartEx, we specialize in matching AMC Ambassador owners with the right antenna—OEM or aftermarket—for their restoration goals, driving needs, and budget. Our fitment data, diagnostic guides, and installation resources ensure you get the right part the first time. We recommend starting with our AMC Ambassador Antenna Parts & Fitment Guide for a comprehensive overview, or exploring our Amc Ambassador Radio Restore article for related restoration tips.
Whether you’re aiming for concours-level authenticity or simply want crisp radio tunes on your next cruise, AutoPartEx equips you to make an informed, confident decision.
Conclusion: Make the Right Choice for Your AMC Ambassador
Choosing between OEM and aftermarket antennas for your AMC Ambassador is a decision that blends technical, aesthetic, and practical considerations. By understanding the hidden pitfalls, technical requirements, and long-term implications, you can select an antenna that preserves your vehicle’s value, performance, and appearance. Use the diagnostic and installation checklists above to guide your next purchase, and consult AutoPartEx for expert, model-specific support.