
Ambassador Antenna Issues
Antenna issues are a common stumbling block for AMC Ambassador restoration enthusiasts. Whether you’re bringing a classic back to life or simply trying to tune in your favorite station on a Sunday drive, the antenna can be a surprisingly complex component. Owners frequently report challenges sourcing correct parts, dealing with stubborn installations, and troubleshooting poor radio reception. This guide synthesizes real-world anecdotes and technical expertise, providing a reliable roadmap for diagnosing, sourcing, and installing antennas in AMC Ambassadors. If you’re seeking a comprehensive overview of compatible parts and fitment, visit our AMC Ambassador Antenna Replacement & Fitment Guide.
The Immediate Answer: Why AMC Ambassador Antennas Cause Problems
The AMC Ambassador’s antenna system, especially on models from the late 1960s through the early 1970s, is prone to several well-known issues. The most common complaints from owners include:
- Difficulty finding original or compatible replacement antennas
- Persistent poor radio reception despite new installations
- Physical damage or corrosion to the fender mount and mast
- Complications with retractable (power) antennas not functioning
- Challenges aligning aftermarket parts with factory mounting points
These issues stem from a combination of aging materials, discontinued OEM parts, and subtle design changes across model years. Even experienced restorers can face unexpected hurdles, from stripped mounting threads to mismatches in cable length or connector type.
The Hidden Problem: Why Antenna Restoration Is More Challenging Than It Appears
At first glance, replacing an antenna may seem like a straightforward task. However, AMC Ambassador owners often discover deeper issues lurking beneath the surface. For example, rusted mounting hardware inside the fender can seize the assembly in place, requiring partial fender removal or specialized extraction tools. Meanwhile, the original wiring harnesses for power antennas are frequently brittle or cut, complicating electrical restoration.
Another hidden issue is the impact of antenna type and placement on both aesthetics and radio performance. The Ambassador’s unique fender contours and mounting angles mean that generic aftermarket antennas may not sit flush or may interfere with hood clearance. This can lead to unsightly gaps, water leaks, or even panel damage if the antenna is forced into place.
Owners also report that improper antenna grounding or shielded cable routing can introduce noise or drastically reduce AM/FM reception quality. These nuanced factors are easy to overlook but are critical for achieving both a functional and factory-correct restoration.
Expanding the Problem: Real-World Owner Anecdotes
Sourcing Struggles
Jon, a 1972 Ambassador owner, recounts his months-long search for a period-correct manual antenna: “I found plenty of ‘universal fit’ antennas online, but none matched the mounting angle or chrome bezel of the original. The few NOS (new old stock) ones I tracked down were either out of my price range or had deteriorated seals.”
Installation Frustrations
Linda, restoring a 1969 Ambassador, shared: “The old antenna mast snapped off inside the fender. I spent hours fishing out broken pieces with a magnet and ended up removing the inner fender liner. Even then, the replacement didn’t align with the mounting hole without some creative filing.”
Reception Woes
Carlos, with his 1974 Ambassador, noted: “After installing a reproduction antenna, my FM reception was still terrible. It turned out the cable was pinched behind the dash, and the ground connection was loose. Once I fixed that, the radio came alive.”
These stories illustrate how even simple antenna jobs can snowball into more involved restoration projects. Each step—sourcing, removal, fitment, and tuning—can introduce its own set of complications.
Understanding AMC Ambassador Antenna Systems: Technical Overview
The AMC Ambassador used several antenna designs over its production run. The most common configurations include:
- Fixed manual mast antennas (typically front fender-mounted)
- Retractable (power) antennas (available as options on higher-trim models)
- Rear quarter panel antennas (less common, but seen on certain years or dealer-installed variants)
The mounting hardware consists of a chrome bezel, rubber gasket, mast assembly, mounting nut, and a shielded cable running to the radio head unit. Power antennas add an electric motor, relay, and additional wiring.
Key Technical Considerations
- Fender curvature and mounting angle: AMC fenders are not flat, so the base of the antenna must match the contour.
- Cable length and connector type: Factory cables use specific connectors; universal replacements may require adapters.
- Grounding: Proper metal-to-metal contact at the base is essential for radio performance.
Understanding these details is crucial for sourcing parts and planning installation.
Diagnosing AMC Ambassador Antenna Problems
Before replacing your antenna, it’s essential to diagnose the root cause of your radio issues. Many owners replace the mast, only to find the problem persists. Here’s a step-by-step diagnostic checklist:
Antenna Diagnostic Checklist
-
Visual Inspection
- Is the mast bent, broken, or missing?
- Are there visible signs of corrosion or water ingress around the mounting point?
- Is the chrome bezel intact and sealing the fender?
-
Physical Test
- Does the mast extend and retract smoothly (manual or power)?
- Is the assembly firmly attached, or does it wobble?
-
Cable and Connection Check
- Is the cable securely attached to the radio?
- Inspect the cable for cuts, pinches, or frayed shielding.
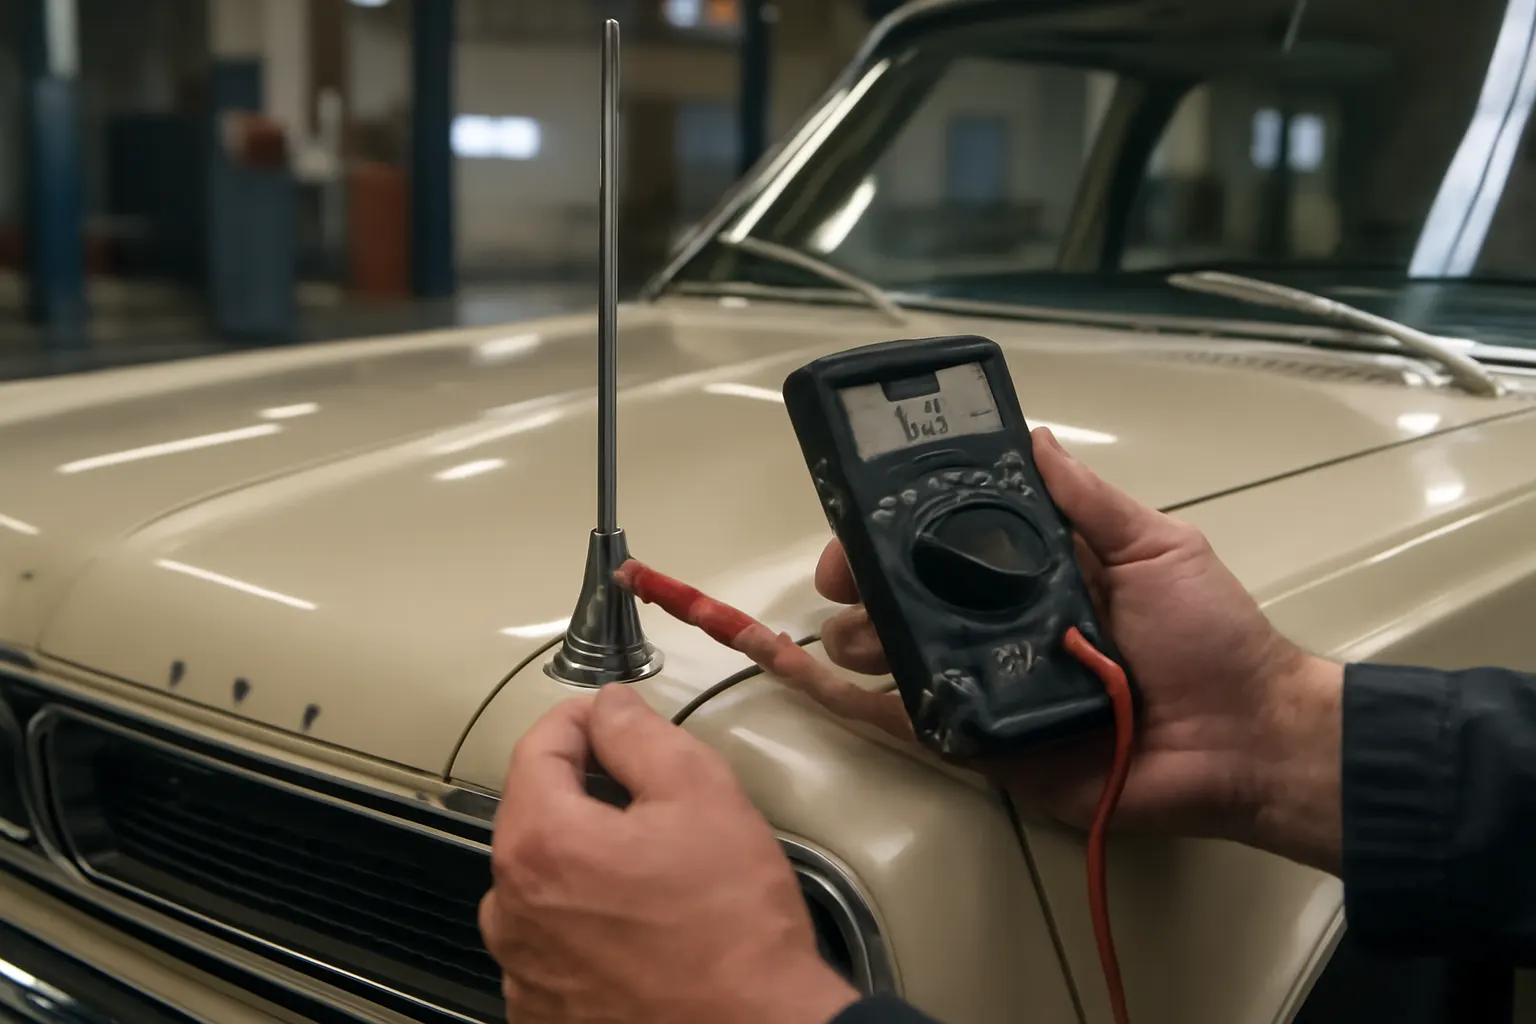
- Check for continuity with a multimeter.
-
Ground Test
- Using a multimeter, test continuity between the antenna base and vehicle body ground.
-
Reception Test
- With the radio on, gently wiggle the cable and connections. Does reception cut in and out?
- Try tuning to both AM and FM bands. Poor AM reception often points to grounding issues.
If any step reveals a fault, address that component before moving on to full replacement.
Sourcing the Right Antenna: OEM, NOS, and Aftermarket Options
Finding a correct-fit antenna for the AMC Ambassador can be challenging due to limited availability of original parts. Here’s what owners have learned about sourcing:
OEM and NOS Antennas
- OEM (Original Equipment Manufacturer): These are the gold standard for restorations. However, genuine AMC antennas are rare and expensive. Watch for NOS listings on specialist forums and auction sites.
- NOS (New Old Stock): While authentic, NOS parts may still have degraded rubber seals or pitted chrome from decades of storage. Inspect carefully before purchase.
Aftermarket and Reproduction Antennas
- Reproduction Antennas: Several suppliers offer reproduction masts and mounting kits designed to mimic factory appearance. Fit and finish vary; always compare mounting hardware and cable length to your original.
- Universal Antennas: Widely available but rarely a perfect fit. Be prepared for minor modifications, such as enlarging the fender hole or fabricating a custom gasket.
Sourcing Tips
- Measure your existing antenna assembly before ordering.
- Ask sellers for detailed photos and dimensions.
- Prioritize suppliers who specialize in AMC or classic American cars.
- For power antennas, verify compatibility with your vehicle’s wiring and switchgear.
For a detailed list of compatible parts, see our Amc Ambassador Antenna Fitment Guide.
The Installation Process: Lessons from the Field
Antenna installation on the AMC Ambassador is not always as simple as unscrewing the old and bolting on the new. Here’s a step-by-step overview, incorporating owner lessons:
Preparation
- Gather all required tools: socket set, panel removal tool, magnetic pickup, small file, and multimeter.
- Protect the fender paint with masking tape around the mounting area.
Removal
- Access the Mounting Nut: Remove the inner fender liner or wheel well splash shield if needed.
- Disconnect the Cable: Trace the antenna cable to the radio and unplug.
- Extract the Old Antenna: Unscrew the mounting nut and carefully pull the mast assembly out. If corroded, use penetrating oil and gentle leverage.
Installation
- Test Fit the New Antenna: Ensure the base matches the fender contour and the mounting threads engage smoothly.
- Install Gasket and Bezel: Position the rubber gasket and chrome bezel to prevent water intrusion.
- Secure the Mast: Tighten the mounting nut just enough to compress the gasket—avoid overtightening, which can deform the fender.
- Route and Connect the Cable: Avoid sharp bends and ensure the cable is clear of moving parts.
- Test Operation: Before reassembling panels, test radio reception and, for power antennas, check extension/retraction.
Common Pitfalls
- Cross-threading the mounting nut can damage both the fender and the new antenna.
- Failing to seal the gasket properly invites rust and water leaks.
- Overlooking cable routing may result in pinched or shorted wires.
For additional tips and troubleshooting advice, see our Antenna Installation Tips.
Power Antennas: Special Considerations
If your Ambassador is equipped with a factory or aftermarket power antenna, there are extra steps:
- Electrical Testing: Verify the relay, switch, and motor function before installing a new mast.
- Wiring Harness Inspection: Old wires may be brittle or have corroded terminals. Replace or repair as needed.
- Fuse Check: Power antennas often have an in-line fuse; check and replace if blown.
Owners report that many power antenna failures are due to wiring faults rather than the mast itself. Always diagnose before replacing expensive components.
Achieving Factory-Correct Appearance and Performance
Restoration purists know that the devil is in the details, and the antenna is no exception. Here’s how to ensure your installation looks and works like the original:
- Chrome and Bezel Matching: Use period-correct bezels and mast tips. Reproduction parts should have the same profile and finish.
- Mounting Angle: The antenna should sit perpendicular to the fender surface, not tilted or canted.
- Cable Routing: Follow original cable paths to avoid interference with hood hinges or under-hood components.
- Seal Integrity: Properly installed gaskets protect against water intrusion and rust—a key concern for classic Ambassadors.
Troubleshooting Persistent Reception Issues
Even after replacing the antenna, some owners report ongoing reception problems. Here’s how to systematically isolate and resolve these issues:
- Check Radio Head Unit: Test your radio with a known-good antenna to rule out internal faults.
- Inspect Grounding: Clean all contact points with a wire brush to ensure solid metal-to-metal connection.
- Test for Interference: Modern electronics (ignition modules, phone chargers) can introduce noise. Temporarily disconnect these to test.
- Replace Coaxial Cable: Old cables may have internal breaks or corrosion. Use a new, shielded cable matched to AMC specifications.
Preventing Future Antenna Problems
Preventative maintenance can extend the life of your antenna and preserve radio performance:
- Regular Cleaning: Wipe down the mast and bezel to remove road grime and prevent corrosion.
- Lubrication: For manual and power antennas, use a light silicone spray on moving parts—never WD-40, which can attract dirt.
- Check for Looseness: Periodically inspect the mounting nut and cable connections.
- Inspect Gaskets: Replace cracked or shrunken rubber seals promptly.
Following these steps can help avoid repeat failures and maintain both function and appearance.
Advanced Tips: Modifications and Upgrades
Some owners choose to upgrade their antenna systems for better performance or modern functionality:
- Hidden Antenna Solutions: For a cleaner look, consider windshield or under-dash antennas. Note that these may sacrifice some AM/FM range.
- Antenna Amplifiers: Inline amplifiers can boost weak signals, especially in rural areas.
- Bluetooth Integration: Modern head units with Bluetooth streaming reduce reliance on radio reception, but retaining a functional antenna preserves authenticity and value.
If you modify your setup, keep all original parts for future restoration value.
Safety, Materials, and Fitment: Regulatory Considerations
When sourcing and installing antennas, it’s essential to consider vehicle safety and materials compatibility:
- Safety Standards: All replacement parts should meet basic equipment safety requirements as outlined by the National Highway Traffic Safety Administration (NHTSA). Improperly mounted antennas can become projectiles in a collision.
- Materials Compatibility: Use corrosion-resistant hardware and gaskets compatible with AMC body materials, as highlighted by the Department of Energy’s materials technology guidance.
- Fitment Standards: Whenever possible, choose components that adhere to SAE automotive standards for mounting and electrical connections.
AutoPartEx: Your Partner for AMC Ambassador Antenna Solutions
At AutoPartEx, we understand the unique challenges of AMC Ambassador antenna restoration. Our technical team curates fitment data, product reviews, and installation guides tailored to classic American models. Whether you need sourcing advice, diagnostic checklists, or direct access to compatible parts, our AMC Ambassador Antenna Replacement & Fitment Guide is your starting point.
We also recommend reviewing our broader Amc Ambassador Restoration Overview for tips on preserving originality and maximizing value.
Taking the Next Step: Expert Action
If you’re facing stubborn antenna issues, don’t settle for trial and error. Document your current setup with photos, measure all critical dimensions, and consult specialist forums for part numbers and installation tips. If you’re unsure about wiring or fender removal, seek help from a classic car restoration shop or a trusted local technician familiar with vintage AMC vehicles.
For every step—from diagnosis to installation and ongoing care—AutoPartEx is committed to supporting your AMC Ambassador project with accurate information and expert resources.