Advertisement
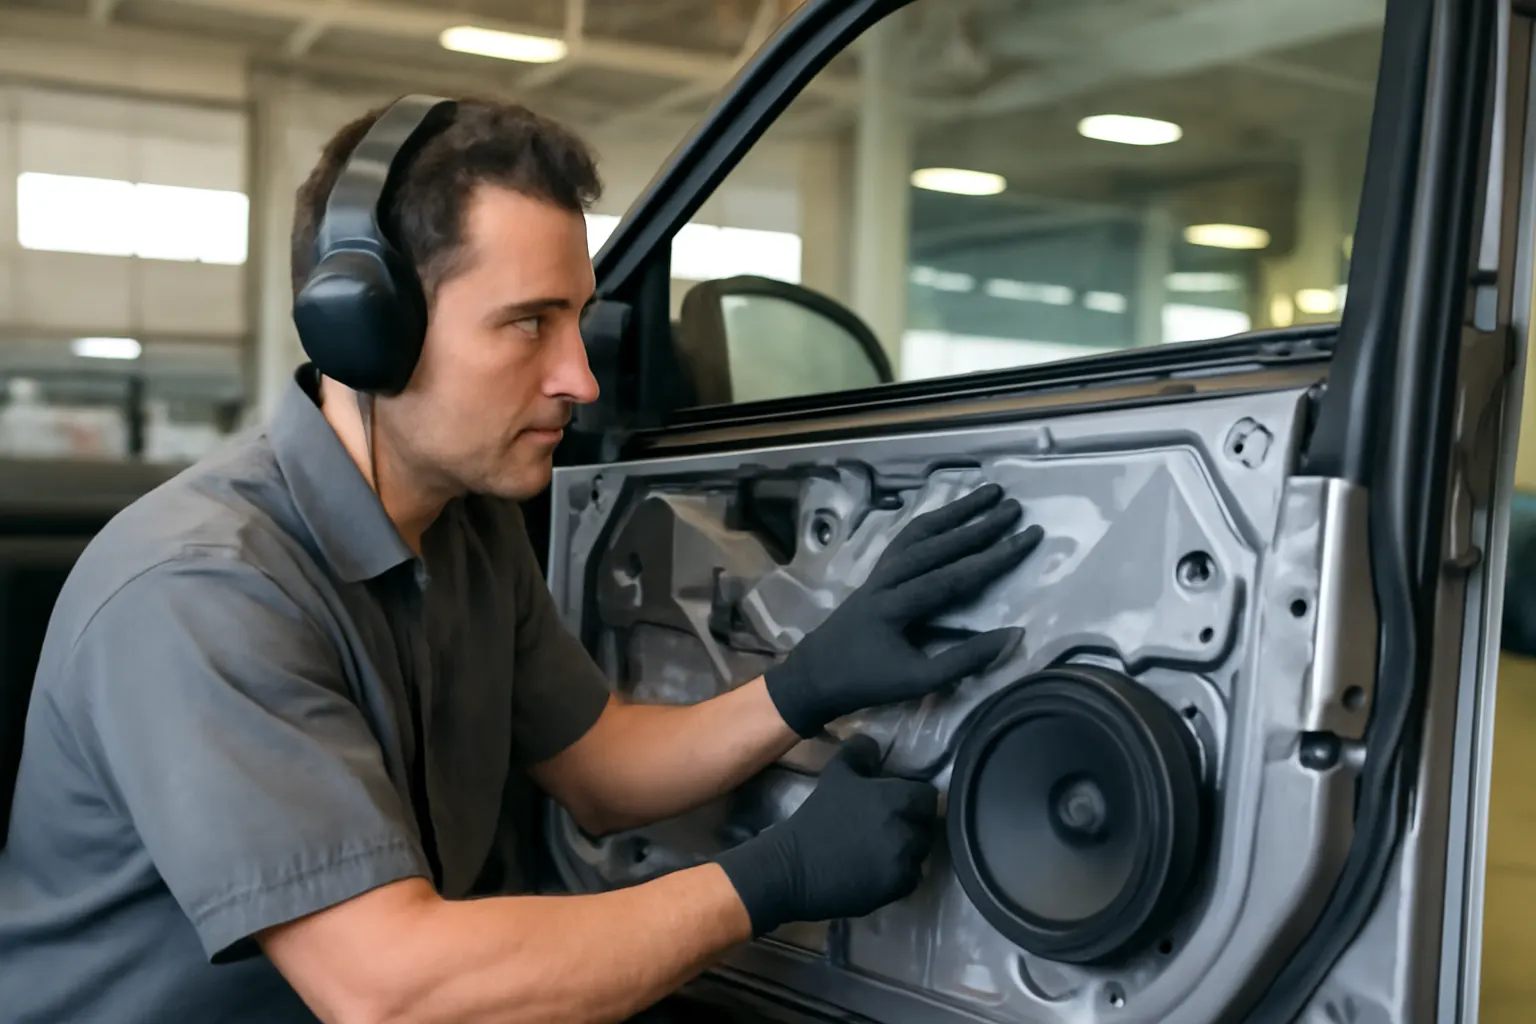
Unwanted rattles and squeaks from your vehicle’s door panels can transform a smooth ride into an irritating experience. These noises aren’t just nuisances—they can signal underlying issues with installation, fastener integrity, or even the materials used in your interior trim panels. Fortunately, diagnosing and resolving these problems is achievable for both seasoned technicians and dedicated DIY enthusiasts. In this comprehensive guide, we’ll explore the most common causes of door panel noise, practical diagnostic steps, and how proper installation and restoration can return your cabin to a quiet, comfortable state. For a deeper dive into the engineering and fitment of front door interior trim panels, visit our Front Door Interior Trim Panels: Engineering, Fitment, and Restoration Guide.
The Immediate Answer: Why Door Panel Noises Matter
Rattles and squeaks inside your vehicle’s doors typically originate from loose fasteners, worn clips, misaligned panels, or degraded insulation materials. These noises often intensify over rough roads, temperature changes, or after recent repairs. Addressing them promptly is crucial—not only for comfort but also to prevent further damage to structural or electrical components within the door.
A quiet, well-assembled door panel enhances both the perceived quality and resale value of your vehicle. More importantly, persistent noises may indicate compromised safety equipment or deteriorating parts that could affect airbag deployment, window operation, or locking mechanisms. The good news: most door panel noises can be traced to clear, manageable causes and resolved with the right approach.
The Hidden Problem: Why Door Panel Noises Persist
Many vehicle owners and even some technicians overlook the complexity of door panel assembly. Modern doors house intricate wiring harnesses, side-impact protection, speakers, and a mix of fasteners—each with its own potential for generating noise. What seems like a simple “rattle” could stem from a misaligned vapor barrier, a missing clip, or incompatible aftermarket parts.
Furthermore, as vehicles age, the materials inside the door—plastics, foams, adhesives, and metal brackets—can degrade or loosen due to vibration, temperature cycling, or moisture ingress. If a root-cause diagnosis isn’t performed, repeated attempts at repair may only offer temporary relief, or even introduce new noises. This is why a systematic diagnostic process, rooted in engineering standards and materials science, is critical for long-term results.
Understanding the Anatomy of a Door Panel
To effectively diagnose and silence door panel noises, it’s essential to understand the layered construction of a modern automotive door:
- Outer Panel: The visible painted metal surface.
- Inner Door Structure: Houses window mechanisms, side-impact beams, and wiring.
- Vapor Barrier: A plastic or foam membrane to prevent moisture intrusion.
- Interior Trim Panel: The decorative surface, often incorporating armrests, controls, and storage.
- Fasteners and Clips: Secure the trim to the door structure.
- Insulation Materials: Foams, felts, or pads to dampen sound and vibration.
Each layer and component can be a source of noise if not properly assembled or maintained. For a more technical look at materials and their impact on vehicle performance, see the Materials Technologies resource from the U.S. Department of Energy.
Common Causes of Door Panel Rattles and Squeaks
Door panel noises typically originate from a handful of recurring issues:
- Loose or Missing Fasteners: Over time, vibration can cause screws, bolts, or plastic clips to loosen or break.
- Aged or Damaged Clips: Plastic clips become brittle and lose their grip, especially after repeated removals.
- Misaligned Trim Panels: Incorrect installation or minor impacts can shift the panel out of alignment.
- Worn or Missing Insulation: Foams and felts degrade, leaving hard surfaces to rub and create squeaks.
- Interference with Wiring or Components: Poor routing of wires or cables can cause them to vibrate against metal or plastic.
- Aftermarket Modifications: Non-OEM parts may not fit precisely, introducing new points of contact or stress.
Understanding these causes is the first step toward a targeted, effective repair.
Advertisement
The Diagnostic Checklist: Tracing the Source of Door Panel Noise
Before disassembling your door, use this systematic checklist to pinpoint the source of unwanted sounds:
Door Panel Noise Diagnostic Checklist
| Step | Action | Details |
|---|---|---|
| 1 | Listen | Drive over various surfaces; note when and where the noise occurs. |
| 2 | Localize | Press on different areas of the door panel while parked; does the noise change? |
| 3 | Window Test | Operate the window; does the noise occur during movement? |
| 4 | Lock/Unlock | Activate locks and handles; listen for related noises. |
| 5 | Inspect Seals | Check door seals and weatherstripping for wear or misalignment. |
| 6 | Gentle Tap | Tap along the panel with a plastic pry tool; listen for loose areas. |
| 7 | External Check | Ensure side mirror and adjacent panels are secure. |
| 8 | Review Recent Work | Has the panel been removed or repaired recently? |
| 9 | Interior Components | Remove small trim covers to check for missing screws or clips. |
| 10 | Document Findings | Record your observations for reference during disassembly. |
Following this checklist ensures you don’t overlook simple causes or misdiagnose the problem.
Tools and Materials for Door Panel Noise Repair
A successful door panel noise diagnosis and repair depends on having the right tools and materials at your disposal. Here’s what you’ll need:
- Trim Removal Tools: Plastic prying tools prevent damage to painted or upholstered surfaces.
- Screwdrivers: Both Phillips and flathead, sized for automotive fasteners.
- Panel Clip Pliers: For removing stubborn or hidden clips without breakage.
- Replacement Clips and Fasteners: OEM-specific for best fit and longevity.
- Foam Tape or Felt Pads: To isolate contact points and prevent future squeaks.
- Adhesive Sprays or Butyl Tape: For reattaching vapor barriers.
- Torque Wrench: For reinstalling bolts to manufacturer specifications.
- Inspection Mirror and Flashlight: To view hidden areas inside the door.
Investing in quality tools not only protects your trim but also ensures a professional result.
Step-by-Step: Diagnosing and Silencing Door Panel Noises
Let’s break down the diagnostic and repair process into actionable steps:
1. Preparation and Safety
- Disconnect the battery if working near airbags or electrical components.
- Park the vehicle on a level surface and ensure good lighting.
2. Initial Inspection
- Use the checklist above to localize the noise.
- Inspect all visible fasteners and seals for wear or looseness.
3. Panel Removal
- Carefully remove trim covers and screws with appropriate tools.
- Use trim removal tools to gently pry the panel away from the door frame, starting at the bottom and working up.
- Disconnect electrical connectors for windows, locks, or speakers as needed.
4. Internal Inspection
- Check all clips for integrity; replace any that are broken or loose.
- Inspect the vapor barrier for tears or incomplete adhesion.
- Look for worn, missing, or compressed insulation pads.
- Ensure wiring harnesses are secured away from moving parts.
5. Corrective Actions
- Replace all damaged clips and fasteners with OEM or high-quality equivalents.
- Reapply or supplement insulation materials at common contact points.
- Reroute or secure any loose wiring.
- Reattach the vapor barrier using butyl tape if needed.
6. Reassembly and Testing
- Reinstall the trim panel, ensuring all clips engage fully.
- Secure all screws to the torque specified in service literature.
- Test all electrical functions.
- Drive the vehicle and repeat the listening test to confirm the repair.
For a detailed walkthrough of panel removal and reinstallation, see our How to Replace Front Door Trim Panels: Step-by-Step Guide.
Engineering Standards: Why Proper Fitment Matters
Door panel fitment isn’t merely an aesthetic concern—it’s a matter of engineering and safety. The Society of Automotive Engineers (SAE Standards) defines rigorous criteria for interior trim integrity, fastener performance, and material compatibility. Panels must withstand vibration, temperature extremes, and repeated use without loosening or interfering with side-impact protection or airbag deployment.
Improper fitment can cause:
- Increased Noise, Vibration, and Harshness (NVH): Poorly secured panels amplify road and drivetrain vibrations.
- Reduced Safety: Misaligned panels may obstruct airbag deployment or window operation.
- Accelerated Wear: Rubbing parts degrade faster, leading to more frequent repairs.
Following manufacturer specifications and using approved materials is essential for both noise reduction and occupant protection.
Advertisement
The Role of Materials in Door Panel Noise
Material selection is a critical factor in both the creation and prevention of door panel noises. According to the U.S. Department of Energy’s Materials Technologies program, modern vehicles employ a mix of lightweight polymers, foams, and composites for interior trim. Each material has distinct properties:
- Plastics: Lightweight and formable, but may creak or squeak if not isolated from metal.
- Foams/Felts: Absorb vibration and prevent hard surfaces from contacting each other.
- Metal Brackets: Provide strength but transmit vibration unless properly dampened.
Aged or incompatible materials are a leading cause of persistent noises. When restoring or upgrading panels, always source OEM-grade or approved aftermarket materials to maintain noise performance and durability.
Preventing Door Panel Noises: Installation Best Practices
Prevention is always preferable to repeated repairs. Here are best practices for installing or restoring door trim panels:
- Use All Specified Fasteners: Never omit clips or screws; each contributes to even load distribution and vibration control.
- Replace Worn Clips and Pads: Old plastic and foam lose their effectiveness; always install new components during reassembly.
- Apply Insulation Strategically: Place felt or foam between hard surfaces, especially near fasteners and wiring.
- Torque Fasteners Correctly: Over-tightening can deform panels; under-tightening allows movement.
- Check Alignment: Ensure all panel edges and seams are flush with adjacent trim.
- Test Before Final Assembly: Temporarily secure the panel and test for noise before reinstalling covers or handles.
These practices align with industry standards and help preserve the factory-fresh feel of your interior.
When to Replace vs. Restore: Sourcing Quality Parts
Sometimes, noise issues stem from irreparably damaged panels or missing hardware. Here’s how to decide between restoration and replacement:
- Restore: If the panel is intact, with only minor wear or missing insulation, restoration is typically cost-effective.
- Replace: If the panel is cracked, warped, or missing critical mounting points, replacement is the only reliable solution.
When sourcing replacement parts, prioritize:
- OEM or OE-Equivalent Panels: Ensure correct fit, color, and material properties.
- Genuine Fasteners and Clips: Aftermarket “universal” clips often lack proper engagement or durability.
- Insulation Kits: Some manufacturers offer pre-cut foam or felt kits tailored to your vehicle.
For more on restoring the original look and function of interior trim, see Restoring OEM Finish on Interior Trim Panels.
Beyond the Door: The Impact of Panel Noises on Vehicle Performance
While door panel noises may seem minor, they can influence broader aspects of vehicle performance and driver satisfaction:
- Fuel Efficiency: Increased NVH can mask drivetrain issues that affect fuel economy; a quiet cabin helps drivers detect subtle changes early (Fuel Efficiency).
- Safety: Rattles may indicate loose components that could interfere with side airbags or locking systems (Vehicle Safety and Equipment).
- Resale Value: Persistent interior noises are a red flag for buyers and can reduce trade-in offers.
Addressing door panel noises is a small investment that protects the overall value and integrity of your vehicle.
AutoPartEx: Your Partner in Quiet, Quality Interiors
At AutoPartEx, we understand that a quiet, well-assembled interior is a sign of quality engineering and attentive ownership. Our curated selection of front door interior trim panels, fasteners, insulation kits, and restoration guides empowers both professionals and DIYers to achieve factory-level results. Our technical resources, including step-by-step guides and engineering insights, ensure you’re equipped to tackle even the most persistent interior noises.
Explore our comprehensive library for more on the evolution of door panel technology and see why enthusiasts and shops trust AutoPartEx for lasting solutions.
Expert Call to Action: Restore Your Quiet Ride Today
Don’t let persistent rattles and squeaks diminish your driving experience. Use the diagnostic strategies, checklists, and best practices outlined above to pinpoint and eliminate noise at its source. Whether you’re restoring a classic or maintaining a daily driver, attention to detail in your door panel assembly pays dividends in comfort, safety, and vehicle value.
Visit the Front Door Interior Trim Panels: Engineering, Fitment, and Restoration Guide for in-depth technical insights, or browse our catalog for OEM-quality parts and tools. For further guidance or to share your success stories, connect with the AutoPartEx community and elevate your restoration game.
References
- Materials Technologies - United States Department of Energy
- SAE Standards - SAE International
- Fuel Efficiency - United States Department of Energy
- Vehicle Safety and Equipment - National Highway Traffic Safety Administration
- Vehicle, Car Seat, Tire, and Equipment Recalls - National Highway Traffic Safety Administration
Advertisement